iPhone Photography

Give your photos a vintage look with Tonality

We are back with more photo tips today, so if you missed our first two articles, be sure to go back and read them. We covered creating a stunning HDR in under 3 minutes as well as 3 tips for creating eye-popping photos.

If you are like me, you like to experiment with different looks in your photos. That’s part of the beauty of digital photography - you can quickly and easily try out new ideas and processing styles, without permanently altering your original image. While you probably have a “go-to” style, it’s always rewarding when you step outside the lines a little bit and try something new.

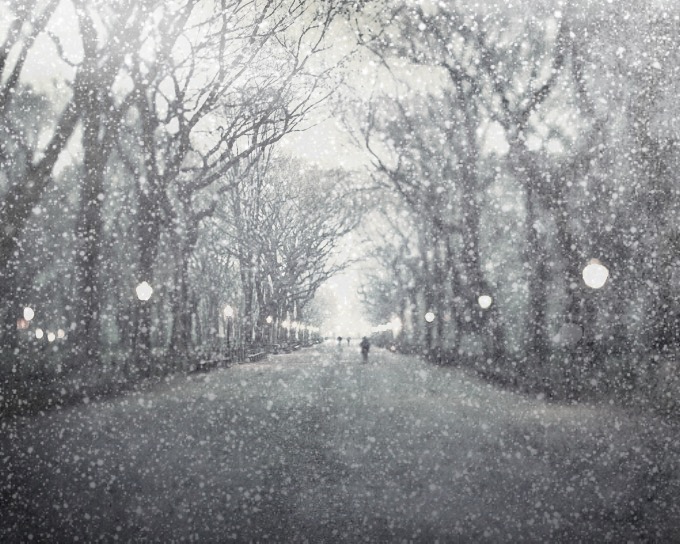
I tend to be drawn to bold and expressive colors, so for me, experimenting with muted colors and vintage effects is kind of like a science experiment - it’s not my natural state, but it’s sure fun to mix things up in the digital lab and see what I come up with. I’m often surprised at the results, and I always learn something new.

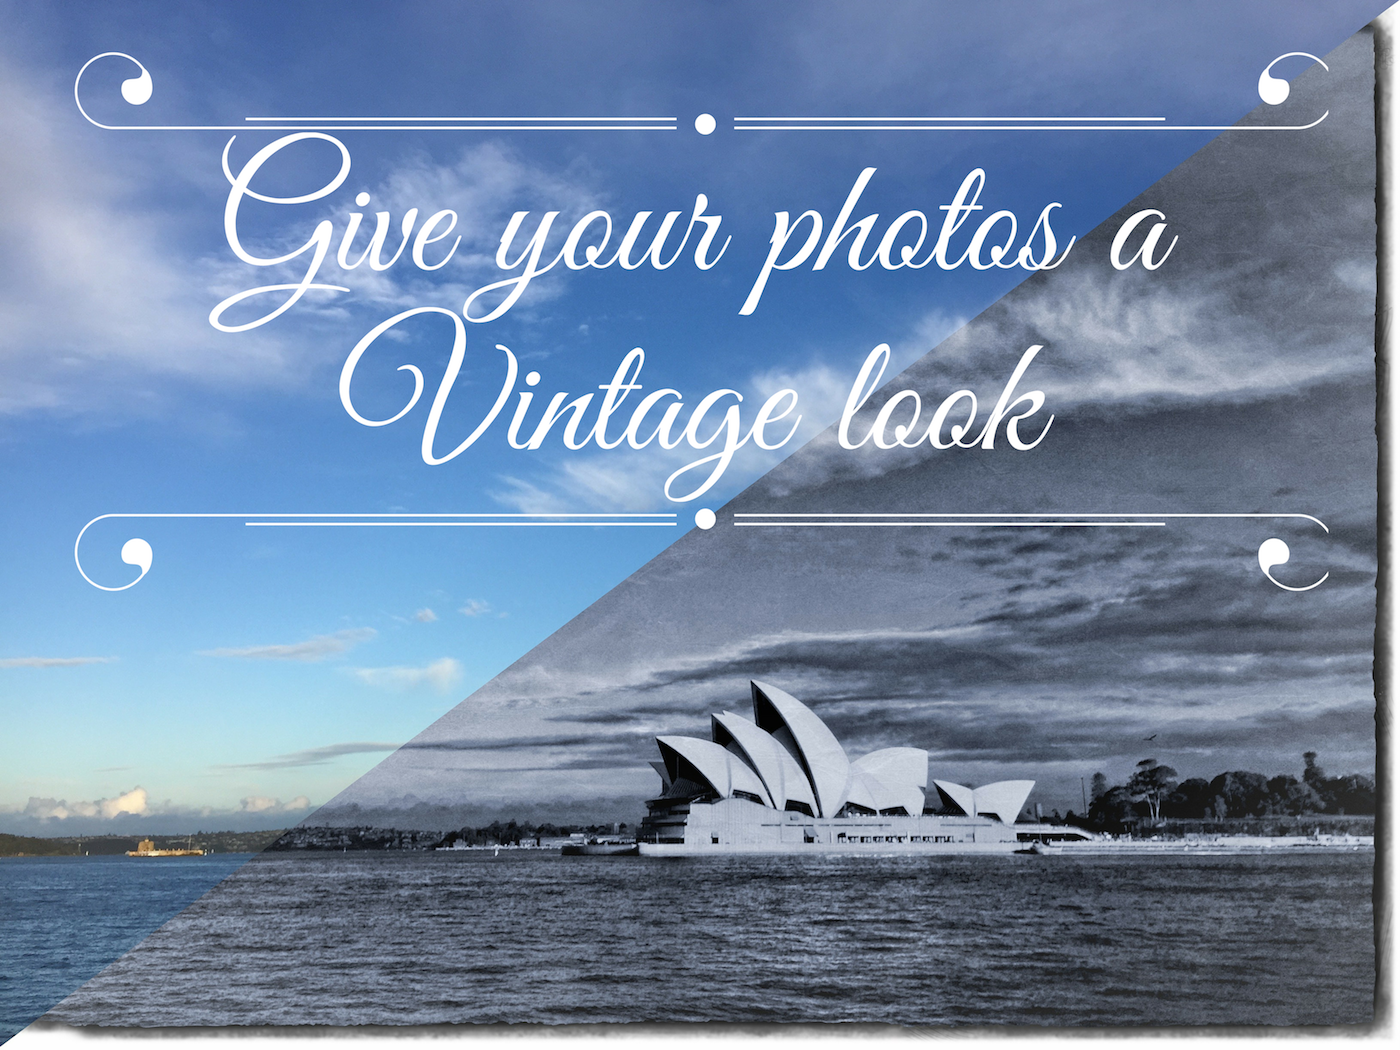
Today, we will explore using Tonality from Macphun to quickly and easily add a vintage effect to your photos. You can download a free trial of Tonality and follow along with us. Like all Macphun products, the interface is simple and easy to use, yet there is a lot of power underneath the hood. This means you can go as deep as you like and make some significant changes to your photo, or you can do something a little less involved and create a masterpiece in just a few clicks. It’s really up to you.

That’s what we are doing today. We will walk you through some basic edits in Tonality, but just keep in mind that the end result is always wide open, limited only by your interest in experimenting and your own creativity. You can use Tonality as a one-click solution, or you can delve a little bit deeper and customize the look of your photos.

We will start with a one-click solution, and then make a few minor changes to demonstrate how powerful this product really is. Let’s get started!

3 simple tips for eye-popping photos

We are back with another installment in our photo education series. Today we will share an easy tip for making your photos really pop. If you missed the first in this series, you can catch up and find out how to create beautiful HDR photos in under 3 minutes.

Do you ever take a photo of something, only to show it to your friends later and have to add “Well, you had to see it for yourself. It looked better than that.” I think we have all been there. Our photos don’t always accurately represent what we saw, and certainly they can’t represent how we felt at that moment, which in my opinion is intricately tied to the final image.

While there are countless apps available that allow you to make minor adjustments to your iPhone photos, I like to adjust mine with the many tools available in the Creative Kit by Macphun. It’s super-easy to use Creative Kit on your iPhone photos by running them inside of Photos for Mac; you’ll be creating your own masterpieces in no time.

Today, I share the first of three tips you can use on your photos for quick and effective enhancements. Each can give your photo a bit more punch, or add some artistic flair, and it only takes you a couple of minutes to do it. Follow along!

Deal: get 93% off the new MacPhun photo creativity bundle

After delighting iPhone photography fans with free high-quality filters for Photos for Mac, California-based developer MacPhun is back with a very tempting offer in the form of a photo creativity bundle “unlike any other”. They're calling it the Creative Kit XXL and let me tell you something—“XXL” is used there for a very good reason.

Not only do you get six premium photo-editing applications for your Mac in this bundle, but a ton of other goodies.

Some of the bonus content ad benefits you get with Creative Kit XXL: 40+ guides from leading photographers, 1200+ creative presets, six additional Mac apps for watermarking and resizing images and deep partner discounts.

And all of these perks can be yours in exchange for just $129, a cool 93 percent discount over the combined $2,000+ price for the included apps, tools and materials. Yup, that's a massive savings of $1,871.

Trigraphy photography app picks up new effects, gains albums and document support

Trigraphy by Nixes, a beautiful app for turning your photographs into low-poly artwork, was refreshed in the App Store earlier this week with a few new tricks. Bumped to version 2.1.2, the software gained two new effects alongside an effects bundle and other perks.

For starters, it's now possible to open images in Trigraphy from other apps because the app has gained its own Document Provider extension.

The built-in gallery now supports albums and users can change how images are saved and how 4K assets are handled, which should fix problems related to 4K download.

Google’s Photos app gains support for Live Photos and other new features in latest update

Following its announcement that it will be shutting down the Picasa desktop app and the Picasa Web Albums online photo-sharing service, Google is doubling down on its mobile Photos app for iOS and Android.

Last night, the Google Photos app was updated in the App Store to support Apple's Live Photos format. In Google Photos 1.8 for iOS, you can now back up your Live Photos to the Google cloud, as well as view them within the app.

3D Touch shortcuts for the Camera app

Whenever an awesome photo opportunity presents itself, I instinctively grab my iPhone, launch the Camera app and press the shutter button.

But boy, way too many times did I find myself in the wrong camera mode. One time, I would realize I was shooting video instead of taking a great picture. Other times I would snap a selfie, whereas I wanted to take a quick photo of my neighbor's dog jumping in the air catching her frisbee.

3D Touch can help avoid such distractions when you're in the middle of your photography moment. With a little help of 3D Touch shortcuts and gestures, iPhone owners will hopefully never miss that important shot again.

3D Touch lets you take a selfie or start shooting video from the Home screen, review the photos you’ve taken without leaving the Camera app, play Live Photos with a press and more. In this tutorial, we'll take you through every 3D Touch-enhanced feature that's available to iPhone photography fans in Apple's built-in Camera app.

How to turn any photo scene into a snowy one with Snow Daze

Winter may be coming to an end next month, making room for the Spring season, but that doesn't mean you can't keep enjoying the snow!

Snow Daze is a wonderful app that can be had from the App Store for $1.99. The app can turn any photograph scene into a snowy wonderland. With all of the different filters, configurable snow settings, and color options, you can make even the least suspecting photograph look like it was taken in the middle of a blizzard storm.

In this tutorial, we'll be showing you how the app works.

Turn off HDR photo duplicates to save storage space

High Dynamic Range (HDR) photography is great for making the most from your iPhone's camera, especially in high-contrast situations.

With this feature, your iPhone takes multiple photos in rapid succession, each at a different exposure, and automatically blends them together. You get an image that has optimized highlights and really brings the shadows out of the noise, with way better detail in the bright and midtown areas.

When you enable HDR photography by tapping the HDR icon in the Camera app, your iPhone will save two copies of the image in your photo library: the “normal” image (without HDR) along with its HDR counterpart.

This can put a strain on your iPhone's storage, especially when taking a lot of HDR photos. If your iPhone's storage is low, or you're the type of person who likes to plan ahead, read this tutorial to learn how to turn off HDR photo duplicates and save significant amounts of storage space on your device.

Moment Lens takes iPhone photography to the next level

We've introduced you to a number of different lens accessories in the past for our spotlight series. There are plenty out there to cover your iPhone photography needs, from dedicated cases specific to the iPhone 6s to clip on lenses that can be used with any device.

Some of our readers have asked about the Moment Lens. While this particular product hasn't been around long enough to generate a solid consumer review base, we checked out the Moment Lens line and think it looks amazing. We haven't had a chance to test these products in the wild. So, if you own the Moment Lens kit, tell us what you think of it in the comments section.

The Moment Lens kit takes iPhone photography a step further with high-quality ED glass with multi-layer anti-reflection coating that is specially designed to provide a sharp picture across the screen.