Learn how to transfer photos and videos from your iPhone or iPad to an external drive, SSD, or hard disk to back up your media or free up local space.
How to copy iPhone photos and videos to an external drive or SSD

Learn how to transfer photos and videos from your iPhone or iPad to an external drive, SSD, or hard disk to back up your media or free up local space.

This troubleshooting guide outlines the key steps to take if you're connecting a thumb drive, SSD, hard disk, SD card, or other external storage device to your iPhone or iPad, but it doesn’t show up in the Files app.

Learn how to set your Mac to offload large macOS apps and games directly onto an external flash drive, SSD, or hard disk if internal storage is limited.
Learn how to use the same flash drive, thumb drive, SSD, hard drive, or other external storage devices on both macOS and Windows computers.

One of the major problems that stems from owning both a Mac and a Windows PC is that storage drives you use for one operating system may not be compatible with the other – especially when they’re formatted using a macOS-specific format.
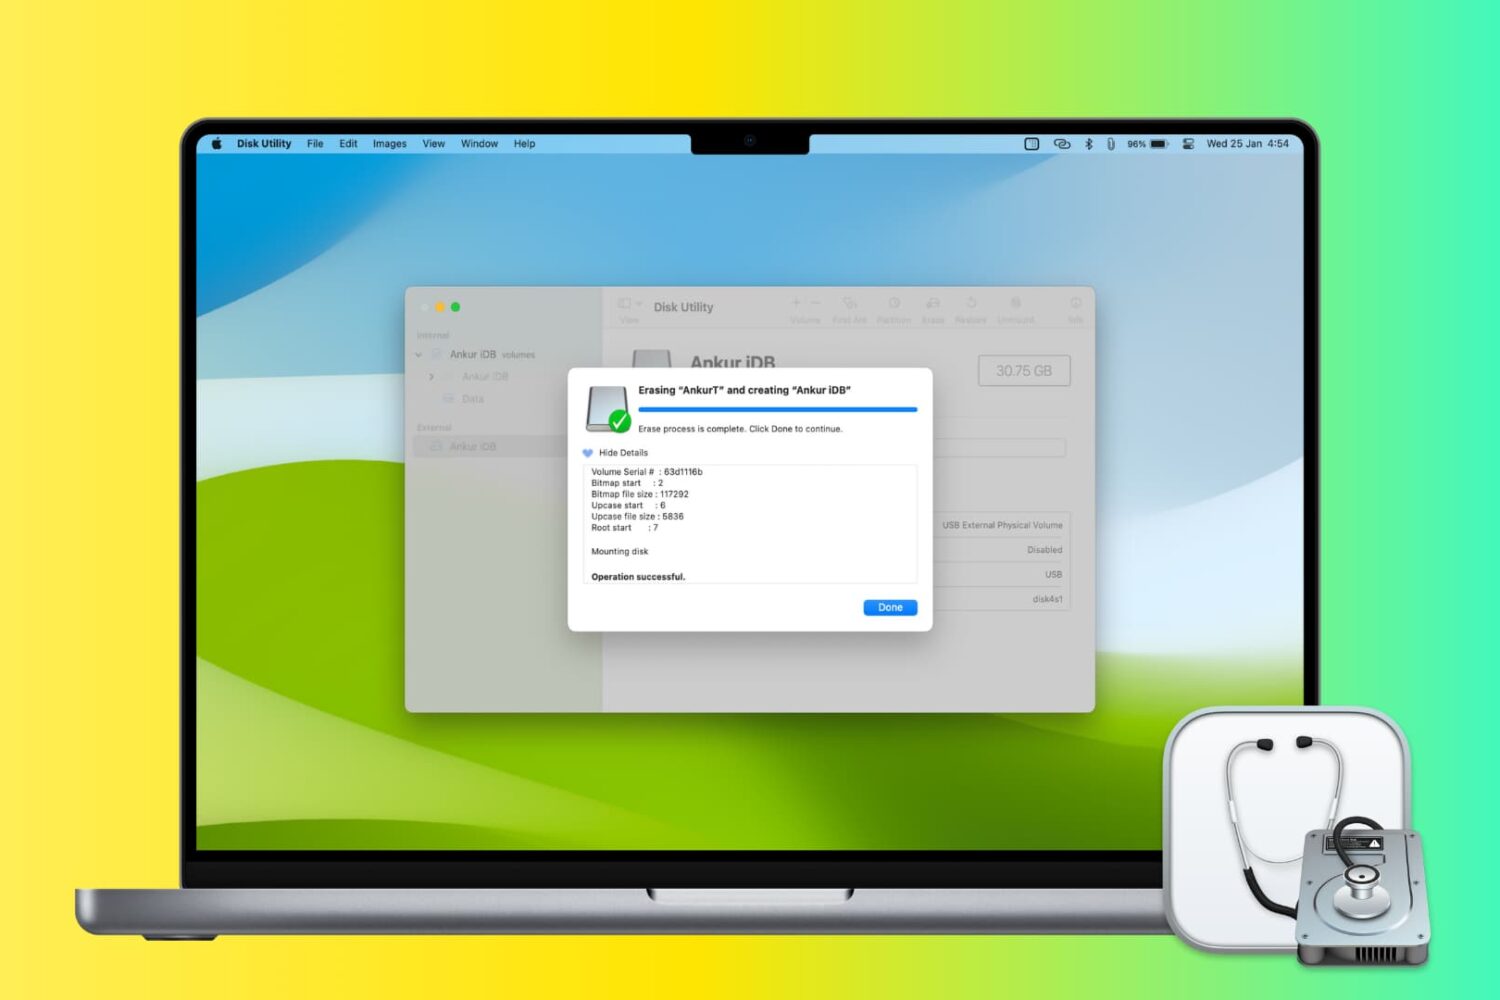
In this step-by-step tutorial, you'll learn how to erase and format a flash drive, hard disk, thumb drive, or other external drive using the built-in Disk Utility app or a quick desktop shortcut on your Mac.
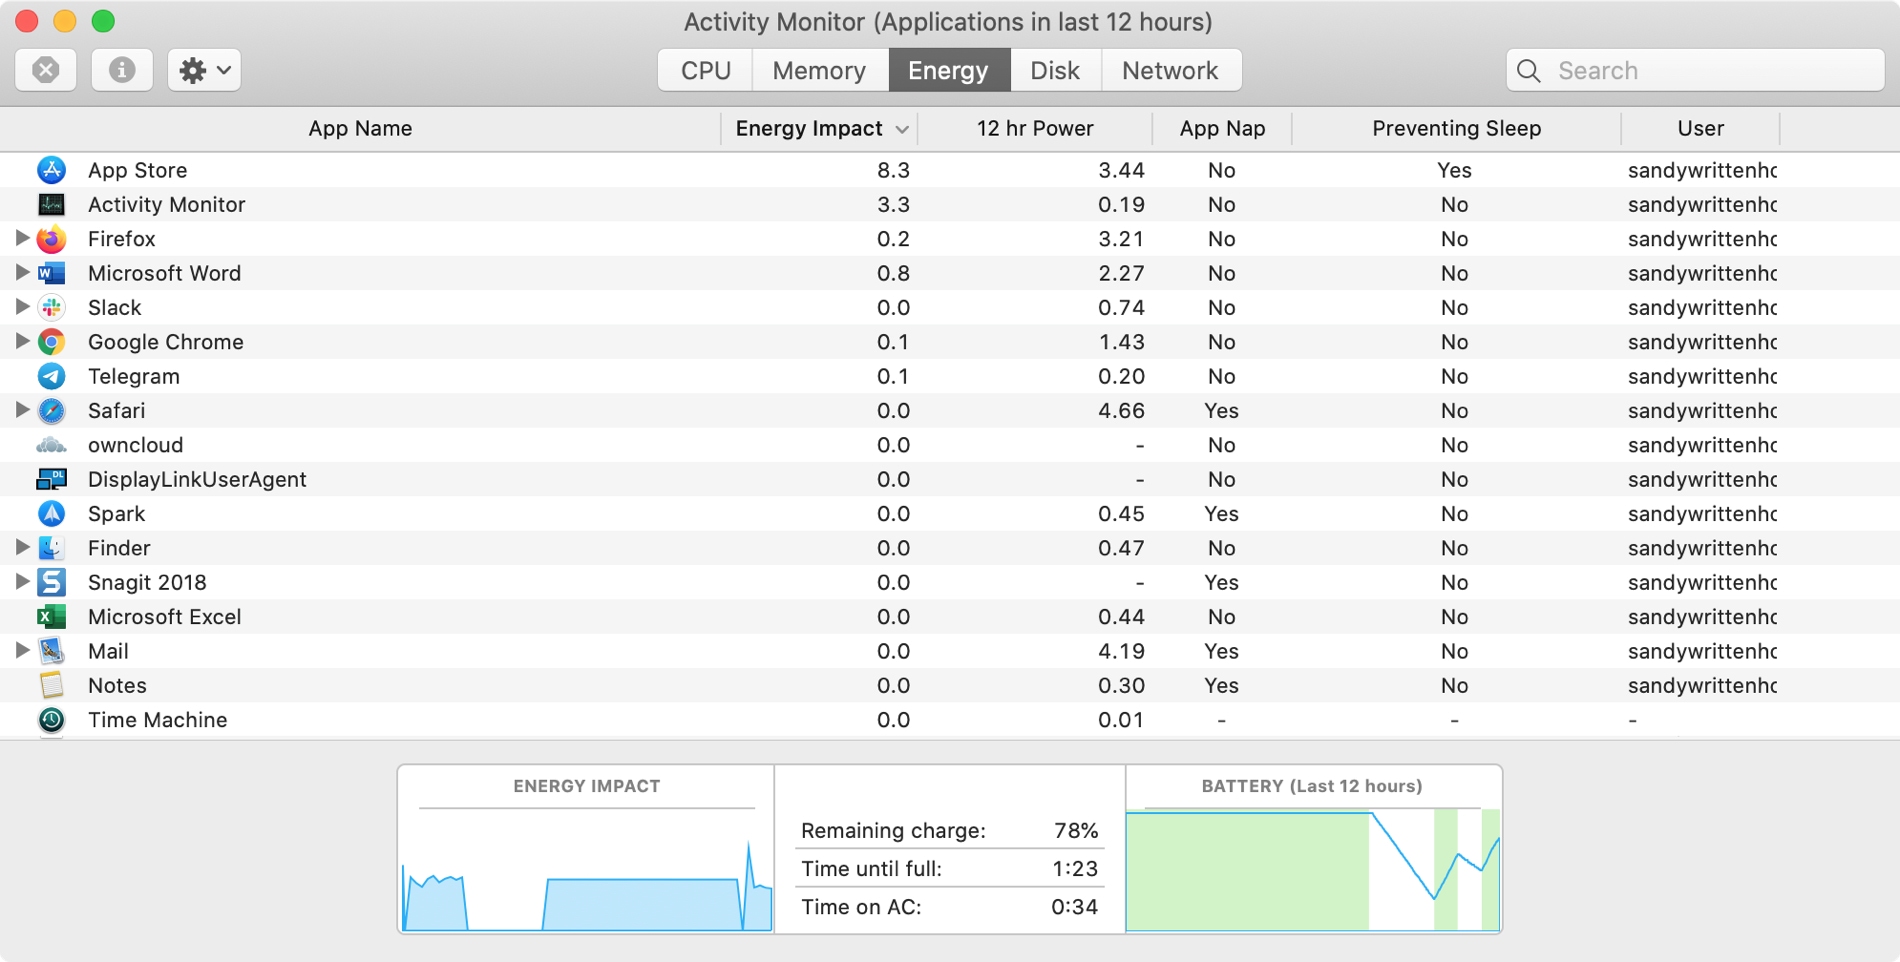
The Activity Monitor on your Mac is one of those tools that you should become familiar with. You by no means need be an expert on it, but you should know the basics. Why, you ask? Because the Activity Monitors shows all the processes running on your Mac. It’s like a task manager, so you can see how those processes affect your Mac and close any if needed.
Whether you’re new to Mac or simply new to the Activity Monitor, we’ll walk you through the basics you need to know.

This guide shows you how to safely delete partitions from a hard drive or SSD using the built-in Apple Disk Utility app on your Mac.
Need to add an extra partition to a hard drive or SSD? We'll show you how to create a disk partition on your Mac using the built-in Disk Utility app.
We've already covered how to completely prevent partitions from mounting under macOS, but sometimes you want a partition mounted and ready to use but still want the benefit of it not cluttering up your desktop. For example, many people want their Time Machine partition constantly mounted and backing up throughout the day but don't need it to be visible at all.
Finder's preferences allow for hiding all volumes from the desktop but offer no control on a volume-by-volume basis. Therefore, we'll show you how to use the Terminal to hide mounted volumes on a case-by-case basis.
With the exception of partitions in unreadable formats and certain hidden partitions such as EFI and Recovery HD, the default behaviour of macOS is to mount all partitions of a drive on boot-up, login, or on connecting an external drive.
Whilst this behaviour is useful for the novice or for those connecting a single USB stick to copy some files, it can become unwieldy and even annoying if you have many multi-partitioned drives attached to your Mac.
For example, my desktop Hackintosh has three internal drives, each with at least two partitions, and one of these drives is not even needed when booted under macOS – it is for Windows 10 and Linux. Add to this a couple of external hard drives with partitions for storage, OS installers and Time Machine backups for other computers, and your desktop and Finder sidebar can begin to look a real mess. It also takes time for the drives to mount on every boot and unmount on sleep or shutdown.
This guide will detail how to ensure only the drives of your choosing mount automatically, leaving the rest unmounted within macOS.
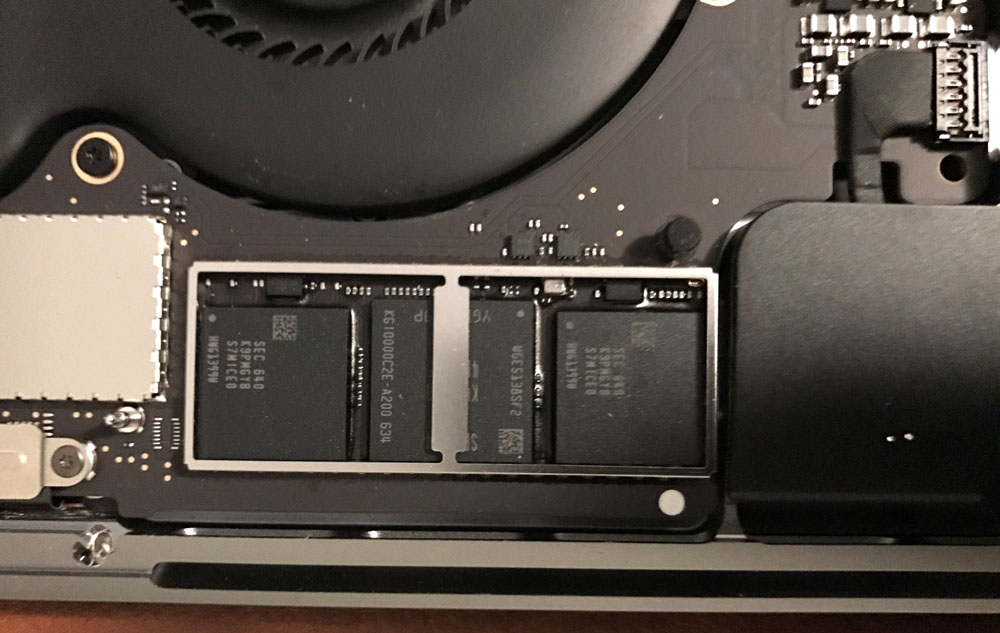
After seeing in iFixit's teardown that the base model of the new 2016 MacBook Pro without the Touch Bar had a removable PCIe SSD storage unit, many were excited at the possibility of aftermarket upgrade parts across the new MacBook Pro lineup.
But new images surfacing on the web this week after the first MacBook Pro with Touch Bar units began reaching the hands of buyers are showing that the Touch Bar models don't follow suit and have SSD storage chips soldered into their logic boards instead.