Check out these 24 useful tips to uncover the hidden capabilities of your HomePod and make the most of your Siri smart speaker.

These tips apply to both the full-size HomePod and HomePod mini.
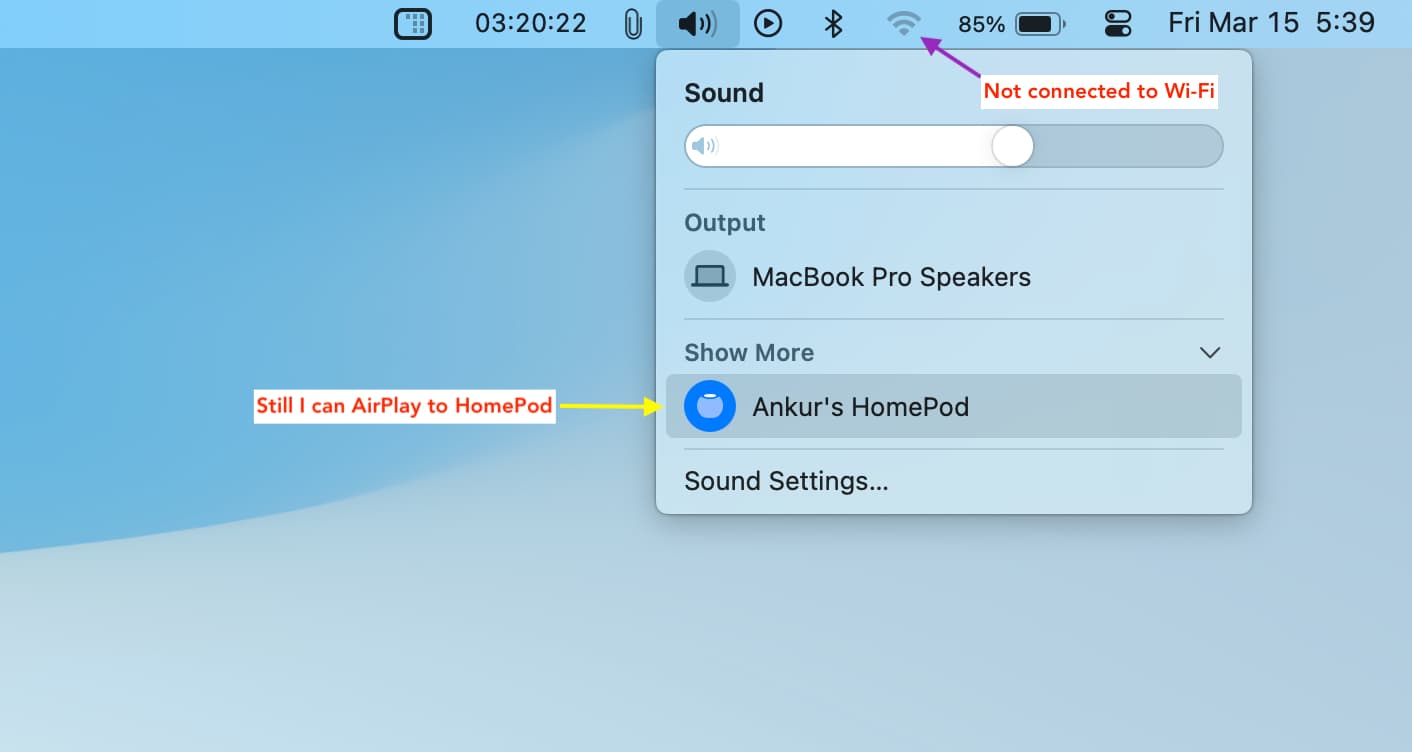
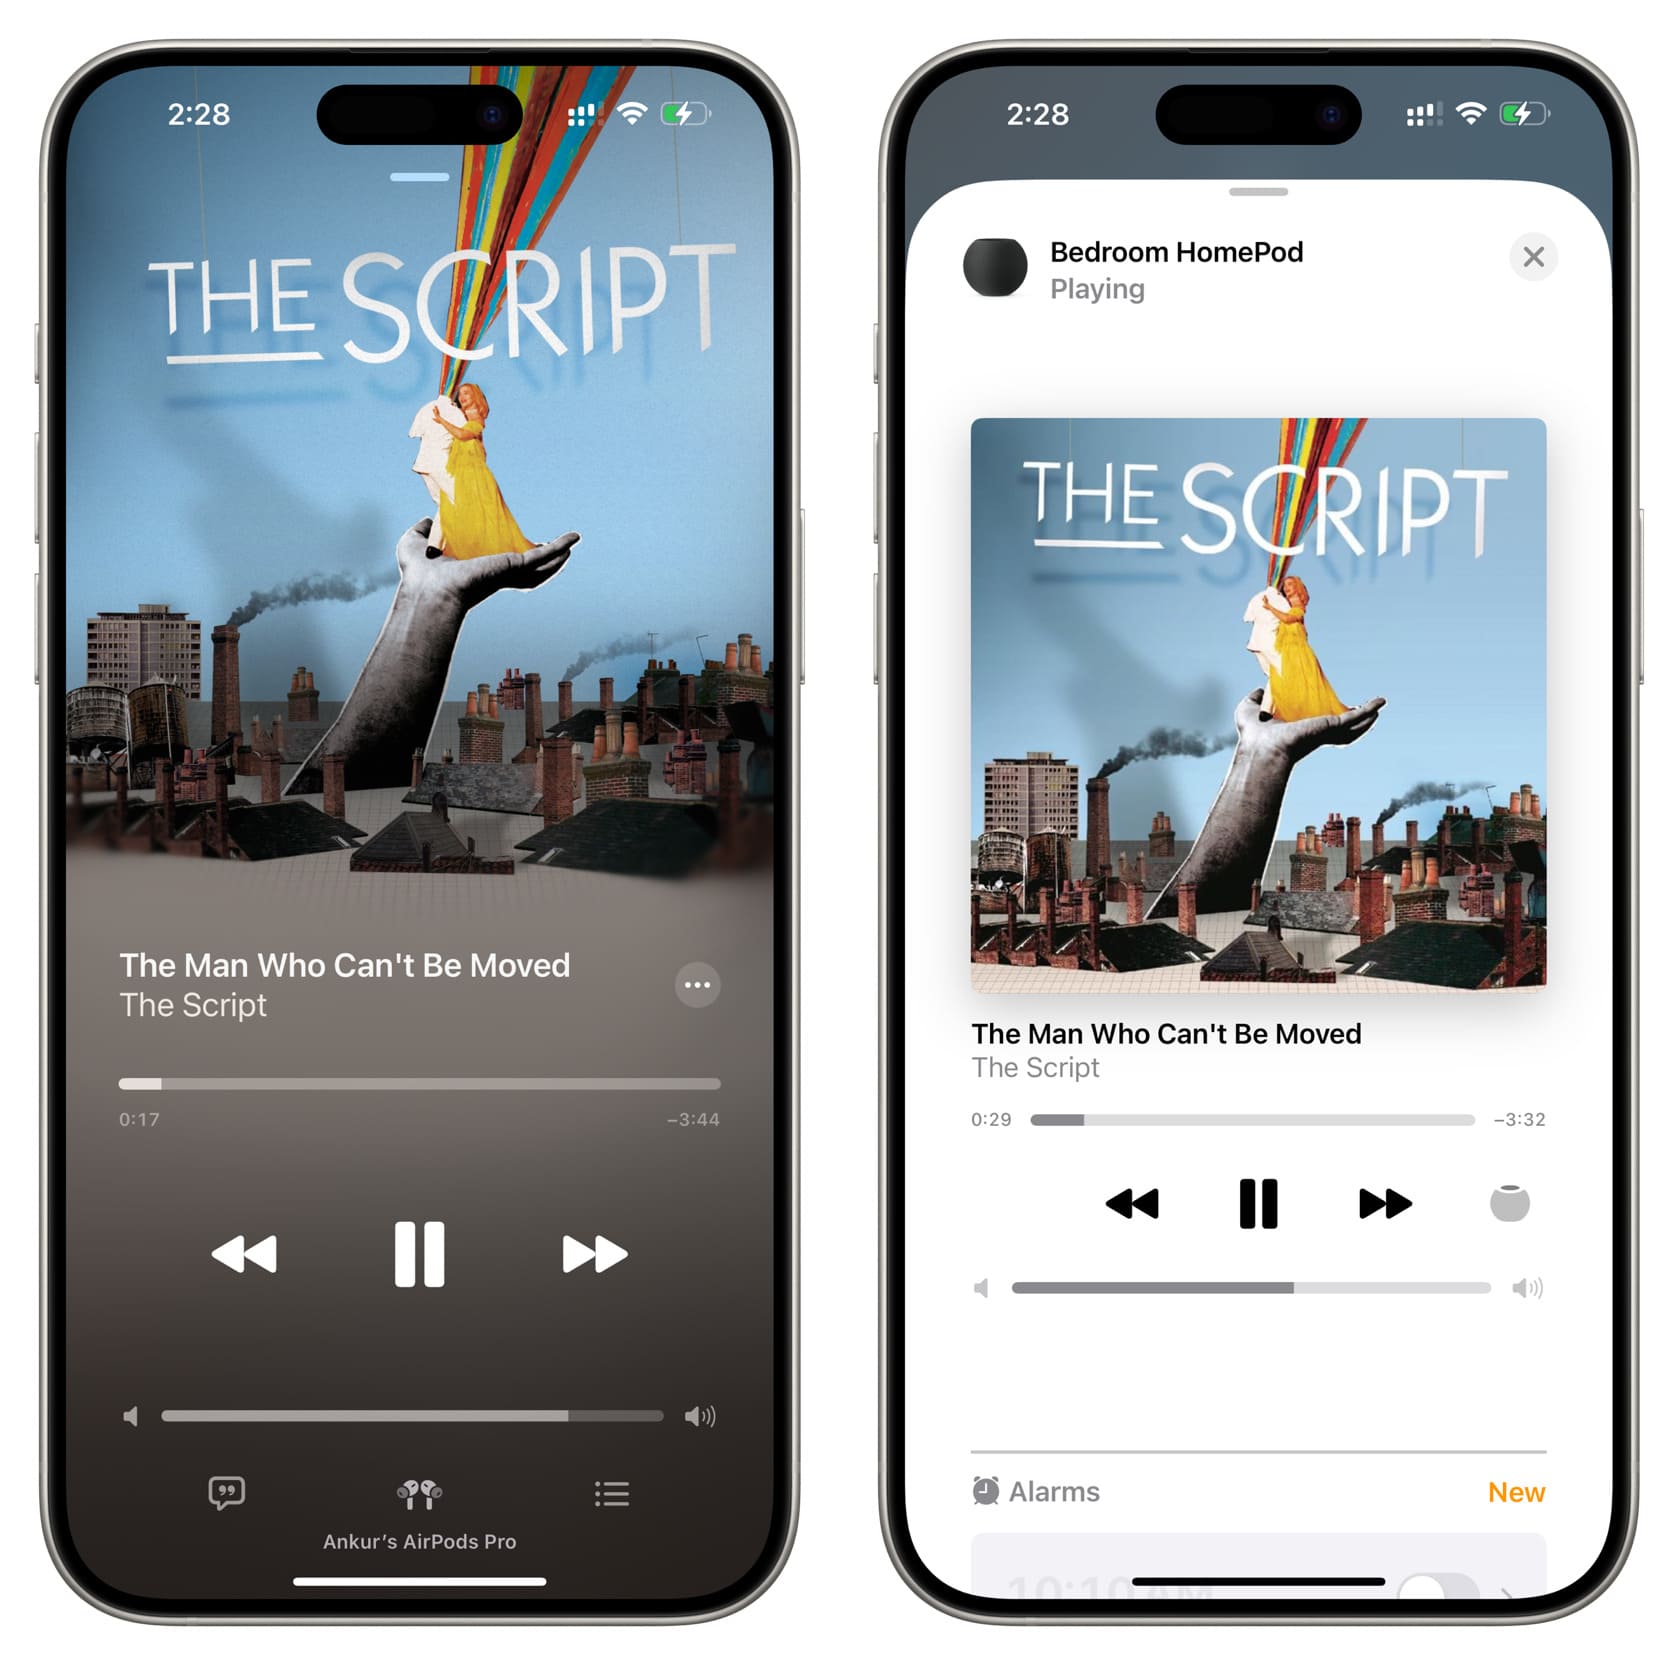
1. AirPlay without Wi-Fi
Streaming audio to HomePod only happens via AirPlay, not Bluetooth. So, you might think a Wi-Fi connection is needed to AirPlay to HomePod from your iPhone, iPad, Mac, or other devices. However, that’s not a necessity, and thanks to the peer-to-peer AirPlay feature, you can stream songs to your HomePod even without a Wi-Fi connection.
2. Join captive Wi-Fi networks
Captive networks require you to go through an additional sign-in page to join that Wi-Fi. You will find these in schools, university dorms, libraries, hotels, and other such places. Even though HomePod does not have a proper screen, it can connect to such captive Wi-Fi networks.
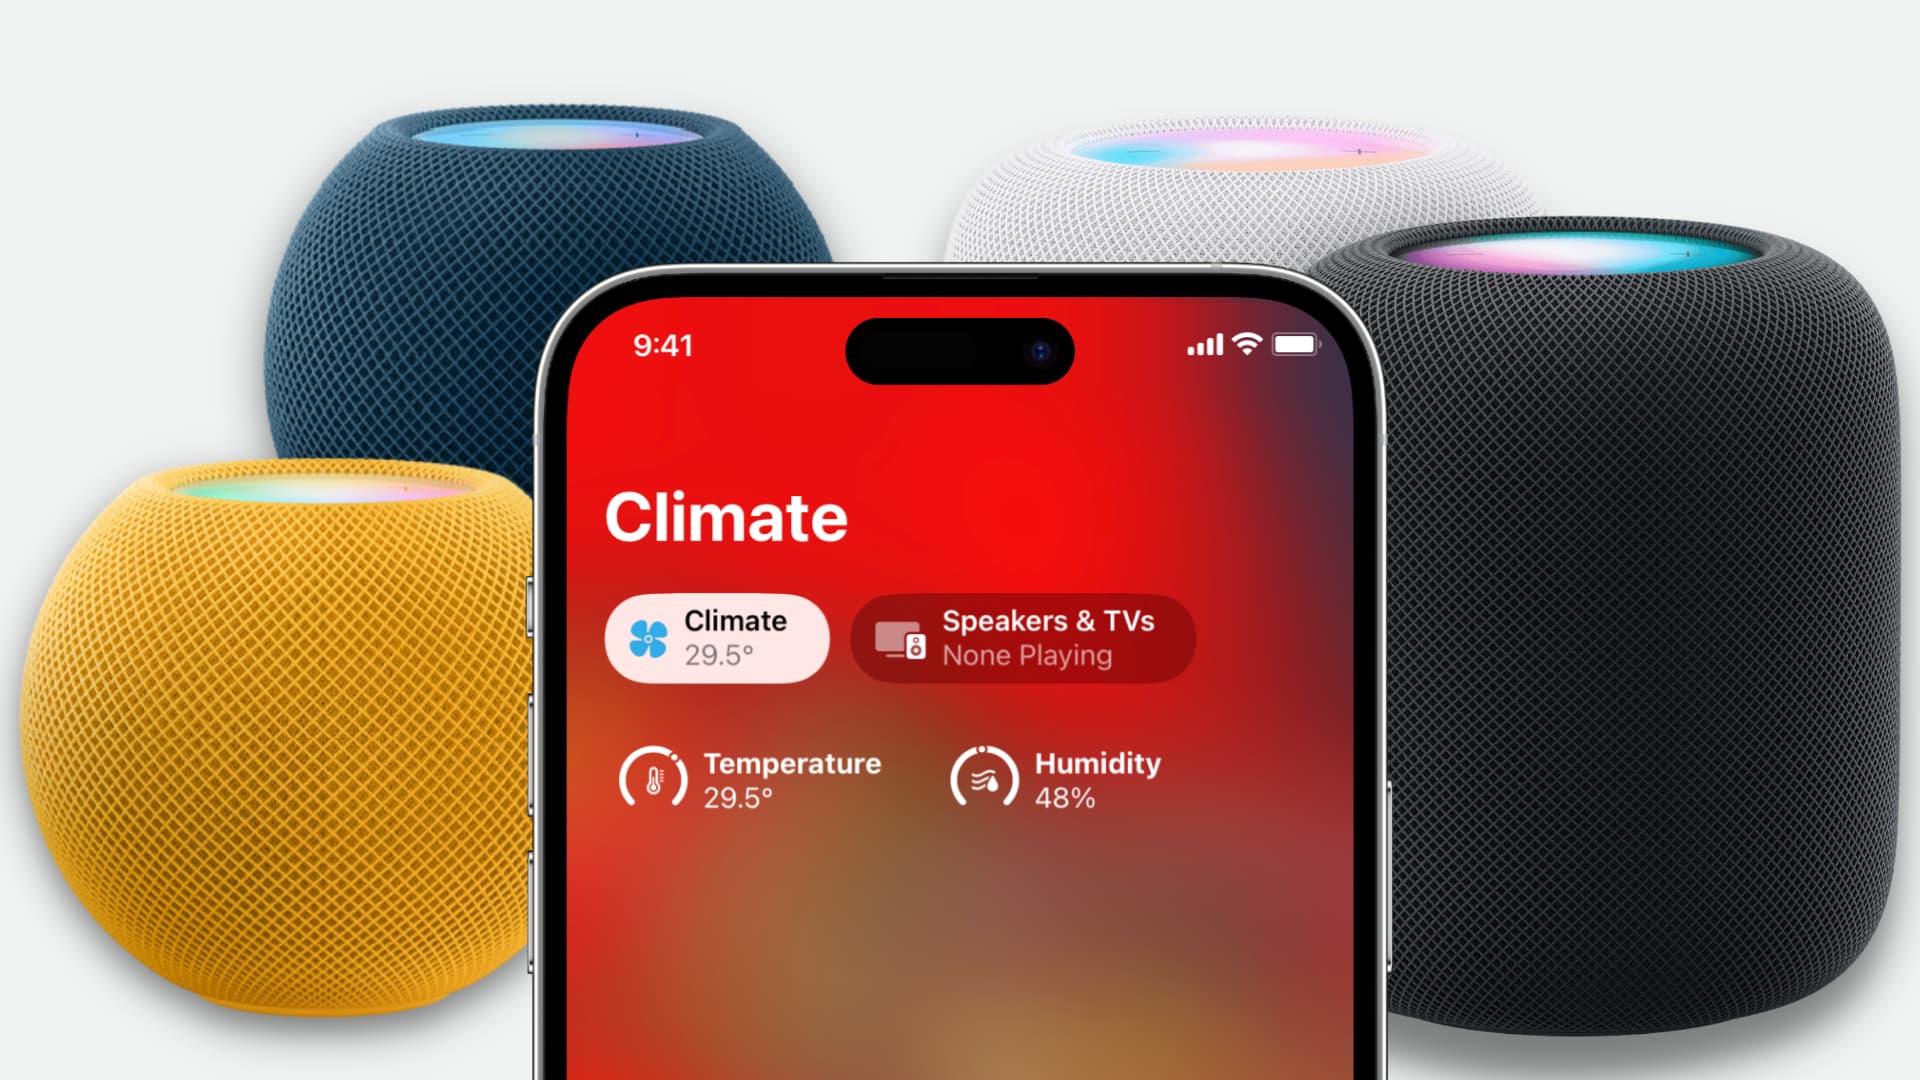
3. Get your room’s (not city) temperature and humidity
HomePod mini and HomePod 2nd gen have built-in sensors that can tell you about the temperature and humidity of the room it’s in. This data is local and is not fetched from the internet. Just say, “Hey Siri, what is the temperature in the [bedroom]” or “Hey Siri, what is the humidity in the [kitchen].”
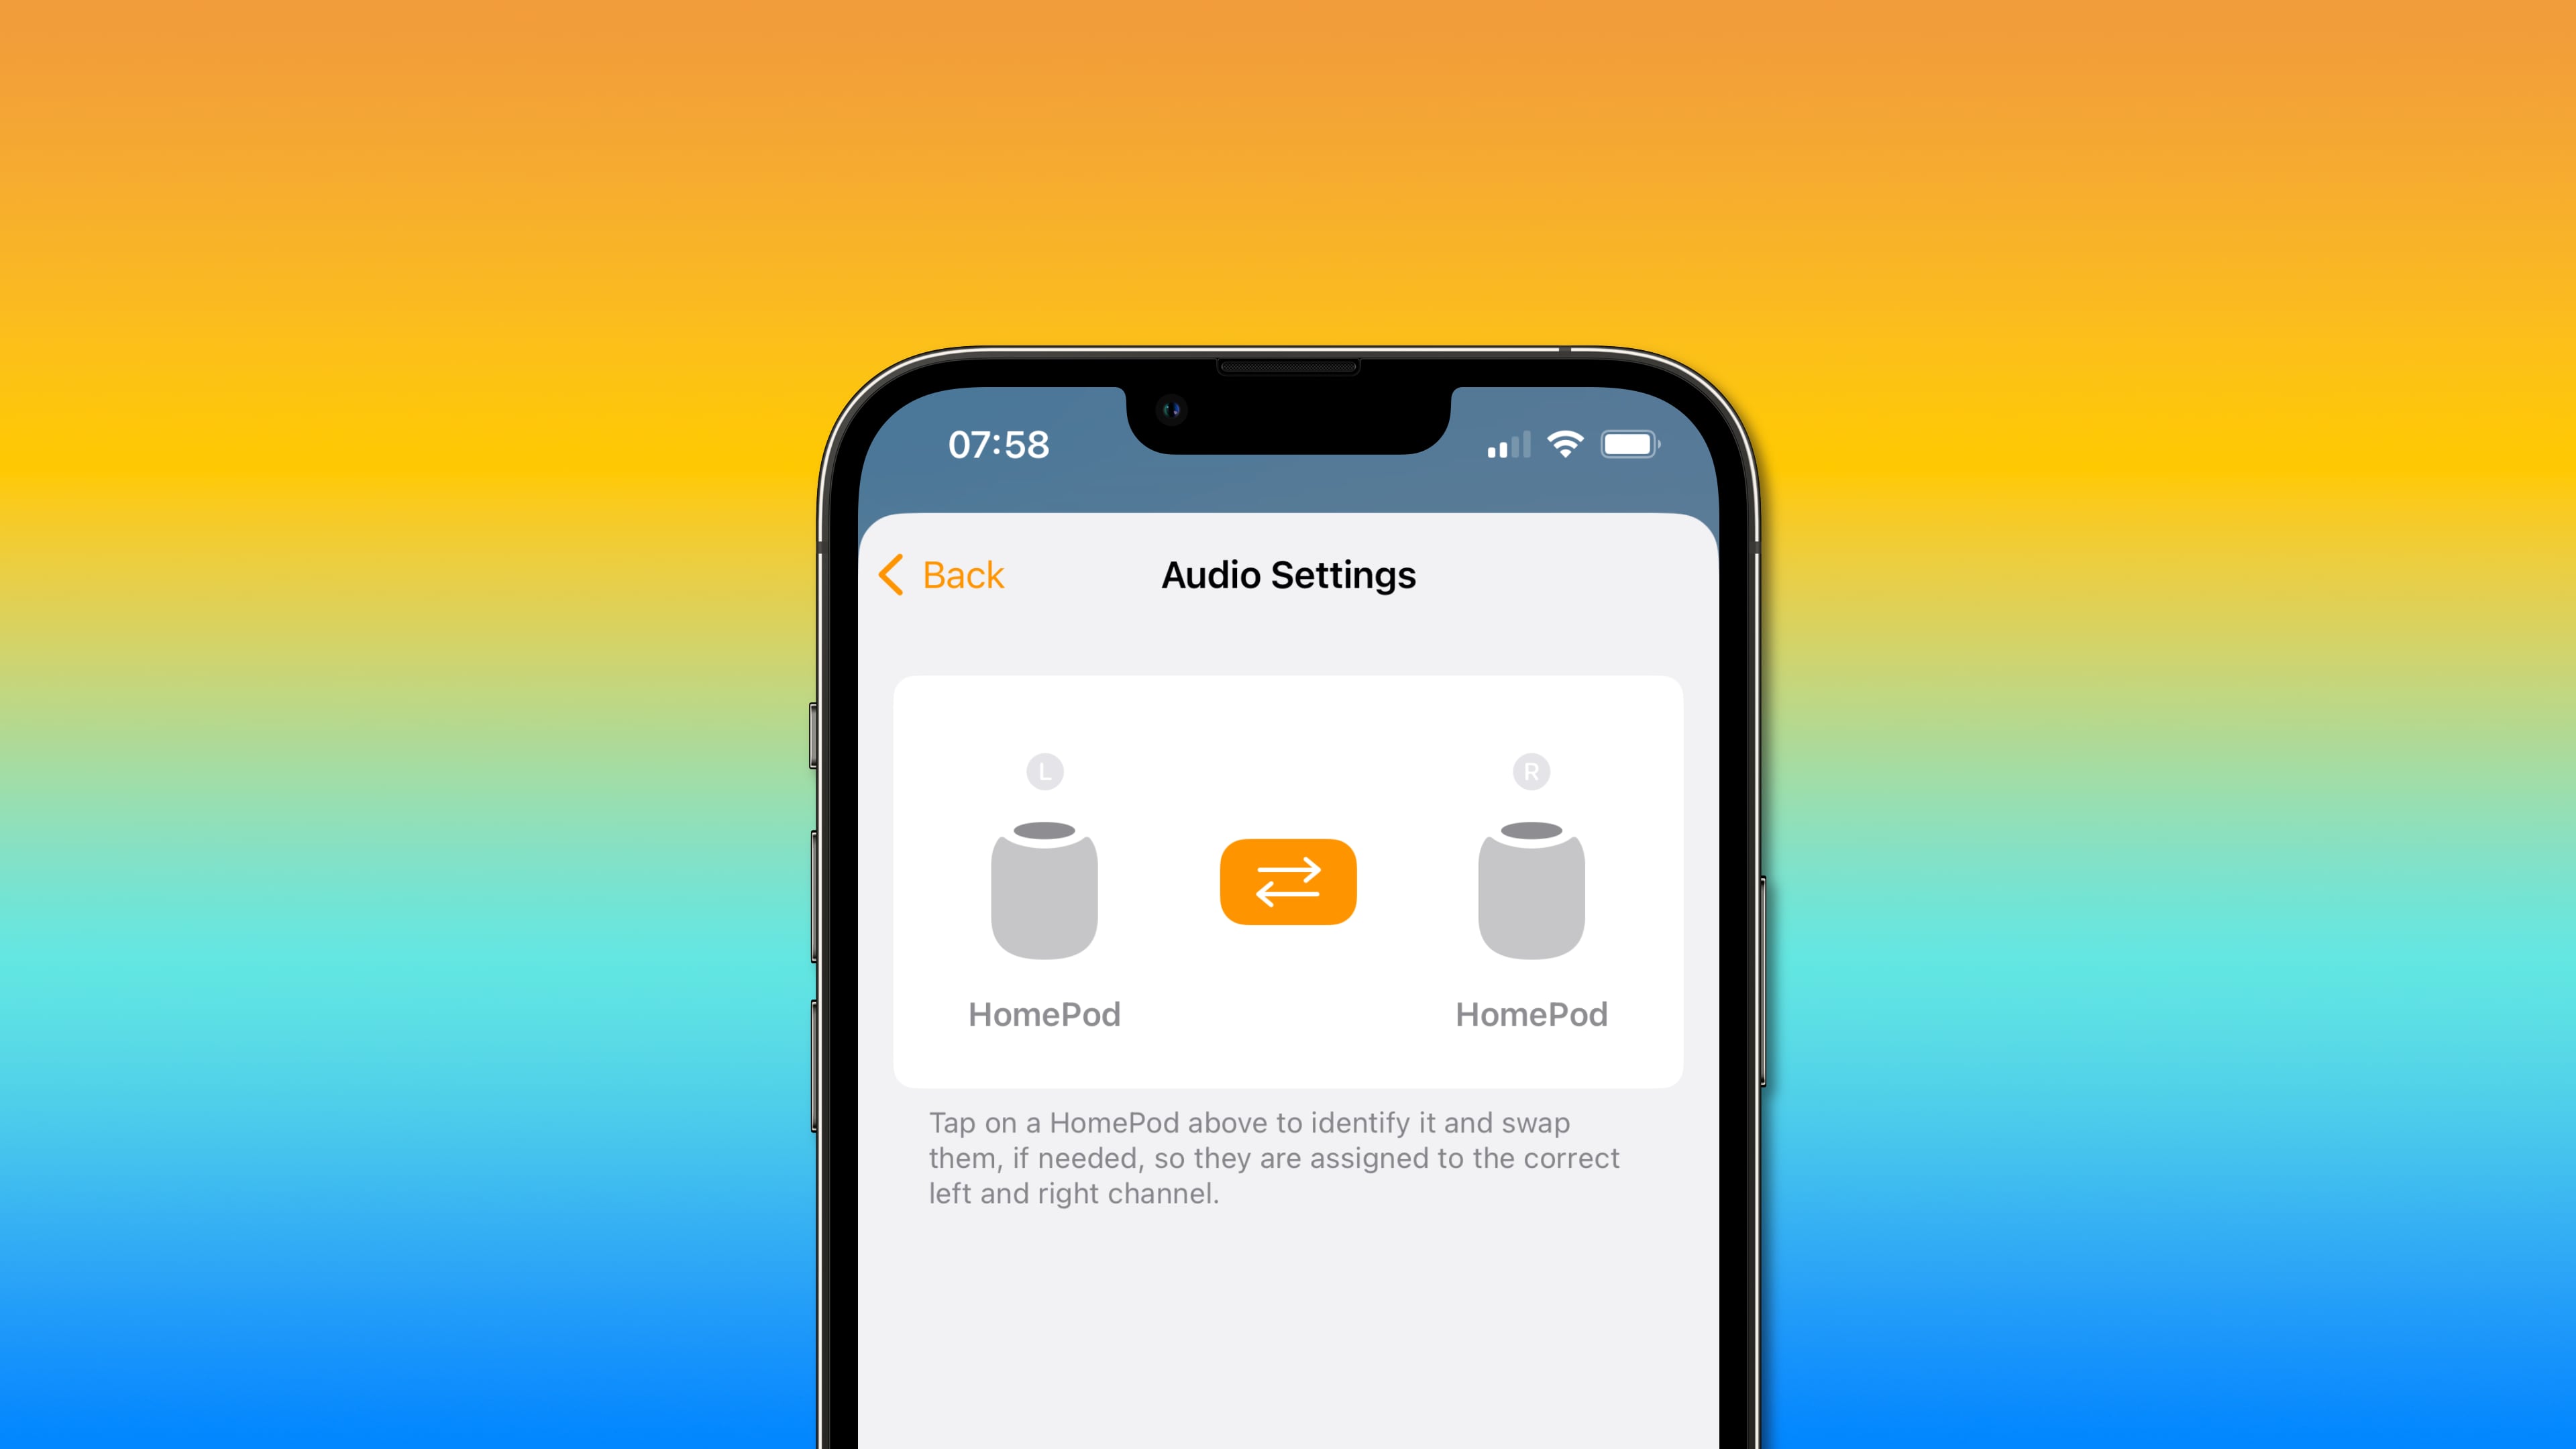
4. Create a stereo pair with two HomePods
You can pair two HomePods of the same kind (like two HomePod minis or two HomePod 2nd gens) and set up them in a stereo pair to enjoy improved surround sound.
5. Add “Hey Siri” to your Apple TV
Apple TV does not support Hey Siri natively. However, if you connect your HomePod to it, you can invoke Siri on your TV just by saying Hey Siri.
6. Enhance dialogue when watching movies and TV shows
If you find it difficult to make out the words in a movie or TV show, you can turn on the Enhance Dialogue feature that uses Machine Learning to make the actual words more clear.
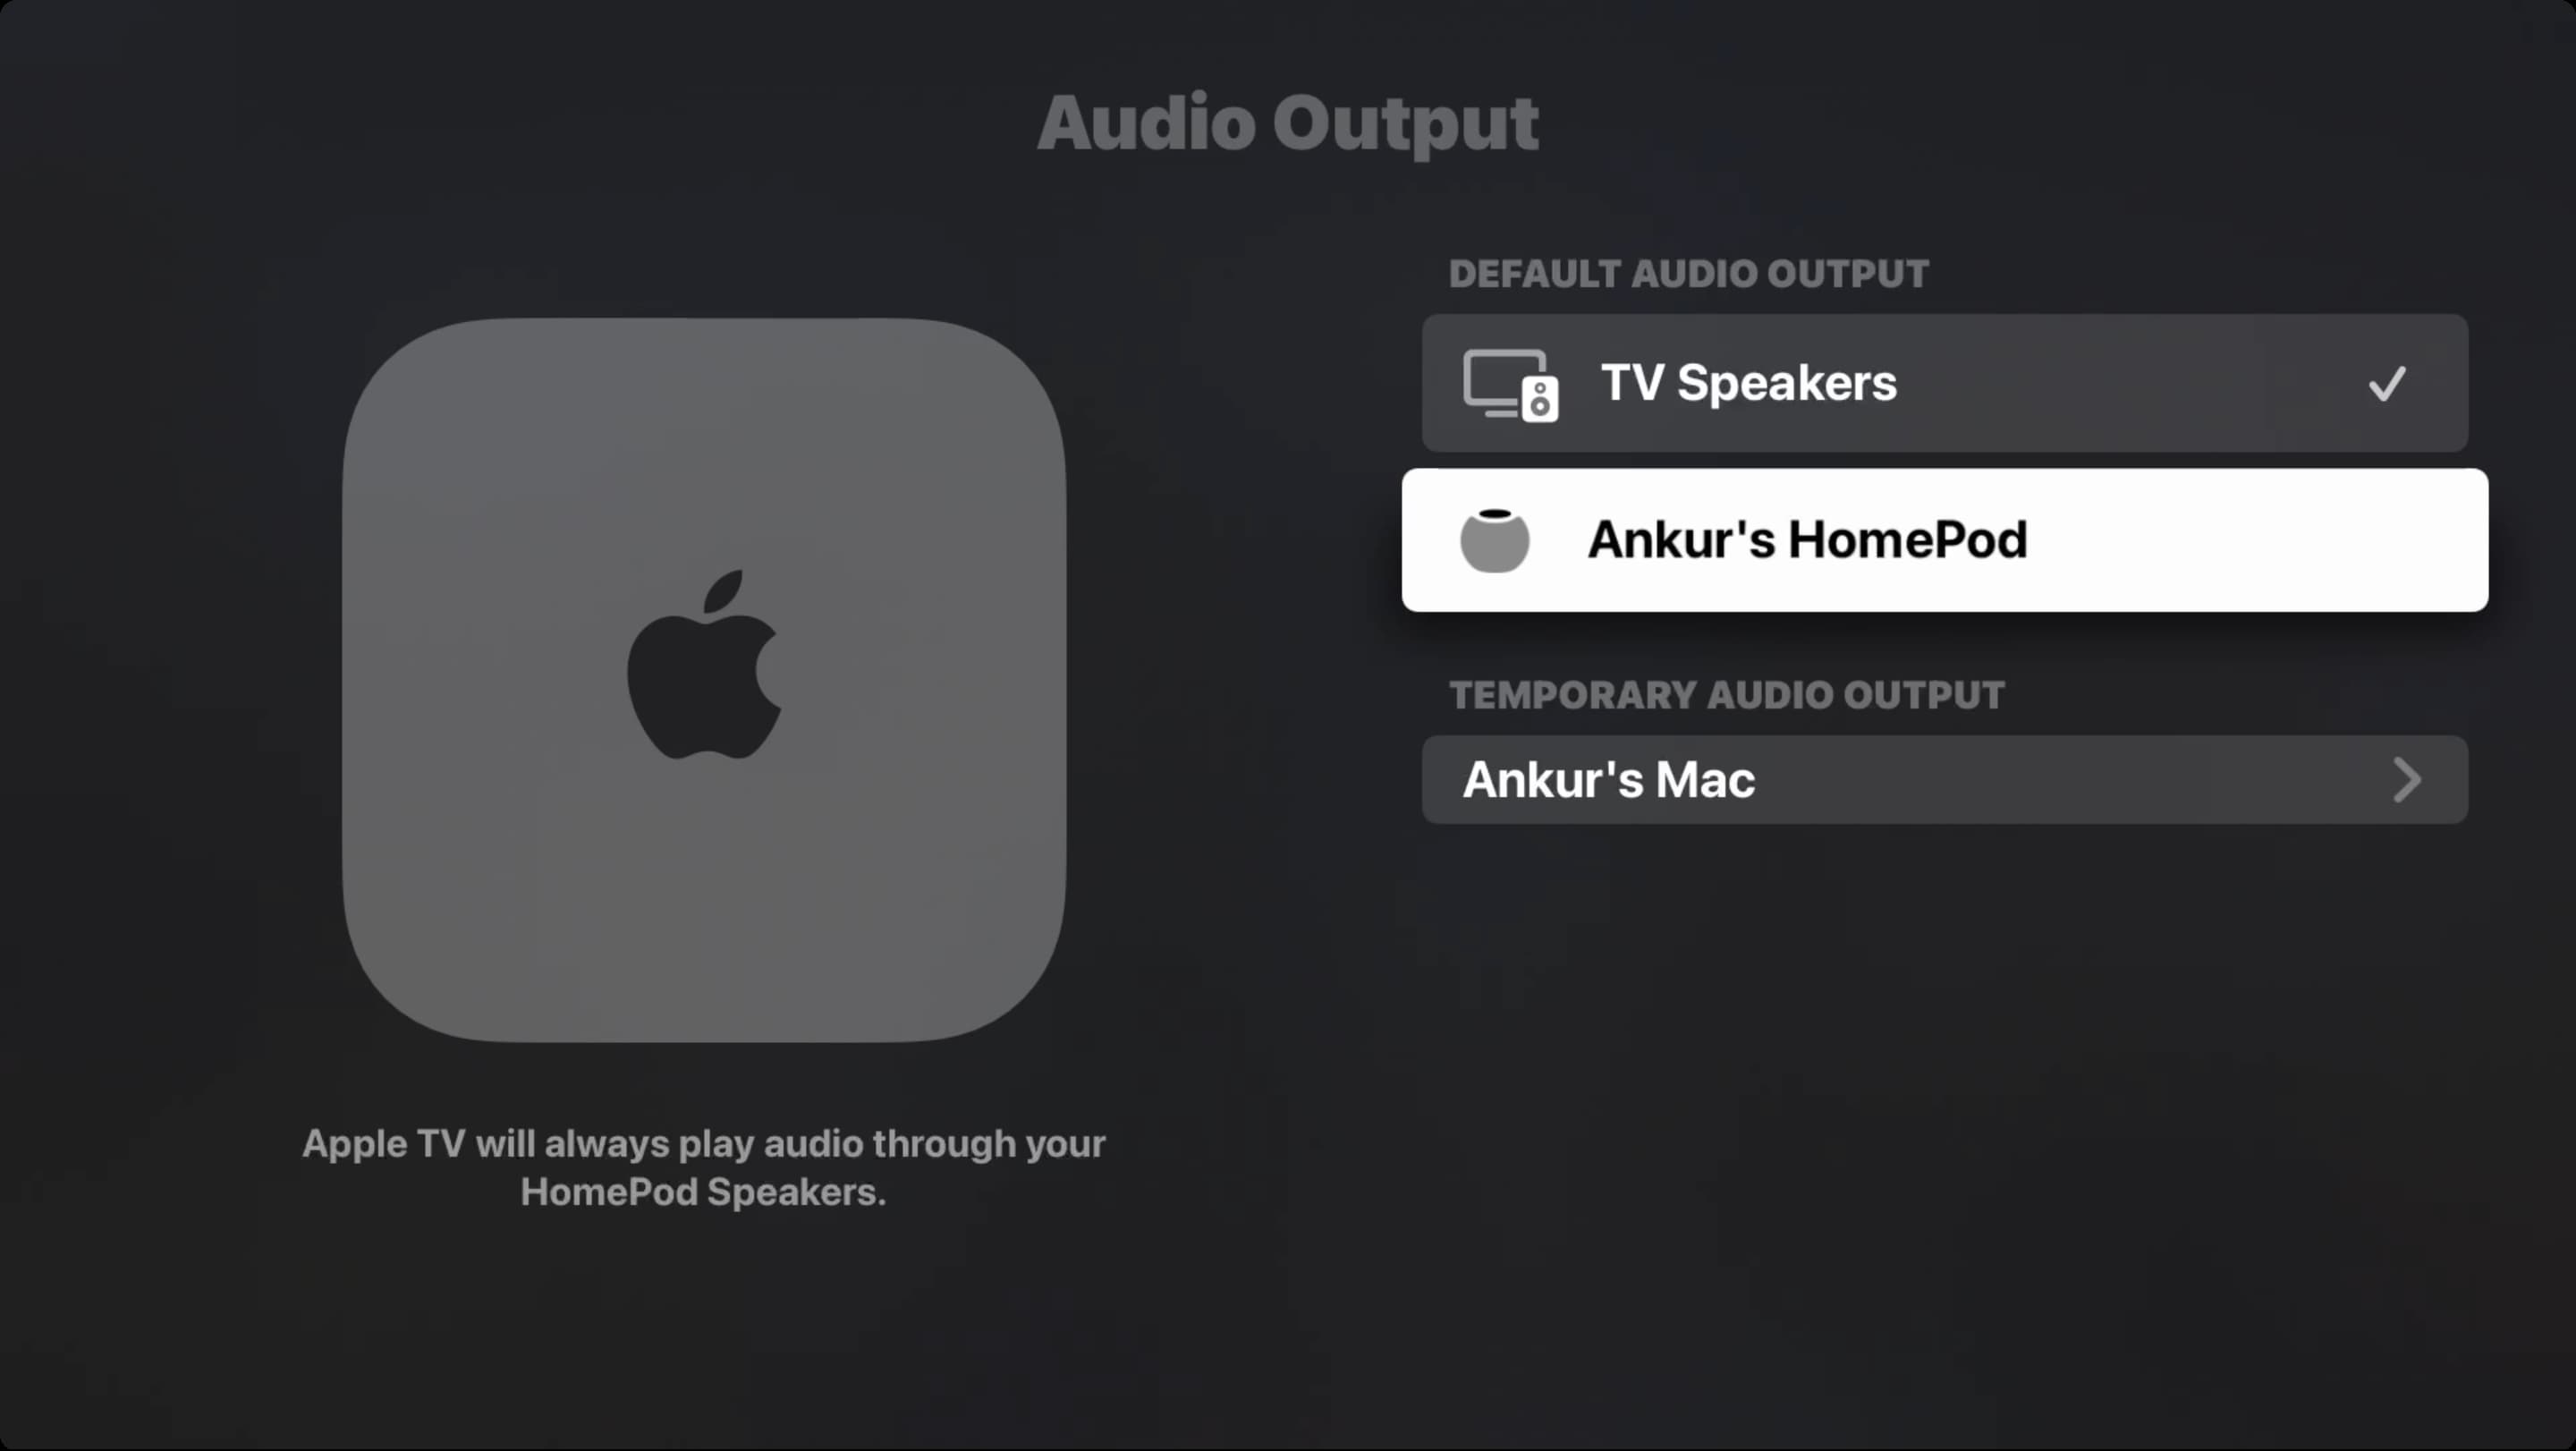
7. Set it as your Apple TV’s default speaker
It’s easy to change the audio output from Apple TV Control Center, but you can set HomePod as the default speaker for your TV and forget about it. Head over to Apple TV Settings > Video and Audio > Audio Output and select your HomePod.
8. Use HomePod as a white noise machine
Even though your iPhone, iPad, and Mac can act as a white noise machine to play relaxing sounds and help you fall asleep or focus on work, this job is best done by a HomePod, thanks to it being a dedicated speaker. Simply say, “Hey Siri, play forest/fireplace/night/ocean/rain/stream sounds or white noise.”
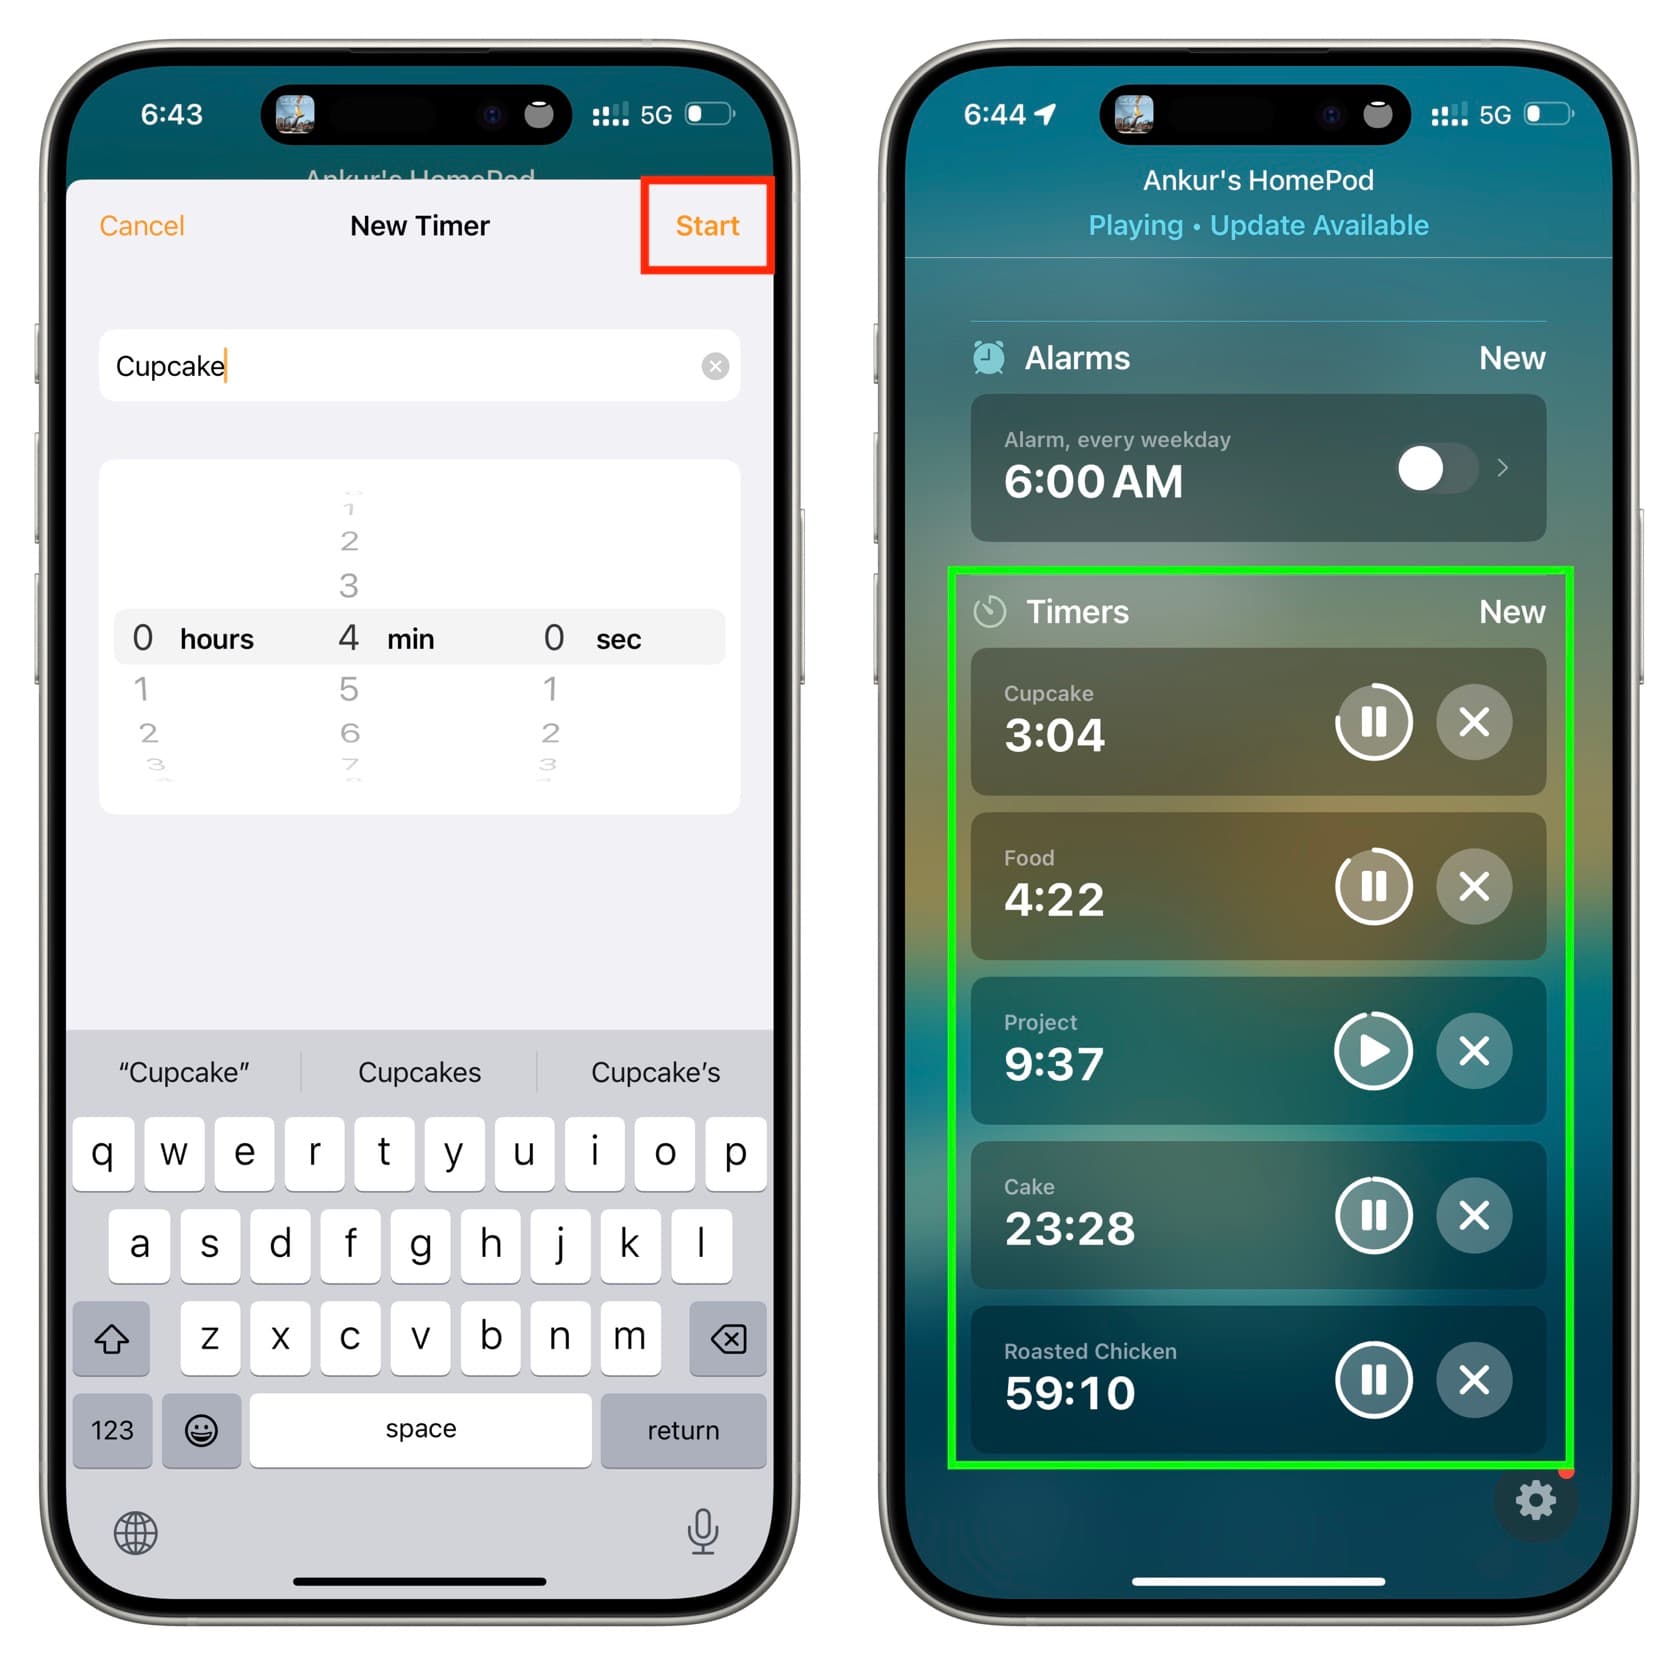
9. Set timers and alarms
If you have HomePod in your kitchen or bedroom, the ability to ask Siri to set a timer or alarm is super helpful. Just say something like “Hey Siri, set an alarm for 2 pm” or “Hey Siri, set a timer for 5 minutes for pasta.”
10. Use it as an intercom device for your house
If you have HomePods in different rooms, say your kids’ rooms, you can use the Intercom feature on HomePod to deliver an audio message. So, when dinner is ready, you can just intercom this message to all your kids at once.

11. Ask it to play podcasts faster or slower
When you’re listening to podcasts on your HomePod, you can say, “Hey Siri, play faster” or “Play slower,” and your speaker will speed up or slow down the playback speed.
12. Get alerted of smoke or carbon monoxide alarms
The Sound Recognition feature on your HomePod can alert you if it detects a smoke alarm beeping in your house.

13. Find iPhone and other Apple devices
If you can’t seem to locate your or a family member’s iPhone, iPad, or Mac around your house, you can ask the HomePod to find it. Just say, “Hey Siri, where’s my iPhone?” or “Hey Siri, find [your family member’s name] iPhone.”
14. Create HomePod automations
You can go to the Shortcuts app > Automation and create automations involving HomePod. For instance, you can have your HomePod automatically play songs at a set time.
In addition to that, if you go to the Home app > select your HomePod > go to its settings by tapping the gear icon, you will find an Automations section. Tap Add Automation to create simple automations to do things when an event occurs.

15. Do this if you keep HomePod on your work table
If you have a HomePod on your work or study table, you may get tired of getting full-screen popups on your iPhone asking you to transfer media from the phone to the HomePod. Thankfully, it’s easy to stop this by turning off Transfer to HomePod from iPhone Settings > General > AirPlay & Continuity.
16. Add other users to your HomePod
The Home app allows you to add other users such as family members to it. Once that’s done, HomePod can recognize the voice of each added individual and offer personalized answers. For instance, if you ask it about your upcoming events, it will read you your calendar events, and when your spouse asks the same question, it will answer based on the calendar events on their iPhone.
Among other things, added users can also add songs to the Up Next queue for HomePod and manage the media playback.
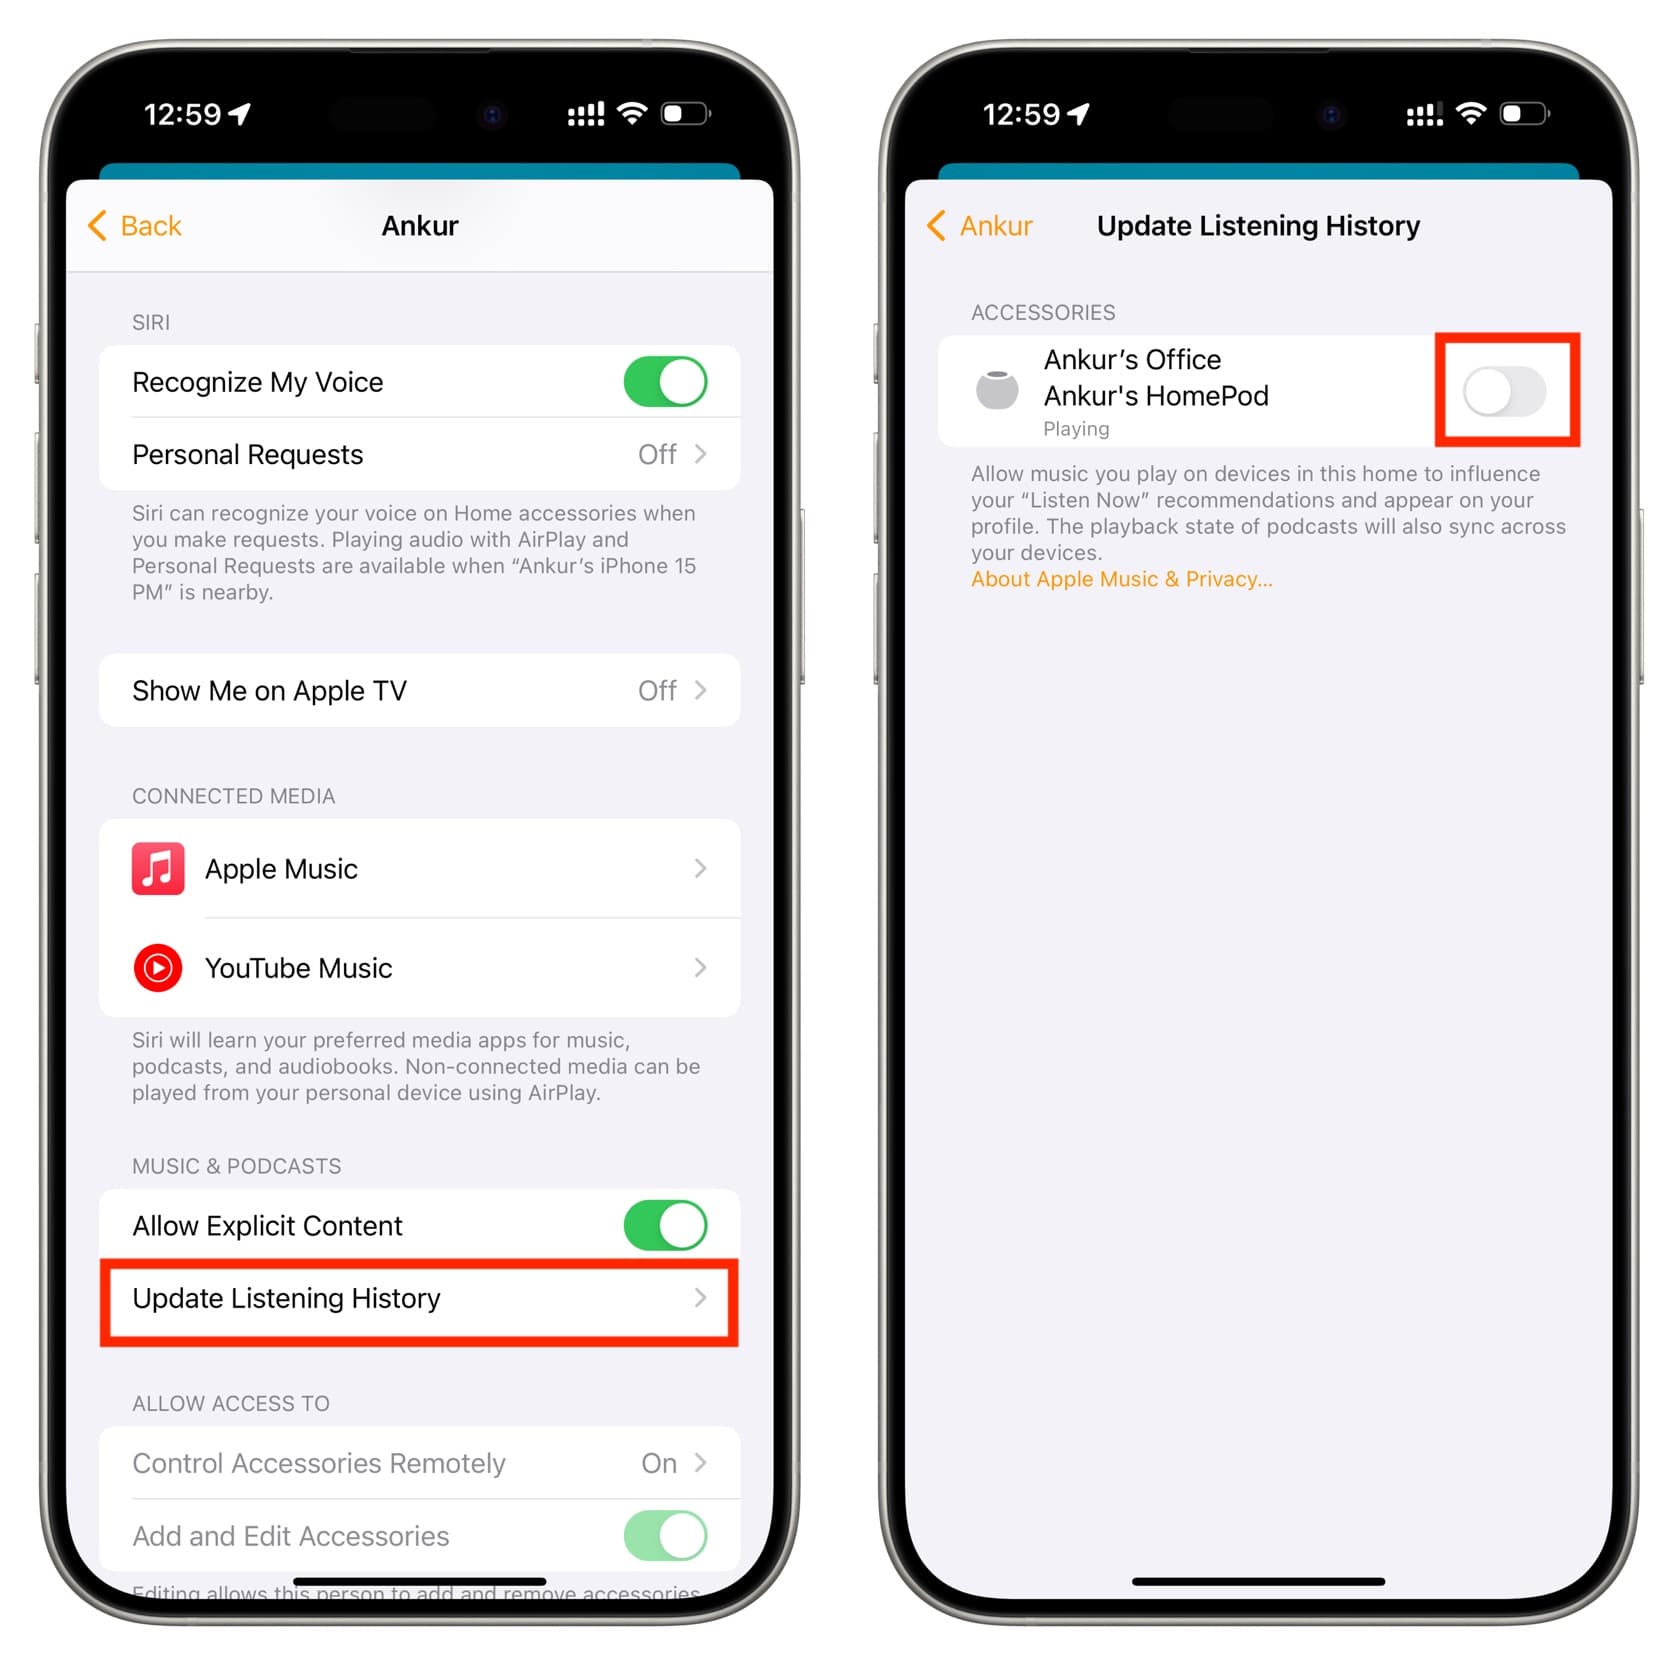
17. Stop HomePod from influencing your Apple Music recommendations
It’s very likely that other members of your house ask your HomePod to play songs that they like to hear. Eventually, this can influence your Apple Music suggestions on your iPhone, iPad, and Mac, showing or auto-playing songs you don’t necessarily like.
You can prevent this by turning off Update Listening History in your Home Settings. This is particularly handy if you don’t want your kids music requests on your HomePod influence your overall music recommendations.
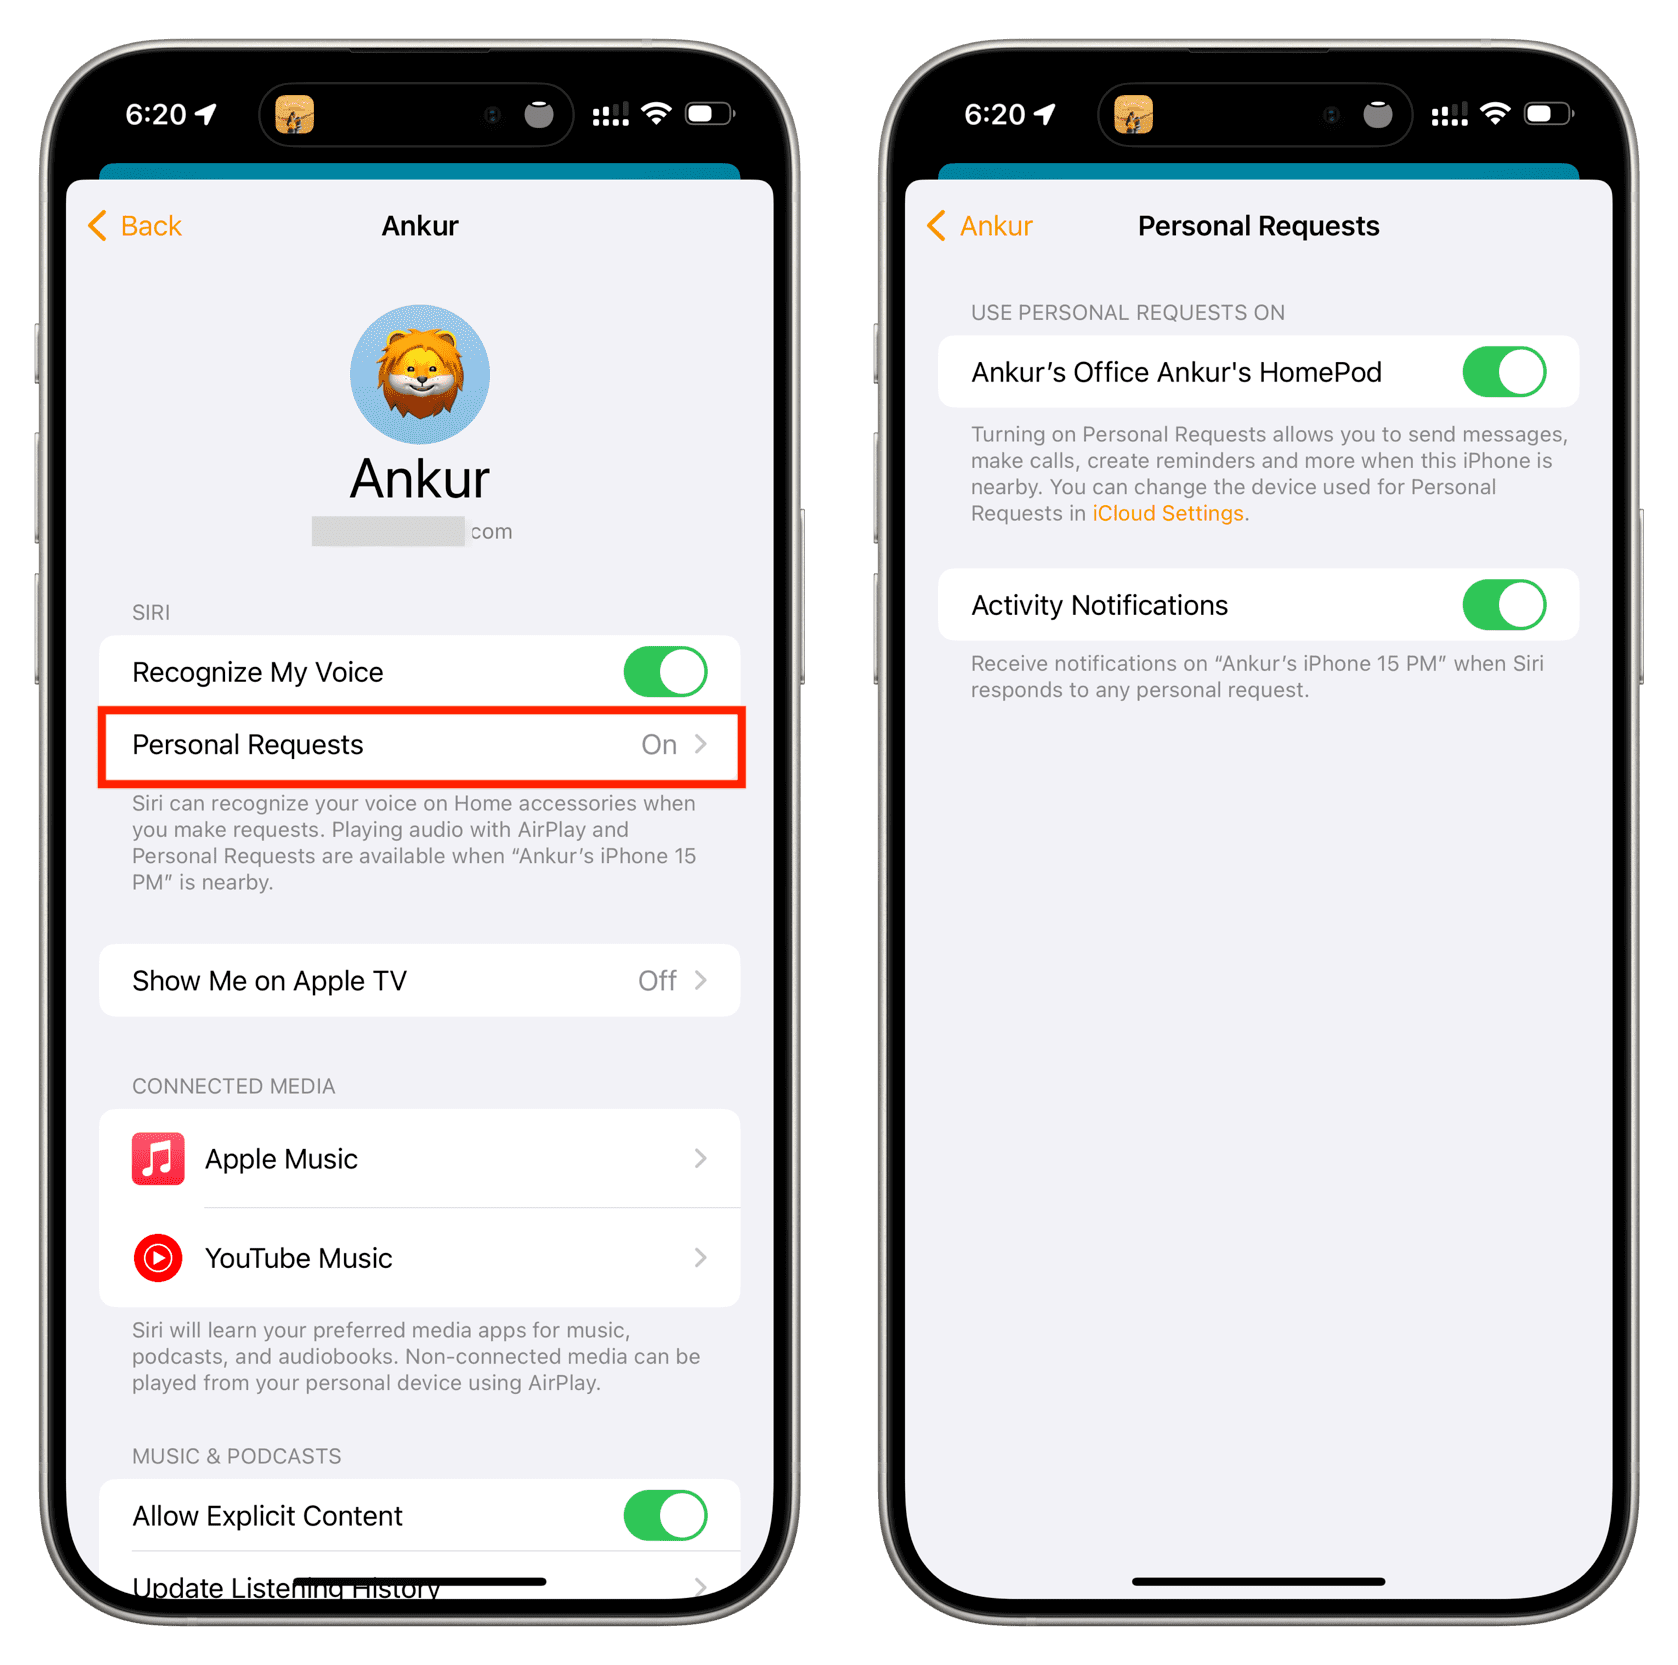
18. Turn off personal requests
HomePod is smart enough to recognize your voice and that of your added family members. So, it will process personal requests like sending messages, making calls, and more only when it recognizes your voice and when your iPhone is nearby.
Turning off personal requests on your HomePod can help protect your privacy and prevent unauthorized access to your personal information, such as messages, reminders, notes, etc. If you want to make sure no one can access this data from your HomePod, you can go to Home Settings > select yourself under the People heading, and turn off Personal Requests.
19. Customize Siri on HomePod
Siri is the primary way to communicate with your HomePod, and you can customize it in settings. The options here are simple and self-explanatory.

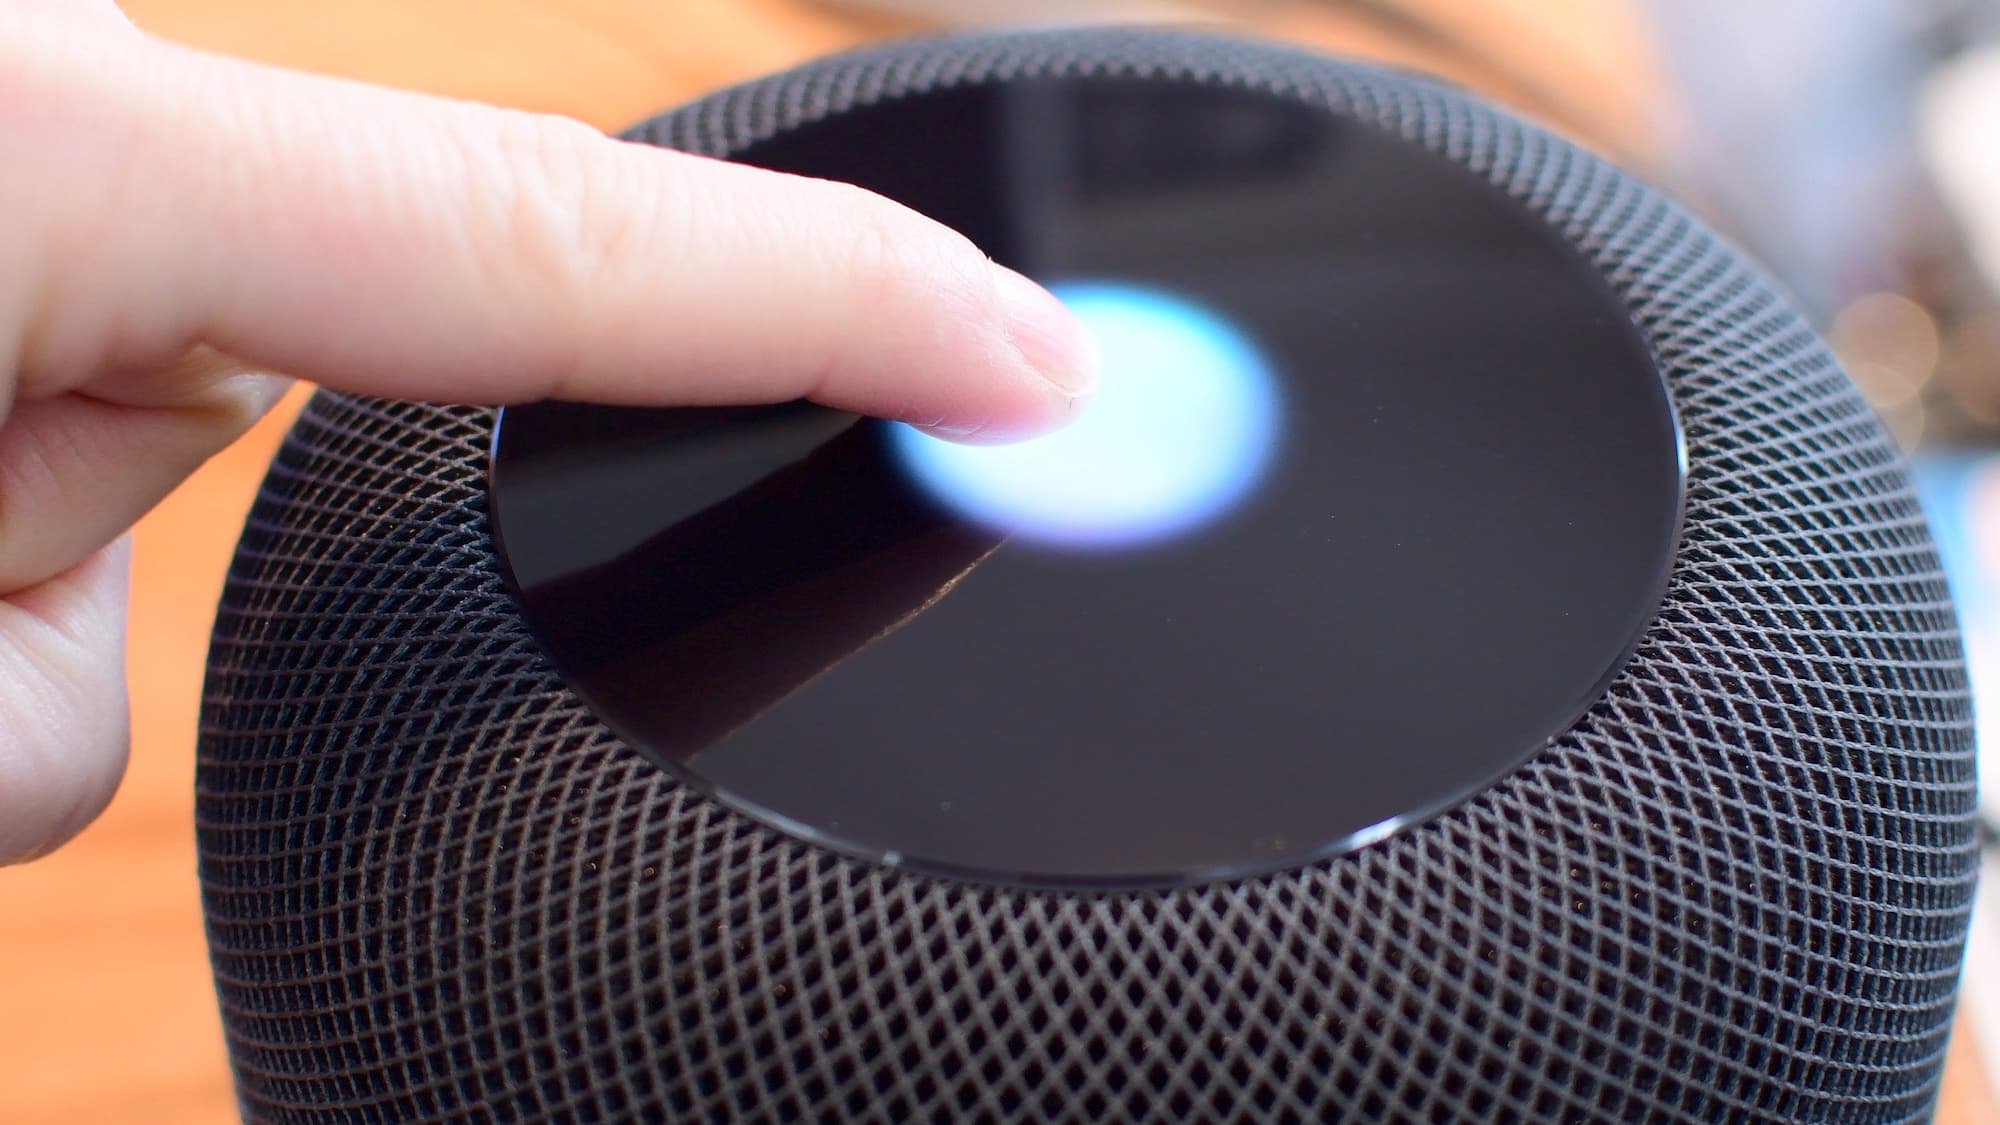
20. Control HomePod by touch
HomePod has a top touch surface, and you can use it to activate Siri, play & pause music, skip tracks, change volume, and more.
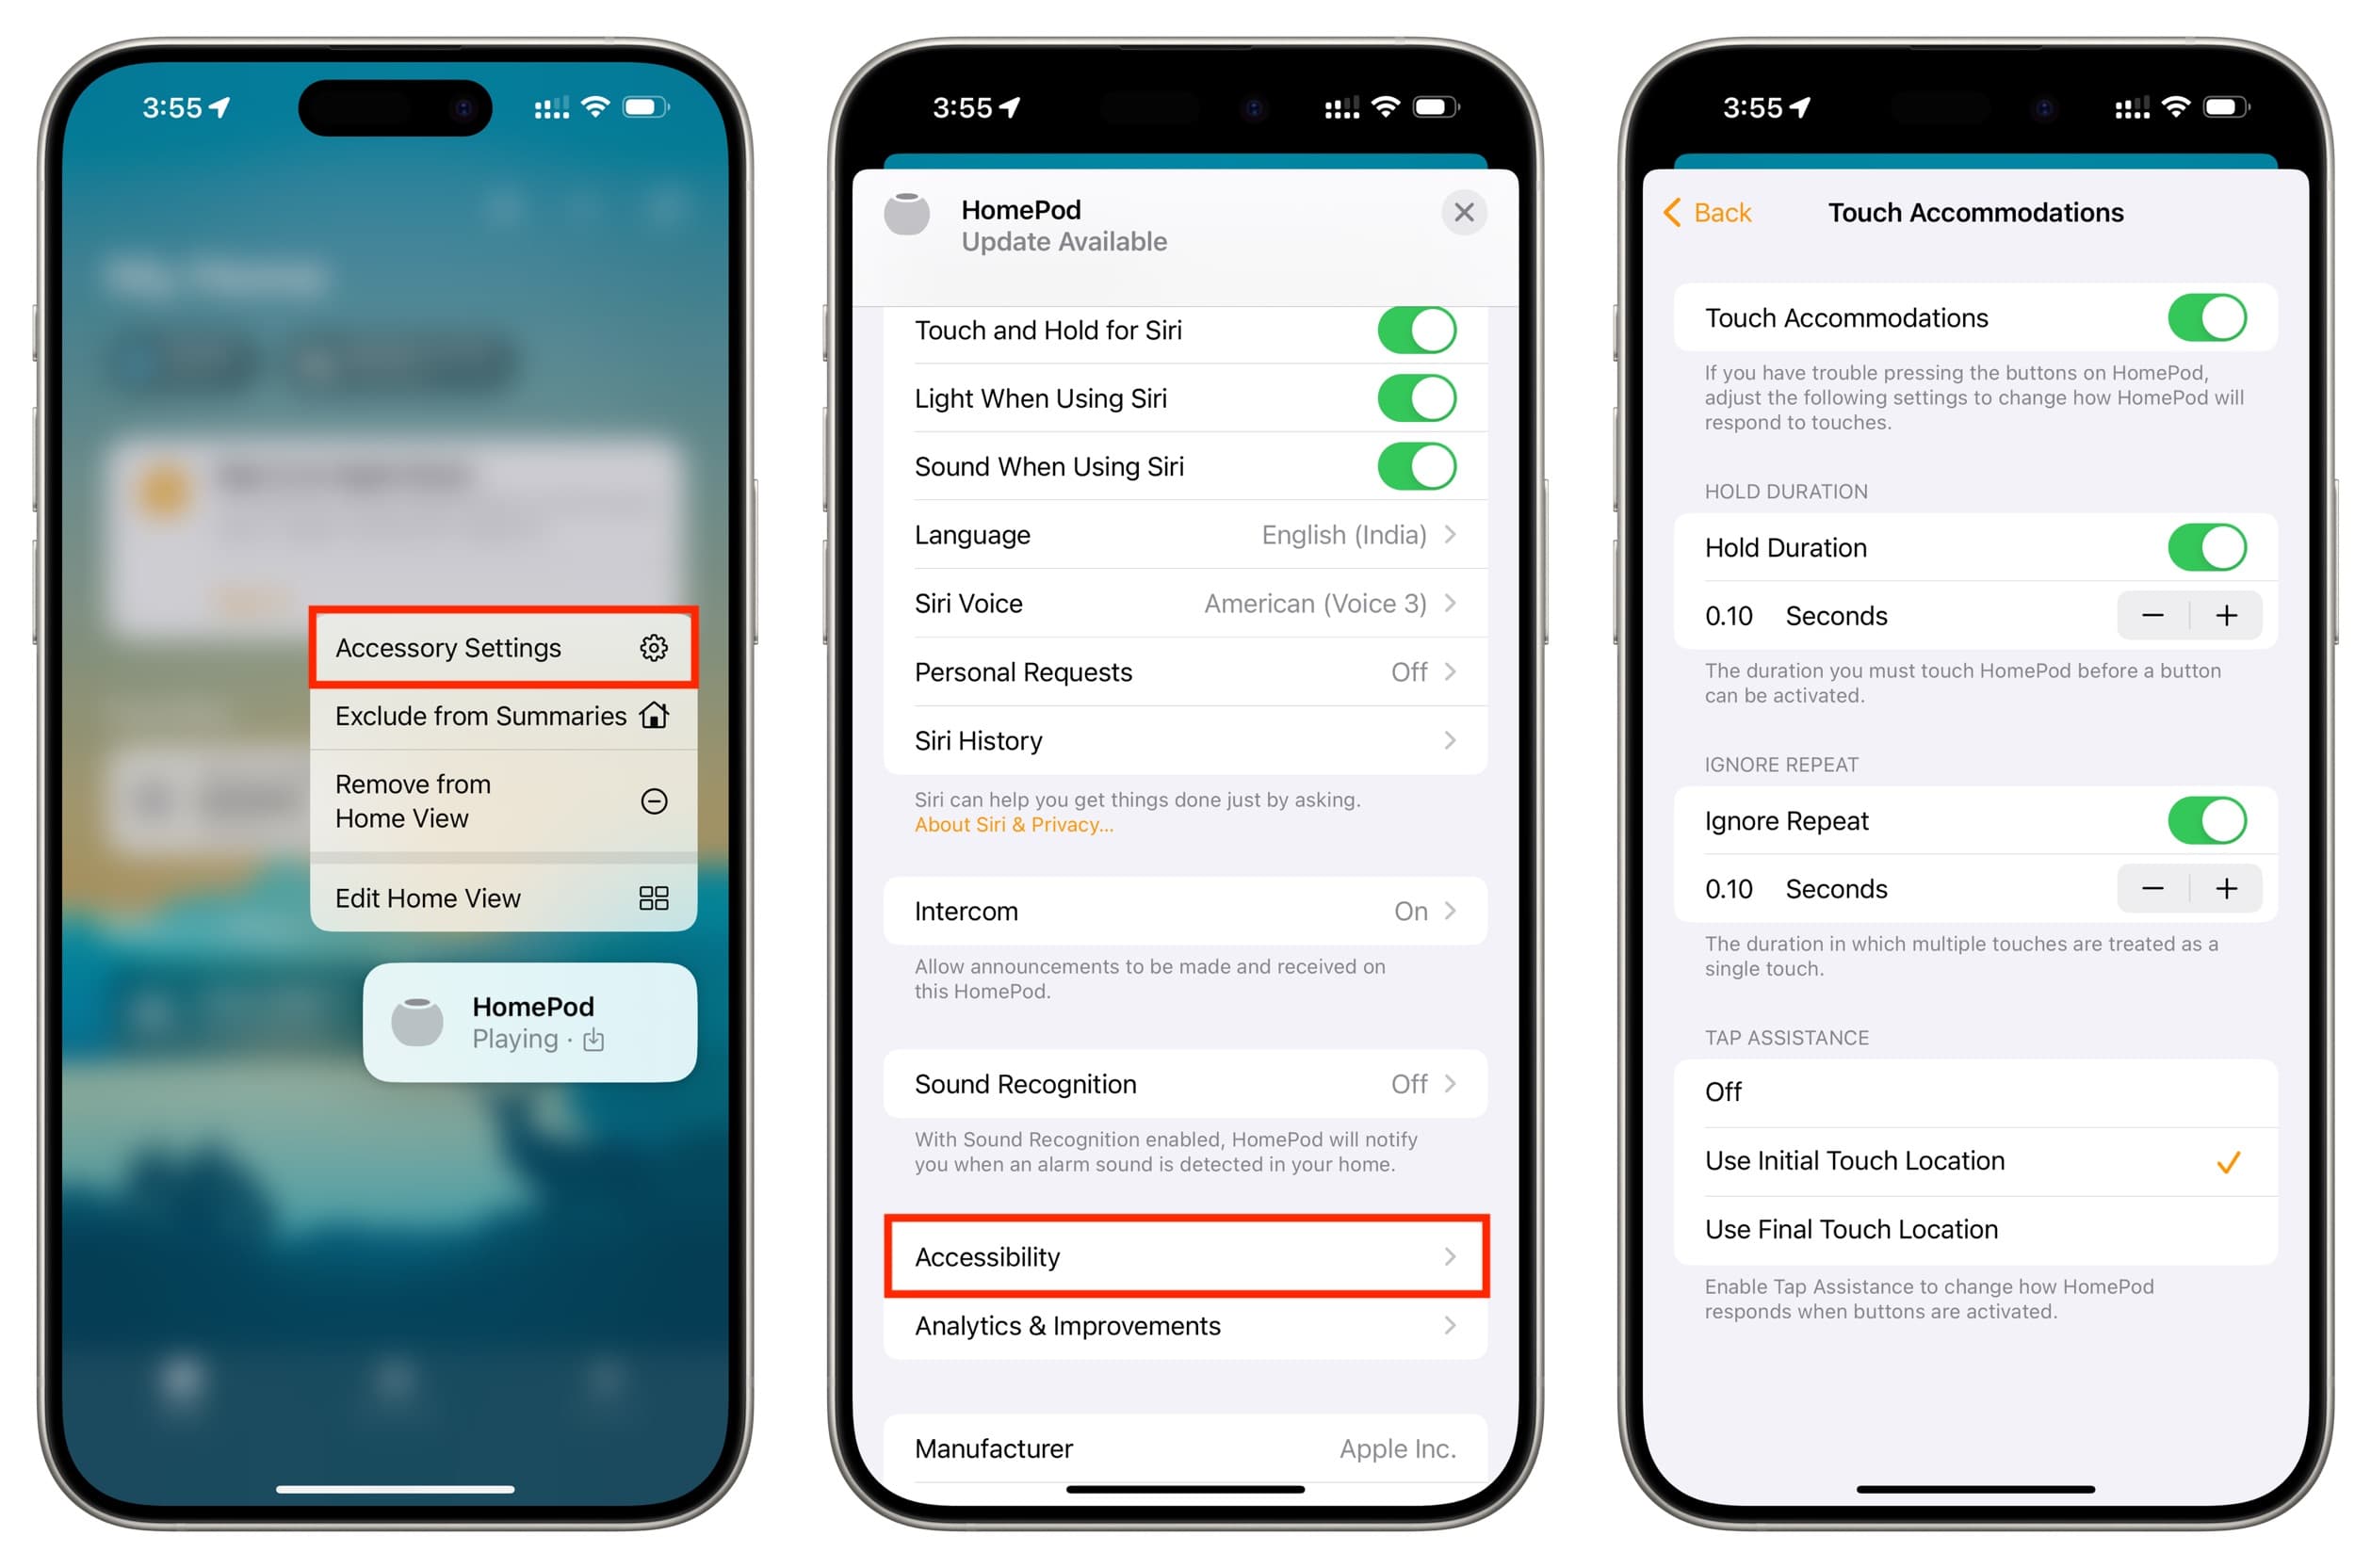
21. Explore HomePod accessibility options
Apple focuses heavily on accessibility features across all its devices, and HomePod is no exception. The most notable accessibility feature on HomePod is VoiceOver, which offers helpful audio feedback when interacting with the touch surface.
The other two accessibility features include the option to tweak the touch settings for your HomePod and adjust Siri volume automatically.
22. Prevent your HomePod from always listening
Theorically, your HomePod starts listening only when it hears (or mis-hears) the words “Hey Siri.” However, if you have privacy concerns, go to HomePod settings and turn off Listen for “Hey Siri.” This will deactivate its always-on mics. Going forward, you will only be able to use Siri and give voice commands by interacting with its touch surface.
23. Restart or reset HomePod
If you ever run into trouble when using your HomePod, you can restart it right from the Home app. And if the problem is more severe, you have the option to reset your HomePod, and set it up again like a new device.
24. Do this if you intend to sell or give it away
Lastly, if you plan to sell or give away your HomePod, you should first take care of a few essentials steps. These will ensure the next person can set up and use the HomePod with their Apple account.
Check out next: How to change the default music service on HomePod