Learn how to enable, create, and use templates in Gmail to save time on repetitive emails or set up auto-replies for incoming messages.
If you find yourself sending the same email multiple times to different recipients, Gmail’s built-in templates feature can save the day.
Depending on your line of work, you might get asked the same questions repeatedly via email. Without templates, you could end up creating multiple copies of the same email in drafts or storing your email text in notes to copy and paste when needed. While this works, it’s not very efficient.
With Gmail’s templates feature, you can create a frequently used email and save it for later use. When needed, you can insert the template with just a few clicks, and it will automatically populate the email body with the saved text—a real time-saver!
Additionally, you can create filters with your own parameters, and when you receive an email that fits those parameters, Gmail will automatically reply to that email with your saved template. This works great for things like customer service requests, ensuring speedy replies and a high level of consistency.
In the steps below, we’ll guide you through the process of setting up and using templates in Gmail, allowing you to quickly insert frequently used text and even automate replies for those emails you have to send over and over again.
Note: Gmail templates are only available on a computer for Google Workspace users and free Gmail accounts. You can’t enable, create, or use them in Gmail apps on iPhone, iPad, and Android devices. They also don’t work in mobile browsers.
Create Gmail email templates
First, you need to enable templates from Gmail settings, and then you can create them from a new message window.
1) Visit Gmail in your computer browser and sign in using your Google account if you haven’t already.
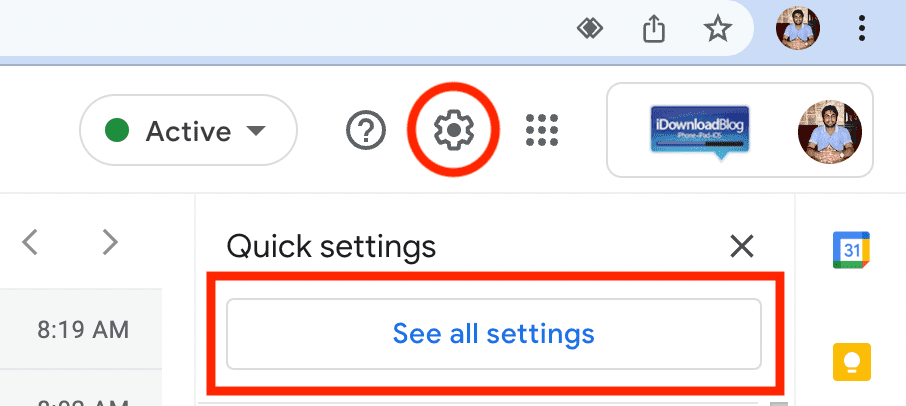
2) Click the gear icon in the top right corner of your screen and choose See all settings.
3) Select the Advanced tab at the top of Gmail settings.
4) Check the “Enable” radio button for the Templates menu and hit Save Changes.

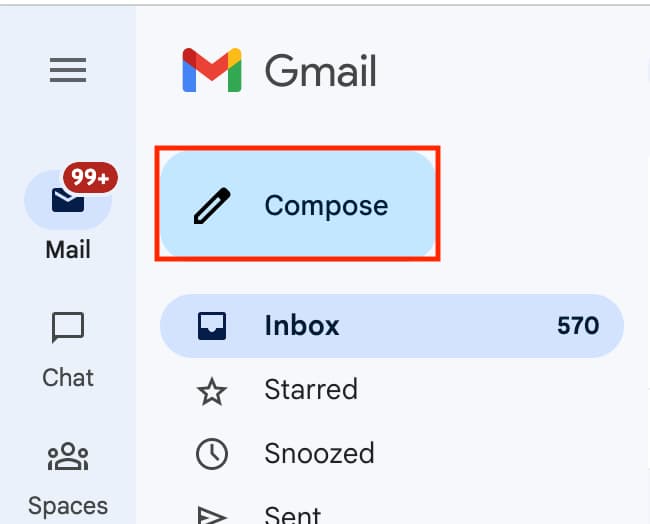
5) Return to the Gmail inbox screen and click Compose to create a new email template.
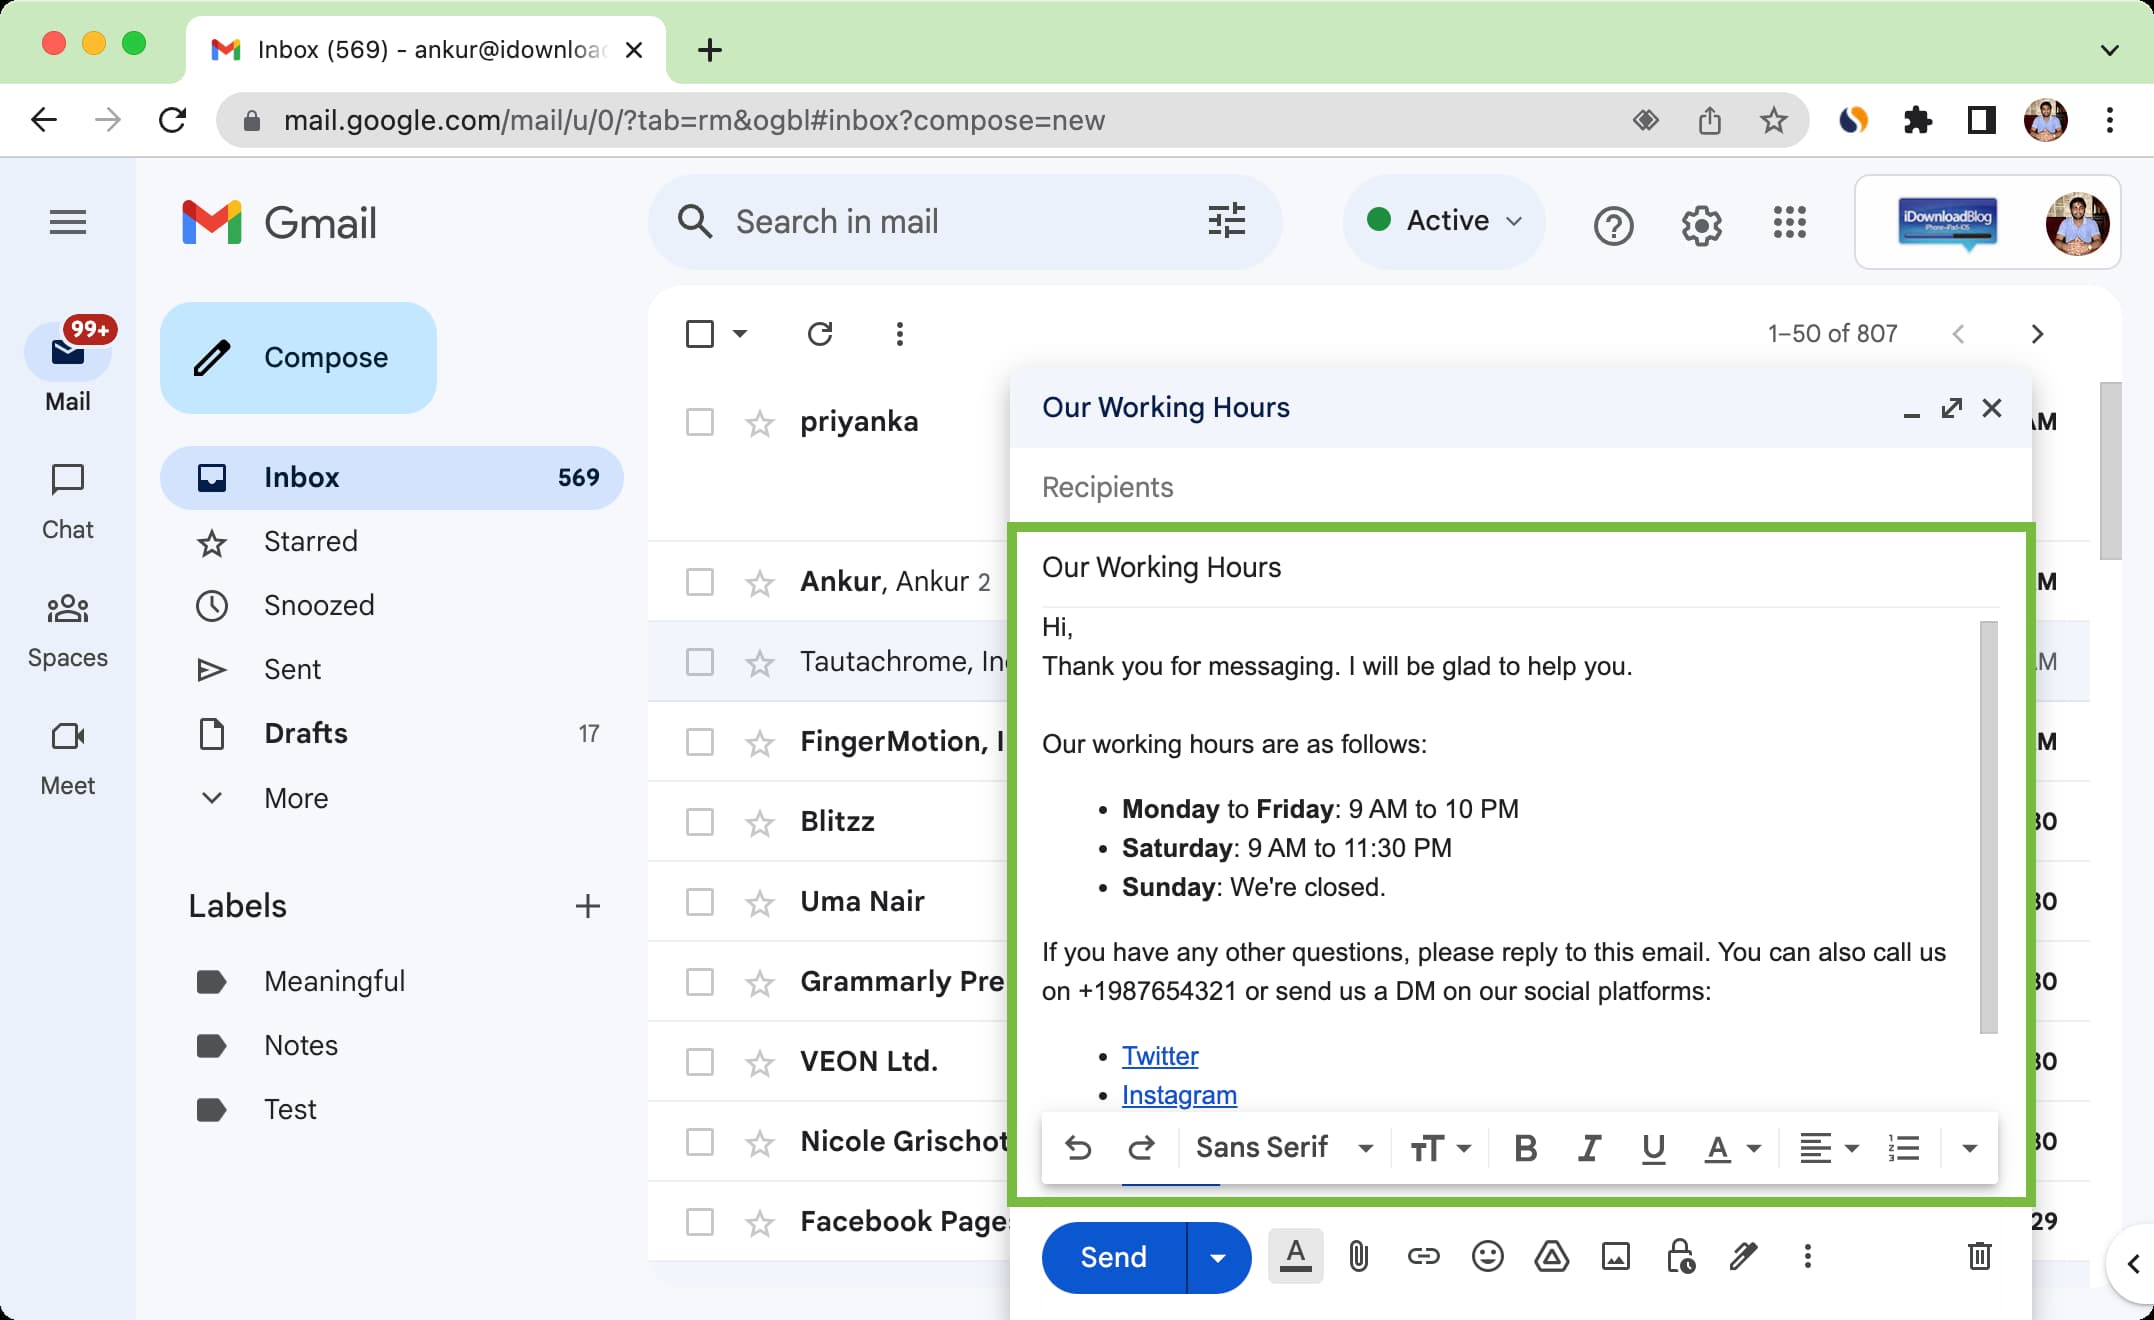
6) Type your email in the compose window and format it the way you want it. You can also add an email signature consisting of your name, address, etc., at the end of the main message.
7) Once you’re done drafting the email, click the three vertical dots icon and choose Templates > Save draft as template > Save as new template.

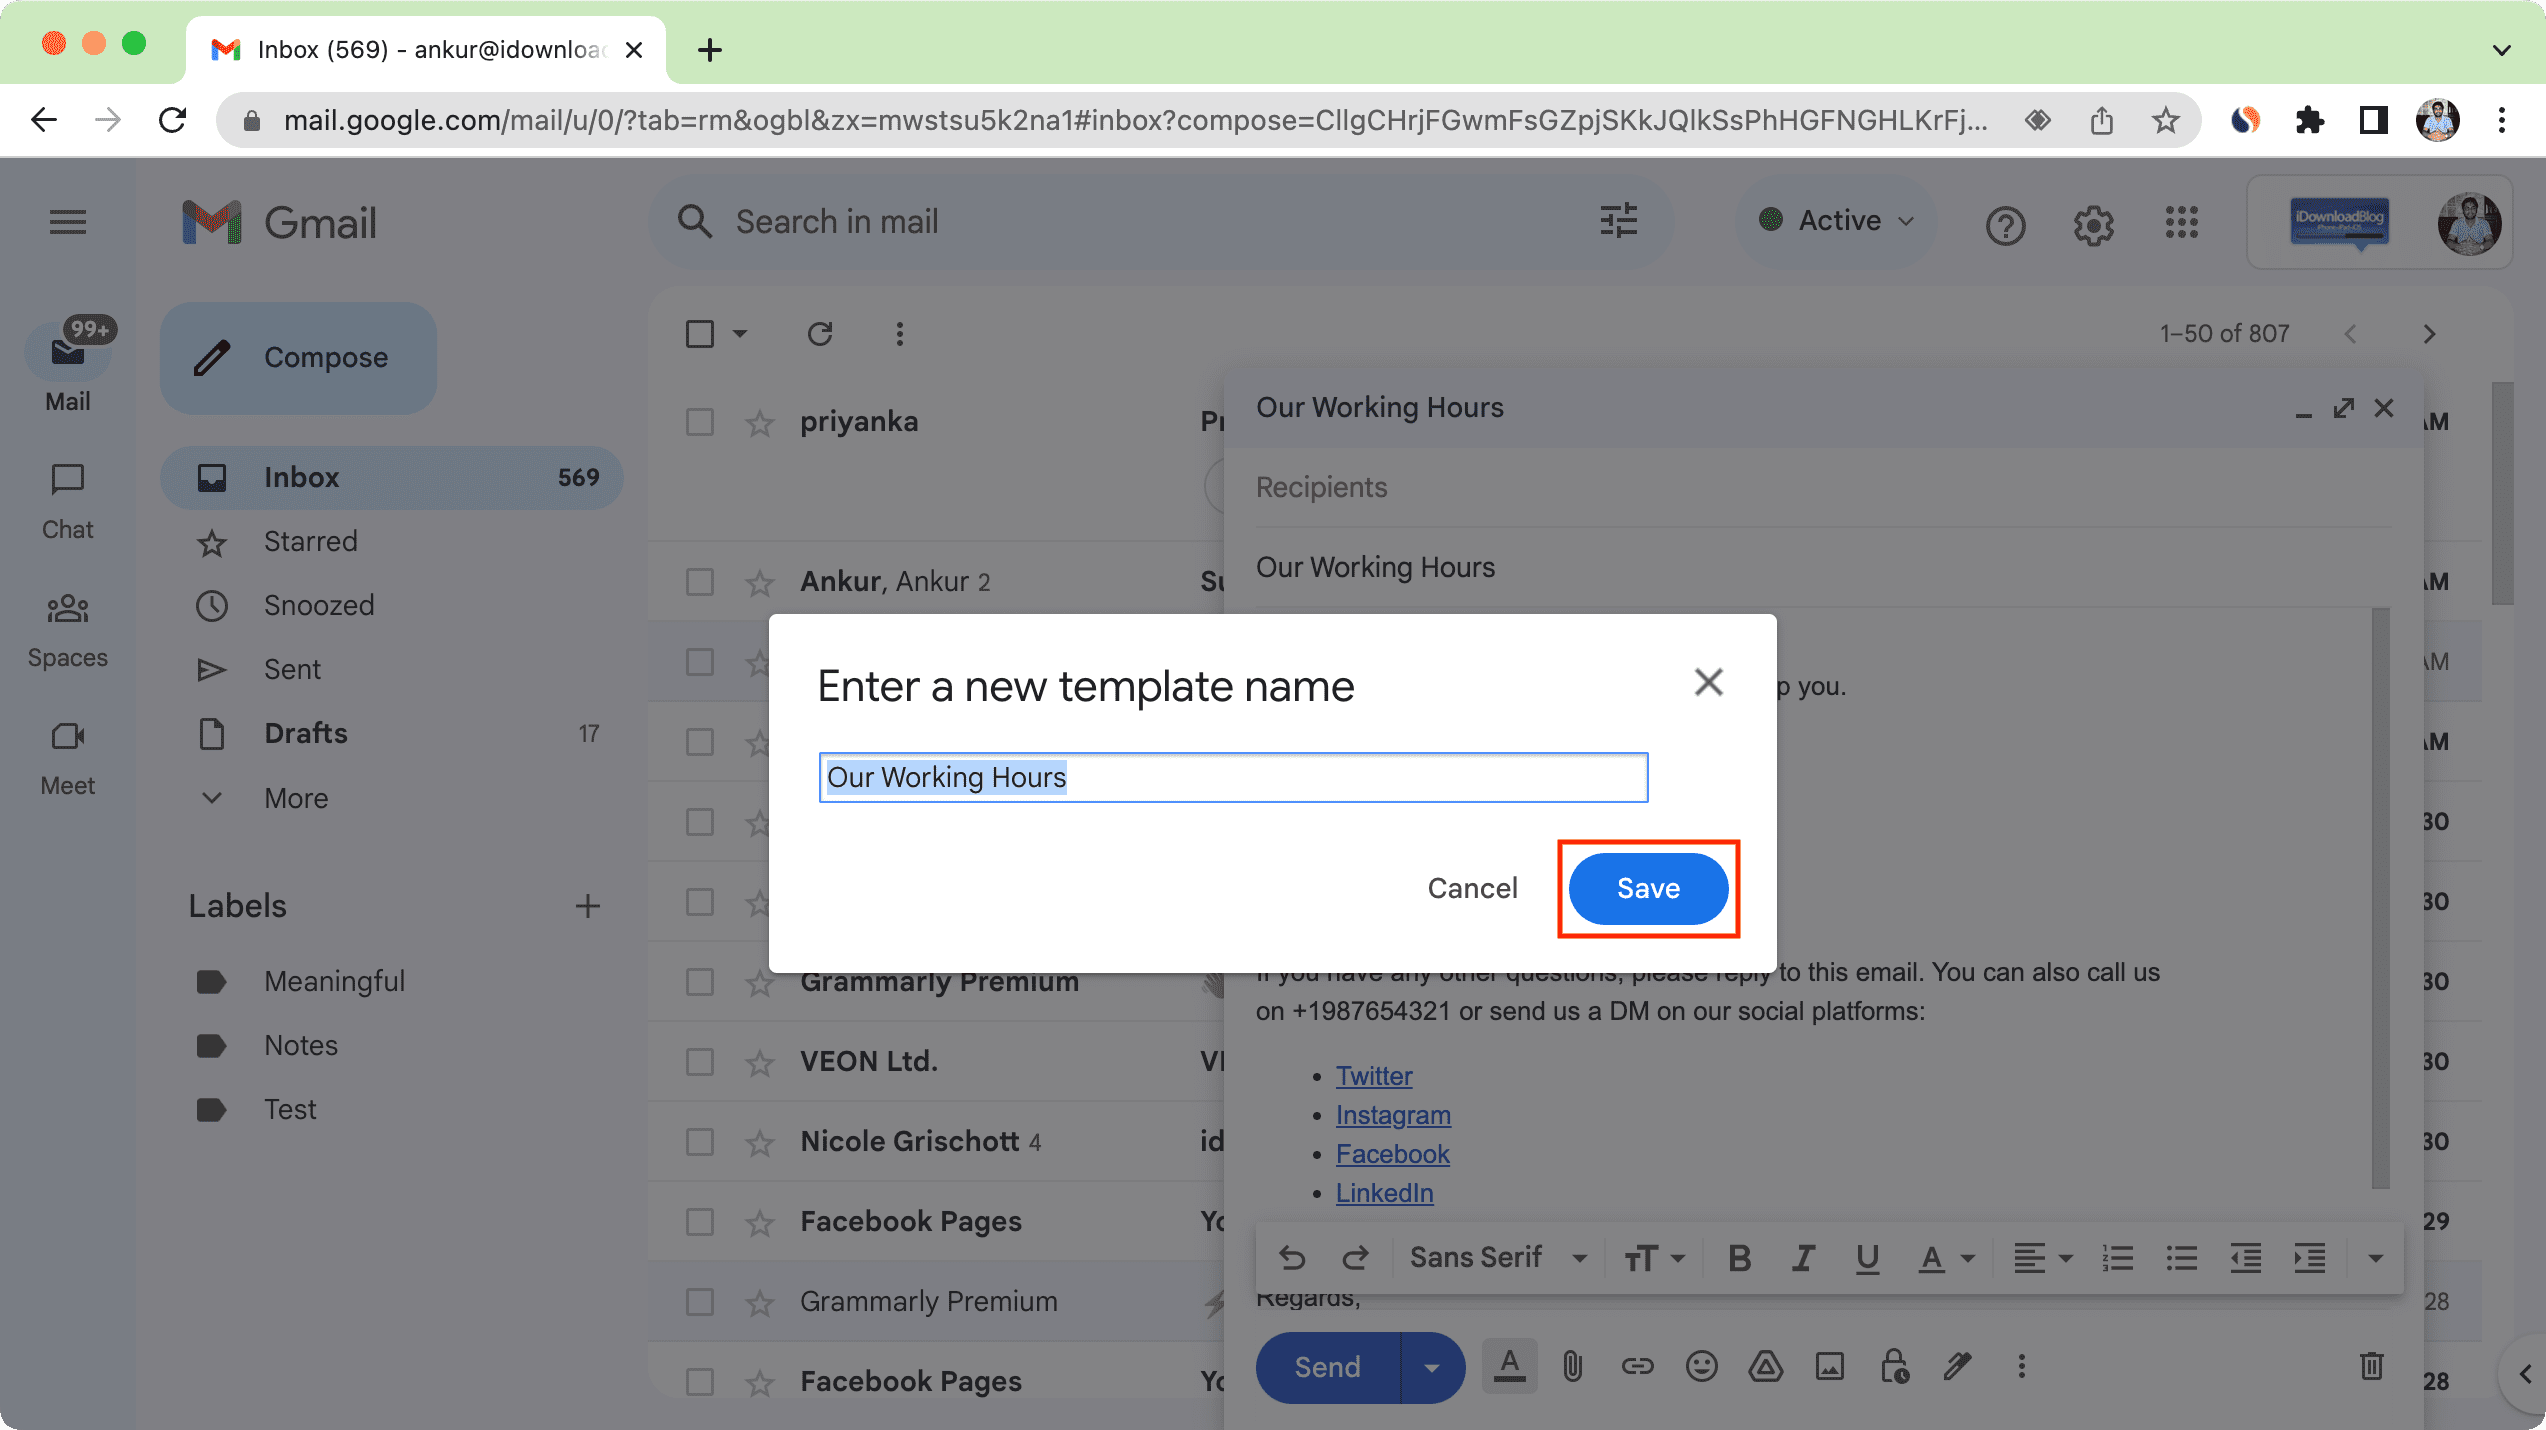
8) Fill in the name of the new template and hit the Save button. You can now close the draft and leave it saved or delete it.
Use or insert a saved email template in Gmail
1) Visit Gmail in a web browser and compose a new email or reply to one.
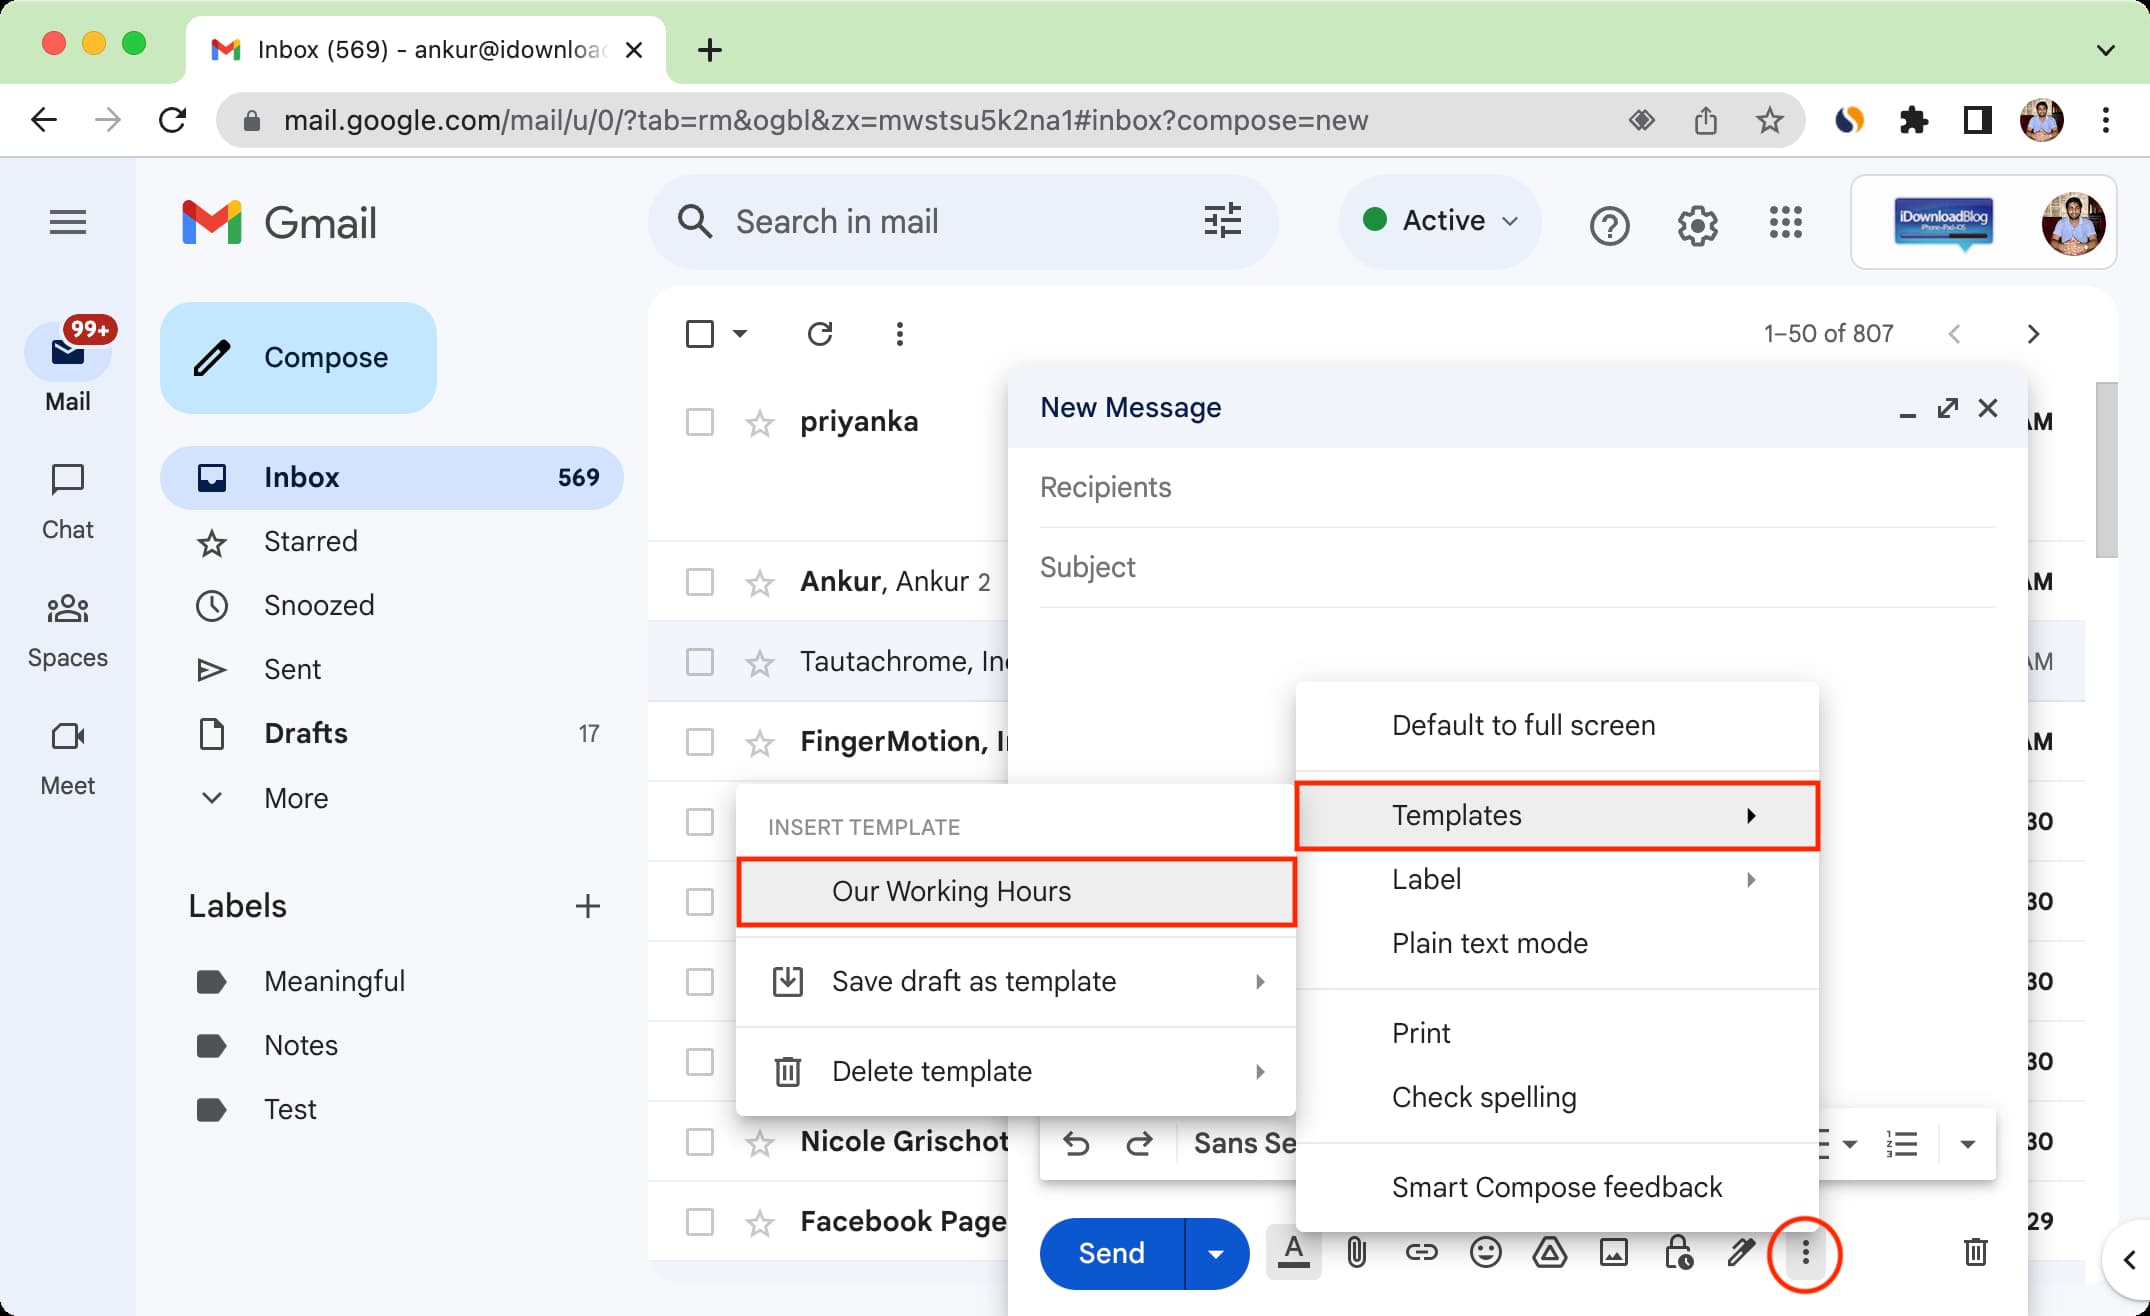
2) Click the three vertical dots icon, choose Templates, and pick your saved existing template under the Insert Template heading.
3) The template text will appear in your email’s body. If you’re creating a new email, the subject field will also be filled in from what’s saved in the template. You can now fill in the recipient’s name and send the message as-is or edit it to make minor changes before hitting the send button.
Create filters and auto-reply with your saved template
Imagine a situation where you’re a business owner, and people frequently email you asking for information like working hours, prices, or your address. You can create multiple email templates answering these questions and then set up filters to auto-reply.
After this, when a person sends you an email with, say, words like ‘working hours,’ Gmail will automatically reply with the chosen email template that gives your working hours.
Follow these steps to use Gmail templates and filters to automatically reply to incoming emails:
1) Create one or more templates using the method explained under the previous heading.
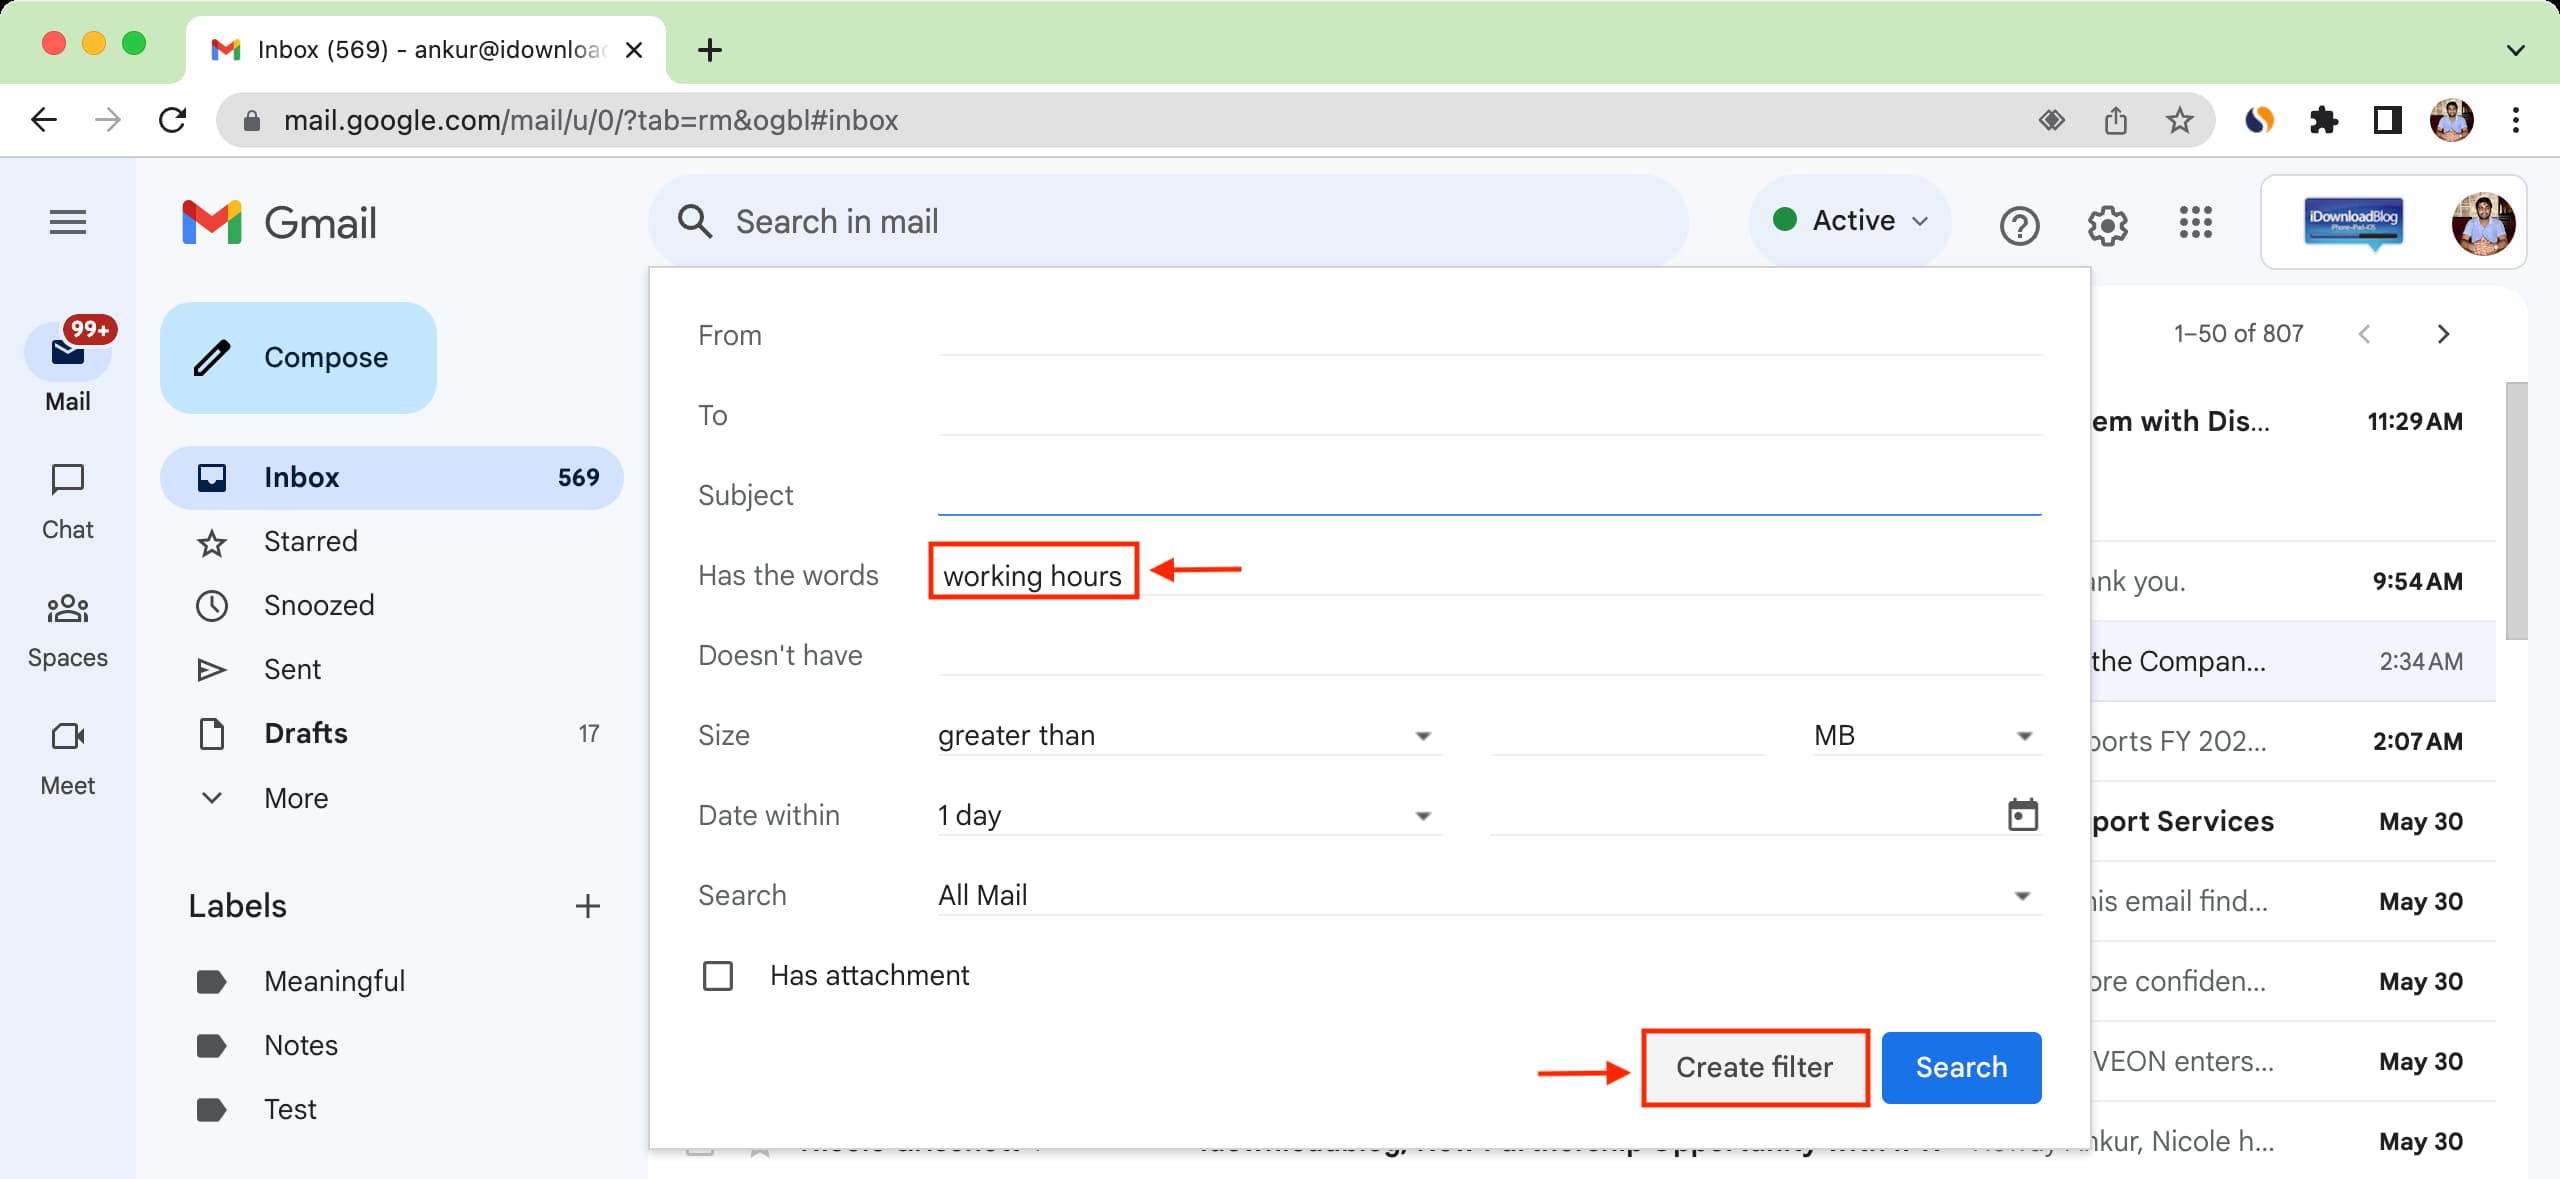
2) Go to Gmail’s Inbox screen and click the search options button on the right side of the top search bar.

3) Enter your desired parameter or filter and click Create filter. For example, I want to auto-reply if the email I receive has the words ‘working hours.’ So, I put ‘working hours‘ in the ‘Has the words‘ section. You can set what works for you. Note that you don’t have to fill in all the fields—just the ones you need.
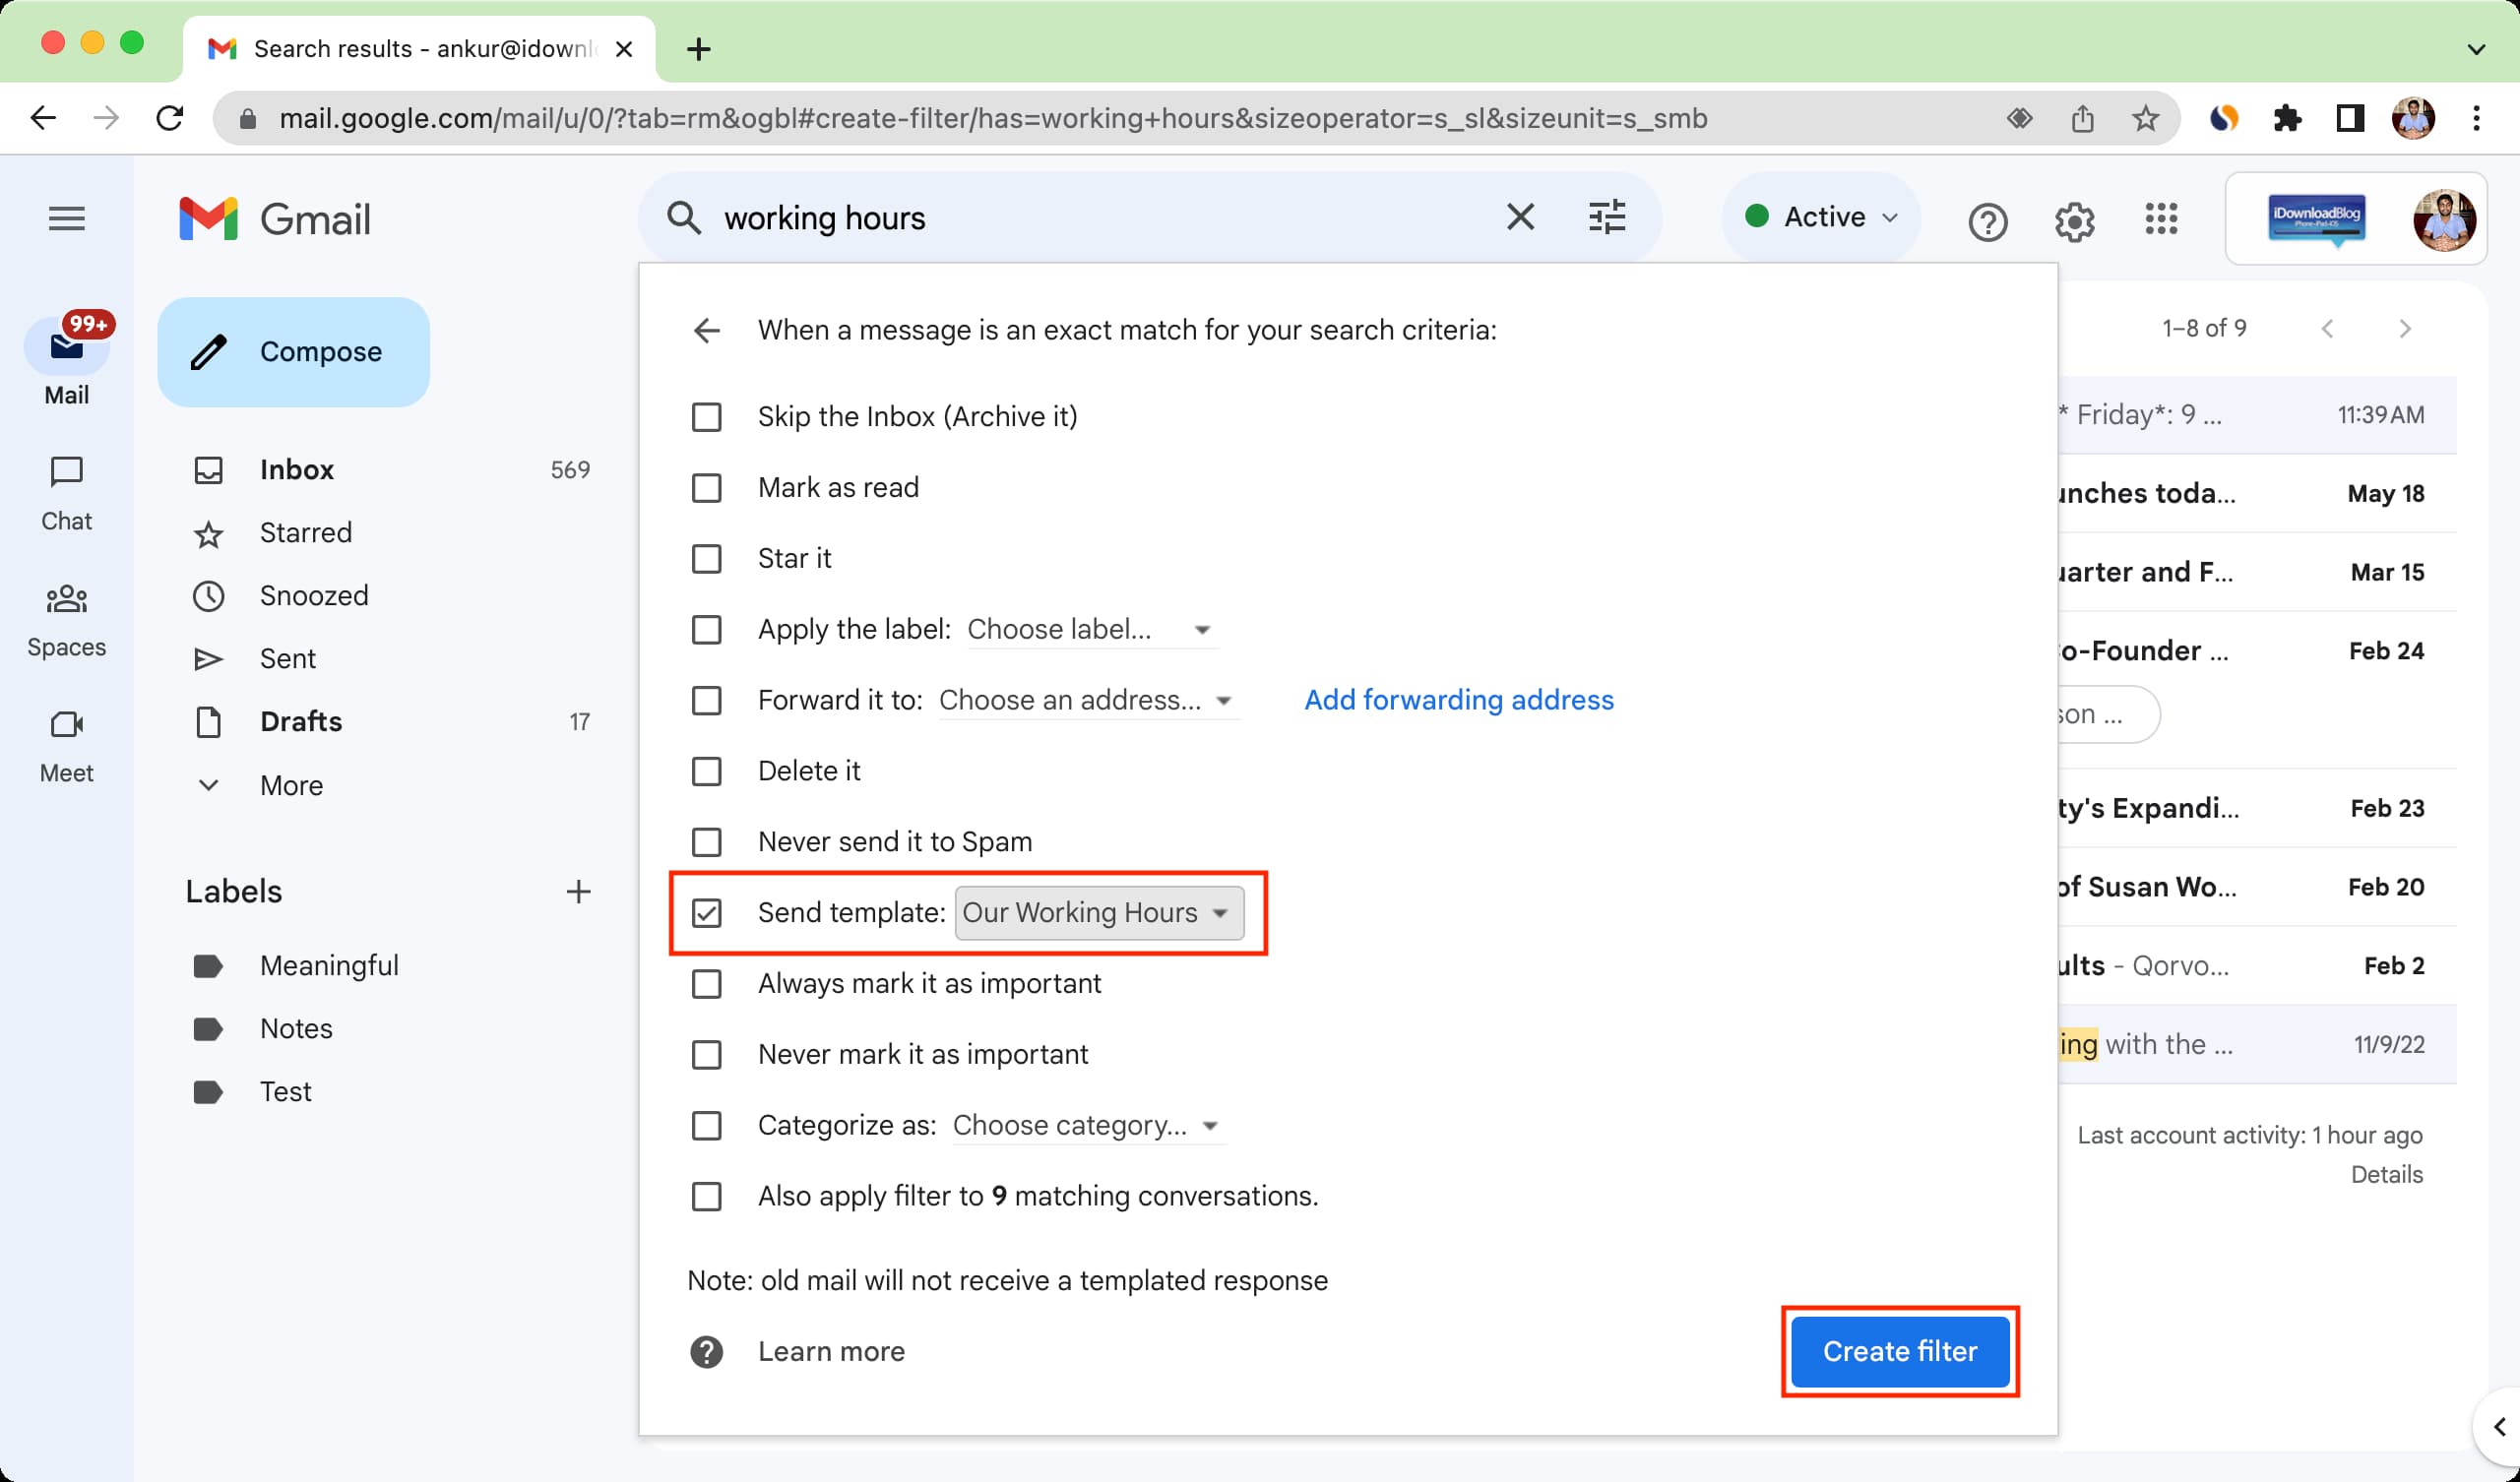
4) Check the box for Send template and choose a template you created previously.
5) Finally, click Create filter.
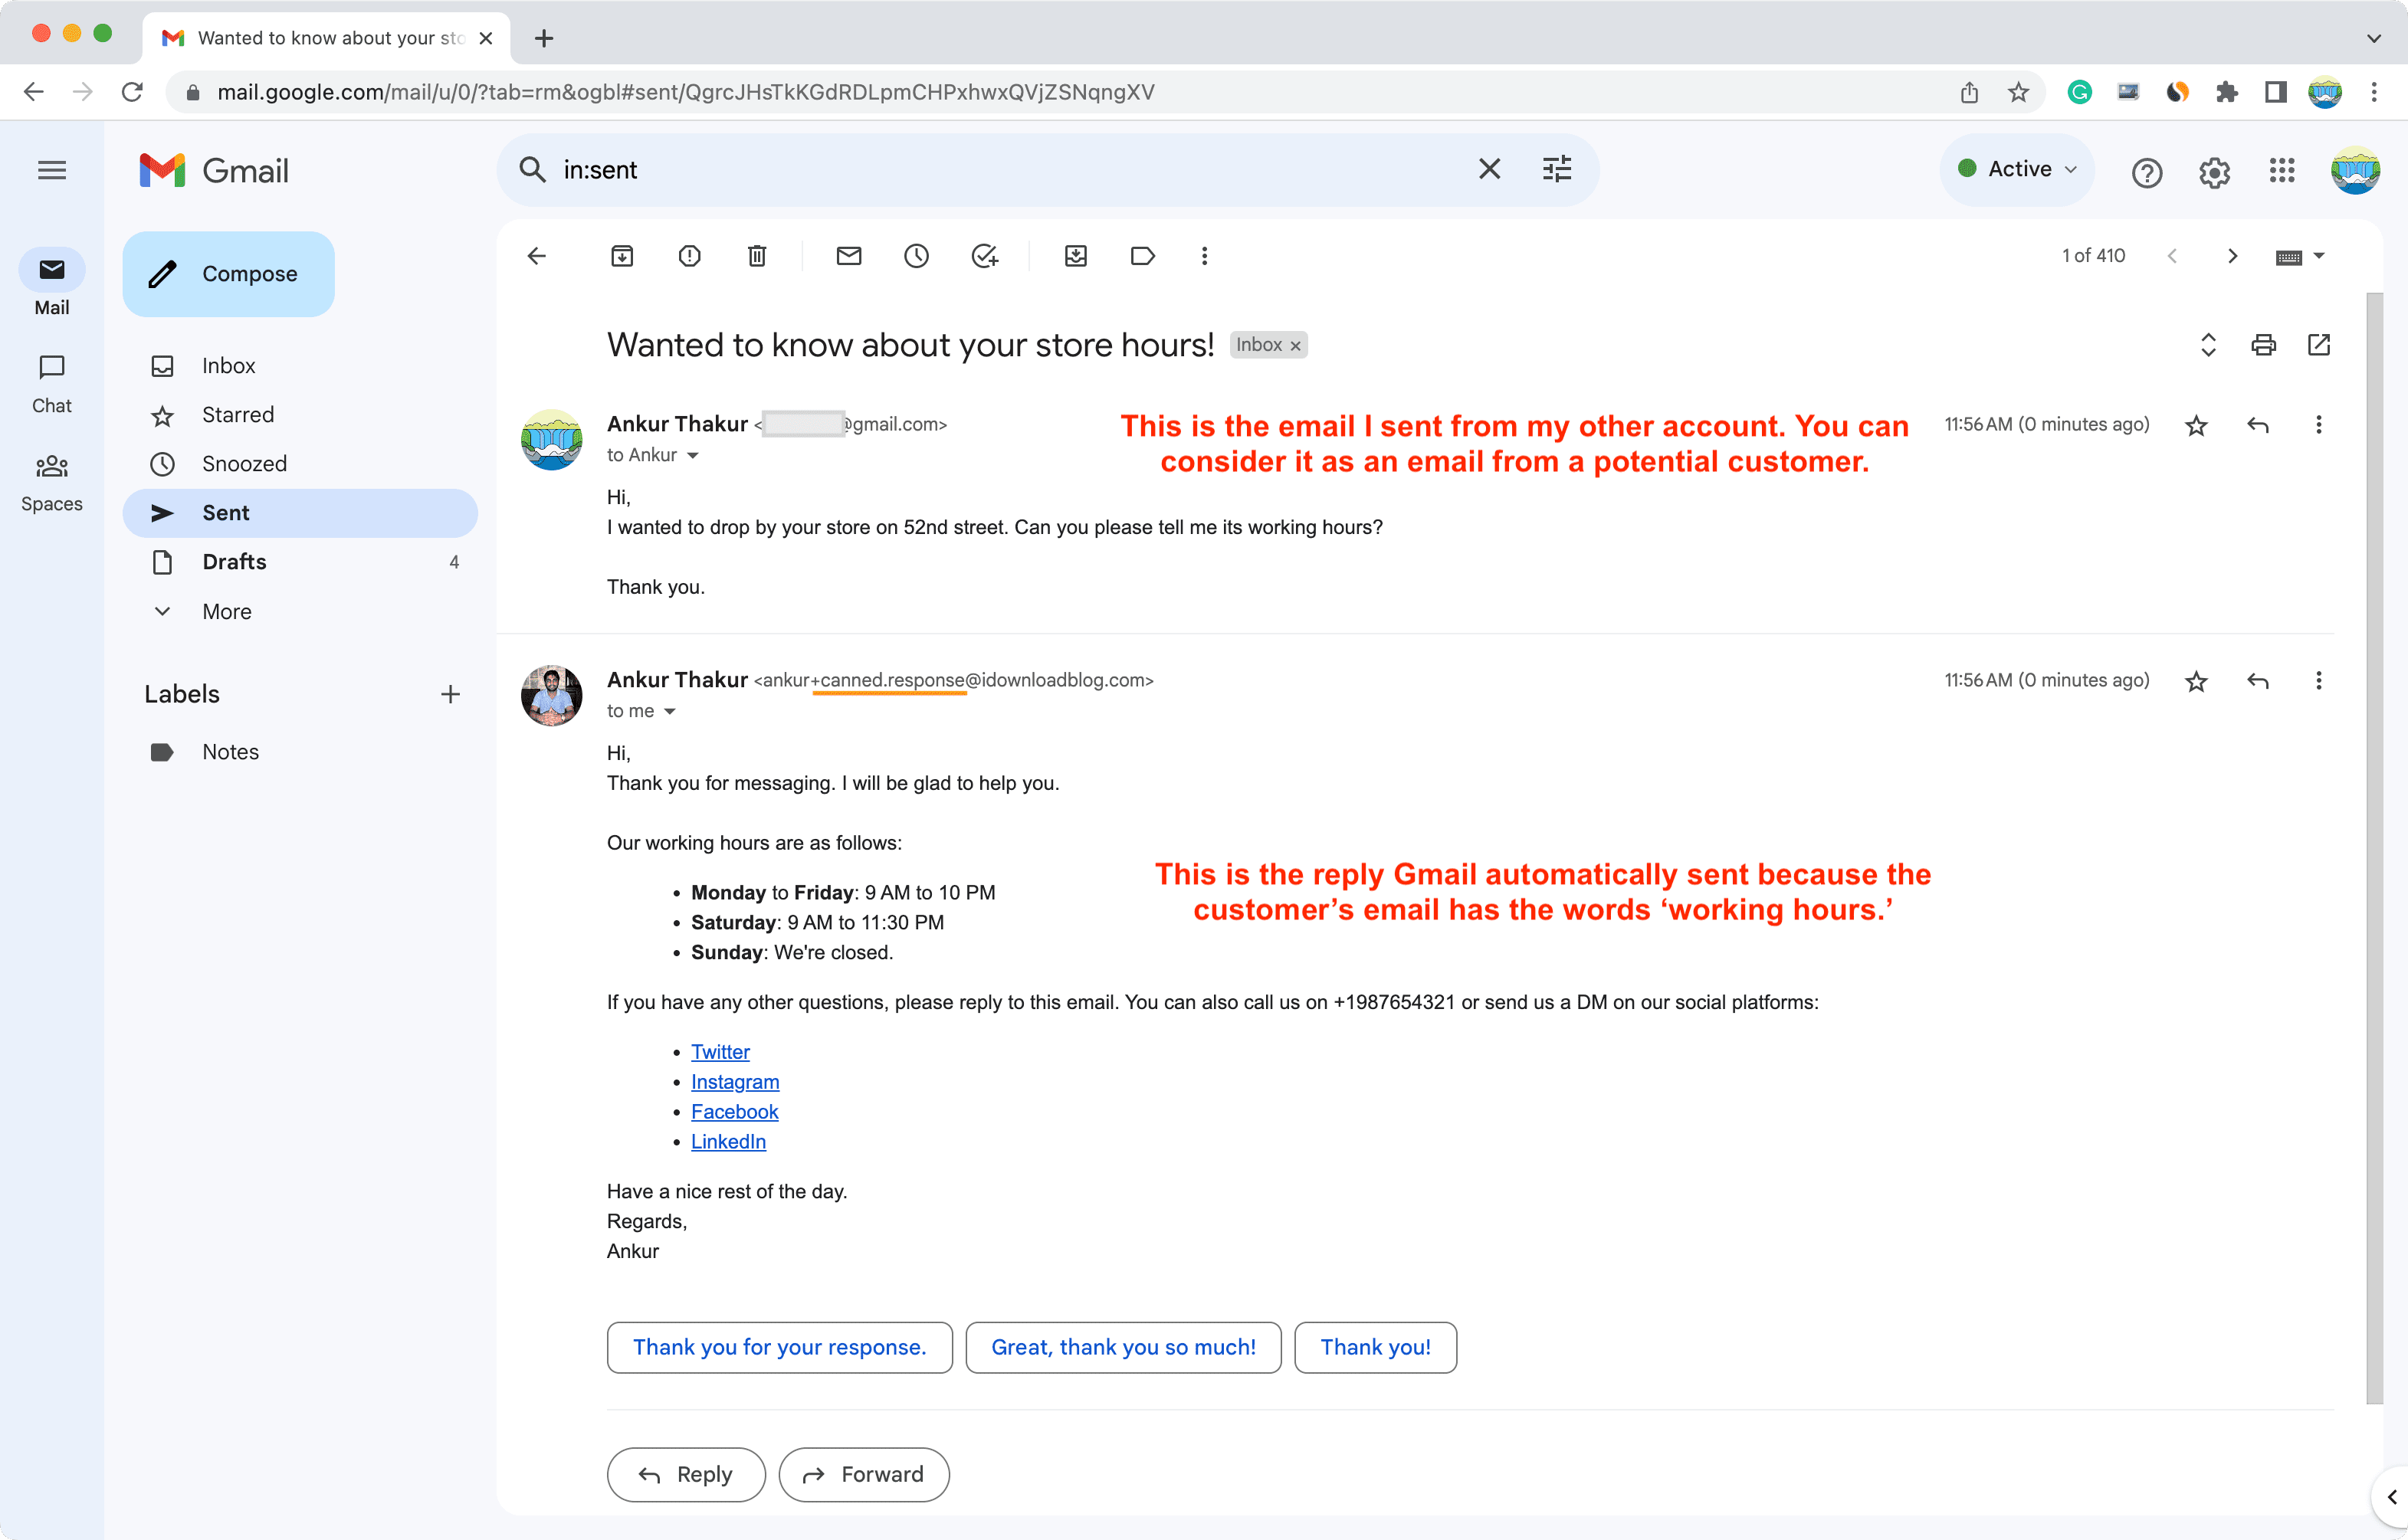
To confirm that this works properly, use a different email account and send an email to this account that fits the parameter you set above. In the example below, I have sent an email asking for working hours.
Within about 30 seconds of sending the email, you will receive an automatic response that has the text of the template you set for such emails.
Delete template
If you no longer need a Gmail template, start composing a new email and click the three vertical dots icon followed by Templates to see your template library. Select Delete templates and then pick the template. Finally, hit the Delete button.

Email template on iPhone
As stated earlier, Gmail templates are only available inside a web browser on a computer. So, if you have an iPhone and want to use templates, you will have to rely on a workaround that involves using the Notes app along with the email app.
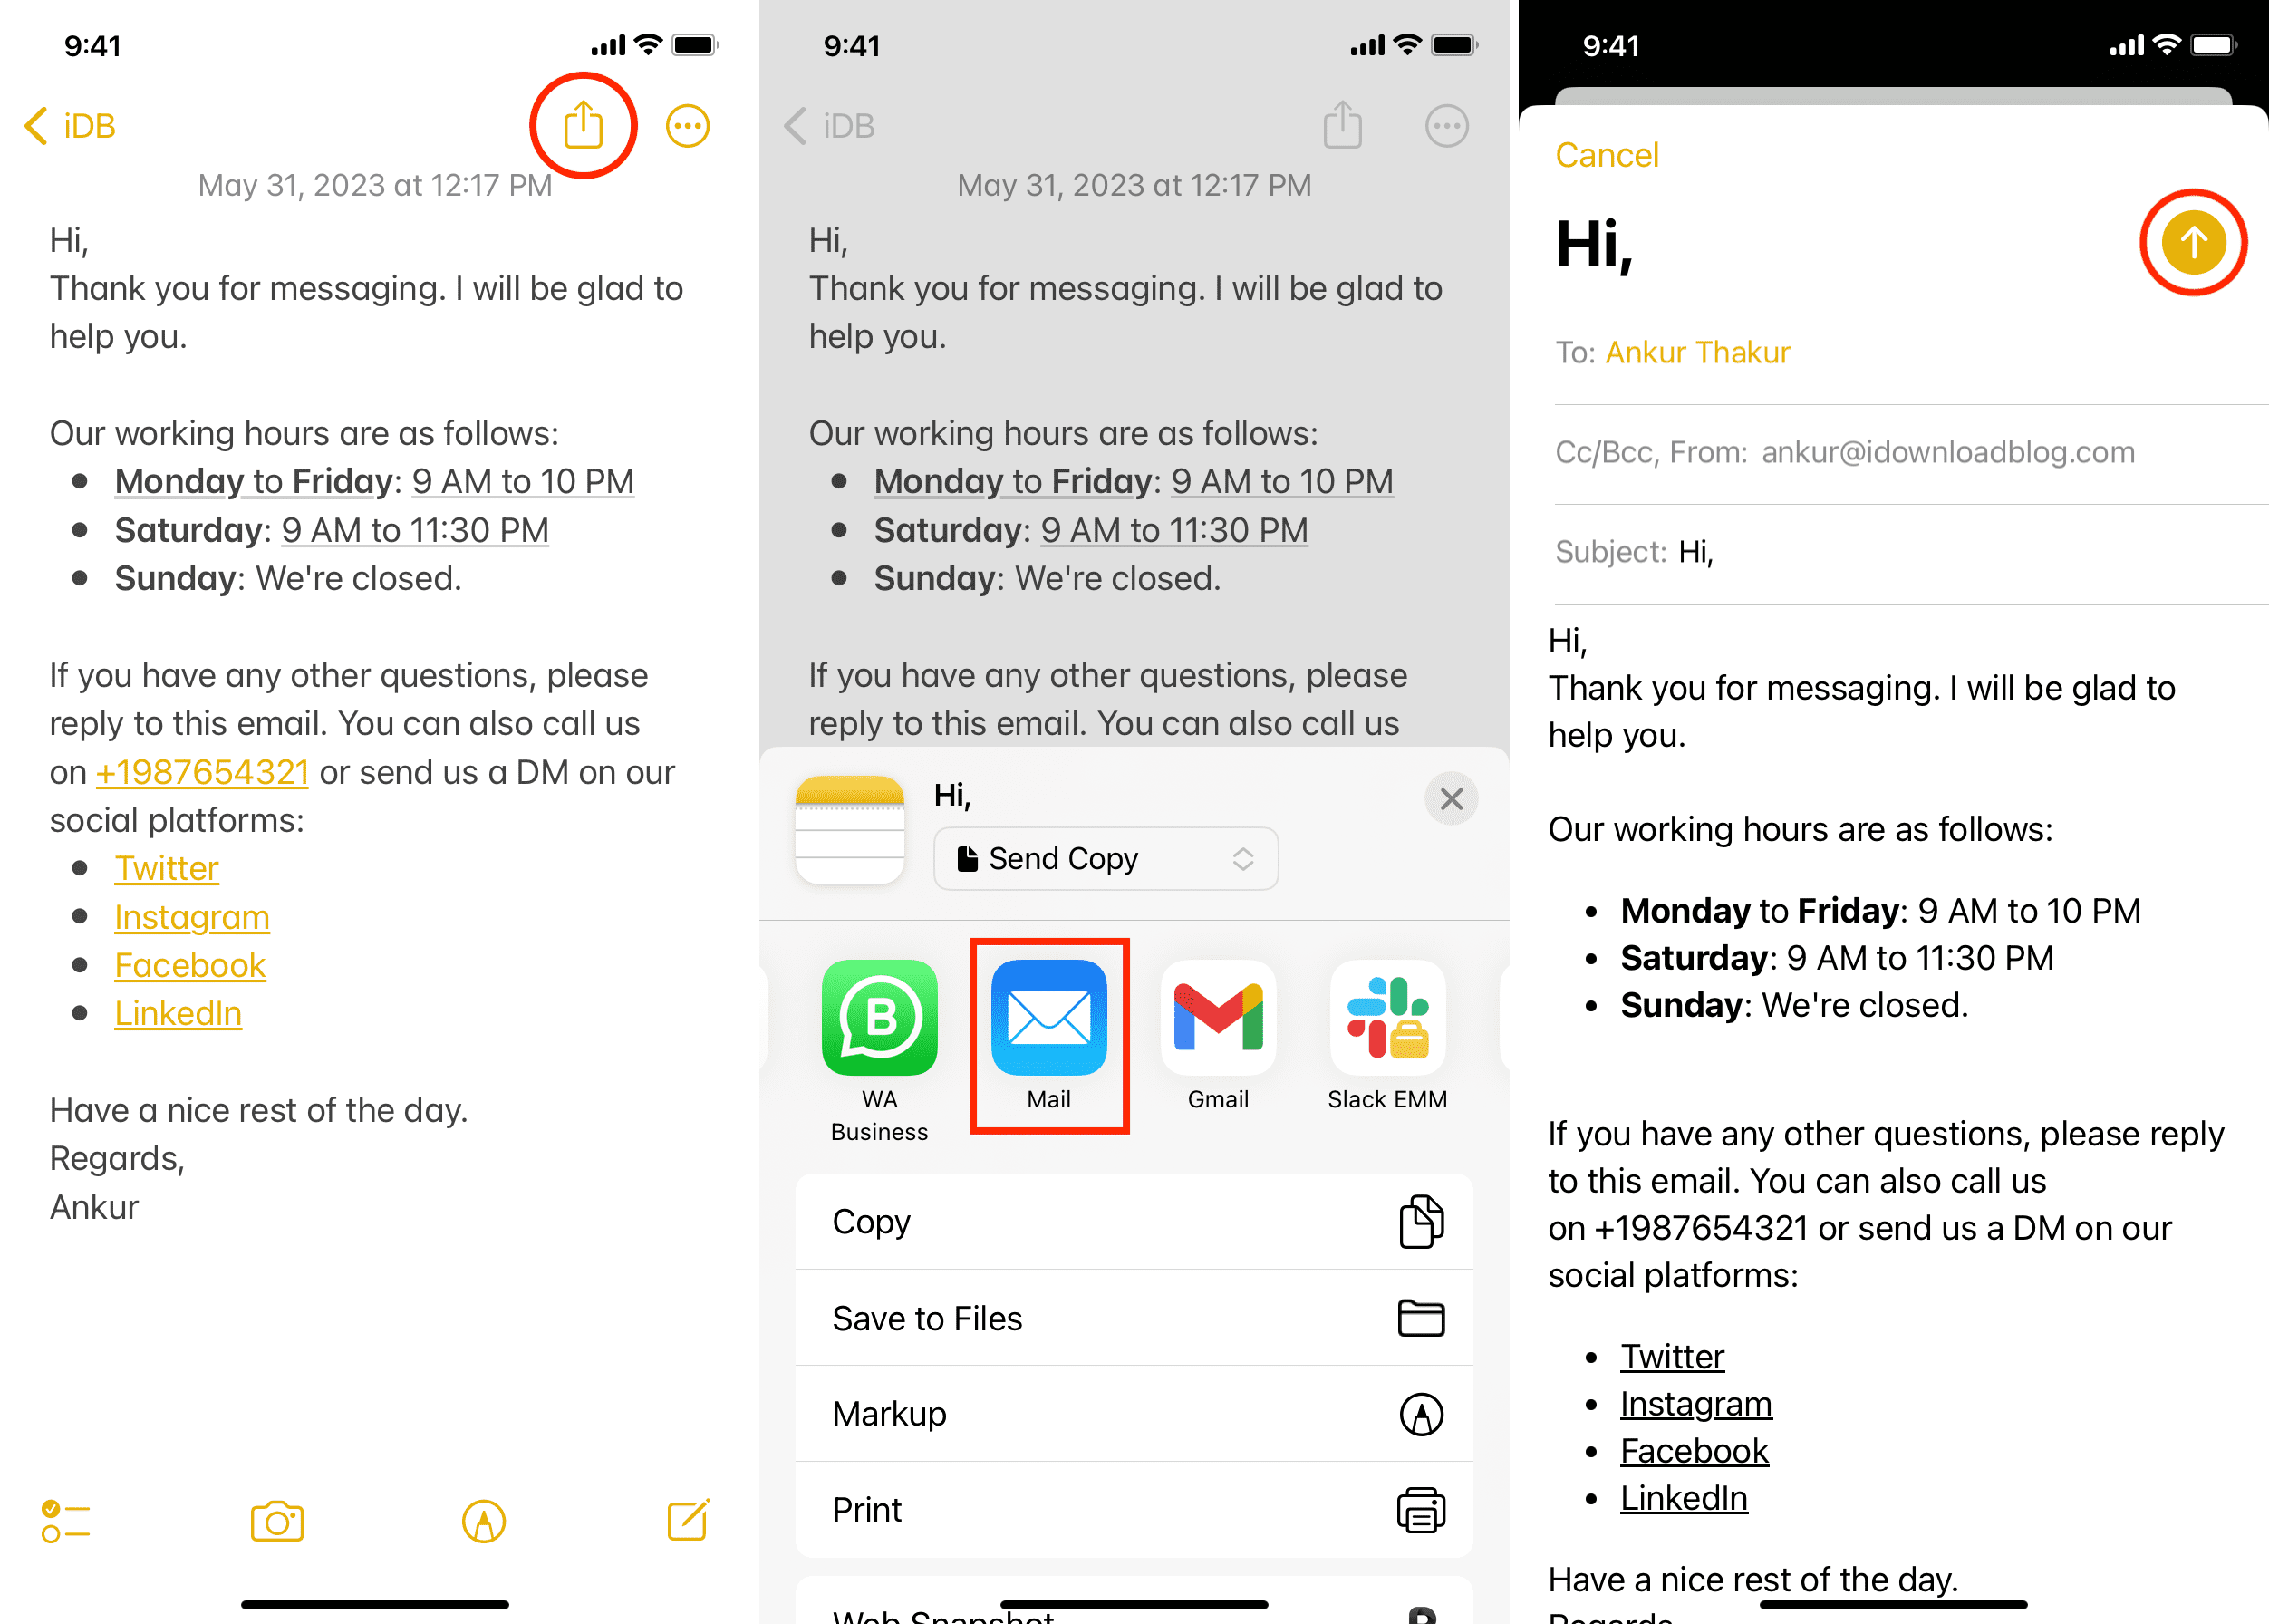
- Save your template text in the Apple Notes app.
- When you have to use this text in an email, open that note and tap the share button.
- Make sure it says Send Copy (and not Collaborate) next to the Notes app icon, and choose the Mail or Gmail app. The Apple Mail app seems to preserve most formatting, such as hyperlinks, while the Gmail app may remove some of them.
- The text from that note will automatically appear inside the new email body field. Type the recipient’s email, enter the subject line, and hit the send button.
Note that you can use this tip only for new emails, and it can’t be used to reply to an existing email from your iPhone. You can, of course, copy text from the Notes app and paste it anywhere.
Do more in Gmail: