Learn about five simple ways to remove or rearrange icons in your Mac menu bar to declutter and customize it to your liking.
The menu bar at the top of your Mac screen holds contextual buttons and icons. These icons can come from third-party apps or built-in macOS features, such as Wi-Fi, Sound, and Bluetooth.
If your menu bar feels cluttered with too many icons, you can simplify it by removing or rearranging both stock and third-party app icons.
1. Drag the icon out
You can remove a stock menu bar icon by holding down the Command (⌘) key, dragging the icon out of the menu bar, and releasing it when you see an X icon.

Note: This method doesn’t remove the date & time or Control Center icons. To remove Siri, use the System Settings method mentioned below.
2. Use System Settings
System Settings allow you to control which icons appear in your Mac’s menu bar. Plus, System Settings in macOS Tahoe even shows all third-party apps that can display their icon in the menu bar and lets you control them from a single spot.
1) Open System Settings on your Mac and click Menu Bar.
2) Uncheck the box for Siri, Spotlight, or other options that you don’t want to show in the menu bar. Alternatively, you can keep the option (such as Screen Mirroring) checked, but choose to display it in the menu bar only when Screen Mirroring is active.
3) Next, scroll down to the “Allow in the Menu Bar” heading and turn off the switch for any third-party app whose icon you don’t want to show in Mac’s menu bar.
If your Mac is running an older version of macOS, go to System Settings > Control Center and choose “Don’t Show in Menu Bar” for Bluetooth, Wi-Fi, Focus, and other items. For items such as Accessibility Shortcuts and Hearing, you can turn off the “Show in Menu Bar” switch.
3. Use in-app settings
Some apps allow you to show or hide their app icon in the menu bar from within their in-app settings. You can access the settings of nearly any macOS app by opening it and pressing the Command + Comma (,) keys.
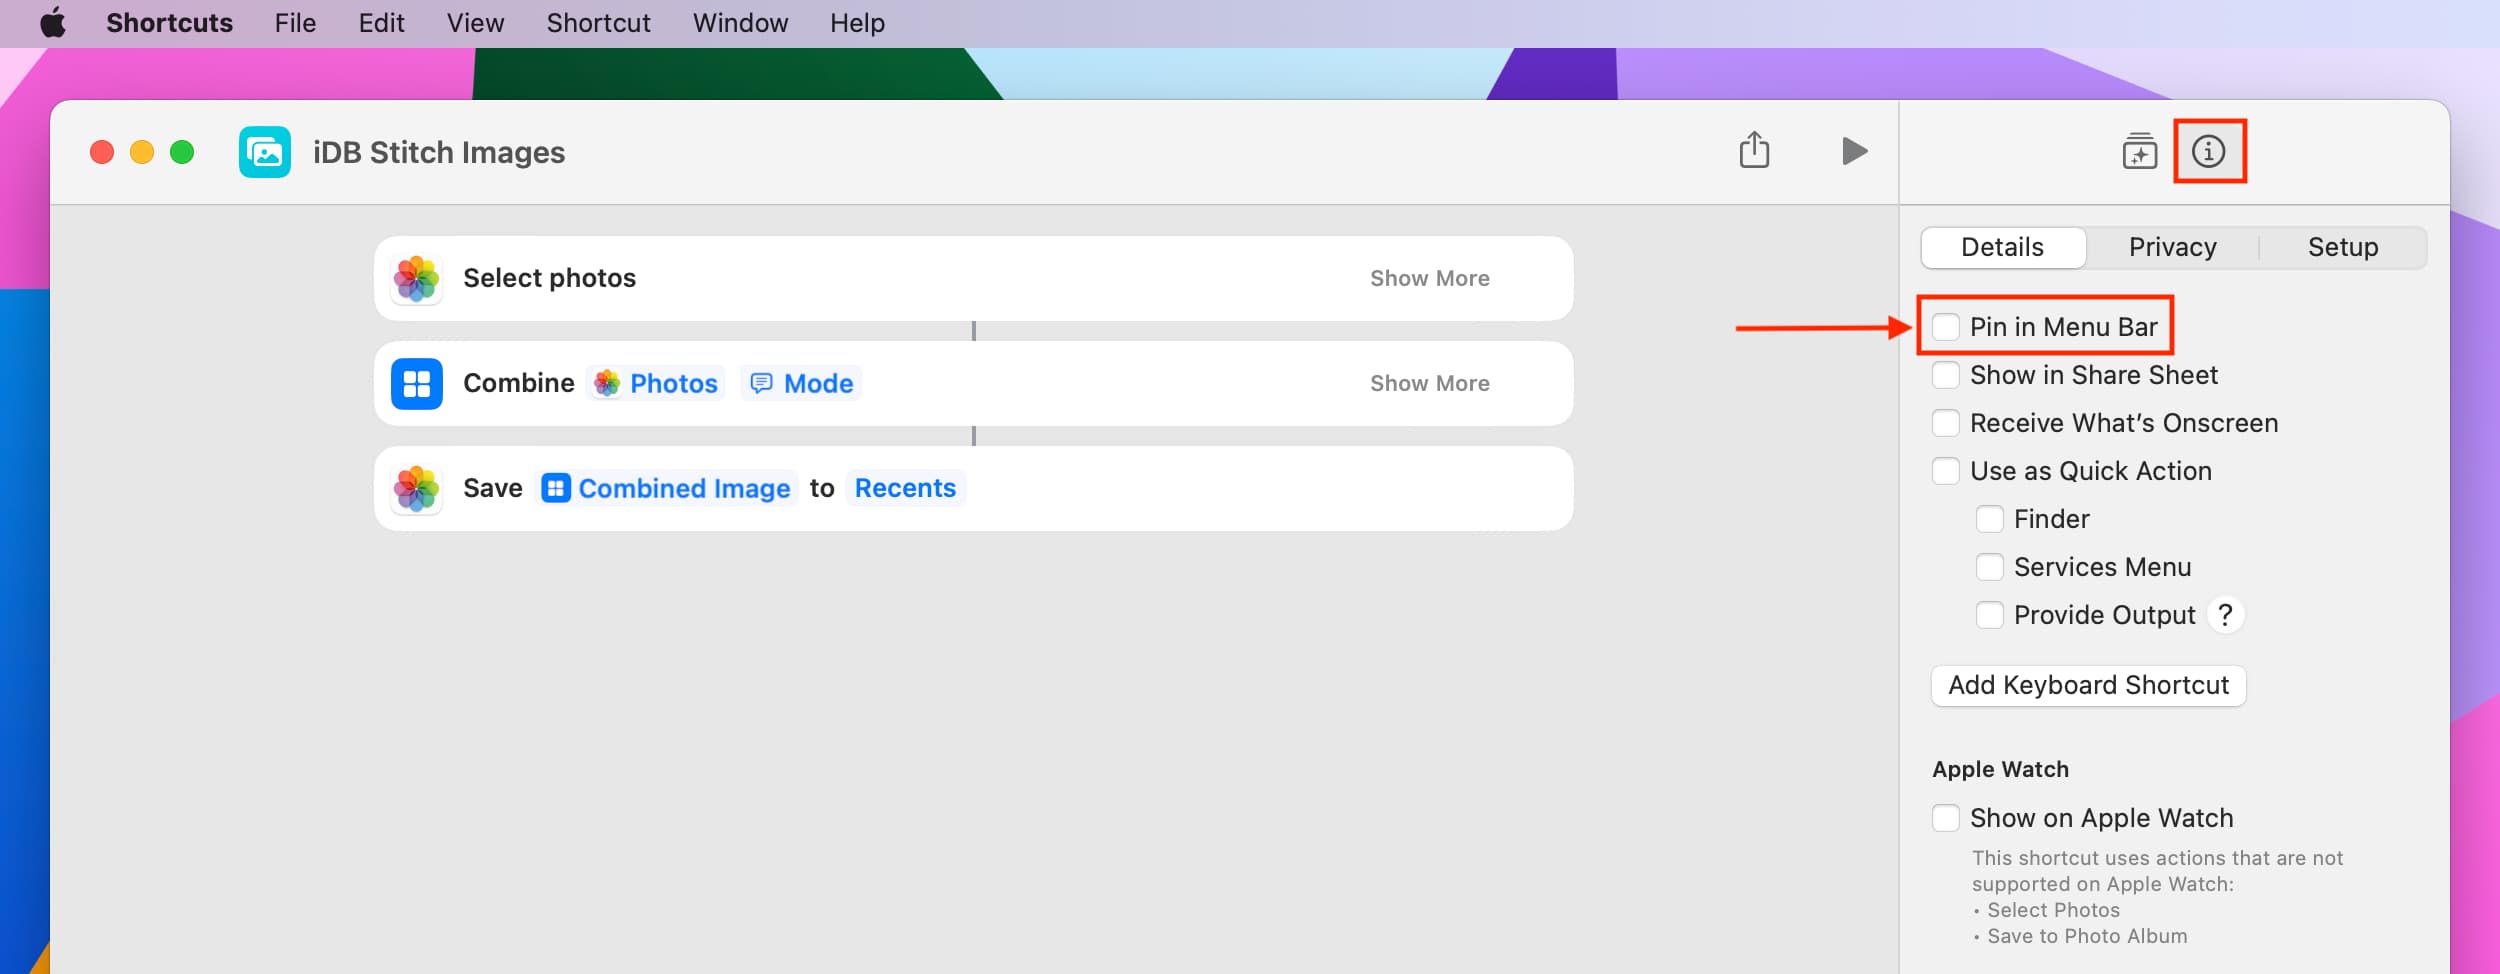
Hide the Shortcuts app icon from the menu bar: Some shortcuts can be configured to be pinned in the menu bar, and you can see these shortcuts in the Menu Bar section of Mac’s Shortcuts app. Open a shortcut, click the info button ⓘ , and uncheck Pin in Menu Bar. Once you have no shortcuts that have the ability to be pinned in the menu bar, opening the Shortcuts app should not show its app icon in your menu bar.
4. Quit the app
Some apps are designed to work from the menu bar. For example, I use a little note-taking app called Tyke that sits in the menu bar. I use another clipboard app called CopyClip, whose icon stays visible in the menu bar as long as the app is running.
The only way to hide such icons is by quitting the app and ensuring it doesn’t open automatically at Mac startup.

Note: When you reopen that app, the icon will show in the menu bar again.
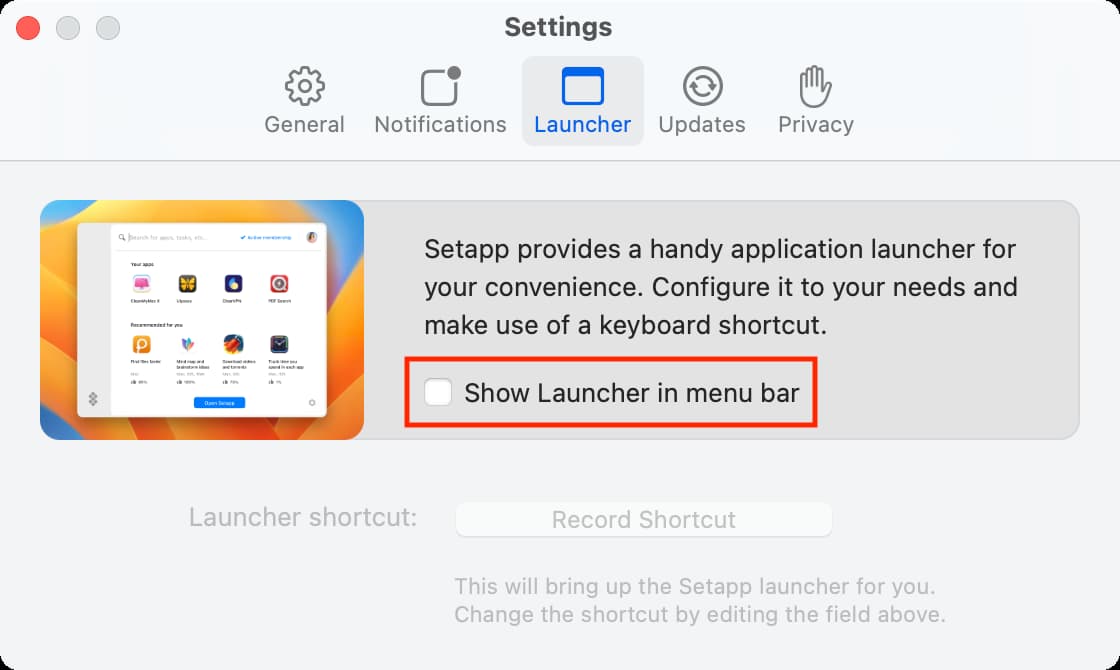
5. Use Bartender to hide menu bar icons
Finally, you can use a tool like Bartender to hide most menu bar icons under one icon, giving you a clean and minimalistic look.
Rearrange icons in the menu bar
If you’d prefer to rearrange the menu bar icons, you can do that by holding down the Command (⌘) key on the keyboard and dragging each icon to your desired location. However, you cannot place icons to the right of the Control Center icon, so keep this in mind as you customize.
Are you an avid menu bar user? Share your methodology and setup in the comments below!
More menu bar tips: