In this step-by-step tutorial, you’ll learn how to erase and format a flash drive, hard disk, thumb drive, or other external drive using the built-in Disk Utility app or a quick desktop shortcut on your Mac.
Why format a drive
To change the file system format: If the external drive you’re trying to connect isn’t recognized by a computer, smart TV, tablet, phone, or other devices, it may be because the drive’s existing file system format is unsupported by the device’s operating system. In this case, you’ll need to format the external drive to a supported file format. More on this later.
To fix a corrupted drive: A flash drive may get corrupted and show errors when you connect it to a computer. For example, you may see a popup alert saying, “You need to format the disk before you can use it.” In such instances, formatting the drive should fix the ongoing issues.
To erase everything: Formatting a drive wipes everything and is a quick way to clean the drive without having to manually delete files.
To make the data unrecoverable: While formatting, you can opt to erase the drive securely, which will make its existing data unrecoverable by file-recovery apps. More on this at the end of the post.
What file system format to choose
Ask yourself where you want to use the external hard disk, SSD, SD card, pen drive, etc.
- If you want to use it on Mac computers only, you can choose APFS (Apple File System) or Mac OS Extended.
- If you want to use it on Windows, macOS, Linux, TVs, phones, and elsewhere, choose ExFAT (recommended) or MS-DOS (FAT).
Learn more about the different file system formats.
Make a backup
Warning: Formatting a drive will erase all its contents, and it will thereafter be treated like a completely new drive being set up for initial use. If the existing data on the drive is valuable, make sure to copy it to your Mac or elsewhere before formatting.
Erase and format an external drive on Mac
You can do this in the Disk Utility app or by right-clicking the drive name on the desktop.
Erase and format directly from the desktop
1) Connect the external drive to your Mac, running the latest version of macOS Sequoia or later.
2) Right-click over the drive name and select Erase Disk.

3) Select the desired Format and hit Erase.

You can learn more about this process under the Disk Utility section we have explained in detail below.
Use Disk Utility to erase and format the drive
1) Connect the external drive to your Mac’s USB port.
2) Open the built-in Disk Utility app on your Mac.
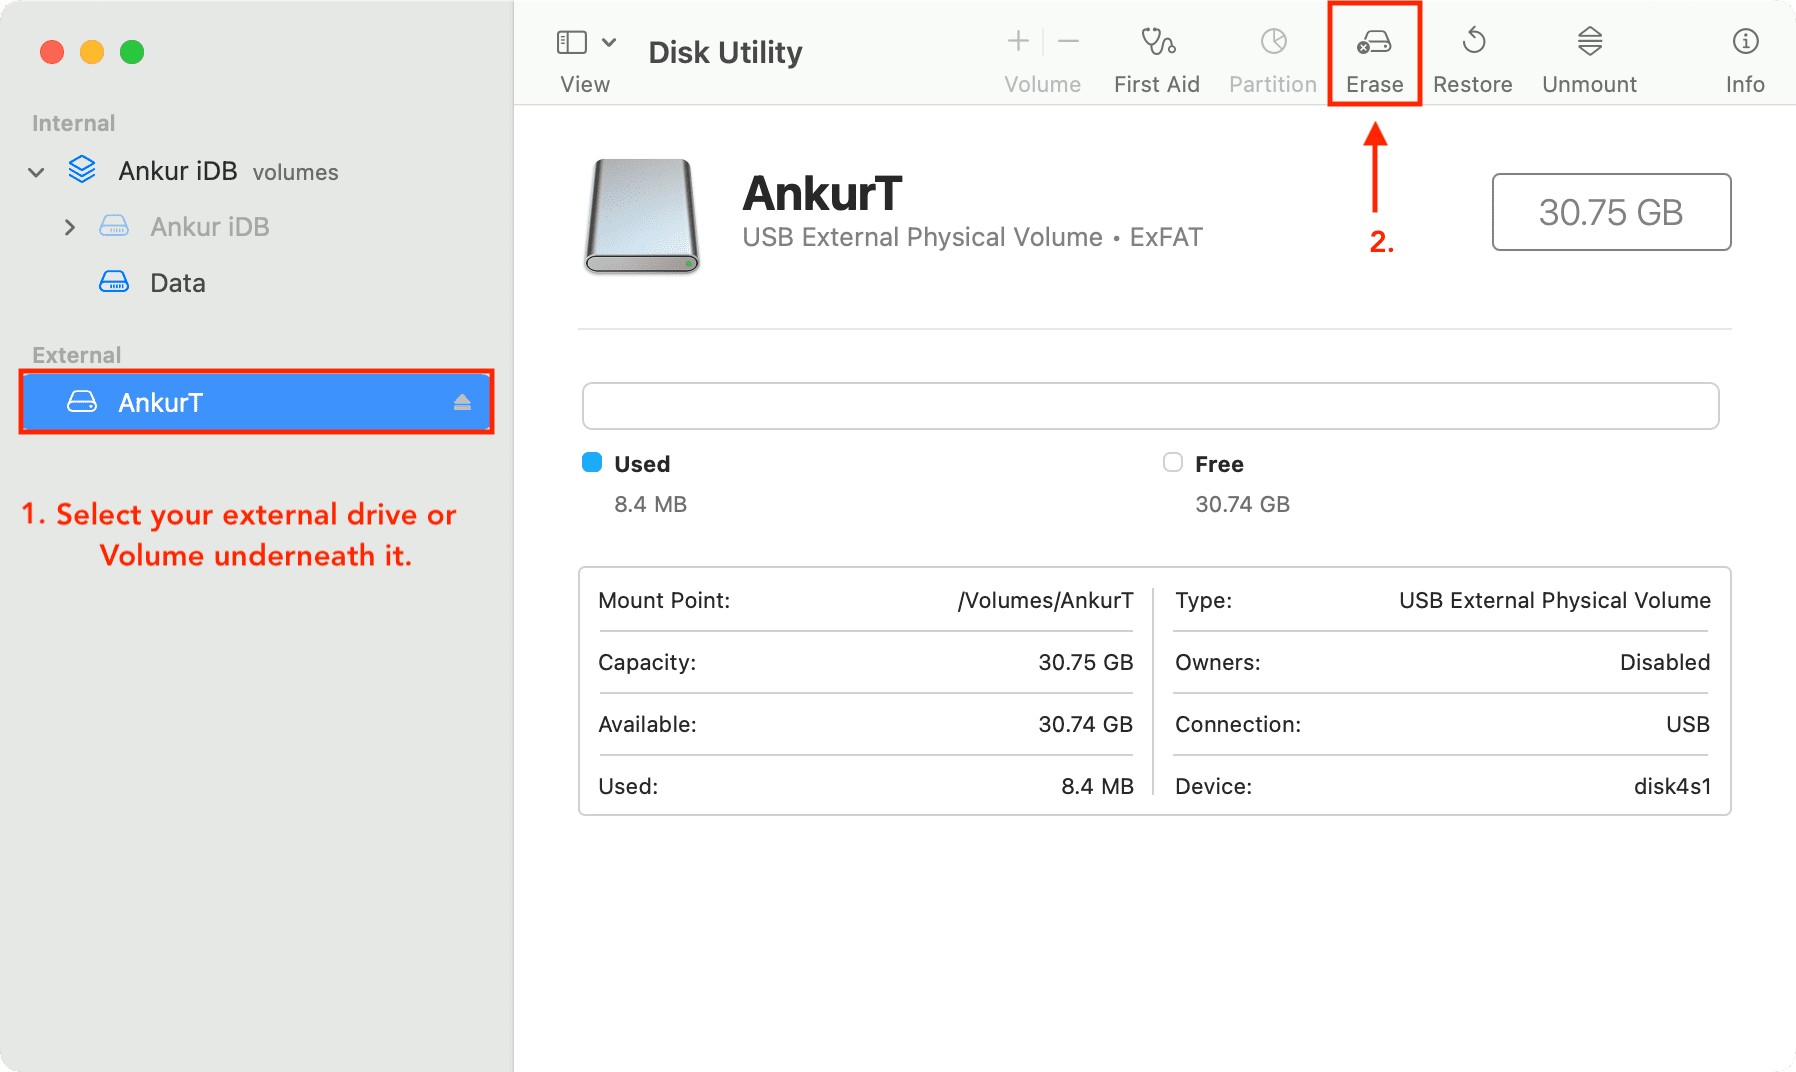
3) In the sidebar, select the disk or its volume you want to erase.
4) Click Erase.
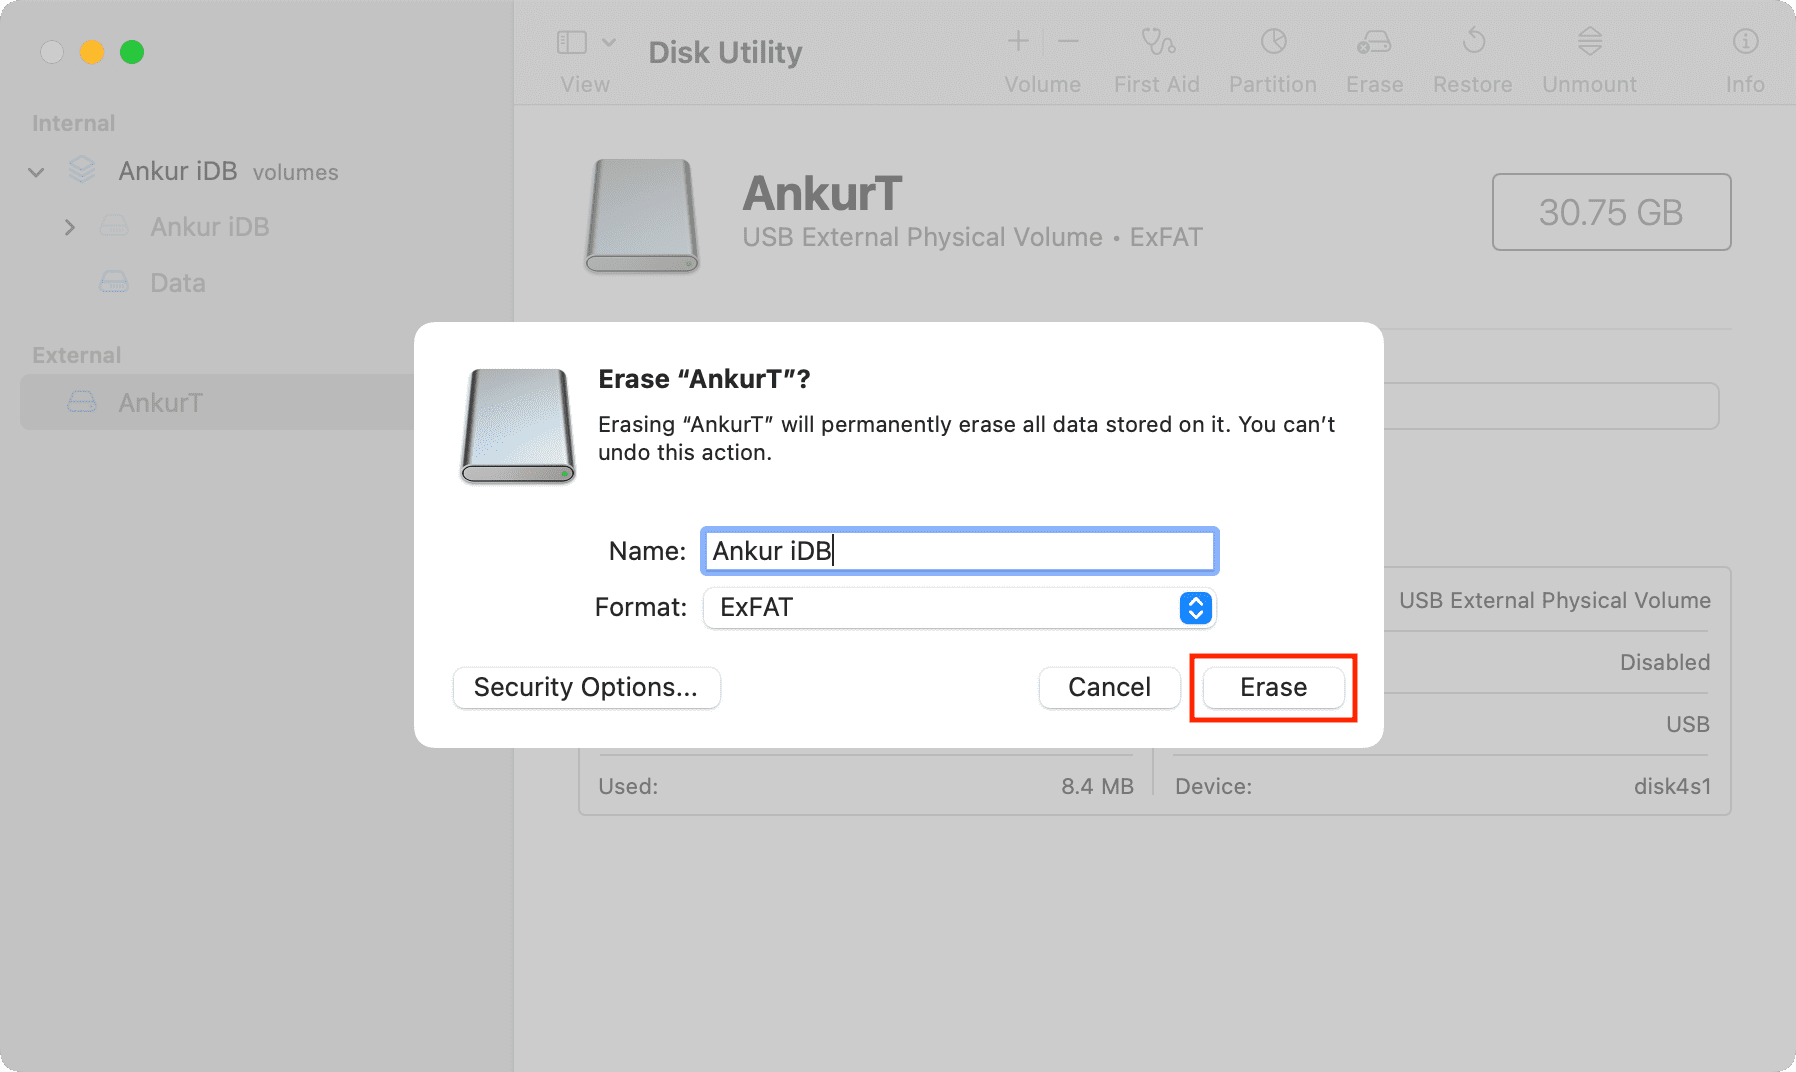
5) Enter the name you want to use as the drive’s new name once it’s formatted. Note: If you choose MS-DOS and ExFAT format (next step), the disk name must be eleven characters or less due to the legacy limitations of Microsoft’s file system.
6) Click the Format popup menu, then choose the desired disk format. We’ll select ExFAT as it’s universally compatible. Note: Depending on the type of disk you’re using, some format options may not be displayed here.
7) Do you see an option to select the Scheme for your drive? If so, you likely don’t have to modify it, or you can select GUID Partition Map.
8) If you have sensitive files on the drive and are now selling this drive or giving it away, you can use the Security Options button to make things unrecoverable. From here, select Most Secure (the far-right option) or anything in between.
9) Finally, click the Erase button to have Disk Utility begin formatting your disk. You’ll notice that the disk icon disappears from the desktop. But don’t worry. It will re-appear in the system as soon as Disk Utility finishes formatting it.
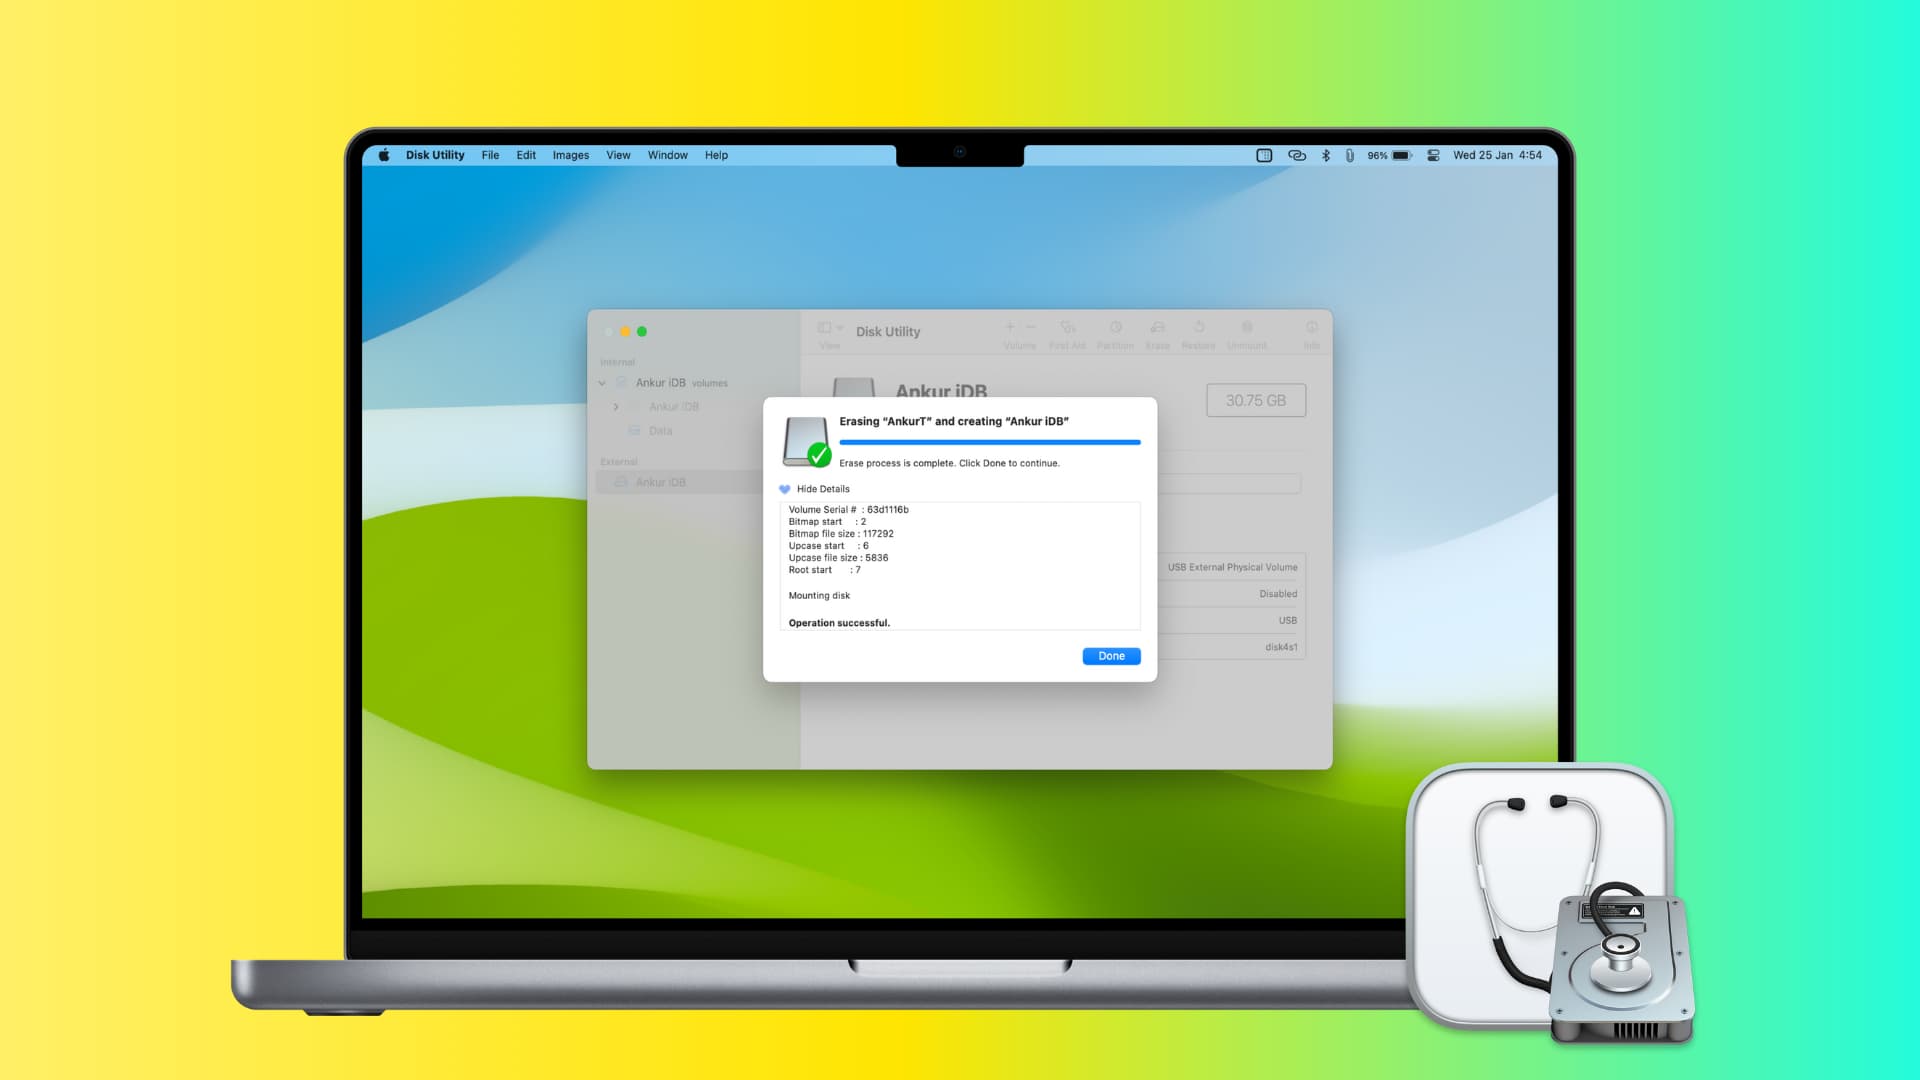
10) When the disk has been erased or formatted, click Done and quit Disk Utility.
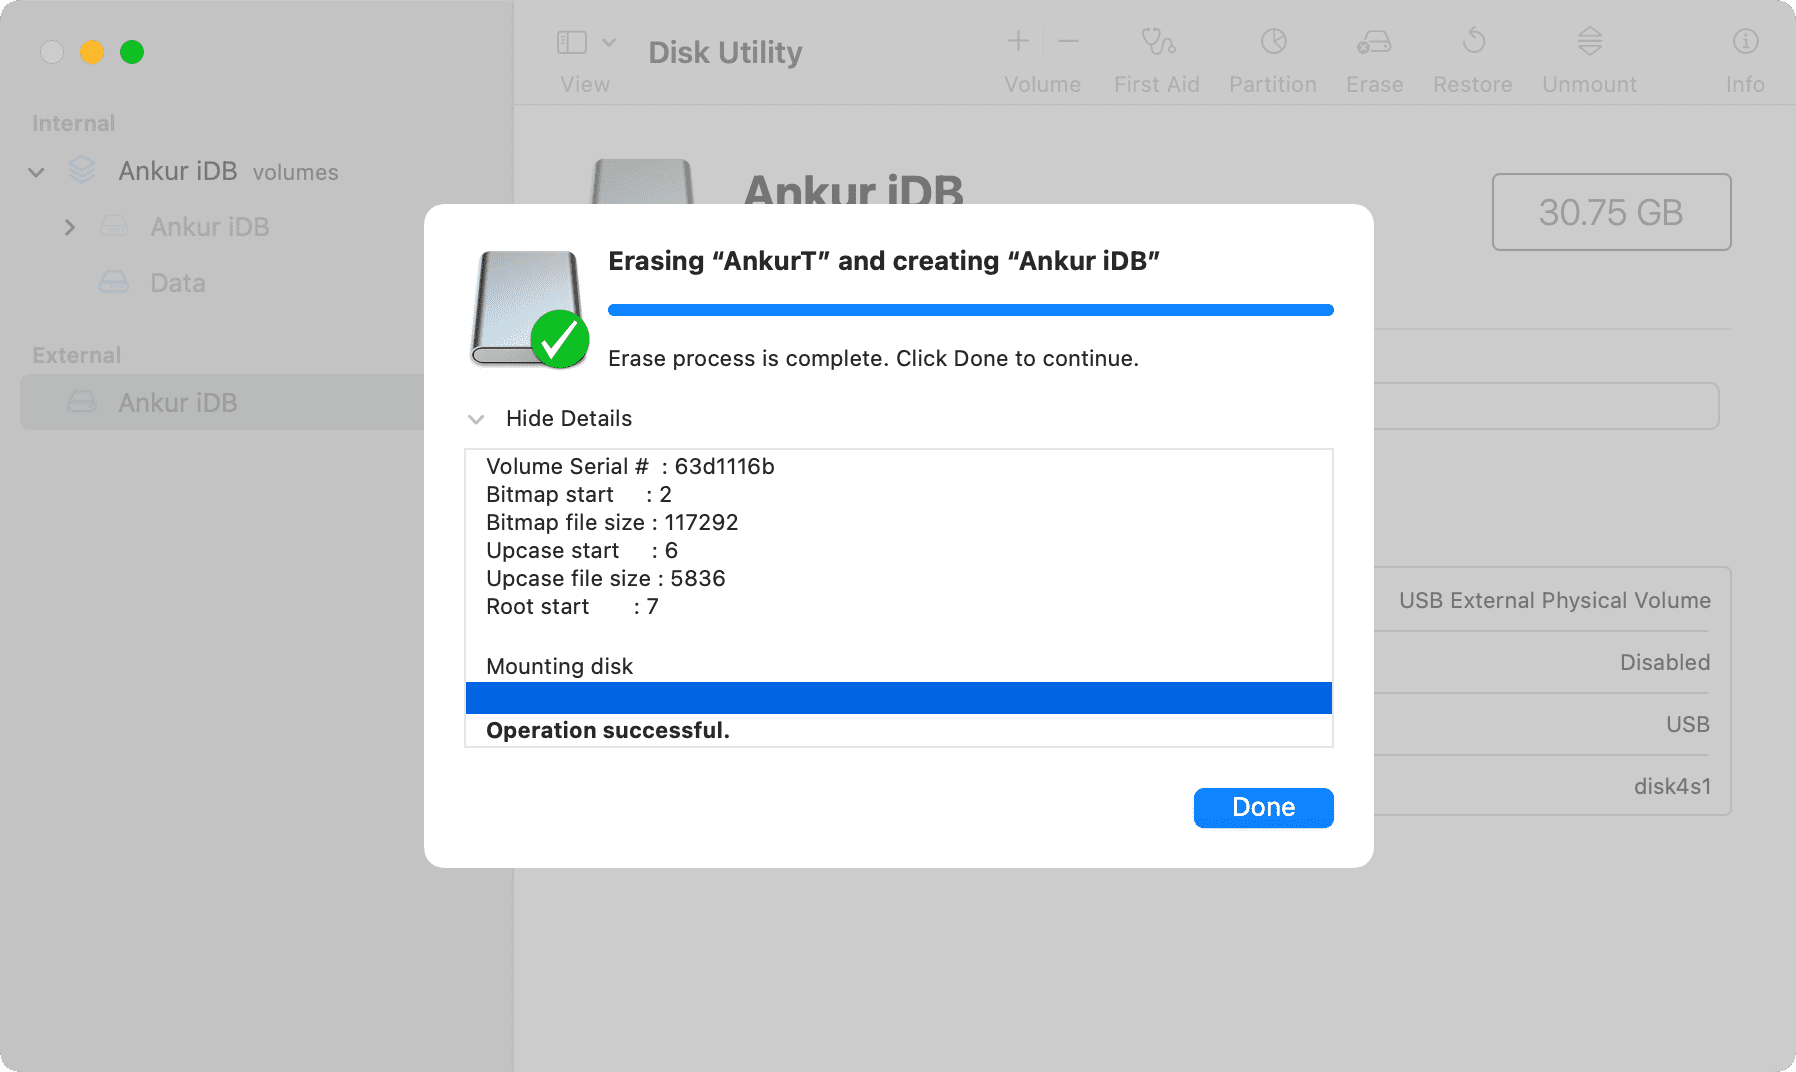
Your disk is now erased, reformatted, and ready to be used!
Don’t forget to eject your external storage devices when you’re done using them. Failure to unmount an external storage device before unplugging it may lead to data loss.
Erasing disk and volume
Disk Utility lets you erase disks or volumes. Erasing a disk deletes all its volumes and files while erasing a volume deletes all the files on that volume but does not affect other volumes.
If you want to erase the entire disk along with any partitions, be sure to select your storage device in Disk Utility’s sidebar, not one of its partitions.
Learn more: How to add, mount, unmount, erase, and delete volumes using Disk Utility on Mac
Scheme supported by Disk Utility on Mac
When you’re formatting a drive, you may see the option to select the scheme. You can leave the scheme box untouched and let it be what Disk Utility shows, or you can choose one of these three schemes:
- GUID Partition Map: Select this if you have a Mac with an Intel processor or a recent machine with Apple silicon (M1, M2, M3, M4, and its successors). Newer Windows computers also use this scheme.
- Apple Partition Map: Select this scheme if you want the drive to be compatible with the ancient PowerPC-based Macs.
- Master Boot Record (aka “fdisk”): Select this to make it compatible with all Windows computers.
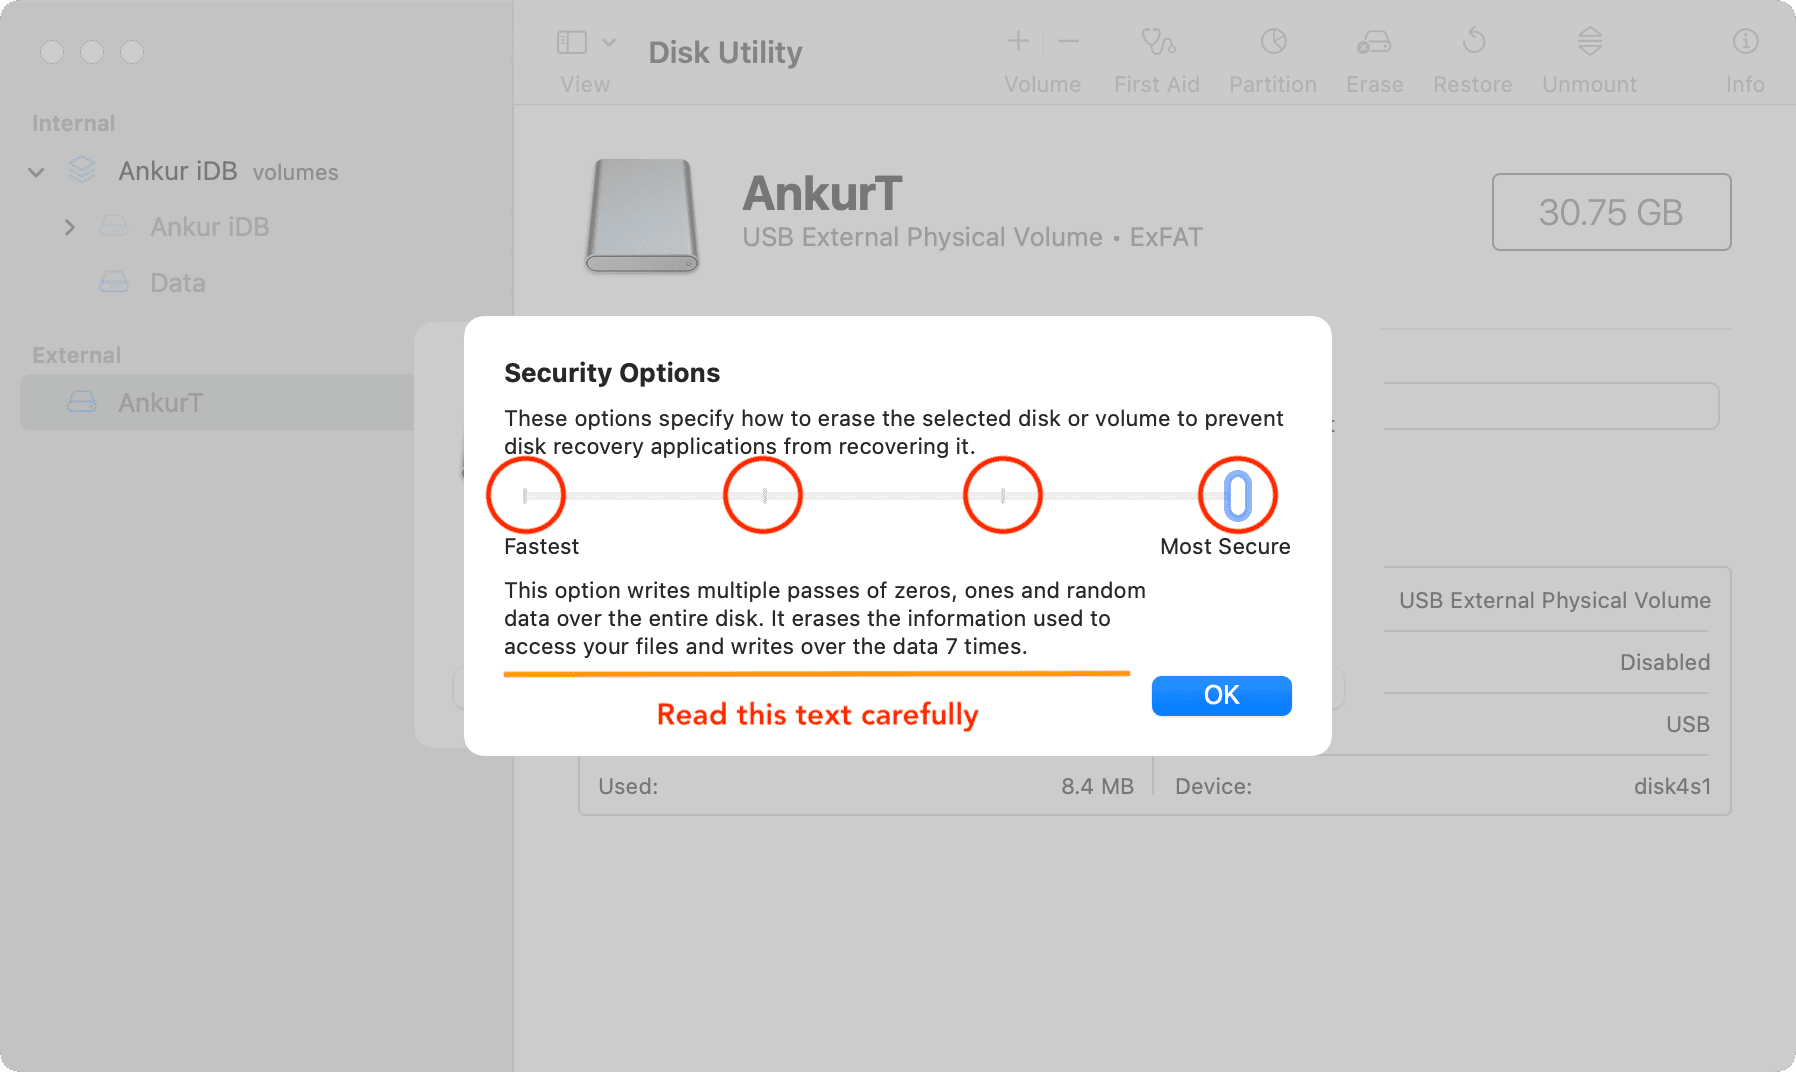
Security Options while erasing in Disk Utility
The Fastest option does not securely erase the files on the disk, meaning a disk-recovery app may be able to recover them.
The next option writes a pass of random data and then a single pass of zeros over the entire disk while erasing all information used to access your files.
The third option writes over the data three times, which meets the U.S. Department of Energy standard for securely erasing magnetic media.
Finally, the Most Secure option writes over the data as many as seven times to meet the U.S. Department of Defense 5220-22-M standard for securely erasing magnetic media.
Note: The Security Options button isn’t available for all storage devices. If you don’t see it, your Mac won’t securely erase the drive. It will perform a simple erasure, and data may be recoverable by recovery applications.
Looking to erase your startup volume?
Keep in mind that using the above steps, you cannot erase the main internal drive that contains your startup volume. To do so, start up your Mac from another disk or boot it in Recovery Mode. This special troubleshooting mode allows you to erase the startup disk, access Terminal commands, reinstall macOS, and perform other housekeeping tasks.
Next, check out: