Want to record what’s on your Mac screen? In this tutorial, we’ll show you two easy ways to do a video recording of your Mac’s entire screen or just a selected section using built-in tools.
Note that not all apps allow you to record their screen. For instance, for copyright reasons, some media apps like Prime Video may appear as a black window in the final video recording file.
Video record the screen on your Mac
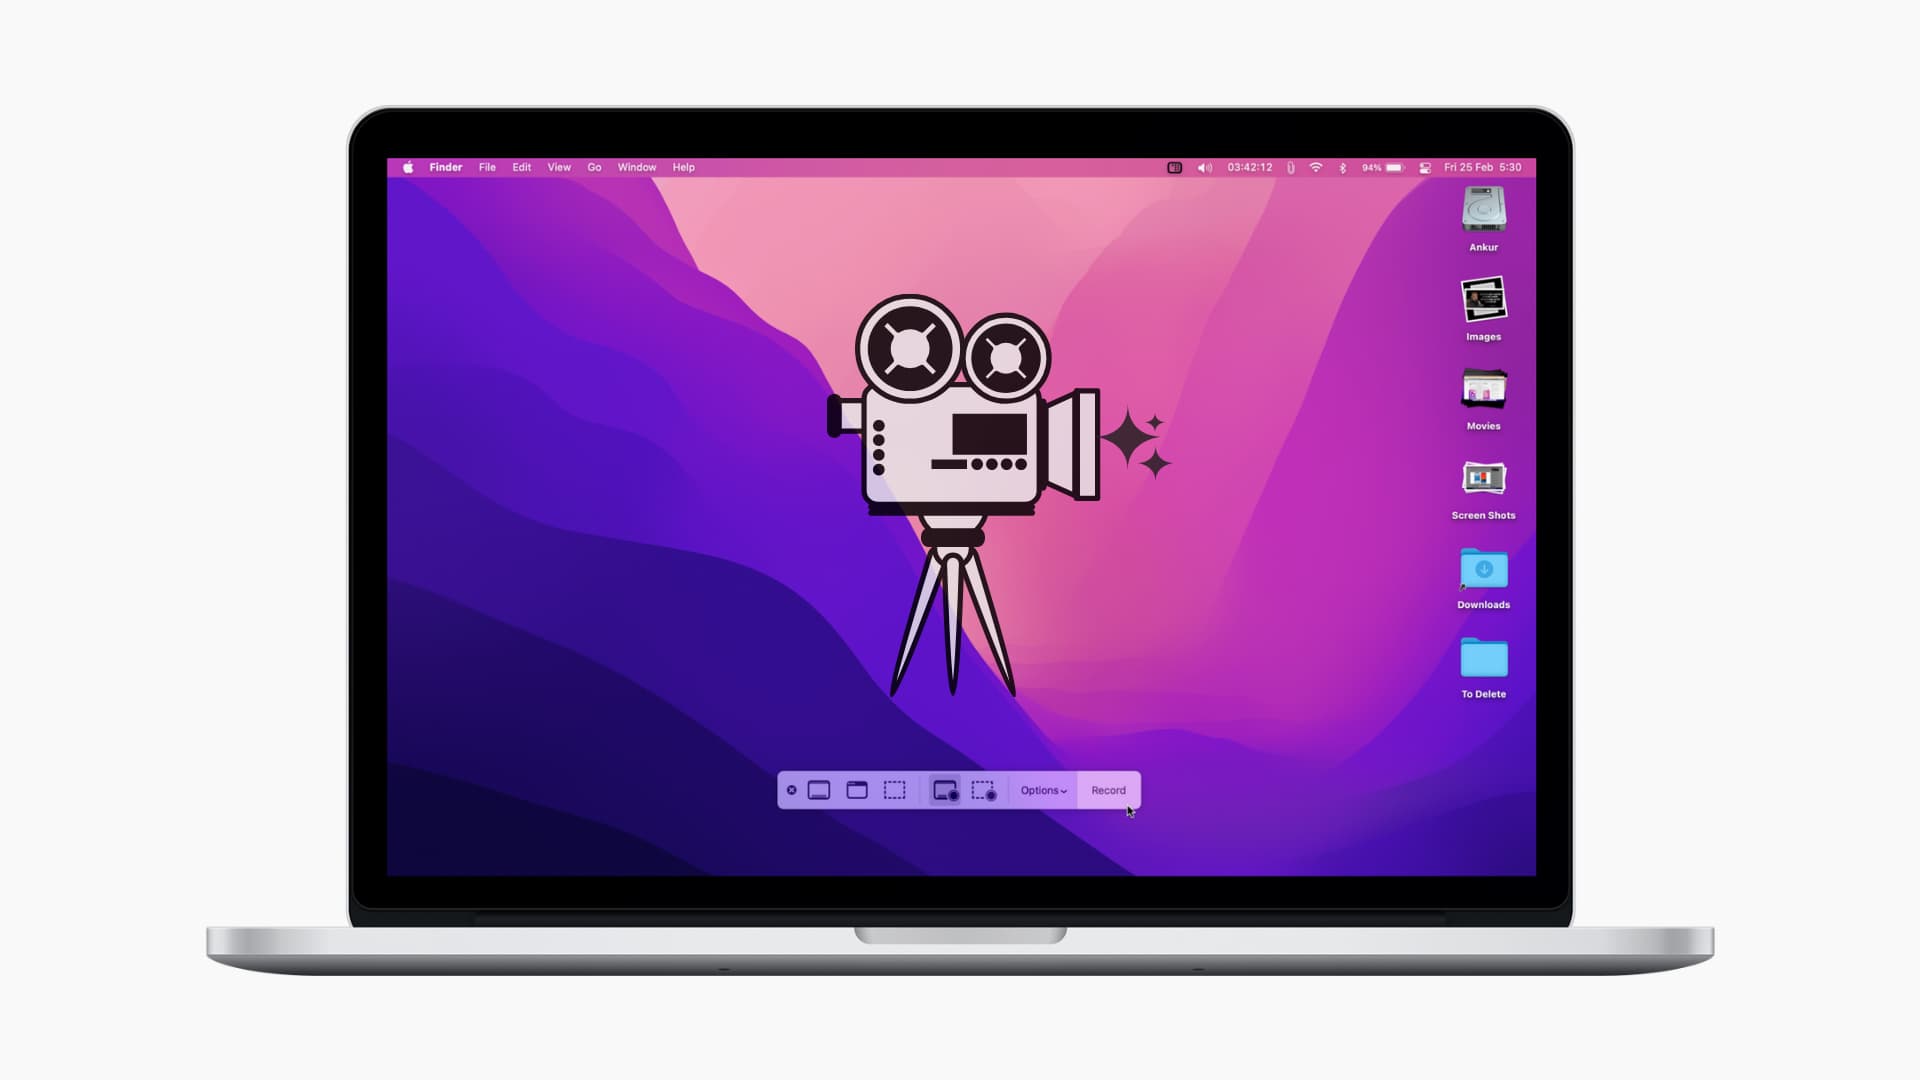
1) Press Command + Shift + 5 to open the screen recording tools.
2) To record the entire screen, click the fourth icon from the left.
3) To record only a part of your screen, click the fifth icon from the left. After this, make your selection.

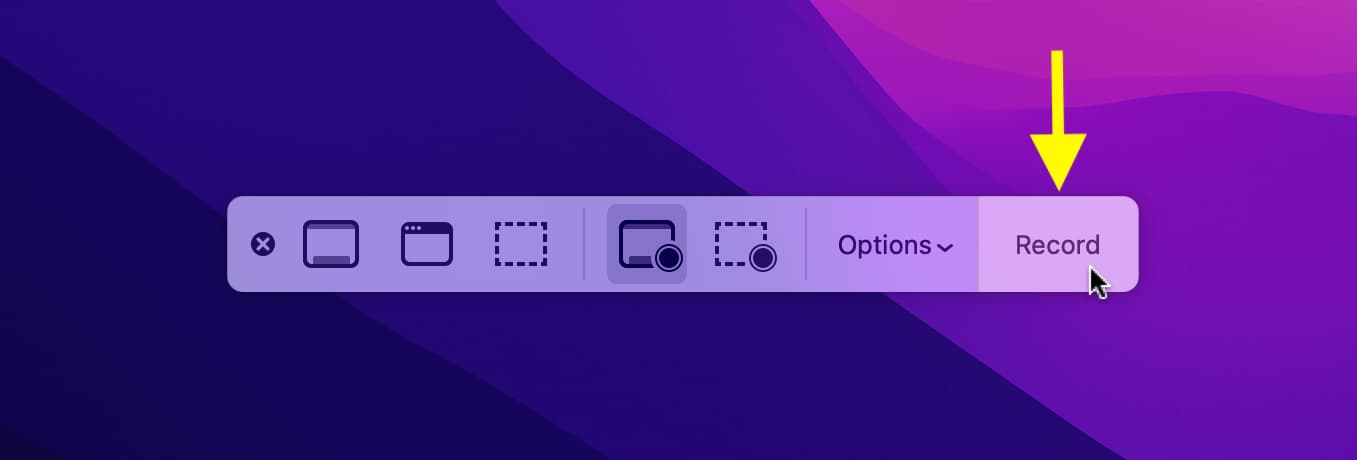
4) Finally, click Record to start the video recording.
5) When done, click the stop icon in the top menu bar.

Other options that are available before you start the screen recording
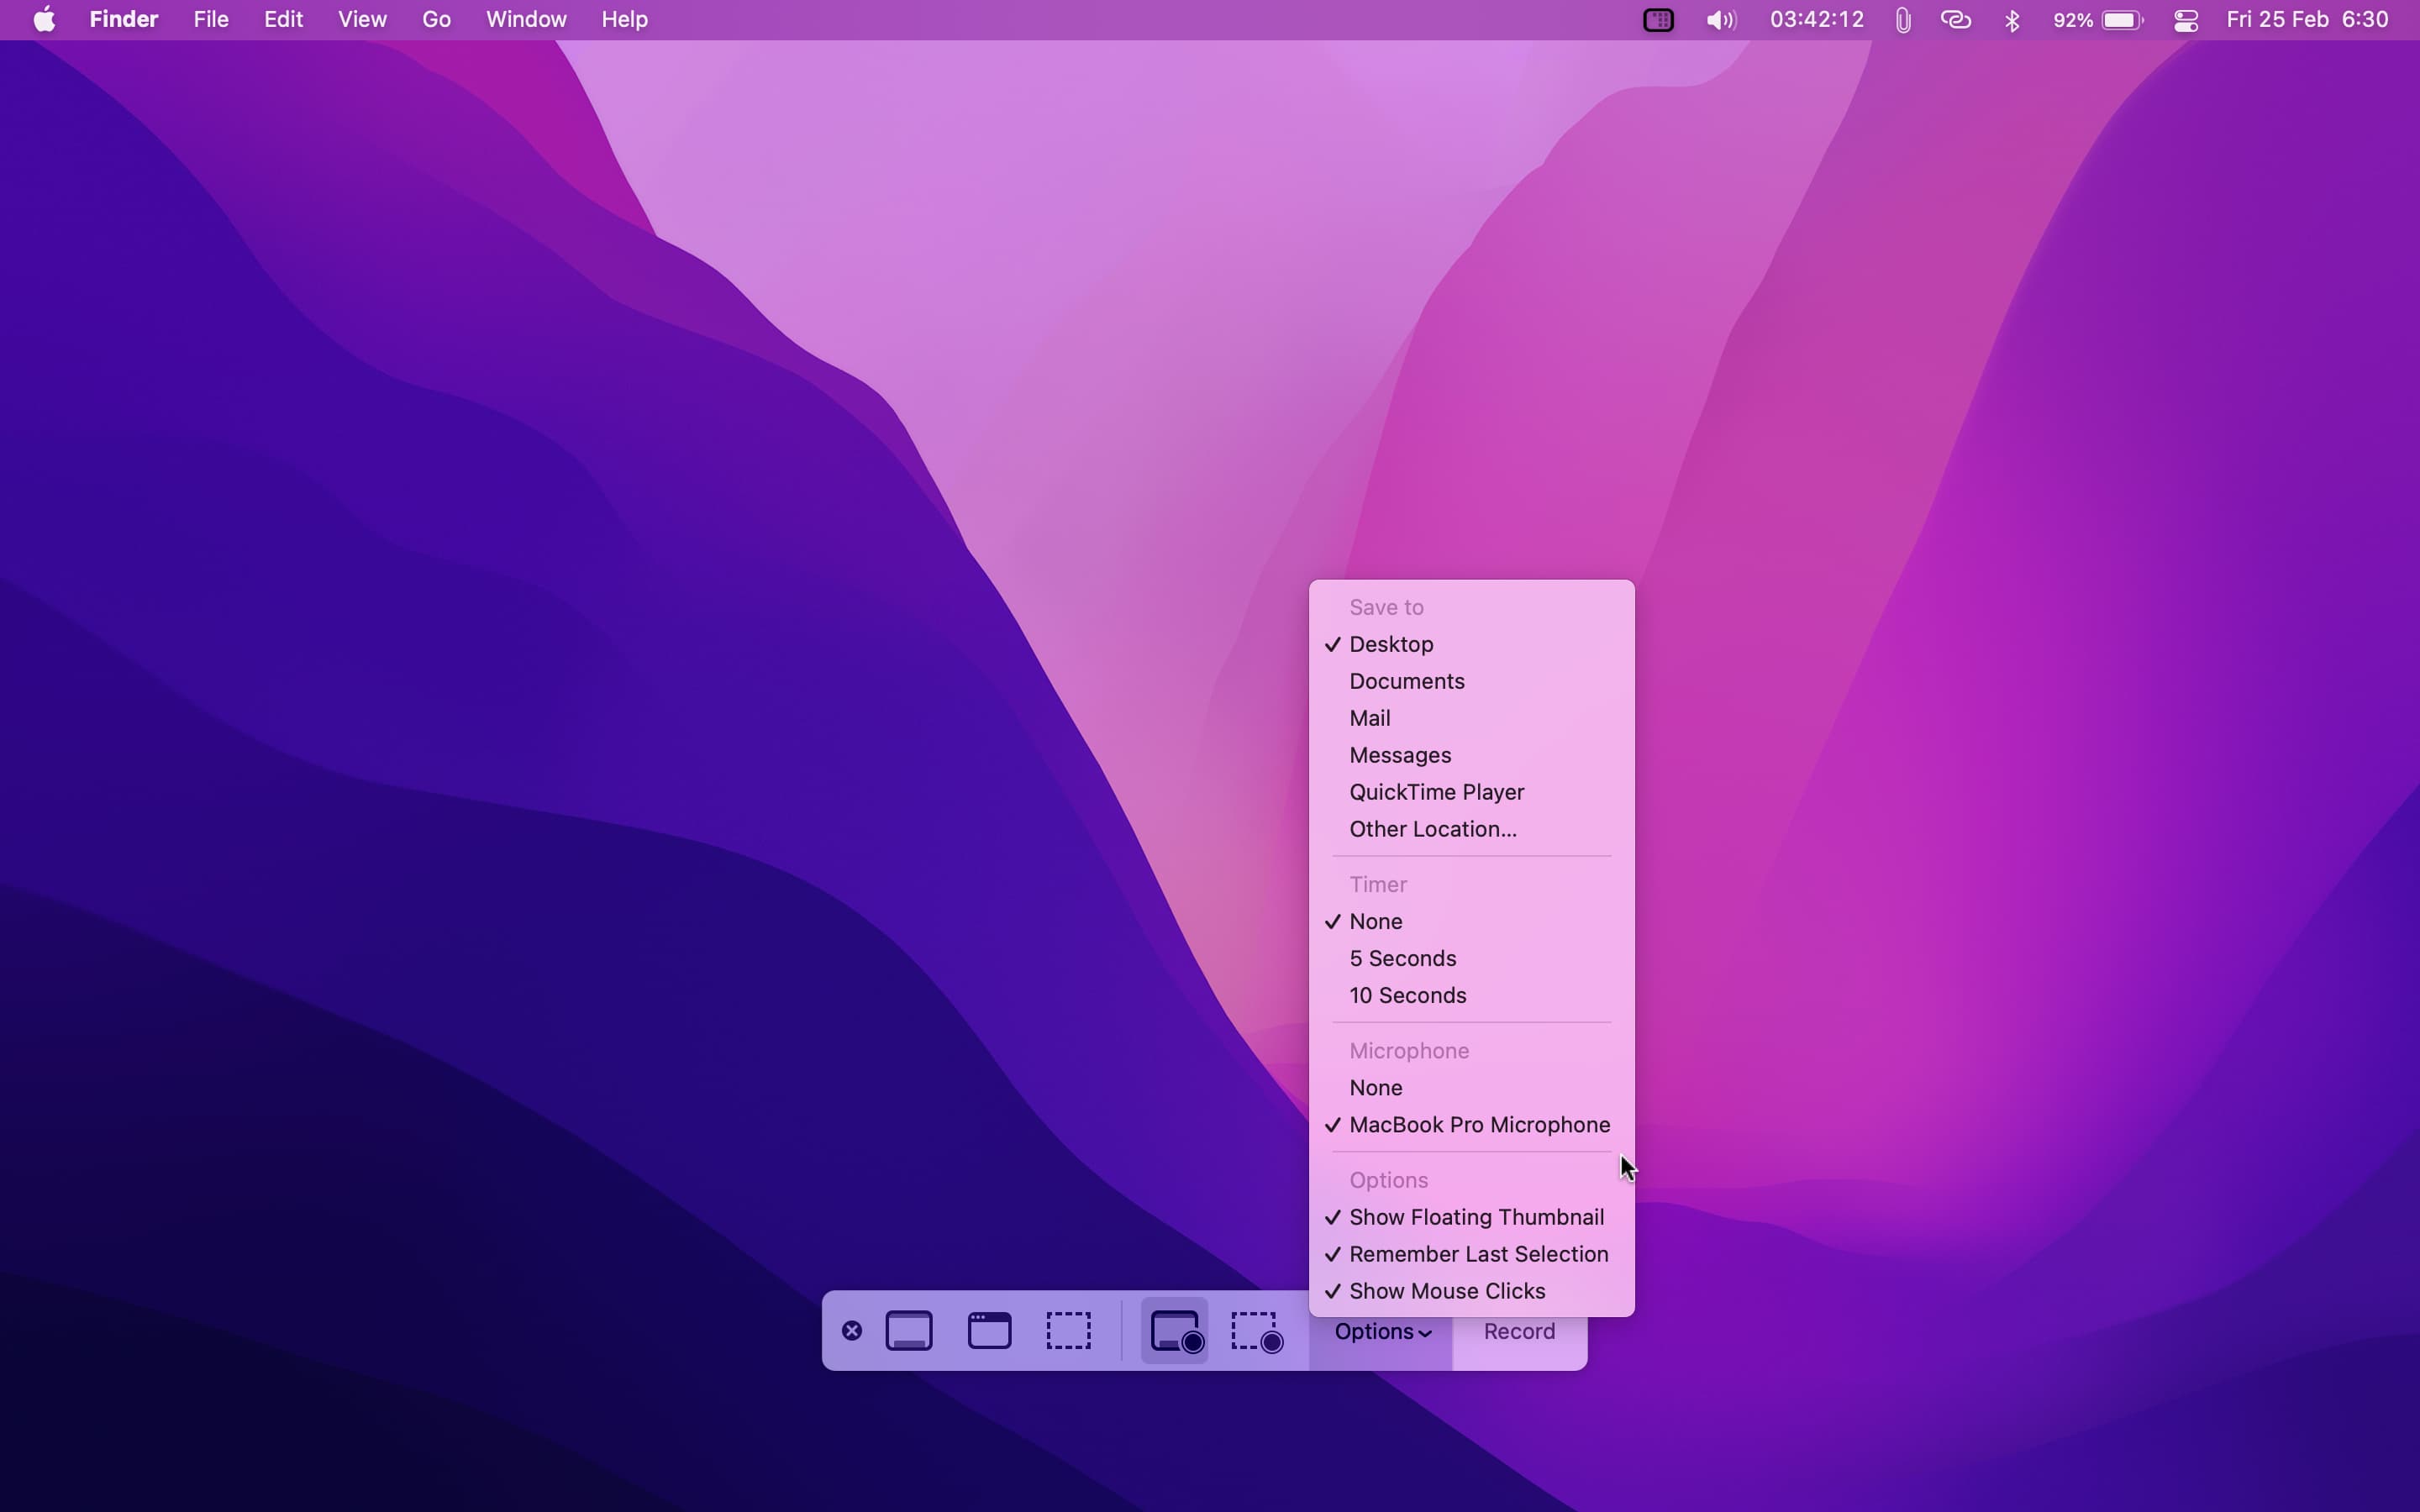
Click Options on the screen toolbar to access some handy settings. From here, you can:
- Save to: Change where the screen recording will be saved.
- Timer: You can choose to start a five or ten-second timer to get some leeway before the screen recording starts after clicking Record.
- Microphone: Use this to choose your Mac’s internal microphone (if available) or any other connected mics to record audio in the screen recording.
- Show Floating Thumbnail: After you take a screenshot or screen recording, its thumbnail stays in the bottom-right corner of the screen for a few seconds. Uncheck this to stop showing this thumbnail if you find it distracting.
- Remember Last Selection: This keeps the settings you choose intact for the next time you make a screen recording. It also includes remembering the screen selection area, thus helping you take screenshots or recordings of the same size or screen portion multiple times.
- Show Mouse Pointer: You can use this to show or hide the mouse clicks in the screen recording.
Use QuickTime Player to video record your Mac’s screen
You don’t have the screenshot toolbar accessed by pressing Command + Shift + 5 on macOS High Sierra and earlier. In this case (and even current macOS versions), you can use the built-in QuickTime Player app to screen record your Mac’s screen.
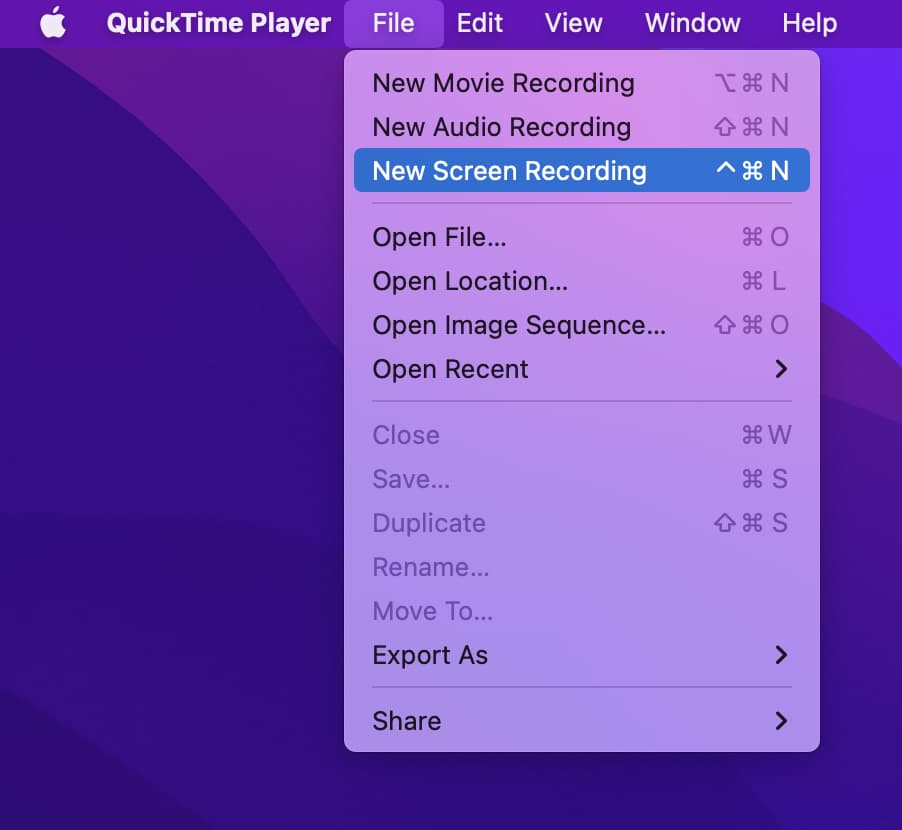
1) Open the QuickTime Player from the Launchpad or Applications folder.
2) From the top menu bar, click File > New Screen Recording. You can also press Command + Control + N.
3) On newer versions of macOS, click Record. You can choose to record the full screen or just a part. The interface is exactly like the Command + Shift + 5 method shown above.
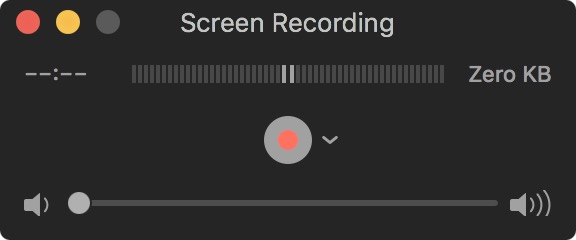
On older versions of macOS, click the red-white button and then click anywhere on the screen to start the recording of the full screen or select a portion to record only that part.
4) When done, click the stop icon in the menu bar.
5) The screen recording will open for you to preview. Click the red button to save the file and close this window.
FAQs
Where are my Mac’s screen recordings saved?
Screen recordings made on Mac are saved to the desktop by default, but you can easily change this. You can also right-click on the desktop and choose Use Stacks to group all screen recordings under one bundle called Movies.
What’s the format of Mac’s screen recordings?
The screen recordings you do on your Mac are saved in .mov format. You can see the size of the screen recording file by selecting it and pressing Command + I.
Related: How to reduce video size on iPhone and Mac
Can I take screenshots during screen recording on Mac?
Just like you can click pictures while recording a video on iPhone, you can press Command + Shift + 3 or Command + Shift + 4 and take a screenshot while Mac’s screen recording is going on.
On a related note: