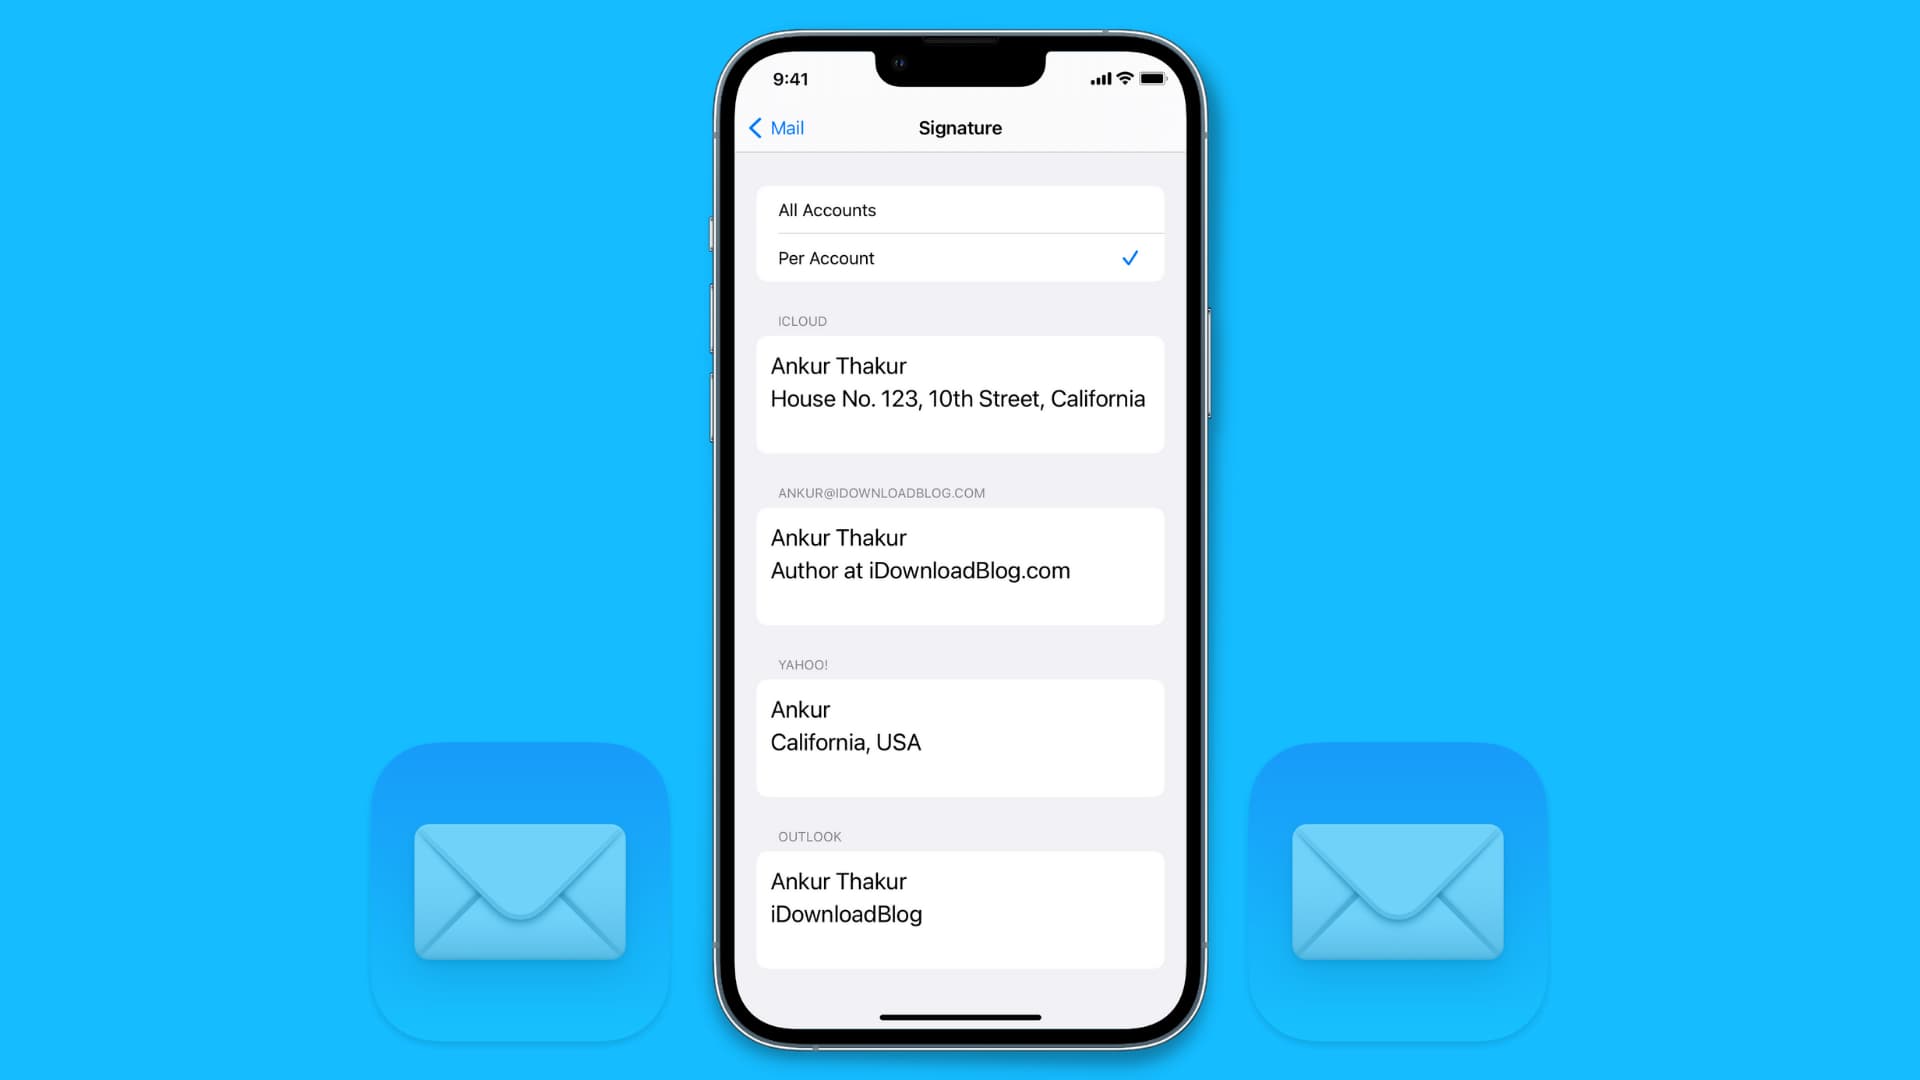
Learn how to add different signatures for each of your email accounts in the Apple Mail app on iPhone, iPad, and Mac for more personalized and professional emails..

I like reading signature lines. Some of my friends are pretty clever and will add funny quips. My family members usually offer some sage advice after their signature. Businesses always include additional contact information.
Your signature line can be a subtle way of expressing yourself. Plus, if you prefer to keep your personal life separate from your work life, you might find this little tip helpful.
Create email signatures per account on iPhone and iPad
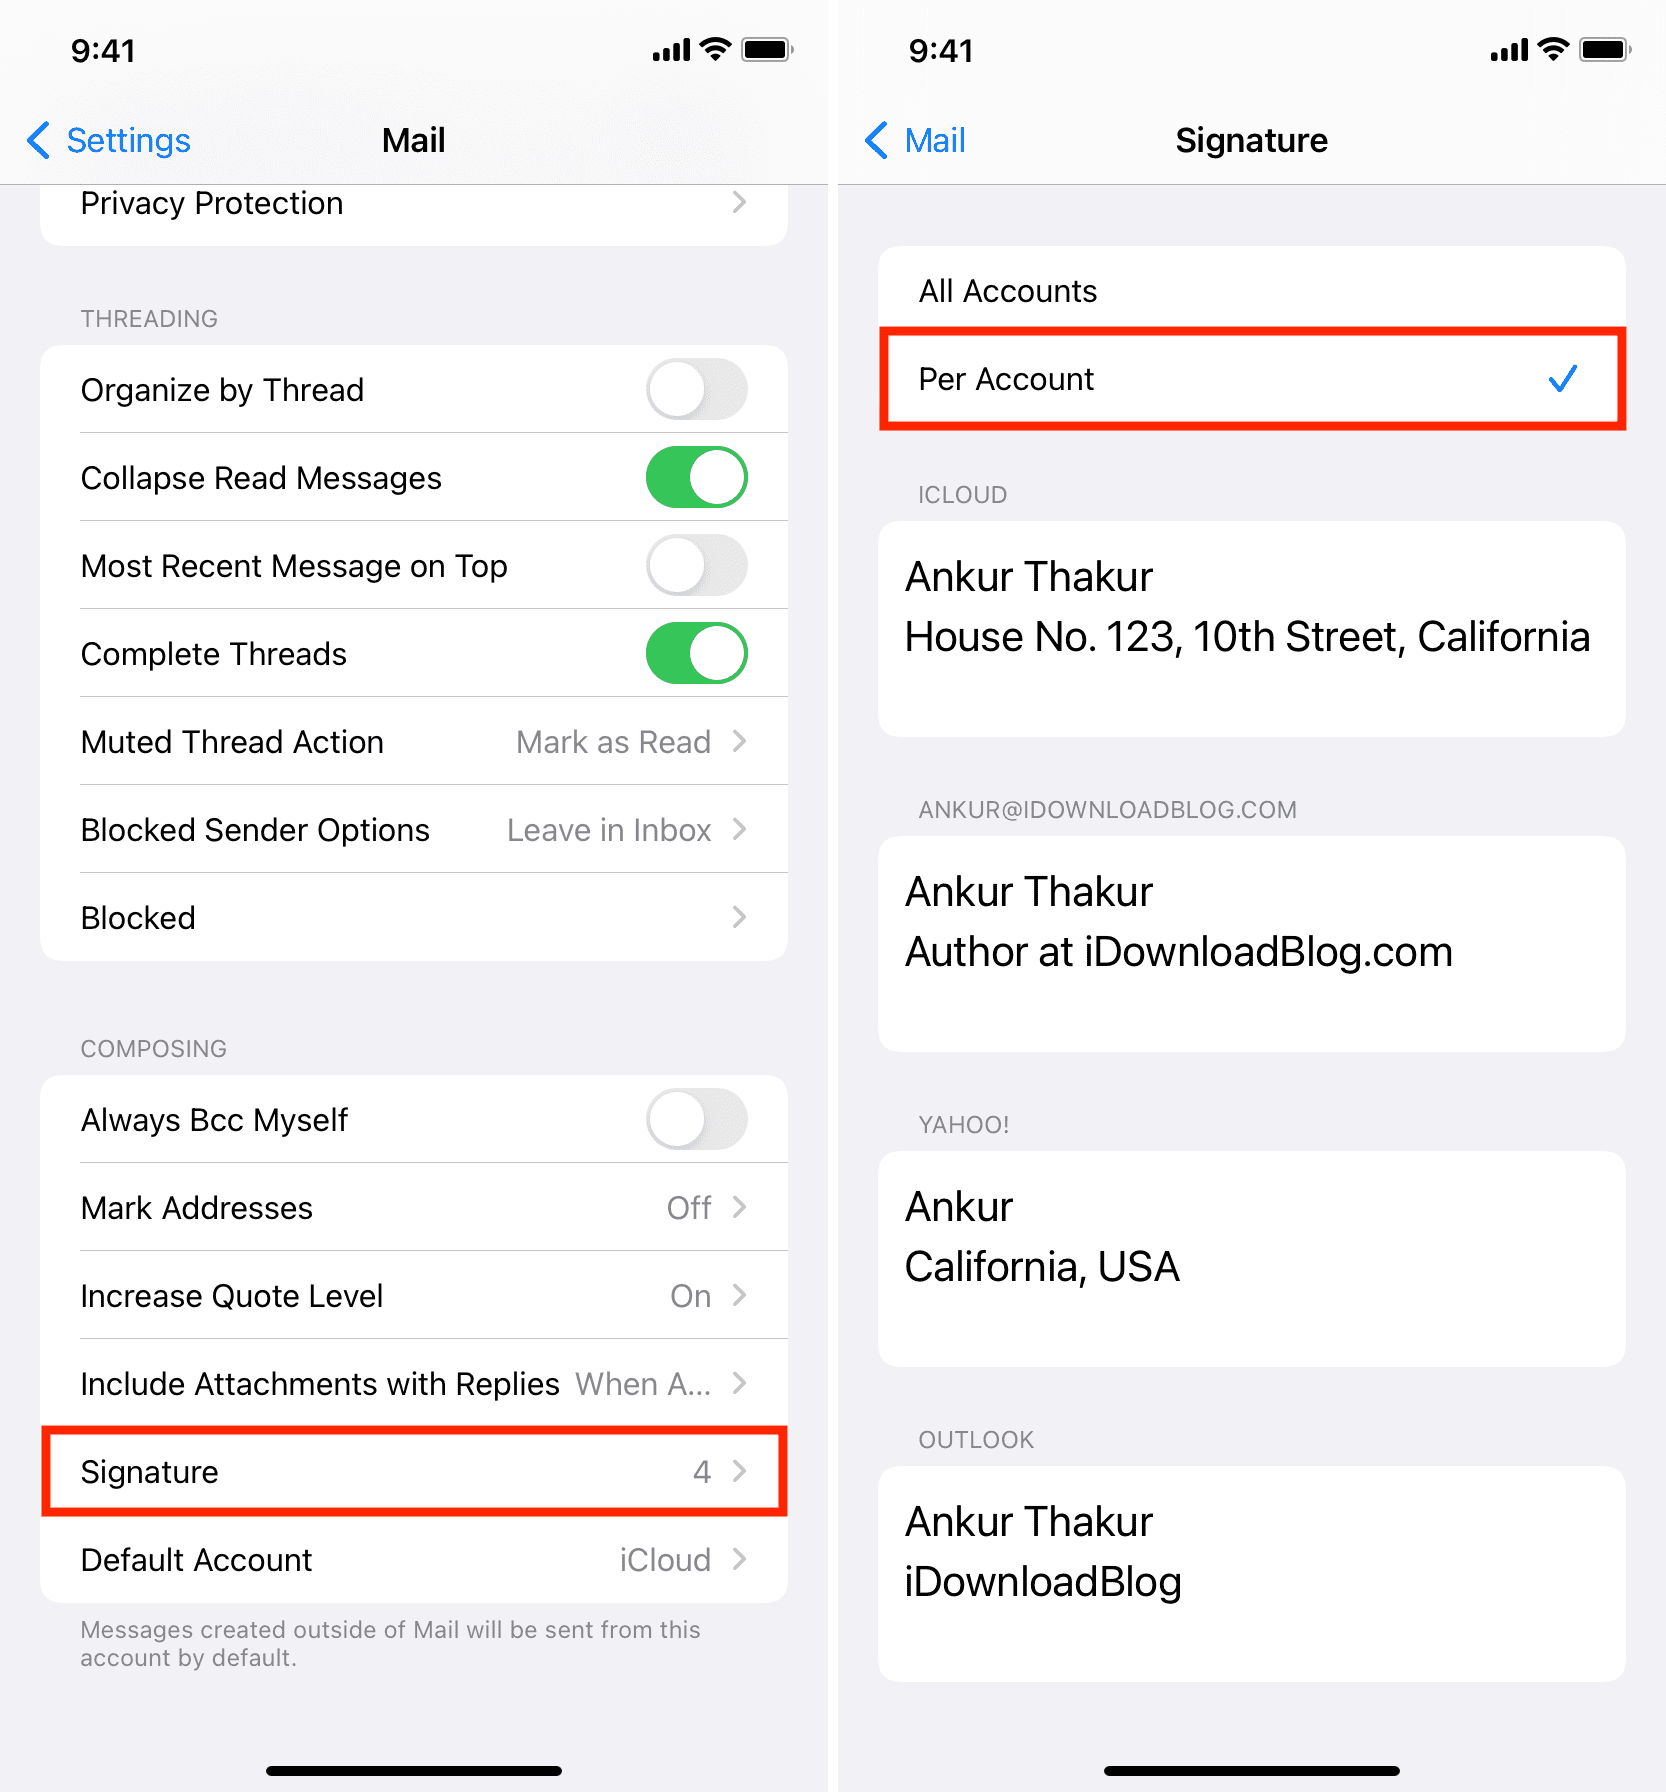
- Open the Settings app and tap Apps > Mail.
- Scroll to the bottom and tap Signature.
- In the Signature section, you’ll be able to select either All Accounts or Per Account. Tap Per Account. Now, all email accounts added to that device will show their respective current signature.
- To change one, simply select the signature, delete it, and replace it with whatever you like. Once you have changed the signature line for each email, it will automatically show up when you send a new message.

Create multiple email signatures on Mac
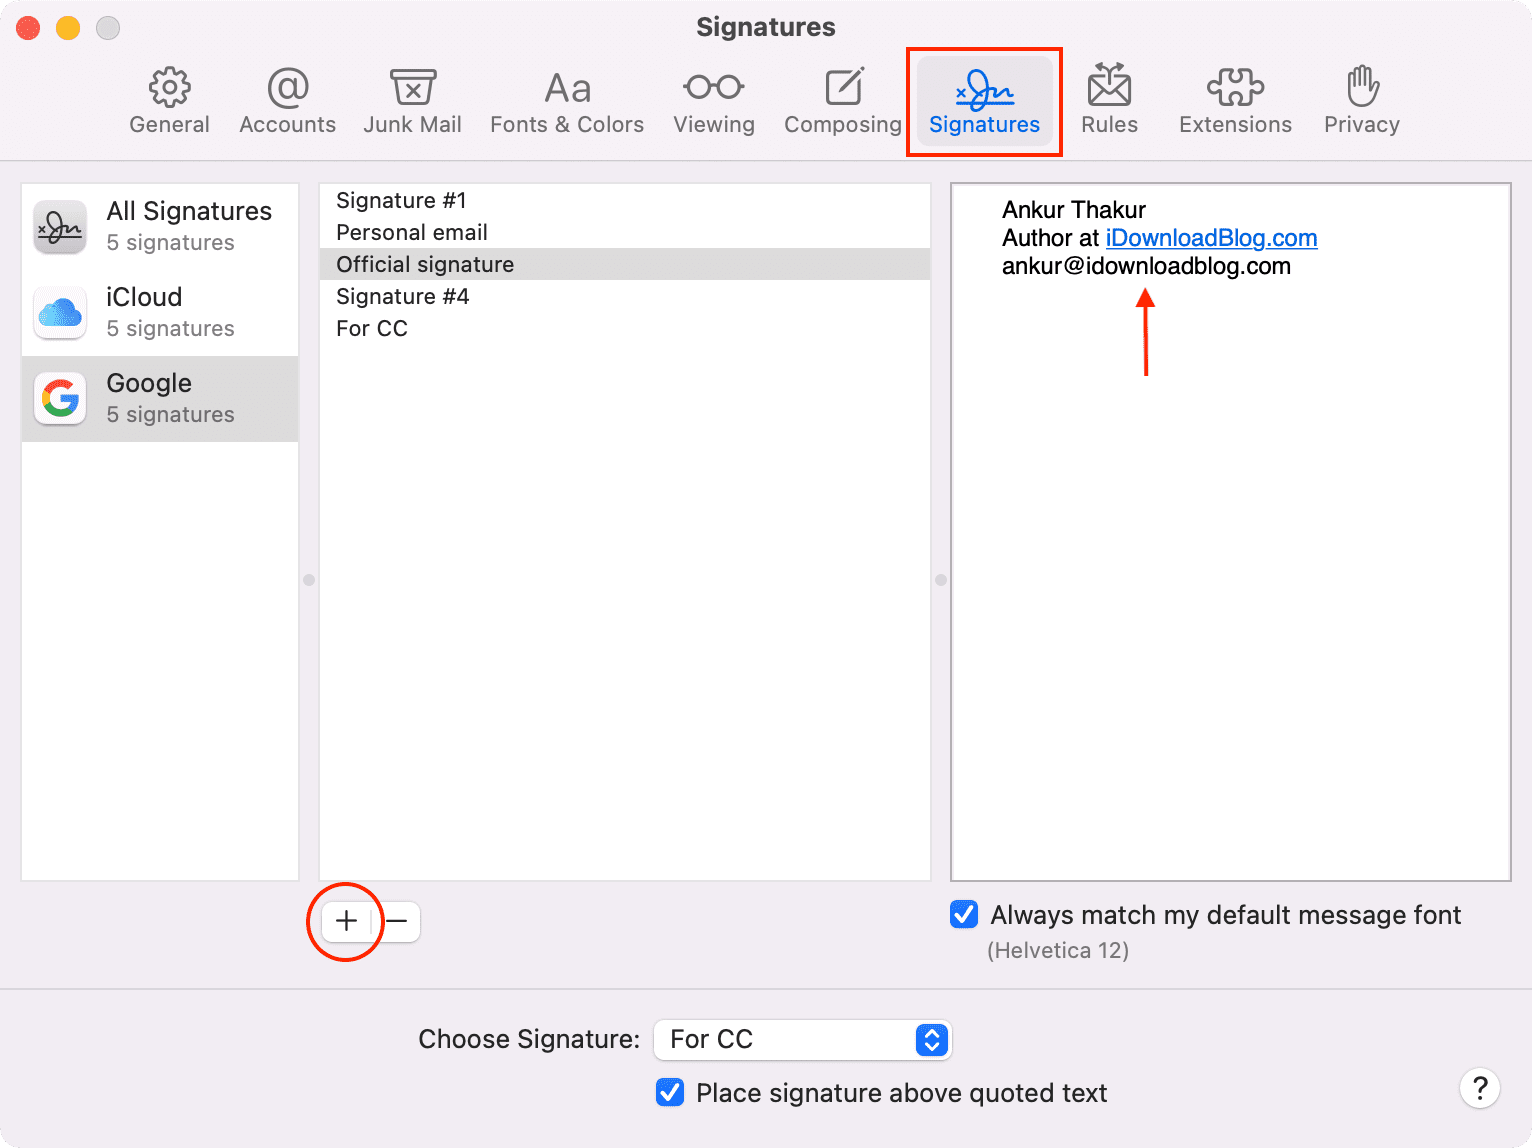
- Open the Mail app and click Mail > Settings or Preferences from the top menu bar.
- Go to the Signatures tab.
- Select a specific account (iCloud, Gmail, etc.) and click the plus button.
- Add your signature. You can also select the text and right-click to see formatting options like bold, italic, add link, and more.
- Repeat the same process under All Signatures or a particular added account to create more signatures. You can also select the signatures in the middle column and drag them to another account.

From now on, when you’re on the email compose screen, click the Signature dropdown menu to choose one.

On a related note: