Did you edit a photo on your iPhone or iPad but now want to get its original version back? In this guide, we show you two ways to have both the edited and non-edited variants of the same image.
You will need a Mac for the first method, and you can follow the second one right from your iPhone or iPad.
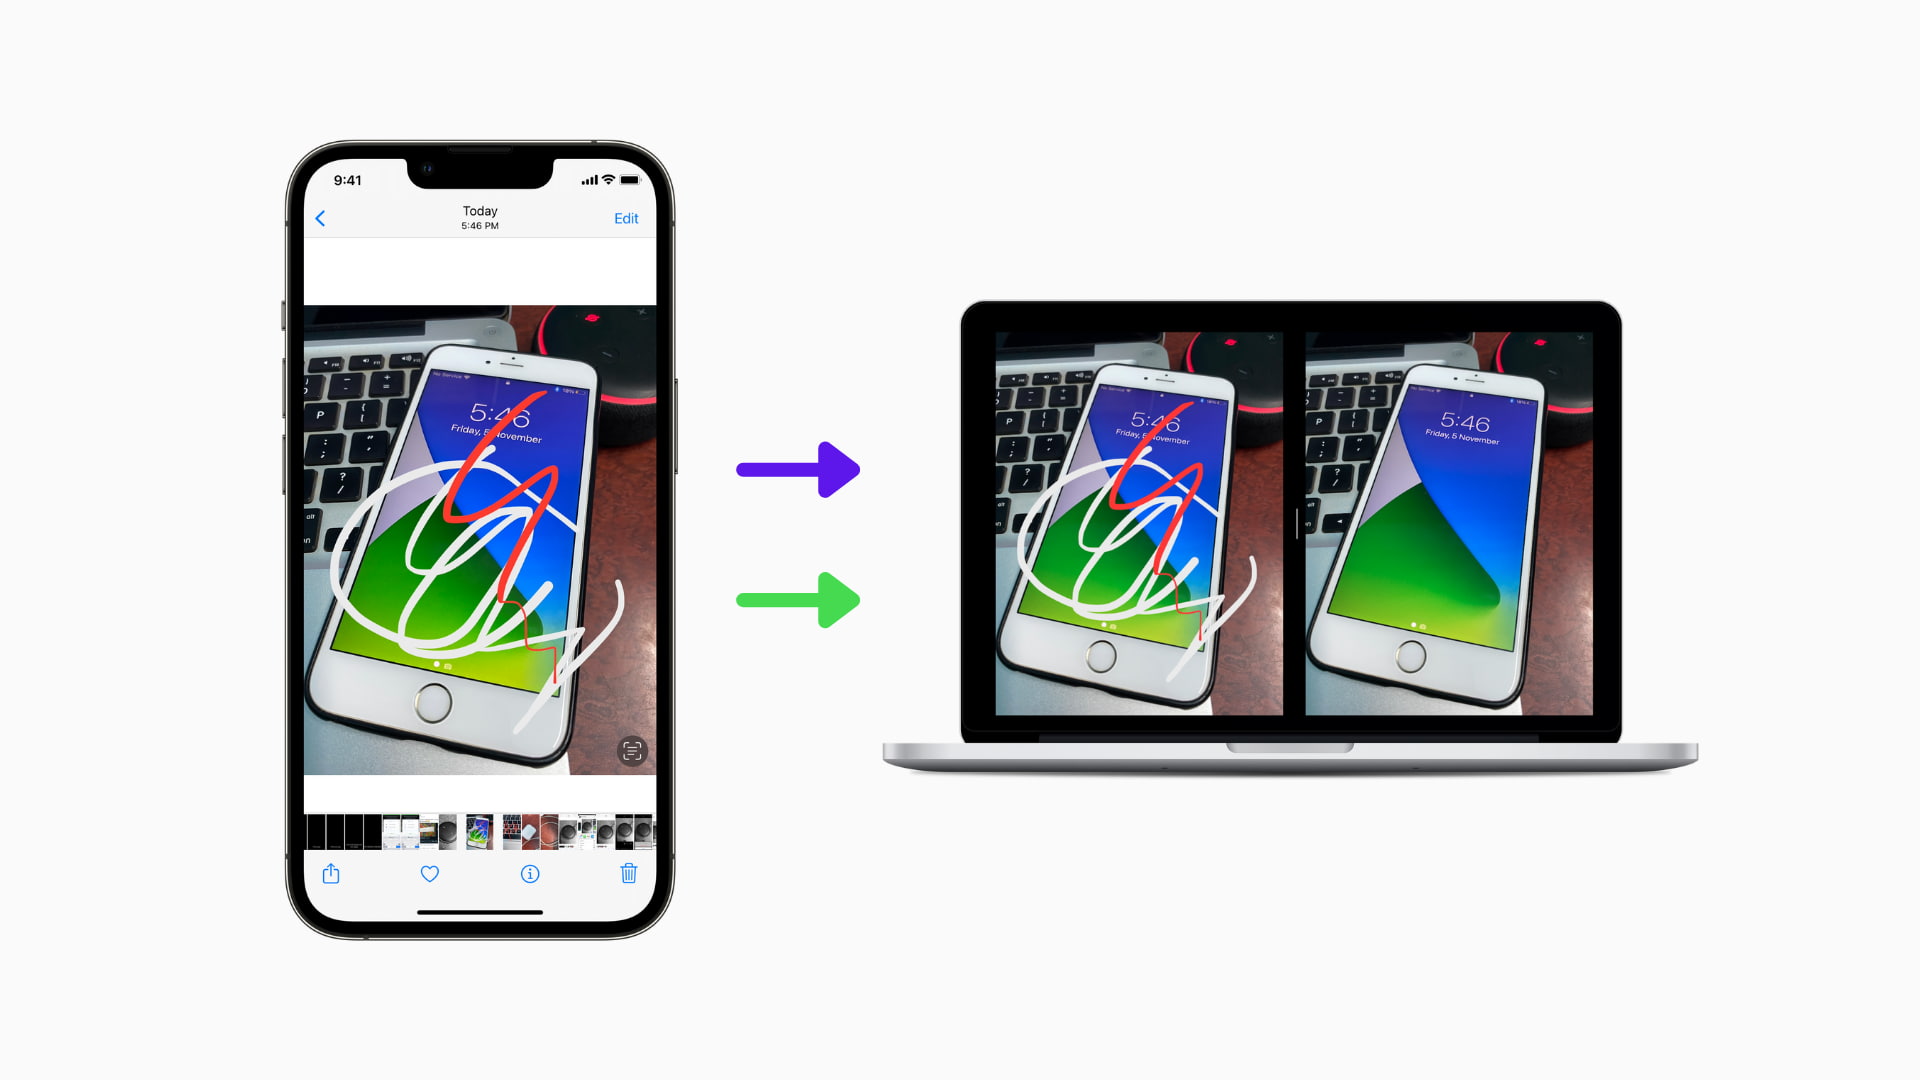
Import both edited and non-edited images from iPhone to Mac without reverting the change
After you edit an image in the iPhone Photos app, iOS automatically makes the edits on a duplicate file so that changes can be reversed. The Photos app only shows you the edited version, and the original file is hidden.
However, the Image Capture app (which comes pre-installed on all Macs) shows both the files and lets you import them.
1) Unlock your iPhone or iPad and connect it to the Mac using a cable.
2) Open the Image Capture app on Mac.
3) You should see all your iPhone images here. If you don’t, unplug and replug the cable.
Now, scroll down, and you will find both the edited and non-edited versions of the same image:
- The edited image will have the word E in the file name.
- Additionally, if the image was taken from the iPhone camera, it should be in HEIC format by default (unless you changed it). The edited version of this image will be in JPG format.
4) Press the Command key and select both versions of the image.
5) Finally, click Download or Import. Now, you will have the edited and non-edited images in Mac’s Downloads folder.

If you do not see your iPhone images inside the Image Capture app, make sure your iPhone is unlocked and you are on the Home Screen or inside the Photos app. Also, ensure your phone and Mac are correctly connected via the cable. In case you only see older iPhone images inside the Image Capture app and not the latest ones, unplug the cable and insert it again.
Get both edited and non-edited versions of the same image on iPhone
Whenever I have to edit an important picture on my iPhone or iPad, I tap the three dots icon > Duplicate and then edit the second image. But even if you have already edited the image, you can follow the steps mentioned in the above heading. However, if you do not have a Mac, you can use these steps on your iPhone or iPad to get both edited and original versions of the same image.
1) Open the Photos app and find the edited image.
2) Tap the three dots icon and select Duplicate. This will create a copy of the edited image.

3) Now go to the second image in the Photos app and open it.
4) Tap the Edit button or hit Edit and choose Revert > Revert to Original. Now, you have the same picture in both edited and non-edited versions.

Check out next: