Learn how to set up, store and use one-time verification codes for two-factor authentication in the Apple Passwords app built into your iPhone or iPad.

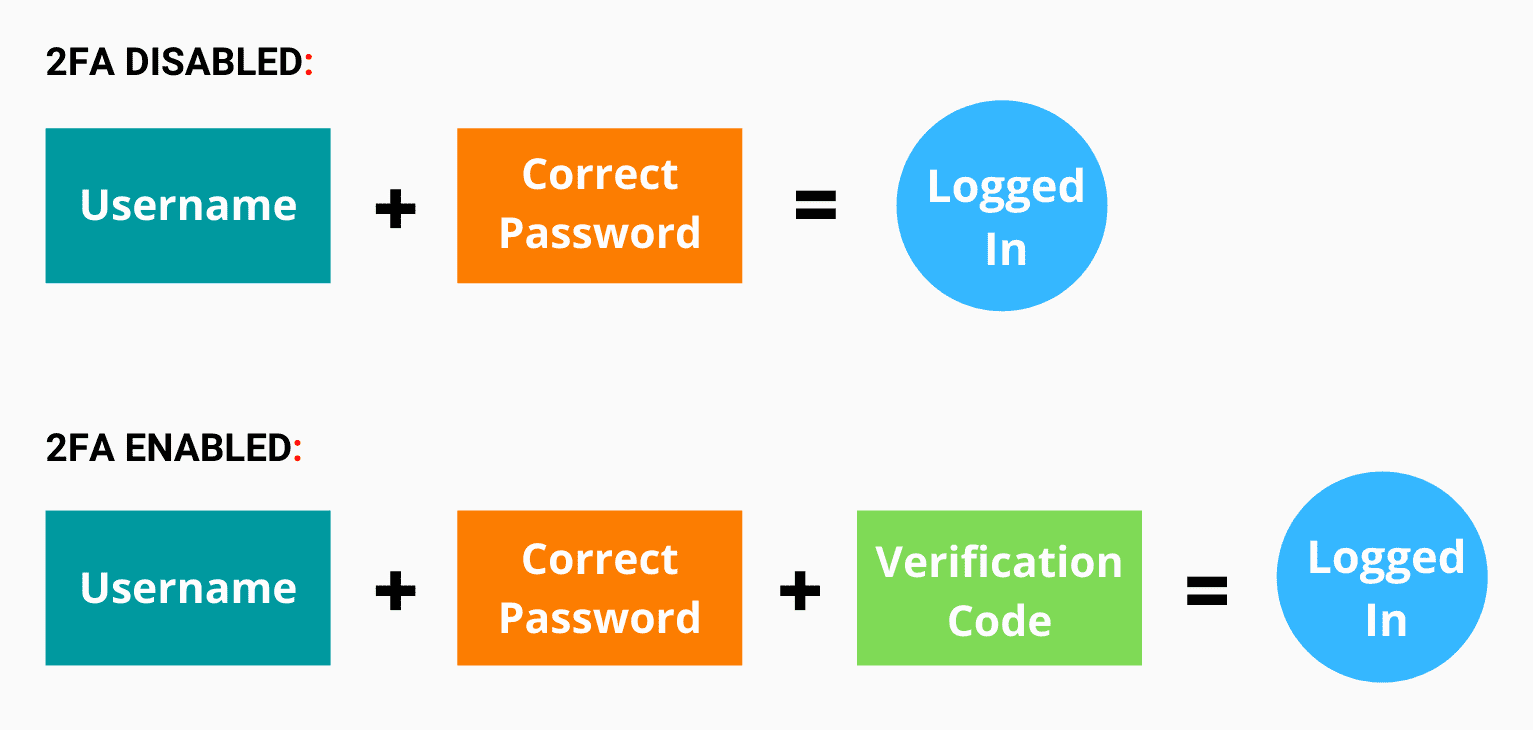
Two-factor authentication (2FA) brings an additional layer of protection when signing in from a new device. With it enabled, you must enter a one-time verification code after providing your username and password to log in to online accounts and apps that support the feature. New verification codes are generated every 30 seconds on your iPhone, iPad or Mac, even when offline.
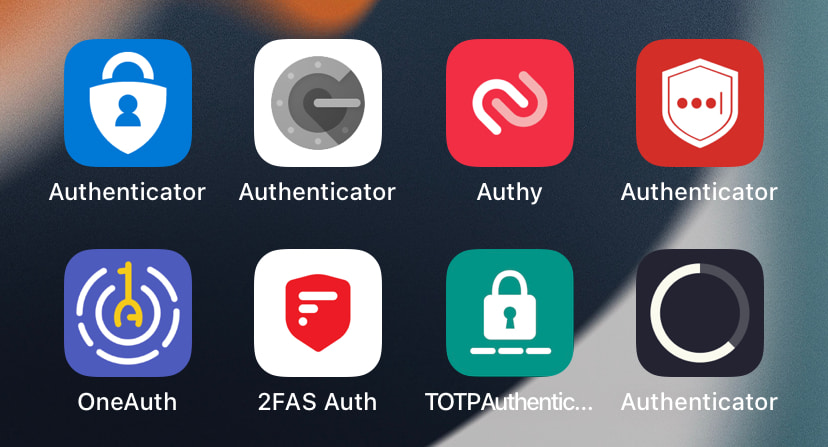
You can set up verification codes in third-party authenticator apps from Google, Microsoft, LastPass, and others, but you don’t have to; the built-in Apple Passwords app has everything you need to manage your login passwords and verification codes. Your secrets sync via iCloud, allowing you to use saved logins and 2FA codes across your iPhones, iPads and Macs running the latest versions of iOS and iPadOS 18 and macOS Sequoia.
Authenticator apps vs Apple Passwords: Which is better?
The key advantage to Apple Passwords is its tight integration with iOS, iPadOS and macOS. This lets you easily autofill verification codes on login screens in Safari and other apps. In contrast, Google Authenticator and Microsoft Authenticator cannot autofill verification codes on Apple devices.
People whose daily driver is a non-Apple device like an Android phone, however, are better off using Google Authenticator or a similar multi-platform service. Otherwise, they’ll need to manually type the verification code from the Passwords app into their Android device to complete the login.
Apple Passwords app as the default authenticator app
Quick summary:
- Go to the website or app’s password and security settings page.
- Enable two2FA and choose to receive verification codes via an authenticator app.
- Set up Apple Passwords as your preferred authenticator app.
Before we begin, make sure your login credentials for the app or website where you’d like to use 2FA are already saved to the Passwords app.
Option 1: Scan the QR code
Visit the website settings on another device, like a Mac or your iPad, and use it to scan the QR code into the Passwords app. We’ll use X (Twitter) to illustrate the steps, but the process is similar on other websites.
1) Visit x.com and click More > Settings and privacy > Security and account access > Security > Two-factor authentication.
2) You will see multiple choices to set up 2FA codes, like text message, authenticator app, and security key. Select the Authentication app option to continue.

You’ll see a QR code that you must scan using Apple Passwords (explained below).

3) Open the Passwords app on your iPhone or iPad, tap All, and then select the saved account for which you want to set up the 2FA login method.

Tap Set Up Verification Code, followed by Scan QR Code with Camera.

4) Scan the QR code and enter the six-digit verification code that appears on the screen into your computer or iPad (explained in the next step).

5) Click Next on your computer or iPad, then enter the six-digit code displayed on the iPhone’s screen.

You’ve now set up 2FA for said service in the Passwords app. You’re wholeheartedly recommended to save backup codes somewhere safe, like a locked note.

Option 2: Set up everything on your iPhone
If you don’t have a second device to scan the QR code with, set up 2FA directly on your iPhone or iPad.
1) Open the Settings app on your iPhone or iPad and navigate to General > AutoFill & Passwords. Make sure to set the Set Up Codes In option to Passwords so that the Passwords app opens automatically when setting up 2FA.

2) Open the app/website’s security settings on your iPhone. Using X (Twitter) as an example, we click the profile picture and choose Settings and privacy > Security and account access > Security > Two-factor authentication. Here, turn on the switch for the Authentication app and enter your account password.
3) Tap Link app and the Passwords app should open automatically.

4) Find your saved account and tap it. If your username and password aren’t already saved in the Passwords app, tap the plus button to add them manually.
5) Copy the six-digit verification code displayed in the Passwords app.

6) Paste the code into the X app to confirm and finish setting up 2FA.

Option 3: Set it manually via a code
Use these steps if you cannot scan the QR code or the website doesn’t provide the option to link 2FA directly with the Passwords app.
1) Go to the app or website and follow the above steps until you get to the 2FA setup screen, then tap “Can’t scan the QR Code?” and you should see a long alphanumeric code. Copy it to the clipboard.

3) Switch to the Passwords app on your iPhone and select the saved website account.
4) Tap Set Up Verification Code, paste the Setup Key you copied earlier, and hit Use Setup Key.

5) Copy the six-digit verification code from the Passwords screen and paste it into the website/app to finish setting up 2FA.

Autofill 2FA codes via Apple’s built-in authenticator
With 2FA configured for a website or app, Safari will automatically fill your username and password from the Passwords app. And when asked to enter your verification code, you’ll get a suggestion to autofill the code from the Passwords app.

What to do if you can’t autofill verification codes
If 2FA codes don’t show up when logging in to an app or website. go to Settings > General > AutoFill & Passwords and be sure Passwords is turned on under the Autofill From section.

This should fix the issue. For some apps and websites, however, verification codes may not appear above the onscreen keyboard. In those cases, manually copy and paste the verification code. First, go to the Passwords app and select the saved login. You can also ask Siri to “Show my [website name] password.” Second, tap the six-digit code and choose Copy Verification Code. And third, paste the code into the website or app to complete login.
Stop using the built-in iPhone authenticator
If you no longer want to use an authenticator app, including Apple Passwords, be sure to first turn off 2FA in the service’s account settings (for example, on x.com or facebook.com). And don’t forget to add another service that can receive 2FA codes in order to avoid getting locked out of the site or app forever! With that done, follow the steps below to remove the verification code from Apple Passwords:
1) Open the Passwords app and select the account details.
2) Tap Edit.
3) Tap Delete Code and confirm the operating by selecting Delete Verification Code.

On a related note: