Learn how to add Google Drive, Dropbox, One Drive, Box, and other storage services to the Apple Files app on your iPhone or iPad to access and copy data freely among all these services.
The iOS Files app is the built-in file manager to store documents, videos, projects, and just about anything.
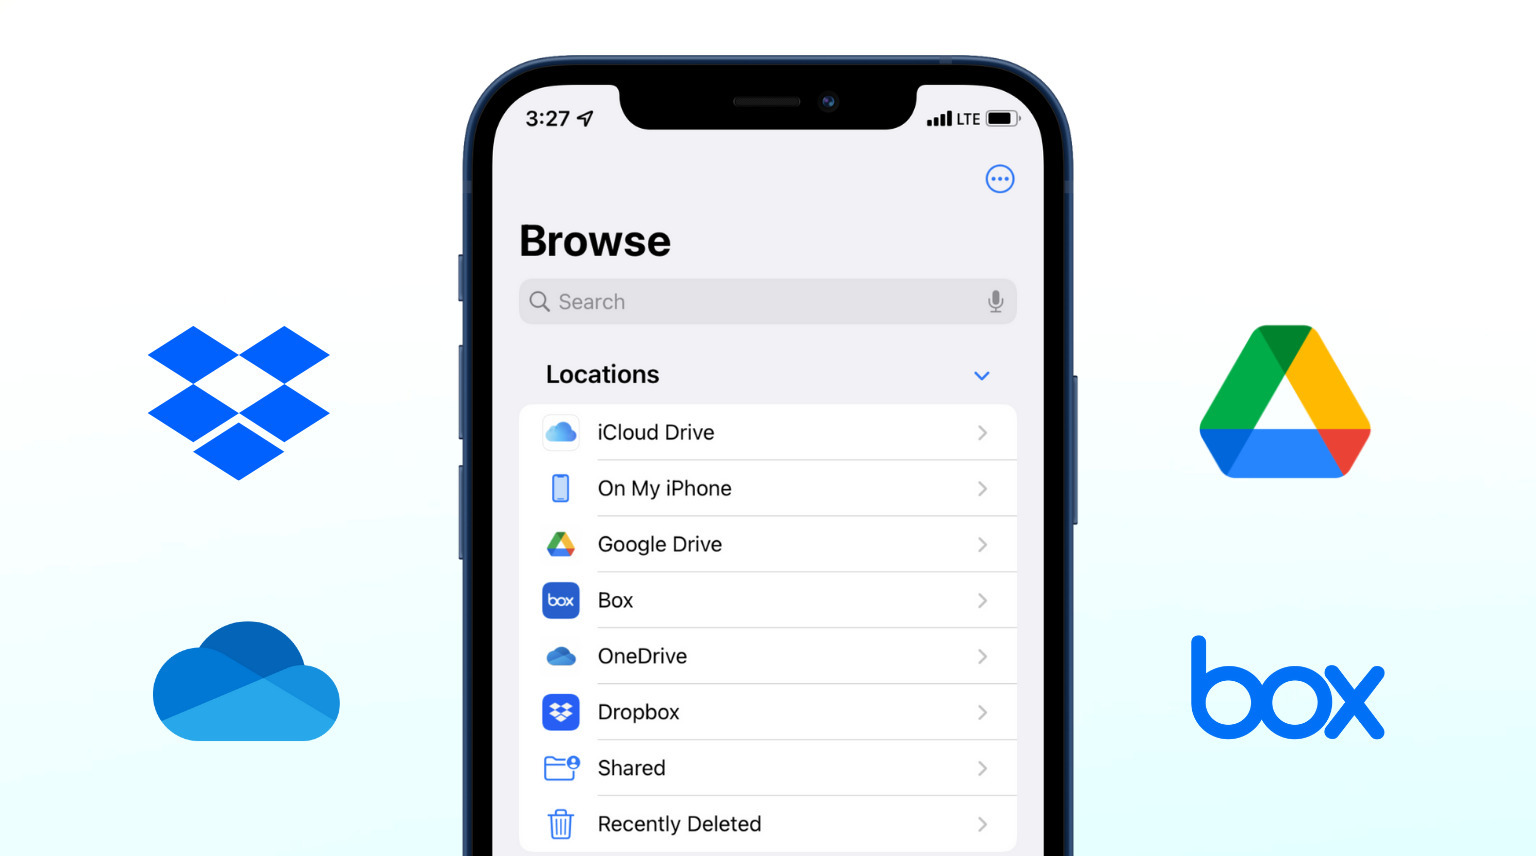
By default, it lets you save and access files in iCloud Drive and locally On My iPhone/iPad. But you can easily enable third-party apps and services like Google Drive, Dropbox, One Drive, Box, and more inside the iPhone or iPad Files app. Once that’s done, it becomes easy to access and move data among different services.
Add Google Drive, Dropbox, and other apps to the iOS Files app
- Start by downloading the concerned app, like Google Drive, Dropbox, OneDrive, Box, and such from the App Store. Next, open the app and sign in.
- Open the Files app and tap Browse to go to the Browse/Locations screen.
- Tap More Locations if you see it, or hit the three dots menu button from the top and select Edit.
- Turn on the switch for Google Drive, Dropbox, One Drive, Box, or other supported services you see here and tap Done.
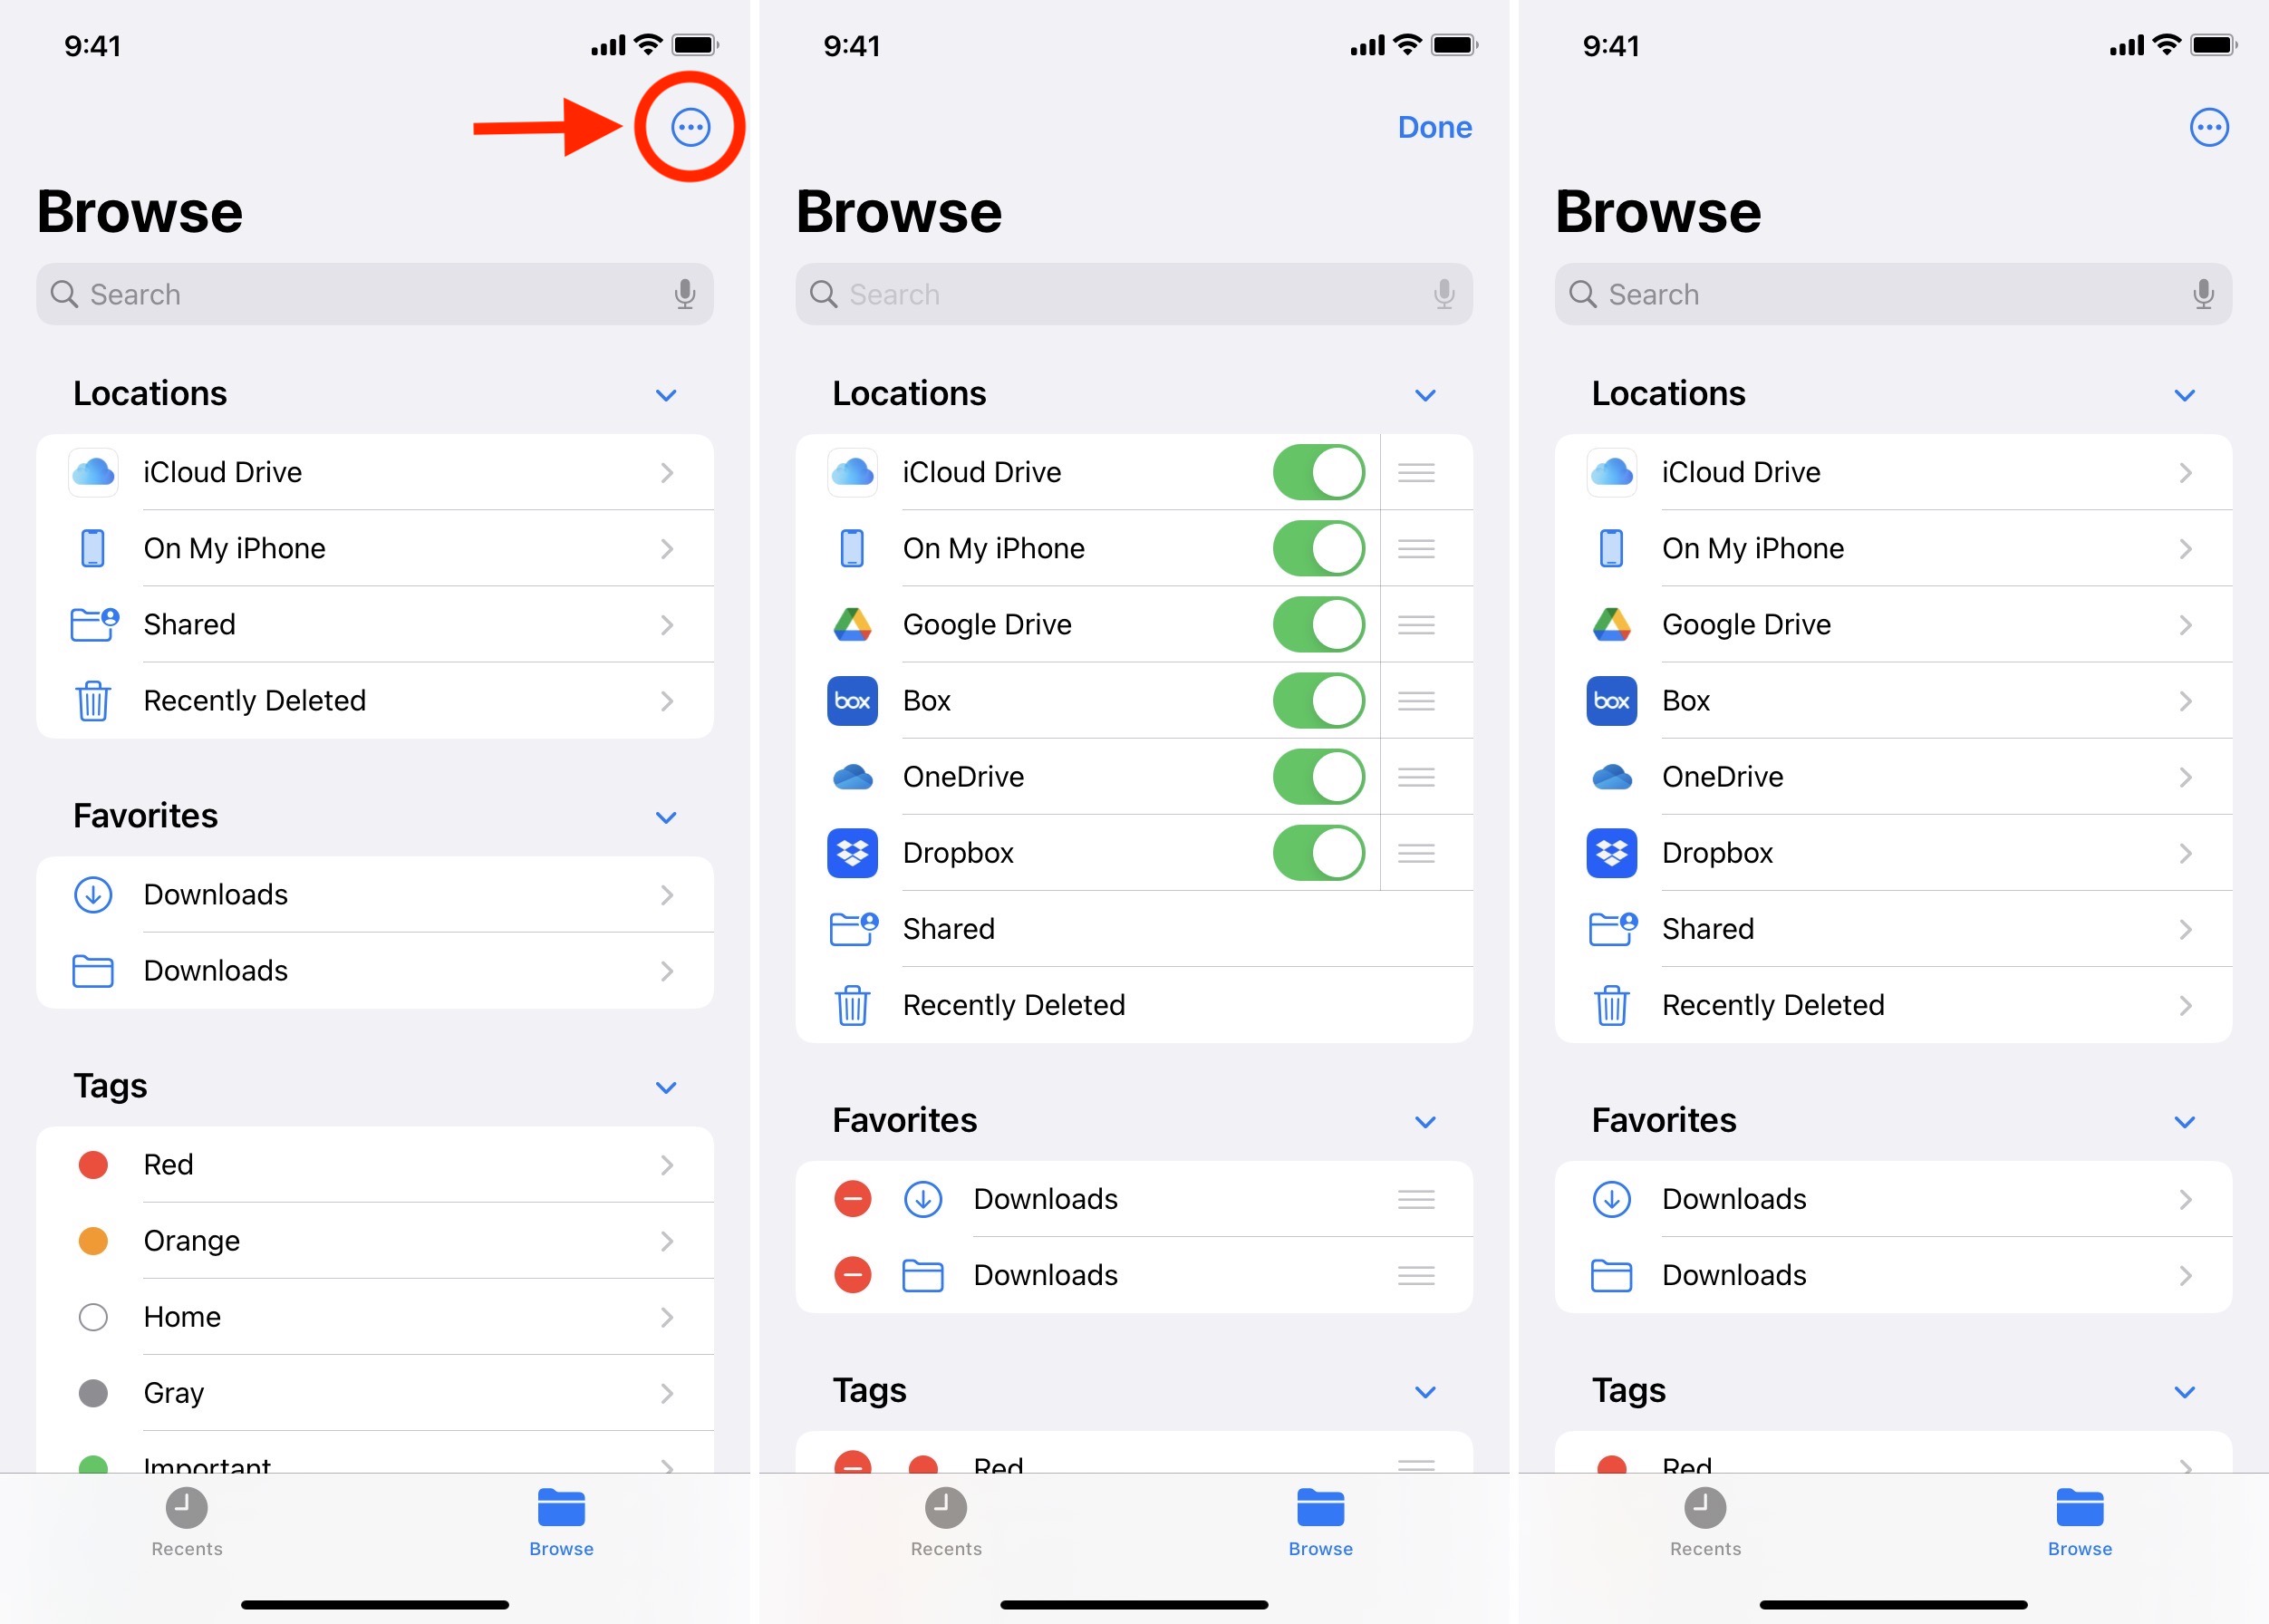
You’ve successfully enabled these apps inside the iPhone or iPad Files app. Tap their name to access the folders, files, and documents stored in these.
You can also continue to access files inside the respective apps of these services. So, you may ask what the benefits of adding these services to the Files app are? Well, the main benefit is that now you can effortlessly copy data between these apps and your local iPhone storage.
Copy files from “On My iPhone” to Google Drive or other locations
Once you have set up the third-party service inside the Files app, you can copy files and folders from your local storage (On My iPhone) or iCloud Drive to Google Drive, Dropbox, and other services. What’s better is that these steps also let you copy files among two different services. For instance, you can move files from Dropbox to Google Drive, and so on.
- Open the Files app and go to the location where the files you want to copy are saved.
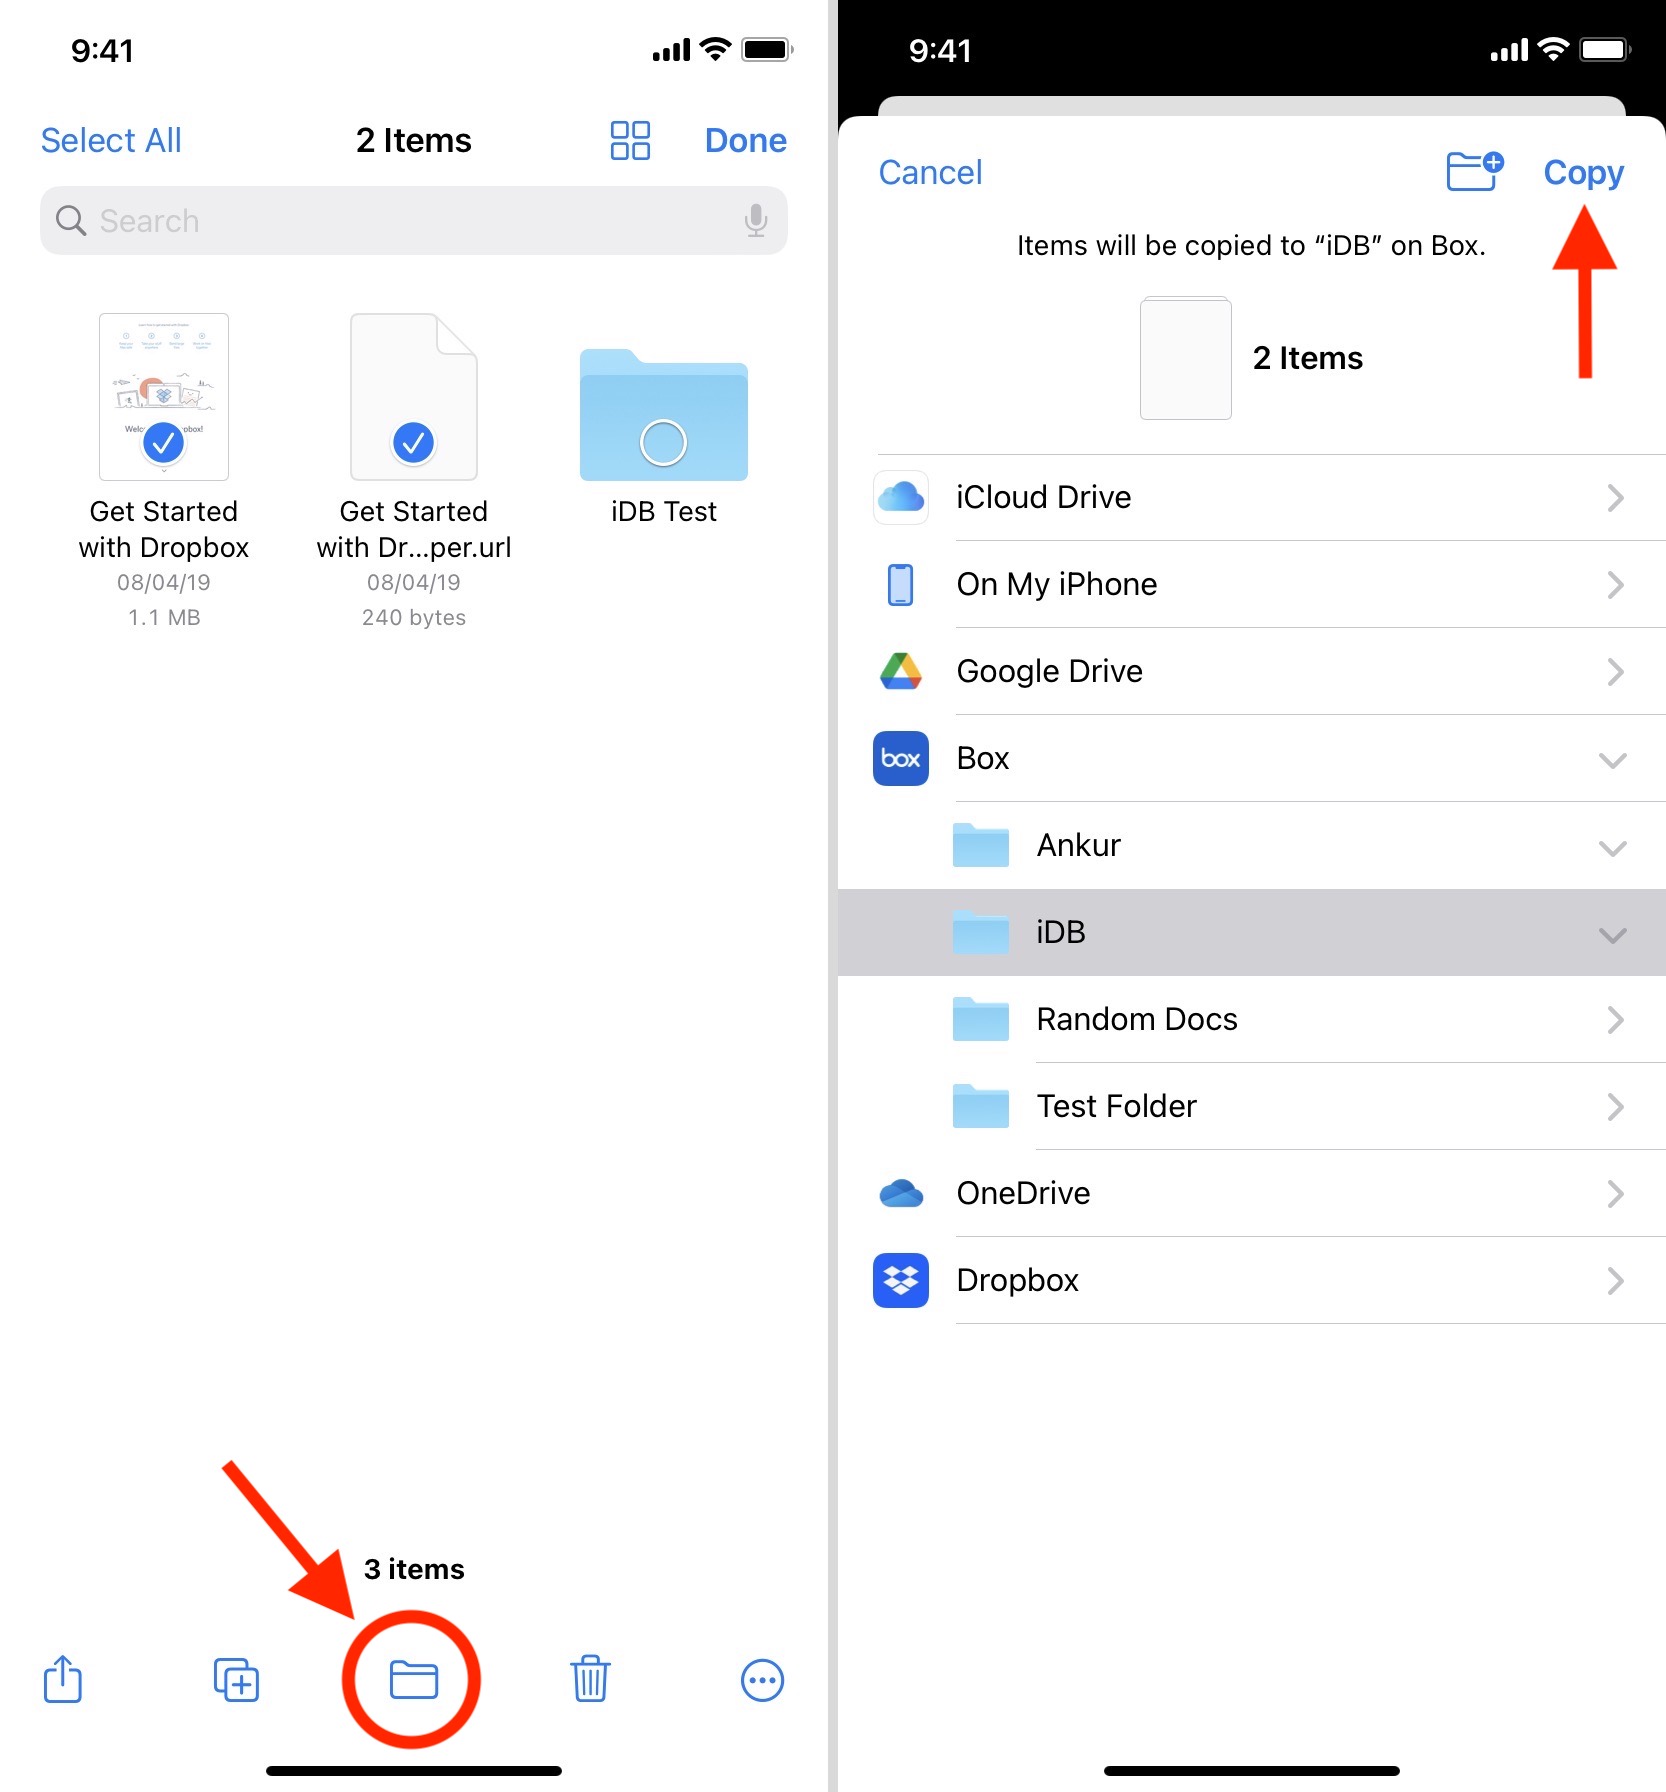
- To copy a single file, long-press it and choose Move. If you want to copy multiple files together, tap the more icon > Select and tap to select the desired files. Next, tap the folder icon.
- Choose where you would like to copy these files. It can be a different service or a different folder inside the same location.
- Finally, tap Copy.
Another way is to long-press the file and choose Copy. Next, go to the new location, long-press an empty area, and tap Paste.
The files will be copied from the original location to this new one. Please note that you can copy files among the same or different services, like Google Drive to Dropbox, iCloud Drive to Google Drive, On My iPhone to Google Drive, and so on.
But you can move files only from one folder to another folder of the same service, like from one Google Drive folder to another Google Drive folder. Or one On My iPhone folder to another local folder.
Why add Google Drive and other services to the Files app
- As mentioned, having different services inside the Files app lets you copy documents freely among different services.
- You can also use this to free local storage. Start by copying the files from On My iPhone to one of the cloud services. Next, delete the files from On My iPhone (and empty Recently Deleted) to make space on the device.
- If your iCloud storage is full, move files from iCloud Drive to Google Drive or another service and delete them from iCloud Drive.
- Imagine you’ve created a shared iCloud folder that has files you and your team collaborate on. Now, if you have some files in Dropbox, you may move them effortlessly to the shared iCloud folder, which makes it available for everyone.
- You can connect an external camera or storage drive to your iPhone or iPad and access all the media using the Files app. If required, you can copy them to Google Drive or Dropbox.
These are just a few possible examples. Your use case will differ. Nonetheless, having all storage options in one app is undoubtedly convenient. What do you think of this?
Check out next: How to change the extension of files on iPhone, iPad, and Mac