Learn how to take long exposure photos on your iPhone and add this cool effect to your shots without needing third-party apps.
Long exposure photography involves leaving the camera shutter open for a longer period of time, which blurs or smears the moving objects in the photo. This usually requires you to download a third-party app on the iPhone, but there is a way to do it without using third-party apps. Of course, using a third-party app will offer more control and allow you to keep the shutter open longer.
You can use the stock iPhone camera app to get a pleasing long-exposure photo. You can do it handheld, but the resultant photo may not look as sharp if it were taken using a tripod.
Also see: 11 composition tips for taking great photos with your iPhone
Take long exposure photos on iPhone
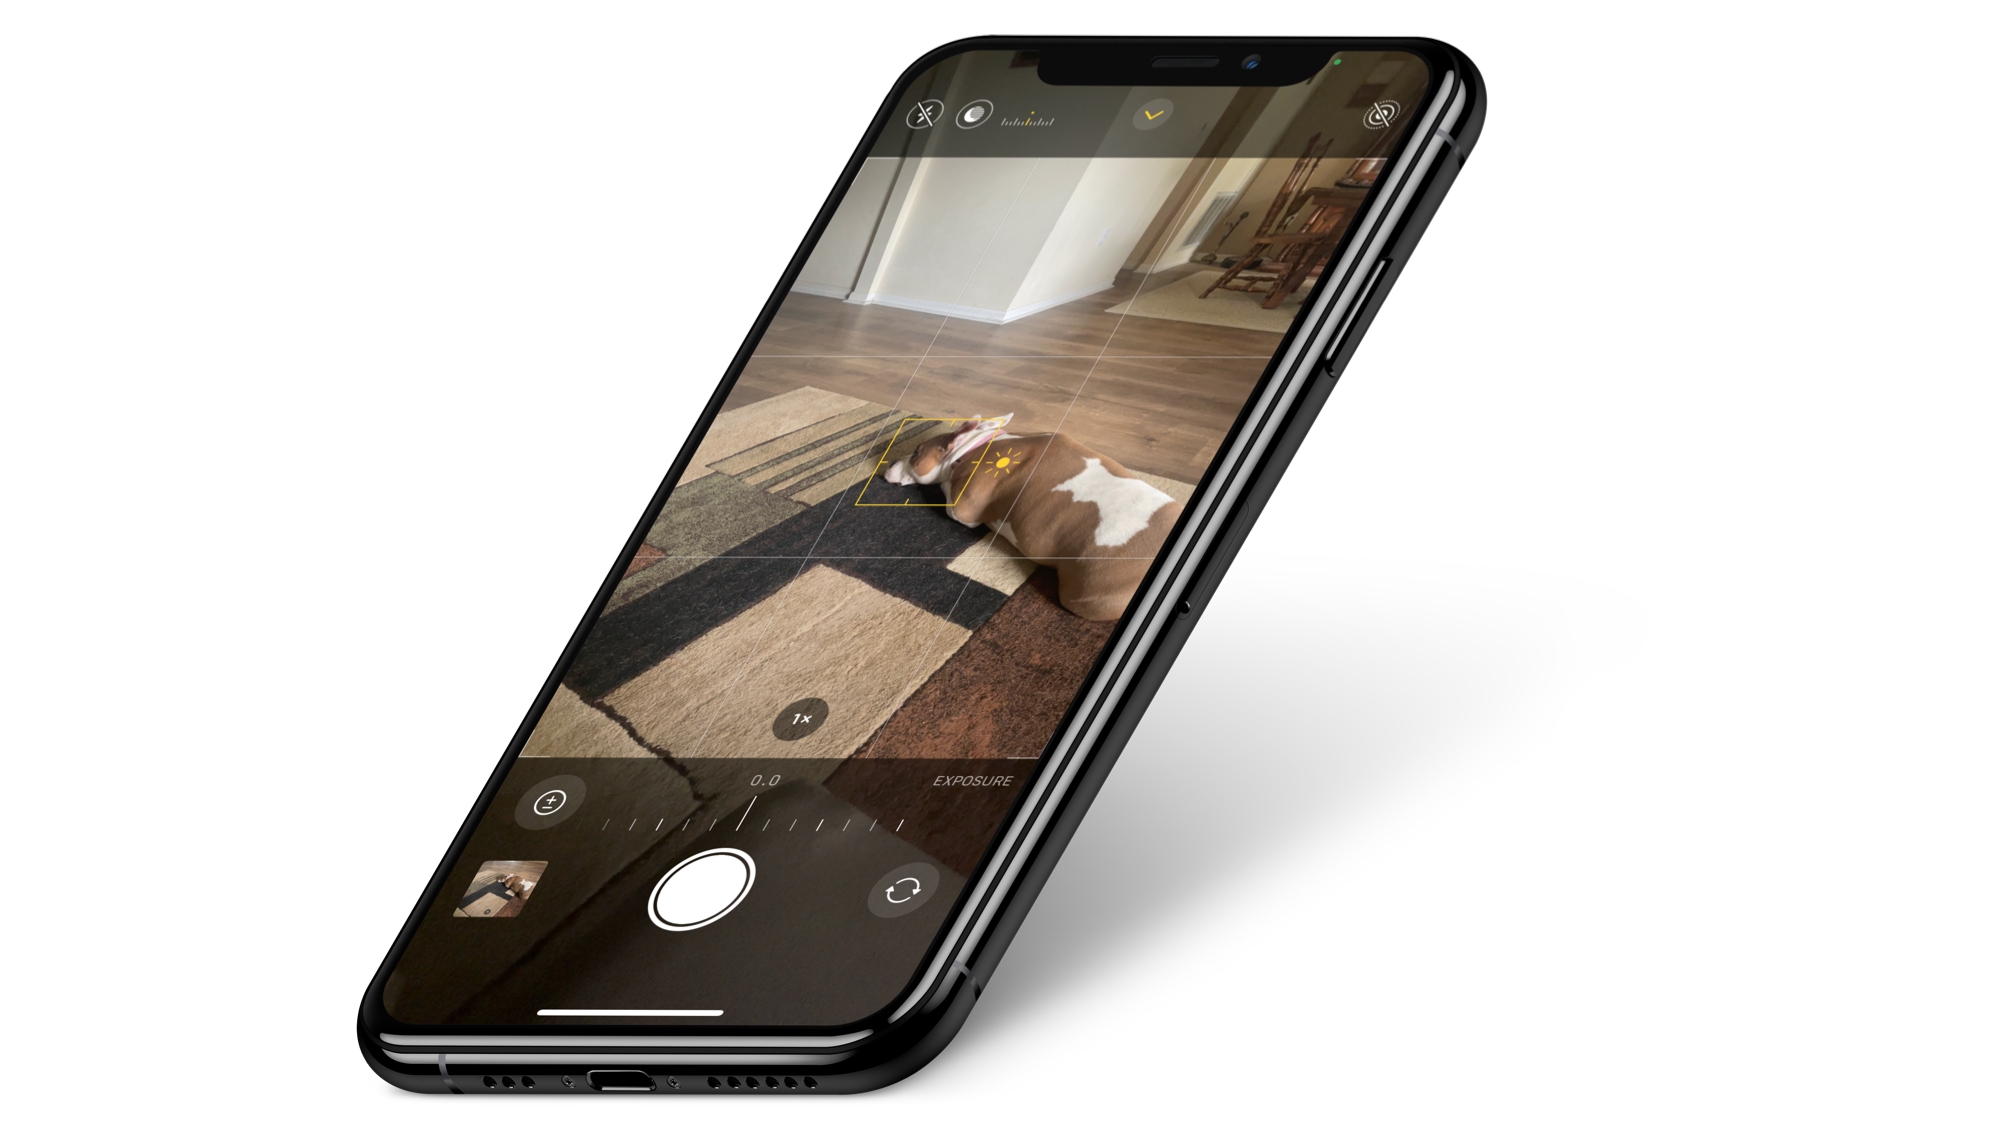
- Launch the Camera app on your iPhone and make sure you’re in Photo mode.
- Look at the Live Photo icon at the top of the camera viewfinder. If it’s not crossed out, that means Live Photos is active. In case it’s crossed out, tap the icon to turn on Live Photos.
- Frame your shot and capture a photo. Make sure to keep the phone steady and not shake it a lot.
- Open the picture in the Photos app.
- Tap the Live button shown on the top left corner of the photo, and choose Long Exposure from the drop-down menu.

You will now see what your photo will look like in the Long Exposure mode. If you like what you’re seeing, then simply go back to save the photo as a Long Exposure photo.
In the Live Photo mode, the iPhone camera will automatically capture moments before and after you press the shutter button. You can tap and hold the photo to see how it’s turned out before converting it to a long-exposure photo.
The photo will be saved, and you can share it with others. Apple also lets you revert the photo back to its original look.
If you’re looking for a dedicated solution to take long-exposure photos, you can try apps like ReeXpose or Easy Long Exposure Camera.
Other camera tips for iPhone: