In this tutorial, we’ll show you how to configure your Apple TV the right way by adjusting a few important audio and video settings that are to improve your experience.

Uniform Home Screen across all your TVs
If you have multiple Apple TVs in your household and use all the same apps across all of them, then you may want to turn on the syncing feature in Settings > Users and Accounts > your account > One Home Screen. Now, every Apple TV in your household using this particular iCloud account will keep your apps and its Home Screen up to date.

Go to Home Screen with the TV button
tvOS defaults to taking you to Apple’s TV app upon pressing the remote’s Home button, but most people just want to get to the Home Screen instead.
So, go to Apple TV Settings > Remotes and Devices > and set the TV Button to Home Screen.

Display a box around the selected app icon
To make it easier to see which icon is selected, go to Settings > Accessibility > Display > Focus Style and change it to High Contrast.

Now, go to the Home Screen, and you will see a white box around the selected icon, making it easier to discern what’s in focus.
Change what you see on the Top Shelf
You can change what appears on the Home Screen when an app in the top row is selected. Go to Settings > Apps > TV and then set the Top Shelf option to Up Next.

This will display your Up Next queue when the TV app is selected in the Home Screen’s top row rather than previews of featured TV shows and movies.

Other apps like Music and more can also reveal content on the top shelf, provided they support this feature.
Tweak your Remote settings
Go to Settings > Remotes and Devices to adjust your Siri Remote features, such as tracking speed and sensitivity. You can also check your remote’s battery level there and pair new Bluetooth devices.
Rename your Apple TV
To change the default name of your Apple TV, go to Settings > General > About > Name. Renaming your Apple TV makes it easier to identify your Apple TV on the network, select the right device when interacting with the AirPlay menus, and so forth.
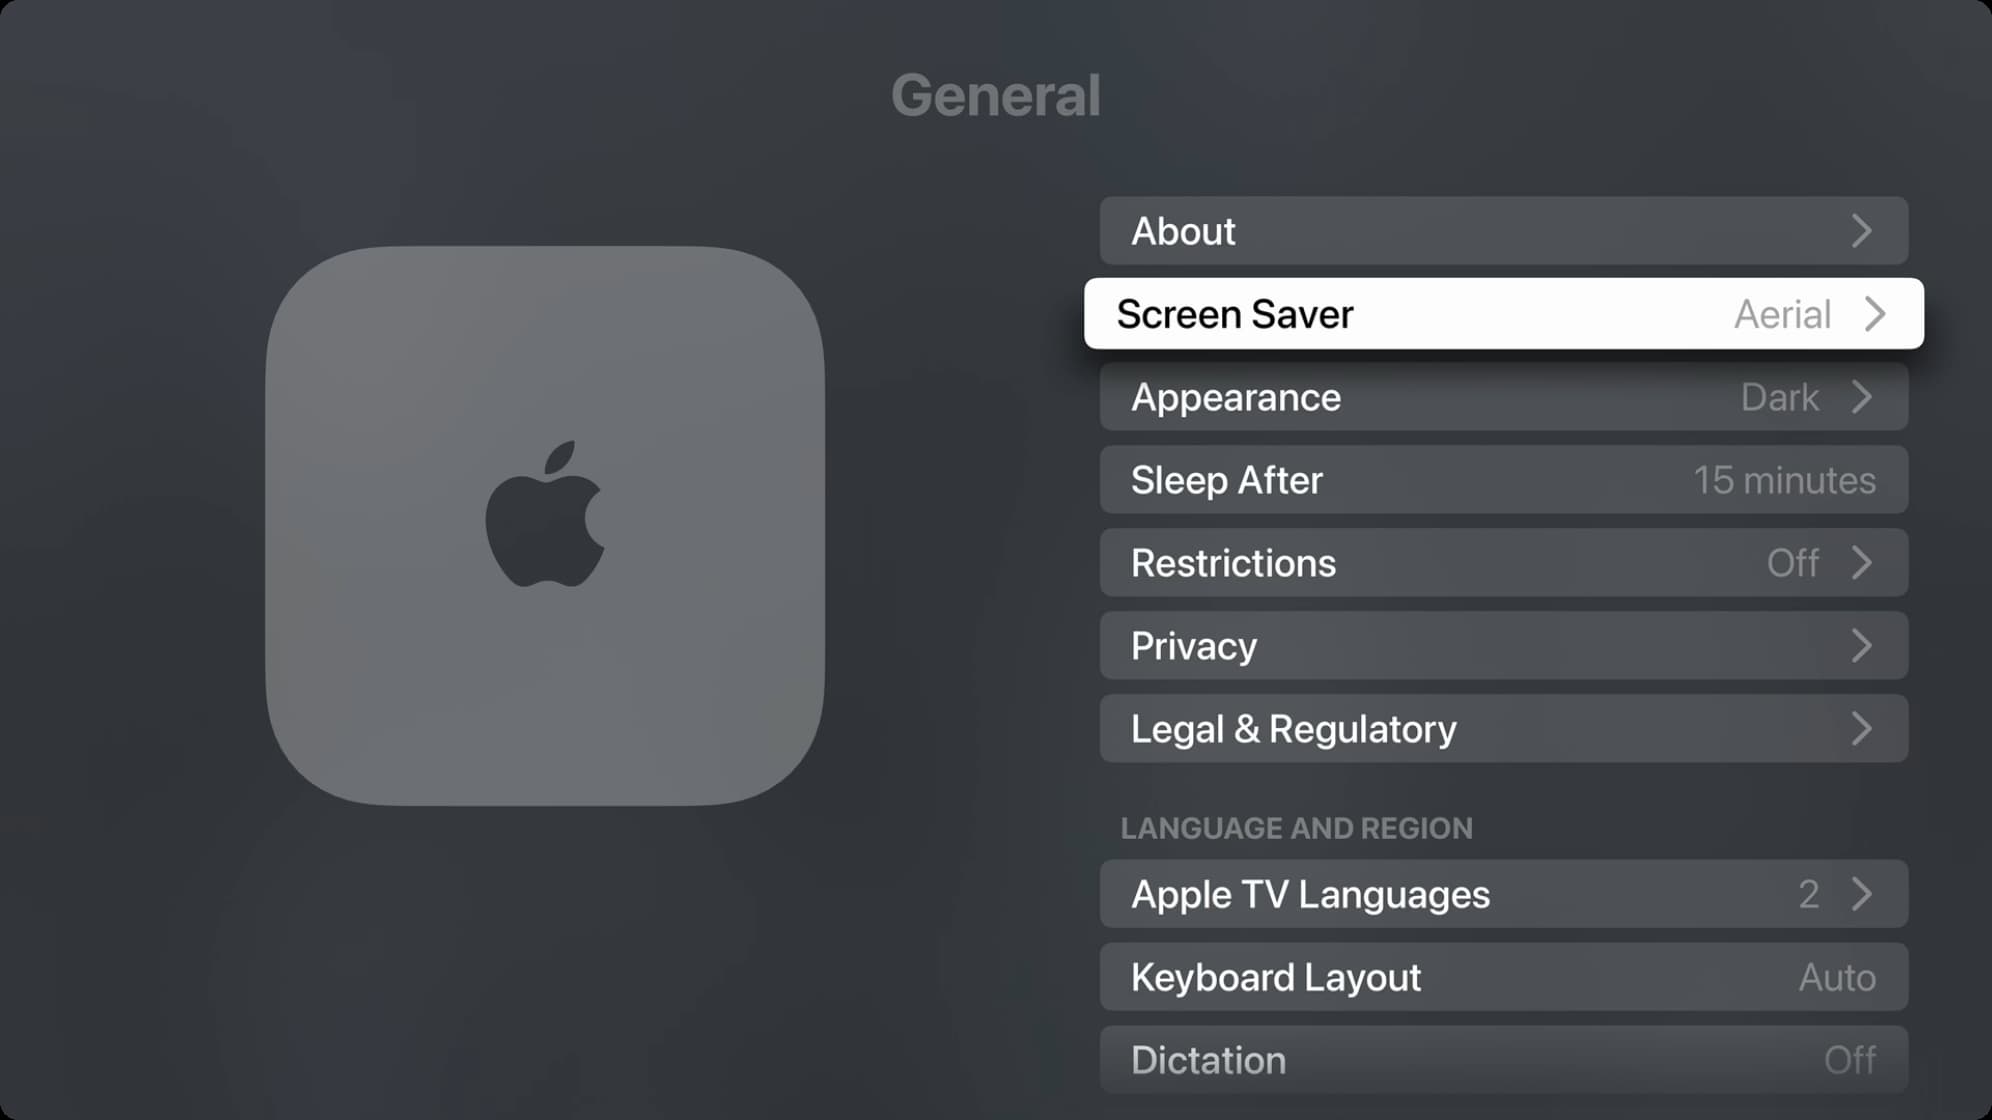
Screen Saver
Head over to Settings > Screen Saver to choose which of the built-in screen savers you’d like to use.
Turn off tracking
Boost your privacy by stopping prompts seeking permission when apps want to track your activity across other apps and websites. Setting
Go to Settings > General > Privacy & Security > Tracking and set Allow Apps to Ask to Track to Off. This will prevent apps from even putting up the permission prompt.

Add TV Provider
Use a live TV service? If so, sign in with its credentials in Settings > Users and Accounts > TV Provider and sign in. That’ll save you from manually entering your account information in video apps.
Create additional user accounts
If multiple people use your Apple TV, go to Settings > Users and Accounts and add their accounts to your Apple TV so the media experience of each user is separate and personalized.
You can change the user by going to Apple TV Control Center.
Tweak video and audio settings
Adjust your audio and video settings to best match your television set by venturing into Settings > Video and Audio.
First, set your desired resolution and screen refresh rate under Format. If your TV supports 4K resolution and HDR content like Dolby Vision, enable the Match Dynamic Range and Match Frame Rate options under Match Content.
This will ensure the video is rendered at its original frame rate and dynamic range on HDR TVs.

Keep in mind that some apps like YouTube may produce undesired results if this option has been turned on. On top of that, your TV may annoy you with a delay when switching between different frame rates. In those cases, turning Match Dynamic Range off will fix the problem.
If you have a regular HDMI cable, set Chroma to 4:2:0. If you have an 18-48 Gbps cable that says “HDMI Ultra High Speed,” be sure to set this value to 4:2:2 instead for improved clarity.

To have your Apple TV automatically turn off its connected TV, go to Settings > Remotes and Devices and set Turn On Your TV with Your Remote (or Control TVs and Receivers) to On. Also, choose Volume Control in this section to configure how your TV’s volume is controlled.
Also see: How to control your television volume with the Apple TV Remote
You can use your HomePod with your Apple TV to route all Apple TV audio to your Siri speaker. If you have two HomePods, you will enjoy faux surround sound when watching shows with Dolby Atmos sound.
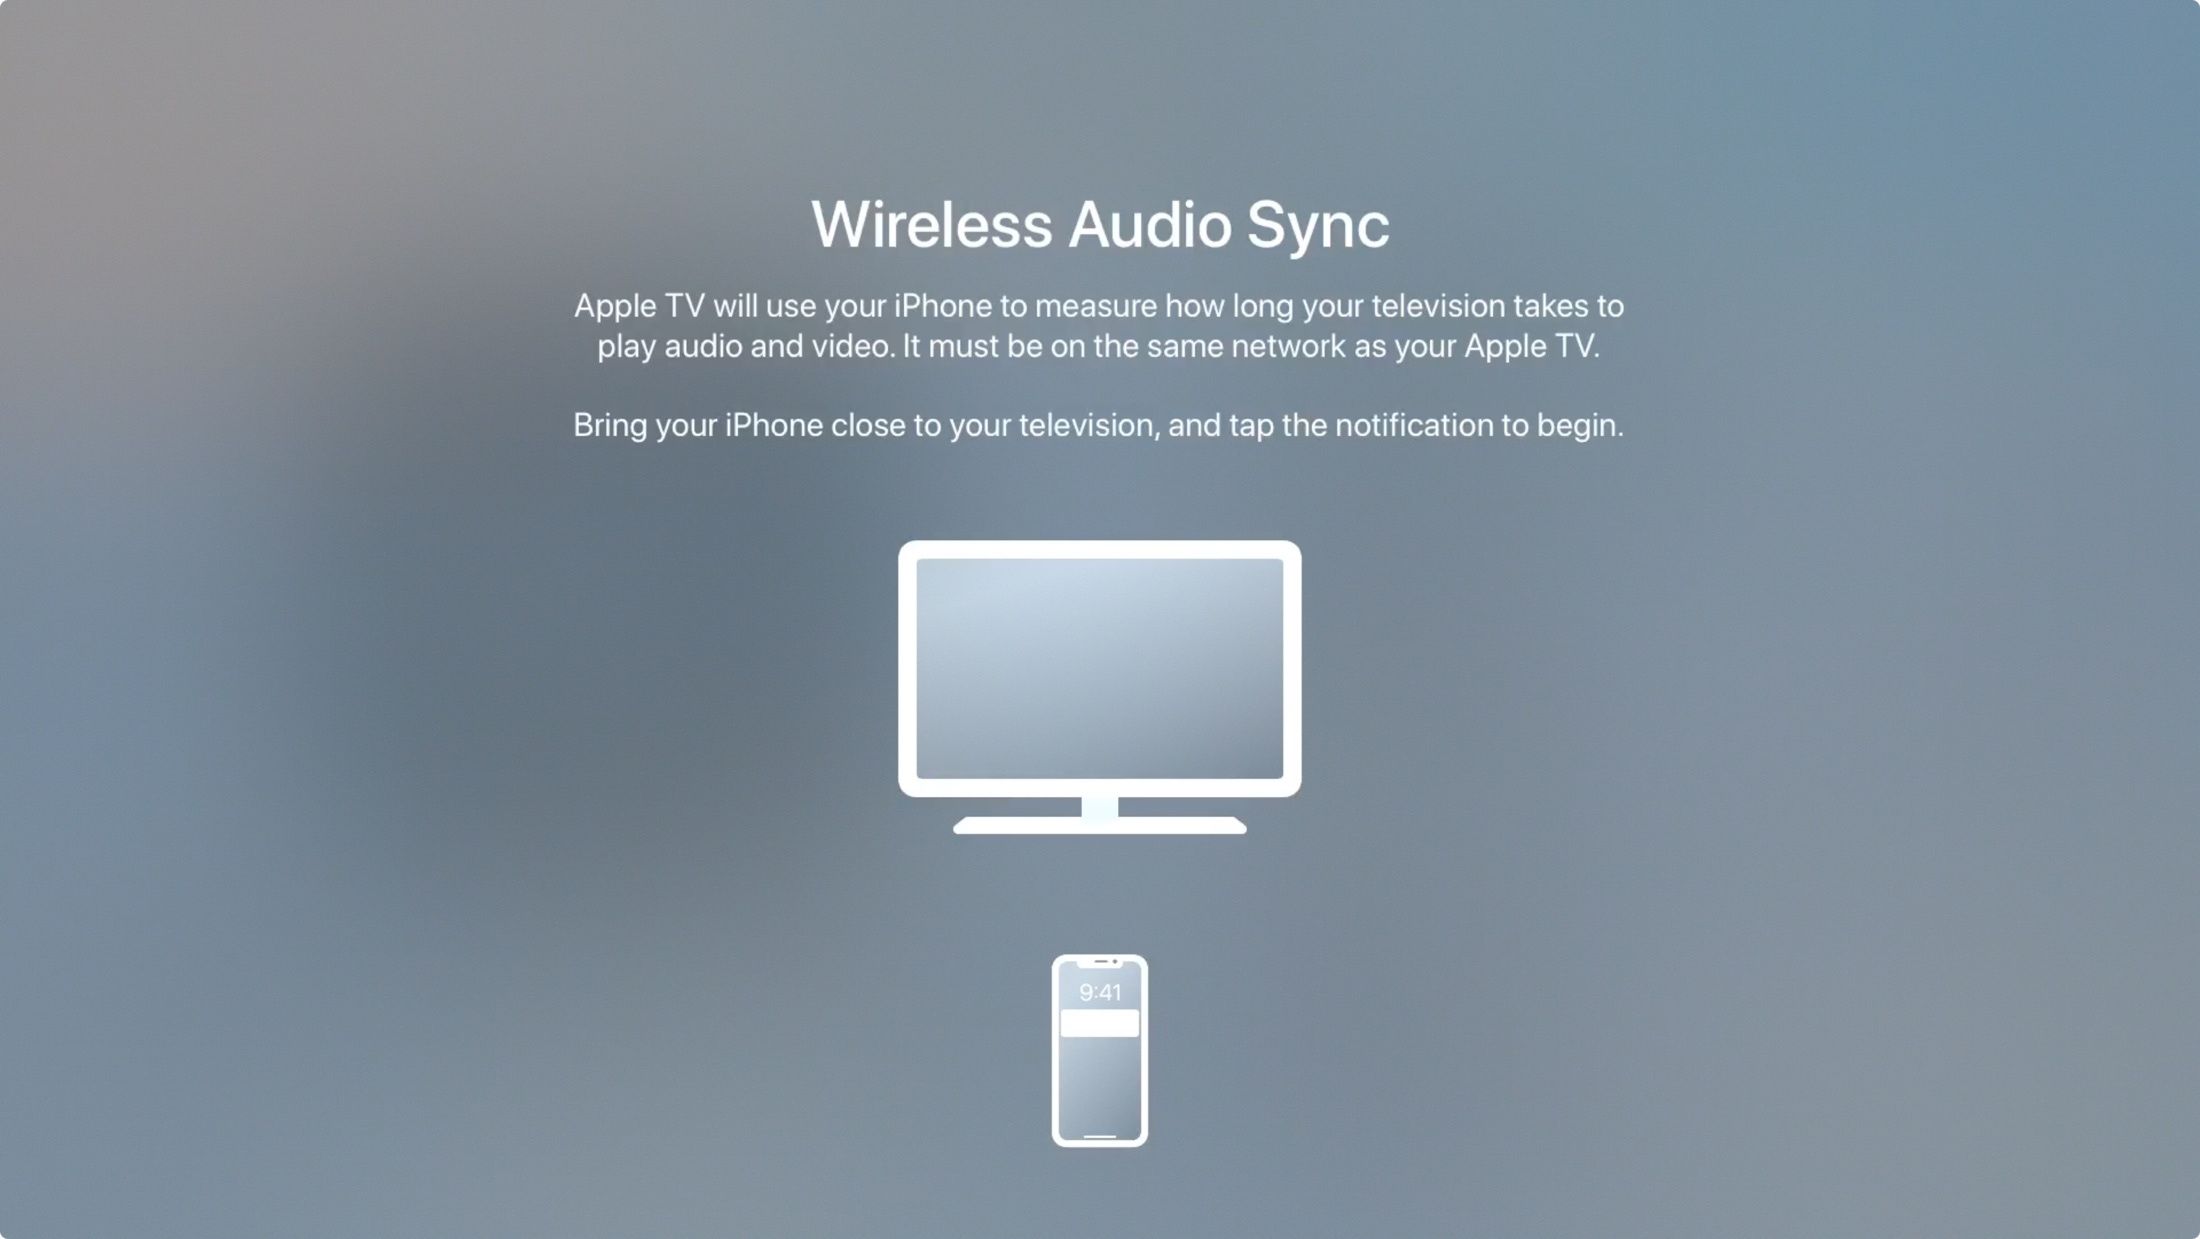
To remove a delay that might occur when using AirPlay, choosing Wireless Audio Sync will help you synchronize your wireless audio devices to your TV’s audio.
If you watch movies and listen to music at night, you may want to set Reduce Loud Sounds to On in order to avoid disturbing others. Also, consider turning off the Navigation Clicks option.
Those with a second-generation Apple TV 4K and later and a TV that supports the eARC standard should set Play Television Audio to On (eARC). Doing so will let the Apple TV 4K output all audio from your TV to your HomePod so you can use the smart speaker for gaming and more.
Other noteworthy options in the Video and Audio section include Color Bars (use your TV’s picture settings to adjust the colors on a reference color bar image), Zoom and Overscan (turn off the overscan option on your TV if you don’t see the entire reference image) and Color Balance (use your iPhone to measure and adjust your television’s color balance).
On a related note: Tips for using your Apple TV Siri Remote like a pro