Check out several free techniques to crop photos on your Mac without downloading third-party image editors or using app extensions.
Cropping an image lets you remove unwanted parts and frame it better. Of course, it’s much easier to edit images on a Mac than the iPhone’s smaller screen. The good news is, you don’t need to download any apps to perform simple image editing tasks on your Mac; the built-in apps like Preview, Photos, and Quick Look can all get the job done.
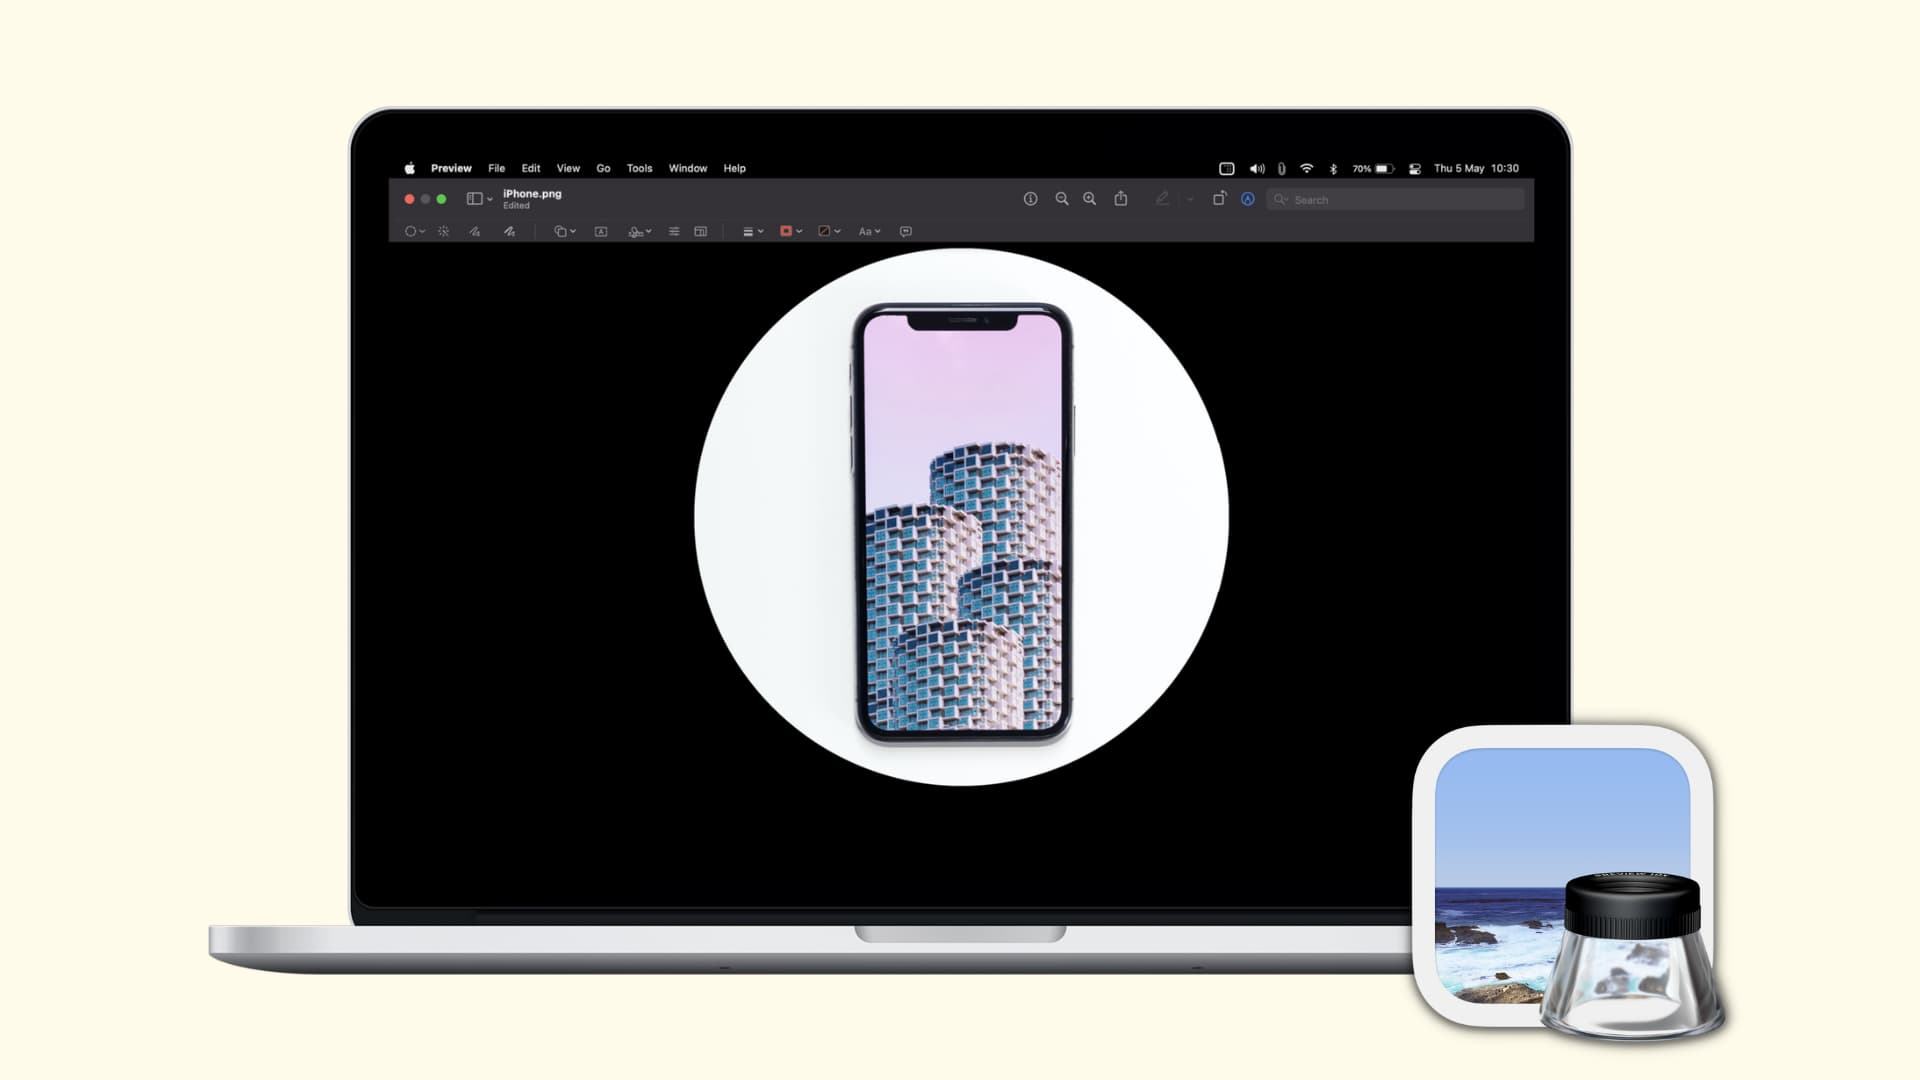
Preview app
The built-in Preview image viewer has a cropping tool. But first, duplicate the image to keep the original intact by selecting it and pressing the Command + D keys. Next, open an image in Preview by double-clicking it in the Finder and drag to select the part you’d like to keep, then press the Command + K keys to crop out everything else.
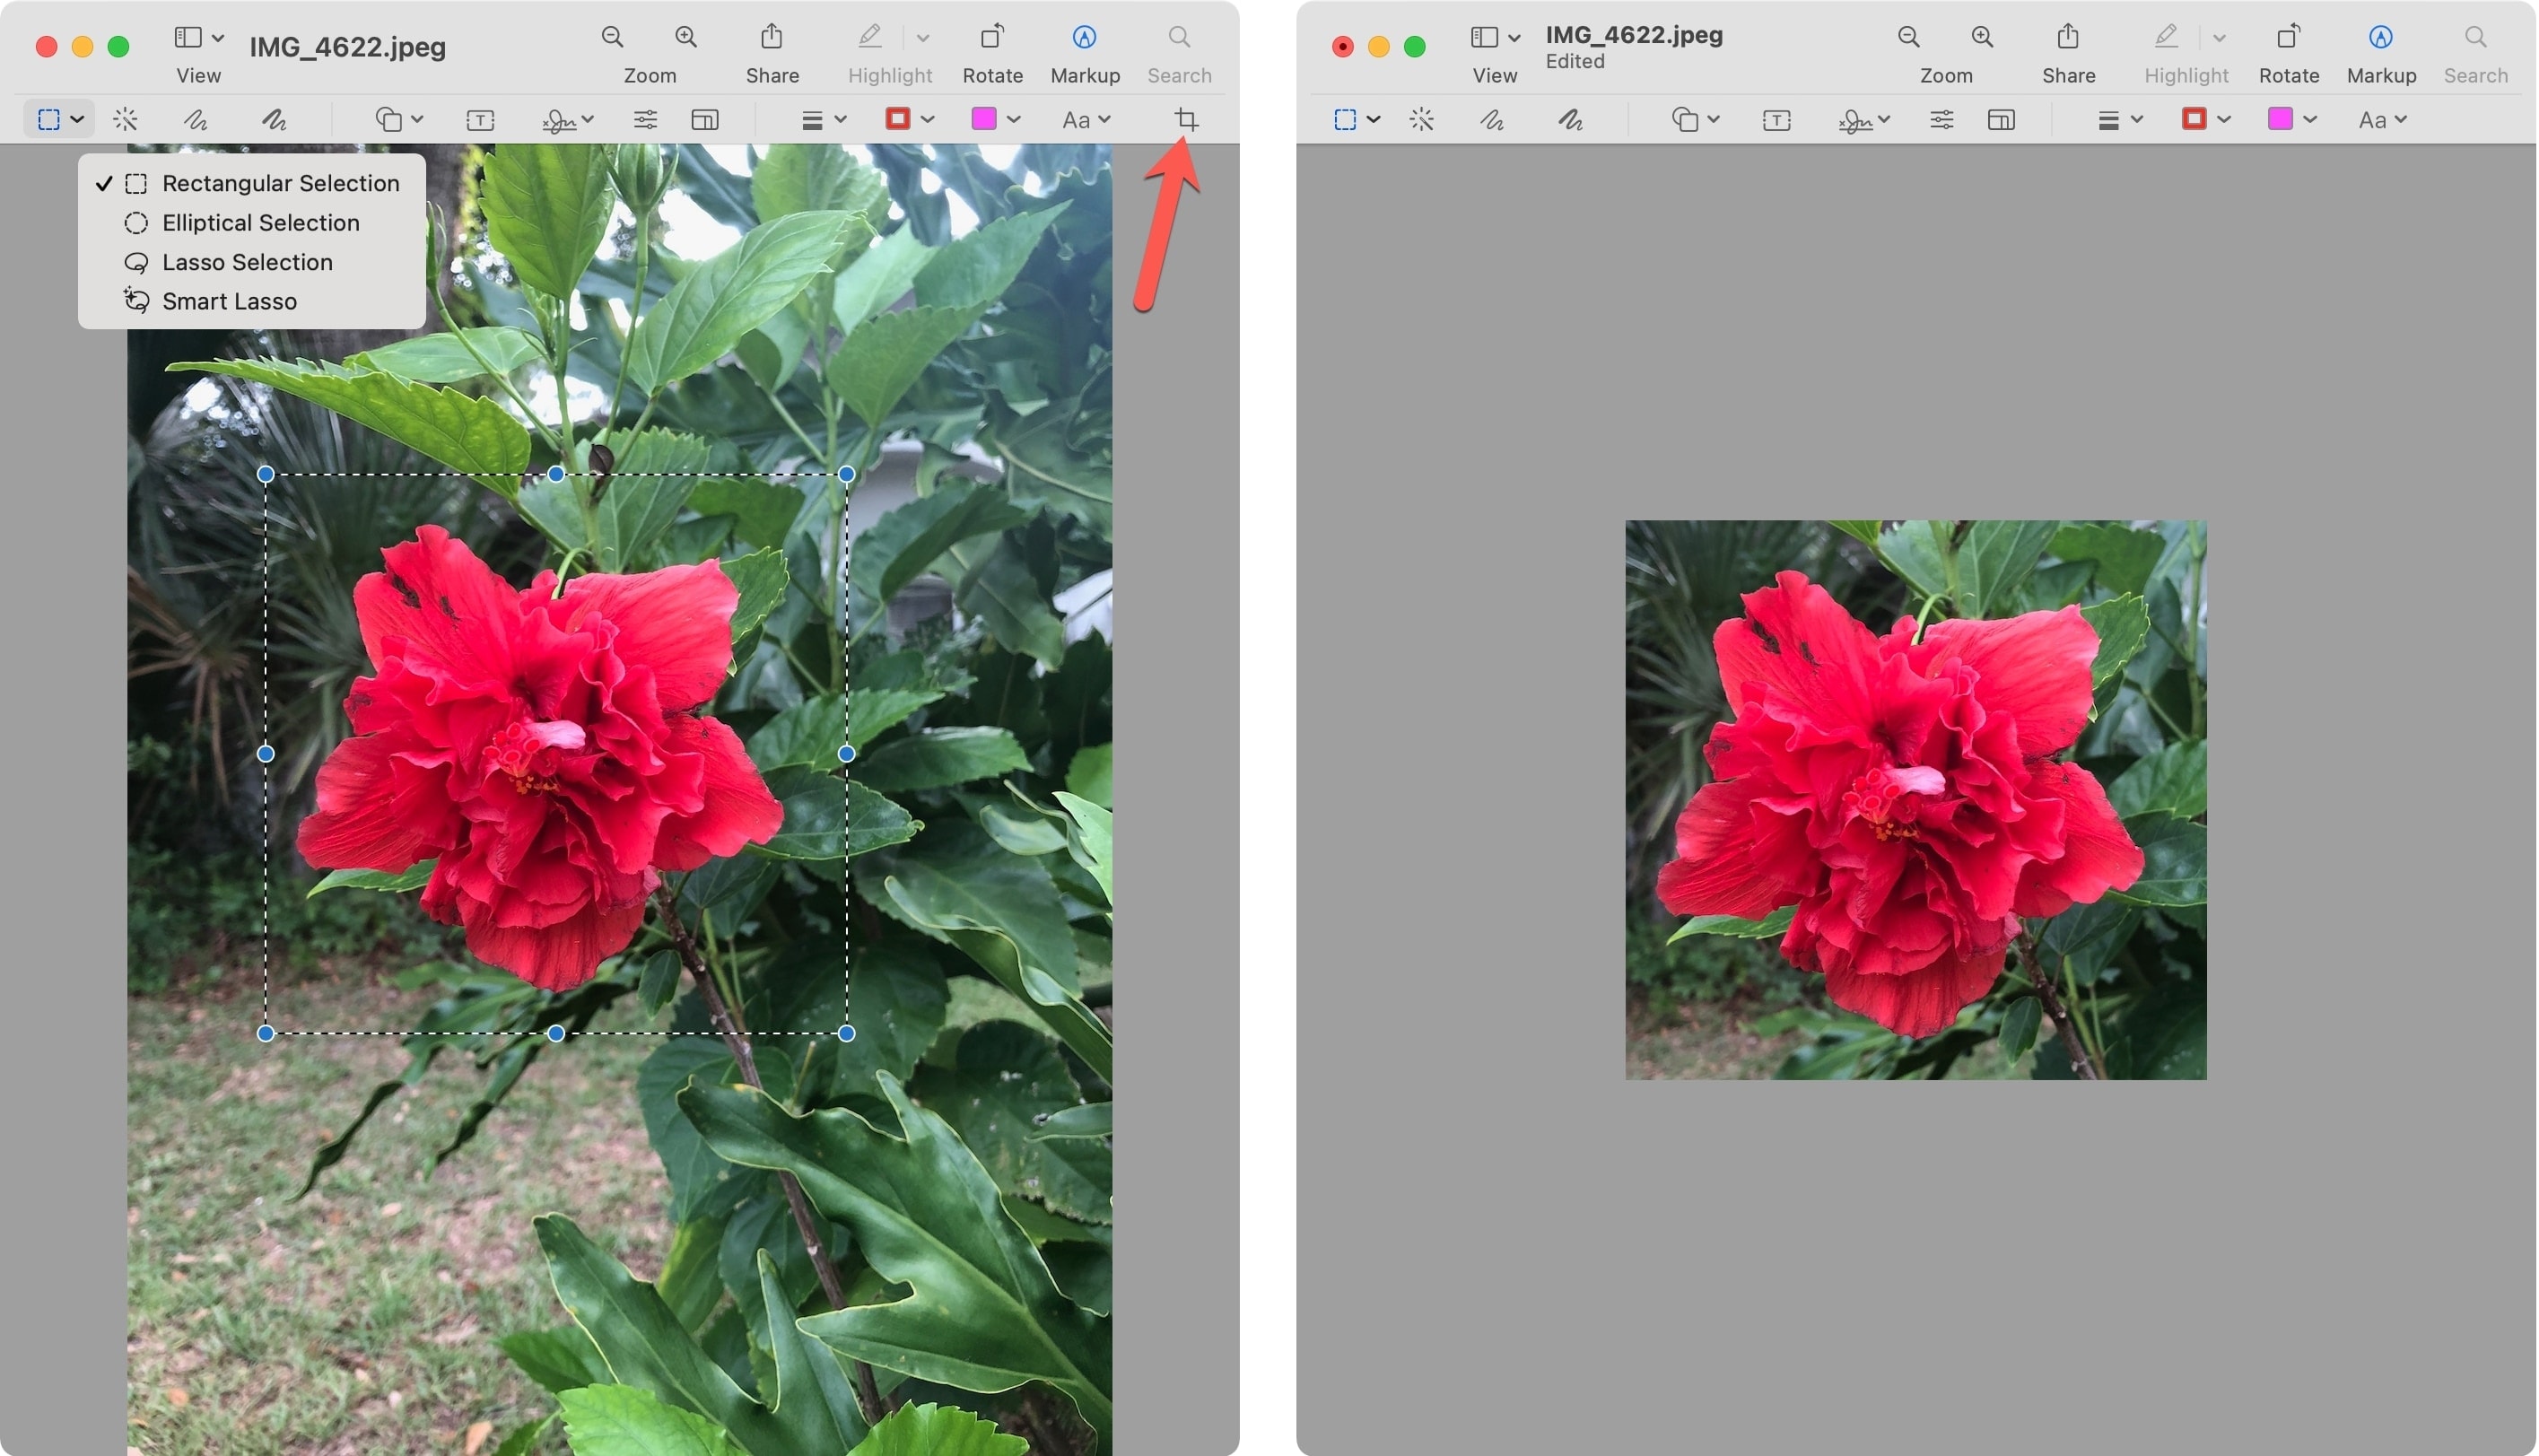
For more flexibility when cropping, click the Markup button at the top which resembles a pen. The Markup feature offers more options and shape cropping. Hit the Selection Tool button on the leftmost side of the toolbar and pick a shape, then use it to select image parts you’d like to keep. Now drag the tool on the image, then drag the image borders or corners to resize the selected area. Finally, click the Crop icon which appears on the rightmost side of the toolbar or press the Command + K keys to apply your crop.
Photos app
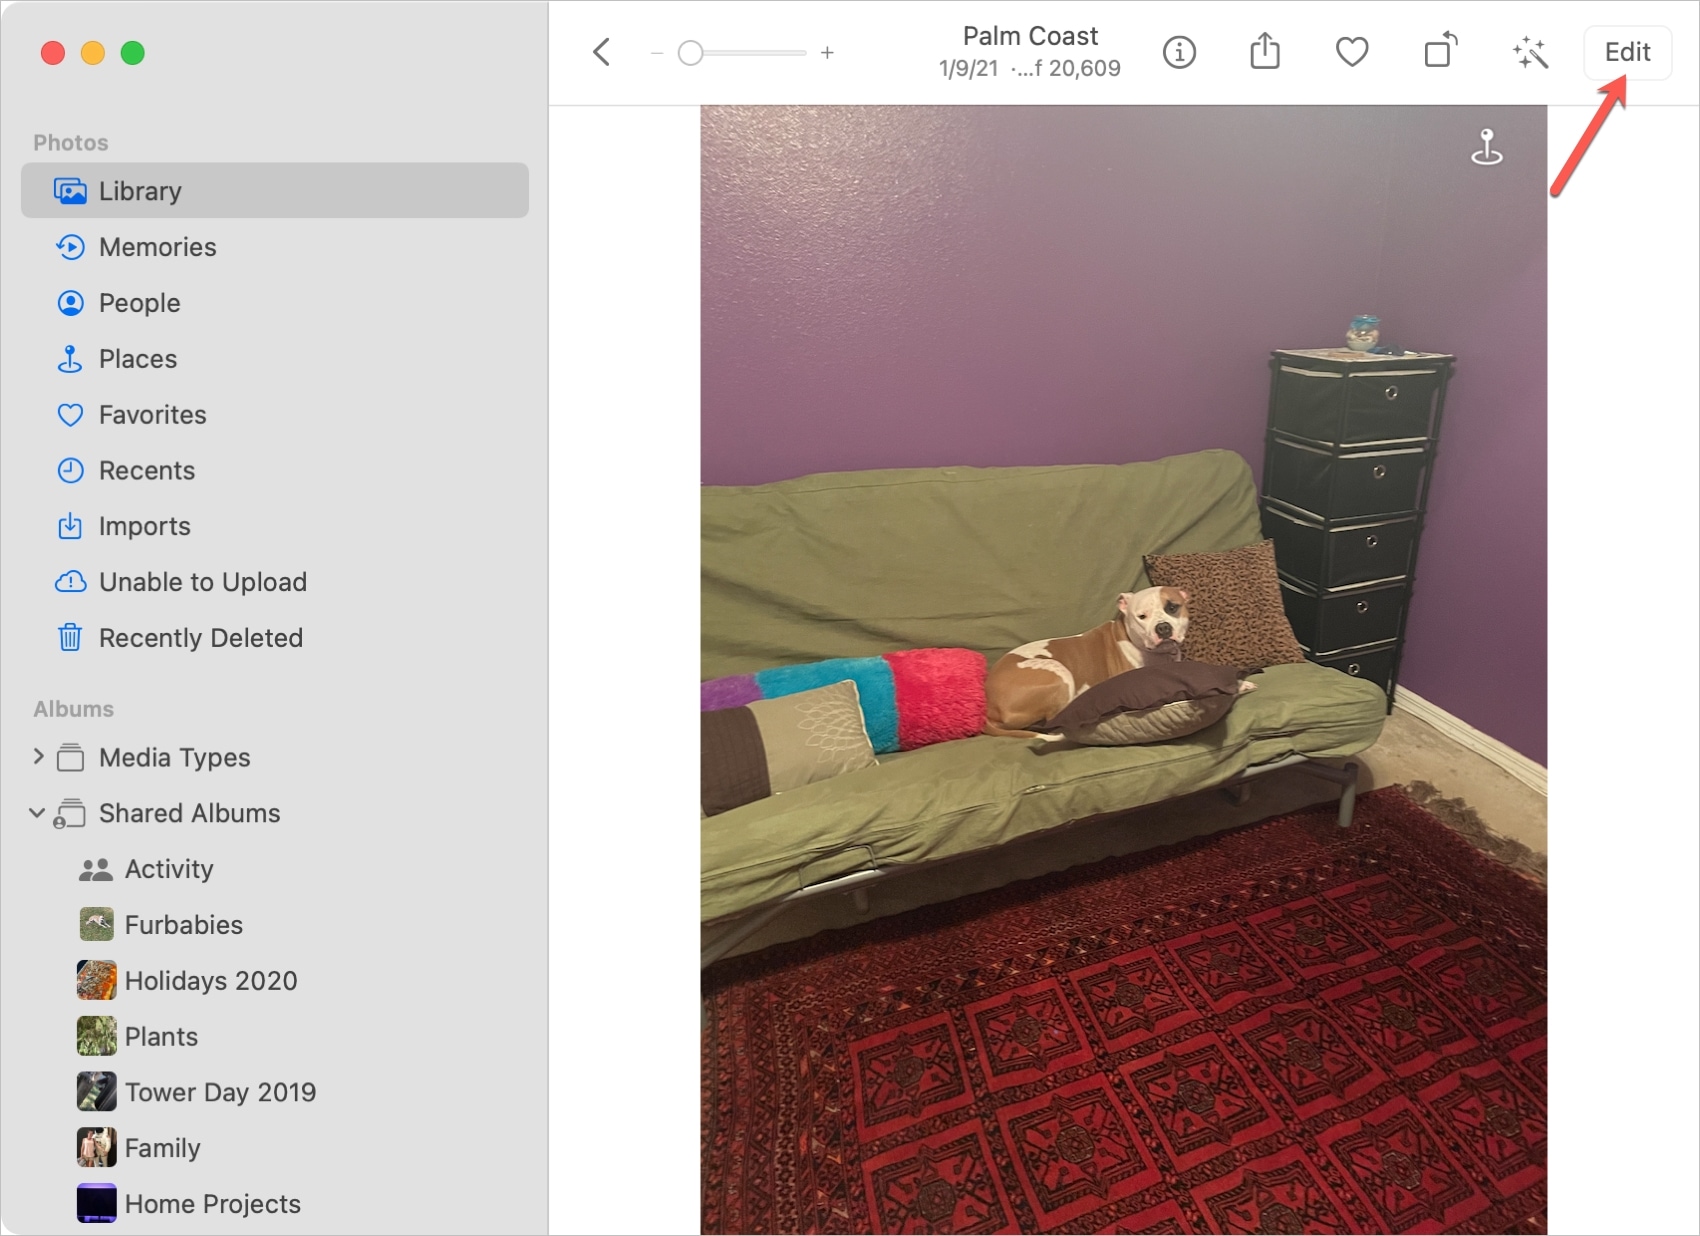
Setting up iCloud Photos will let you crop images synced from other devices. I use this feature regularly to crop images from my iPhone on the bigger screen of my Mac. Start by launching the built-in Photos app, then double-click the image you’d like to crop and hit Edit in the top-right corner.
Click the Crop button in the toolbar and drag the image borders or corners to select what you’d like to retain, then hit Done to save the cropped image. For particular crop dimensions and aspect ratios, use the Aspect settings on the right side.
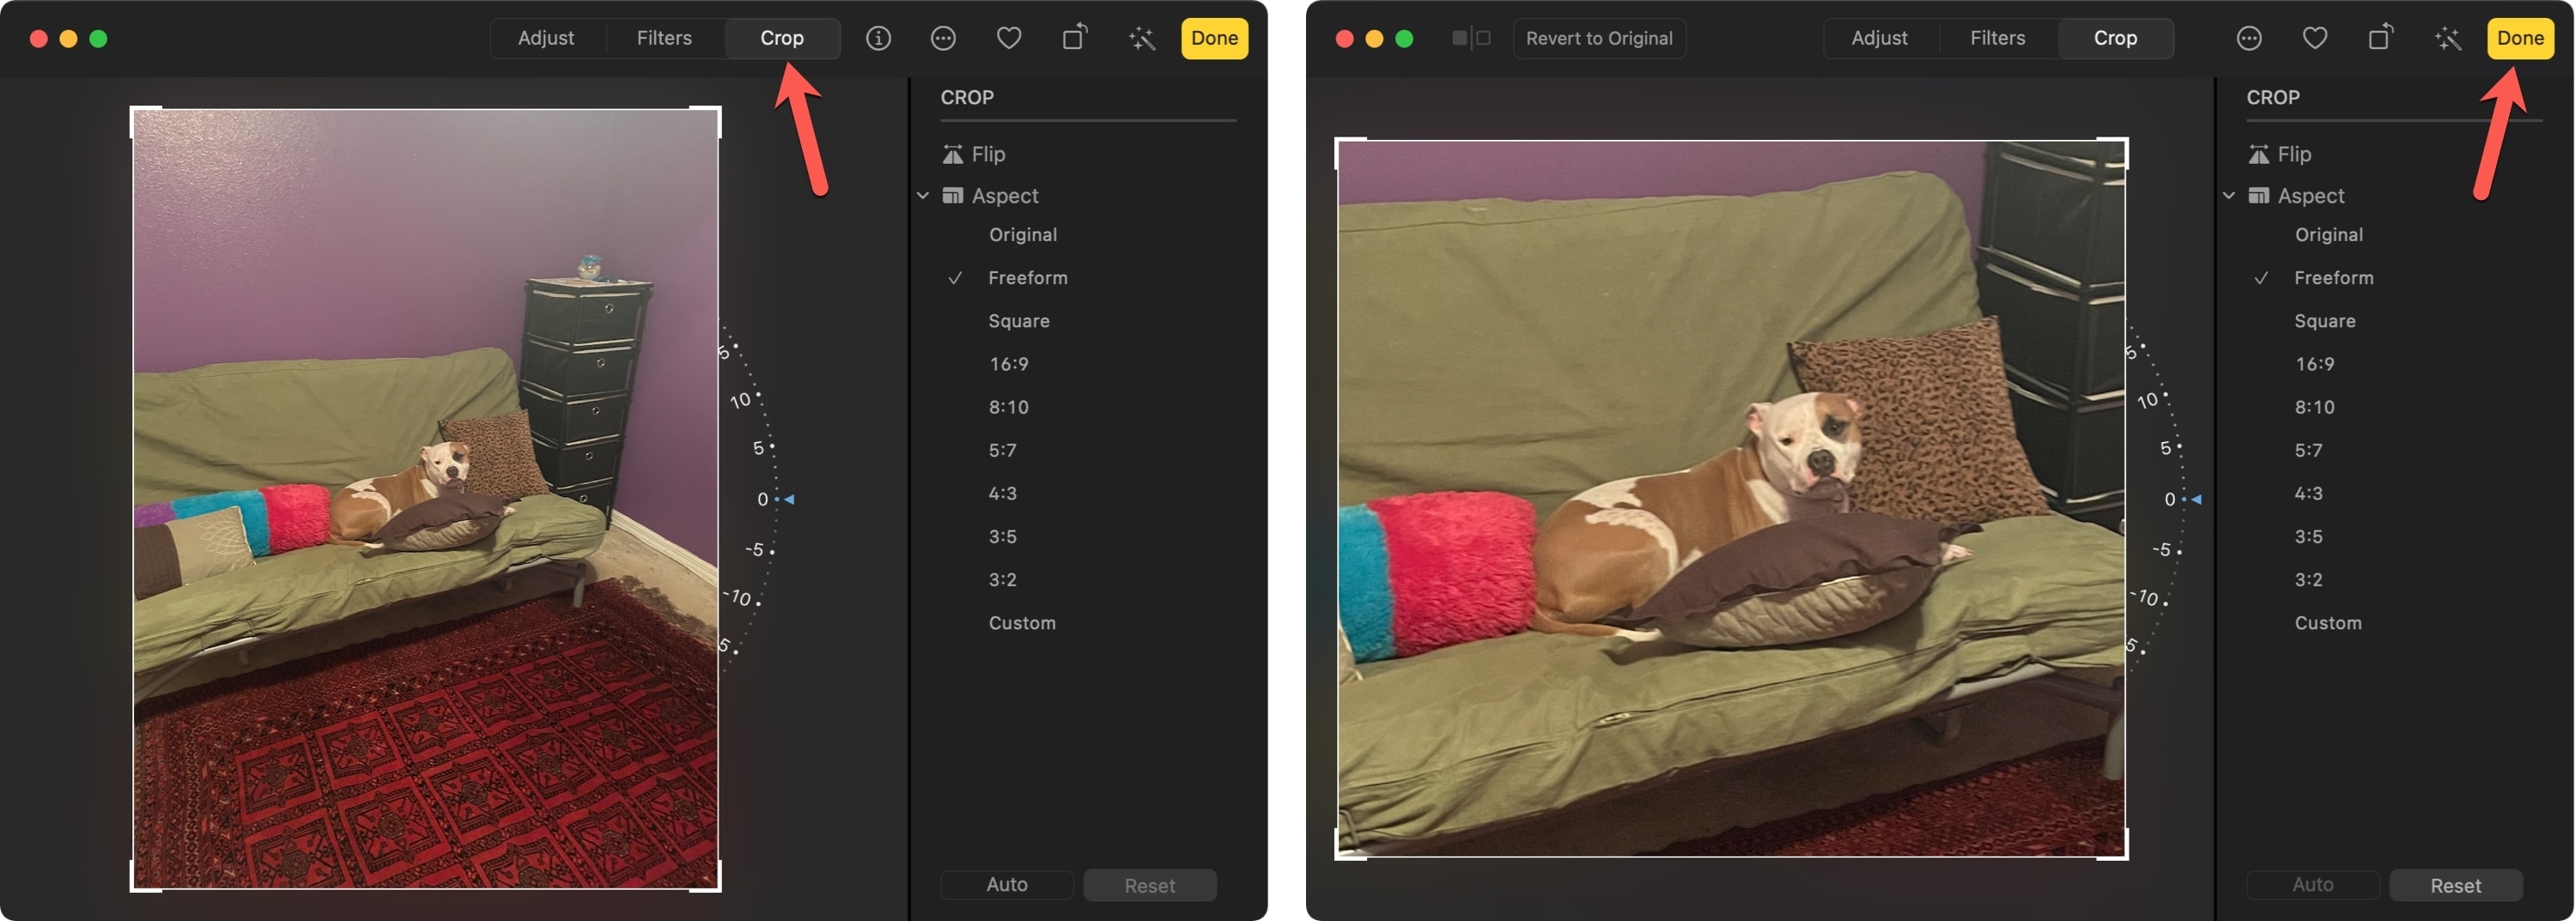
Image editing tools in the Photos app also let you apply filters, remove red eye, and perform other edits. Unlike Preview, the Photos app supports non-destructive editing so you can easily revert your actions as the original version is always preserved.
Quick Look
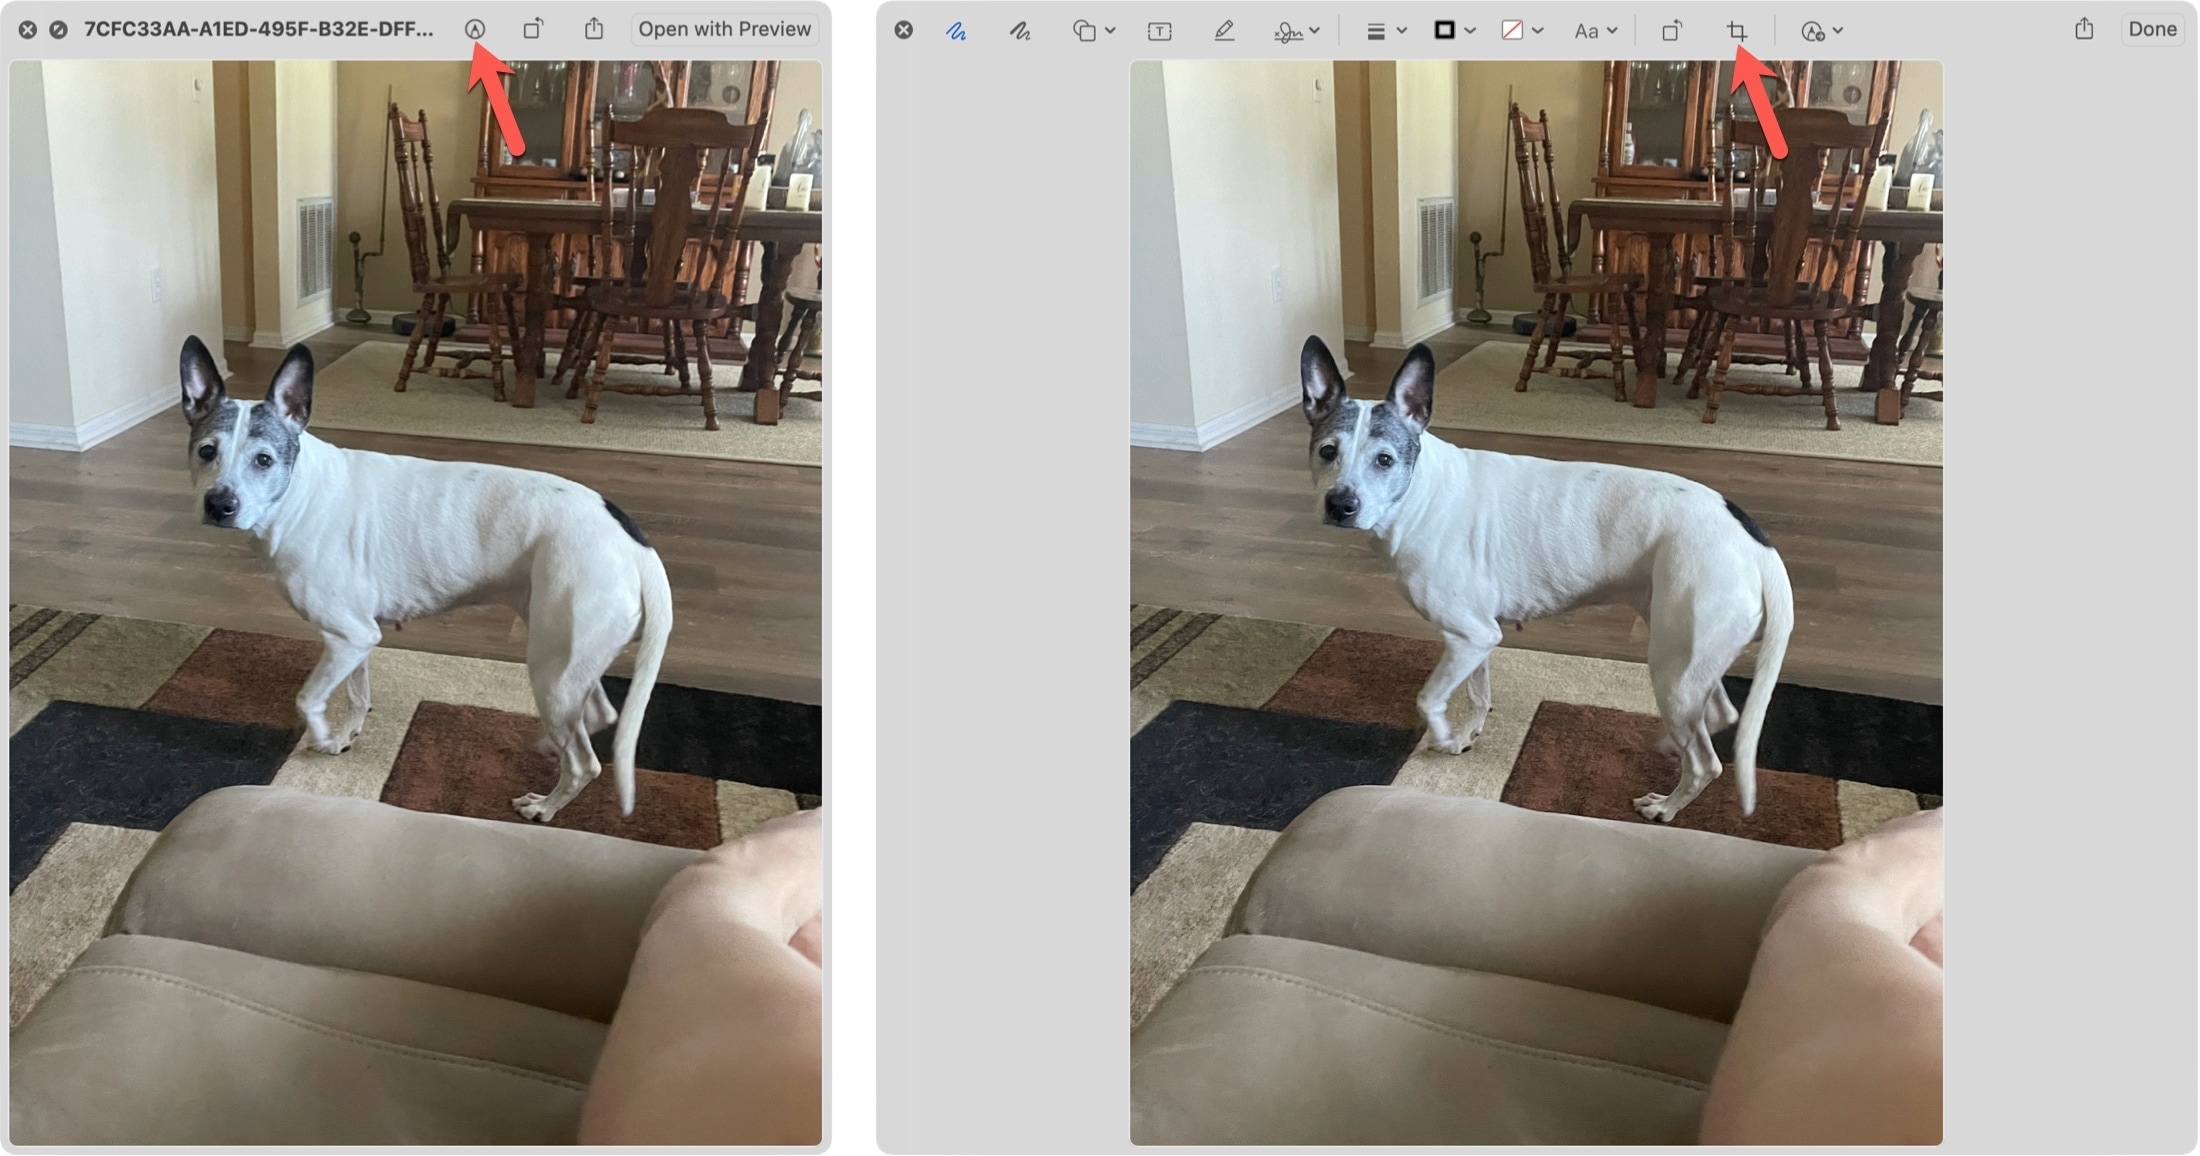
Quick Look is a macOS feature for previewing documents, images, and other items without opening apps. Like with Preview, the Markup tools (including cropping) are available in Quick Look. First, select the image in the Finder and then press the Space bar to preview it with QuickLook. Now click the Markup button in the toolbar, and then the Crop button.
Drag to select the image part to keep, then click Done in the top-right corner to apply your crop.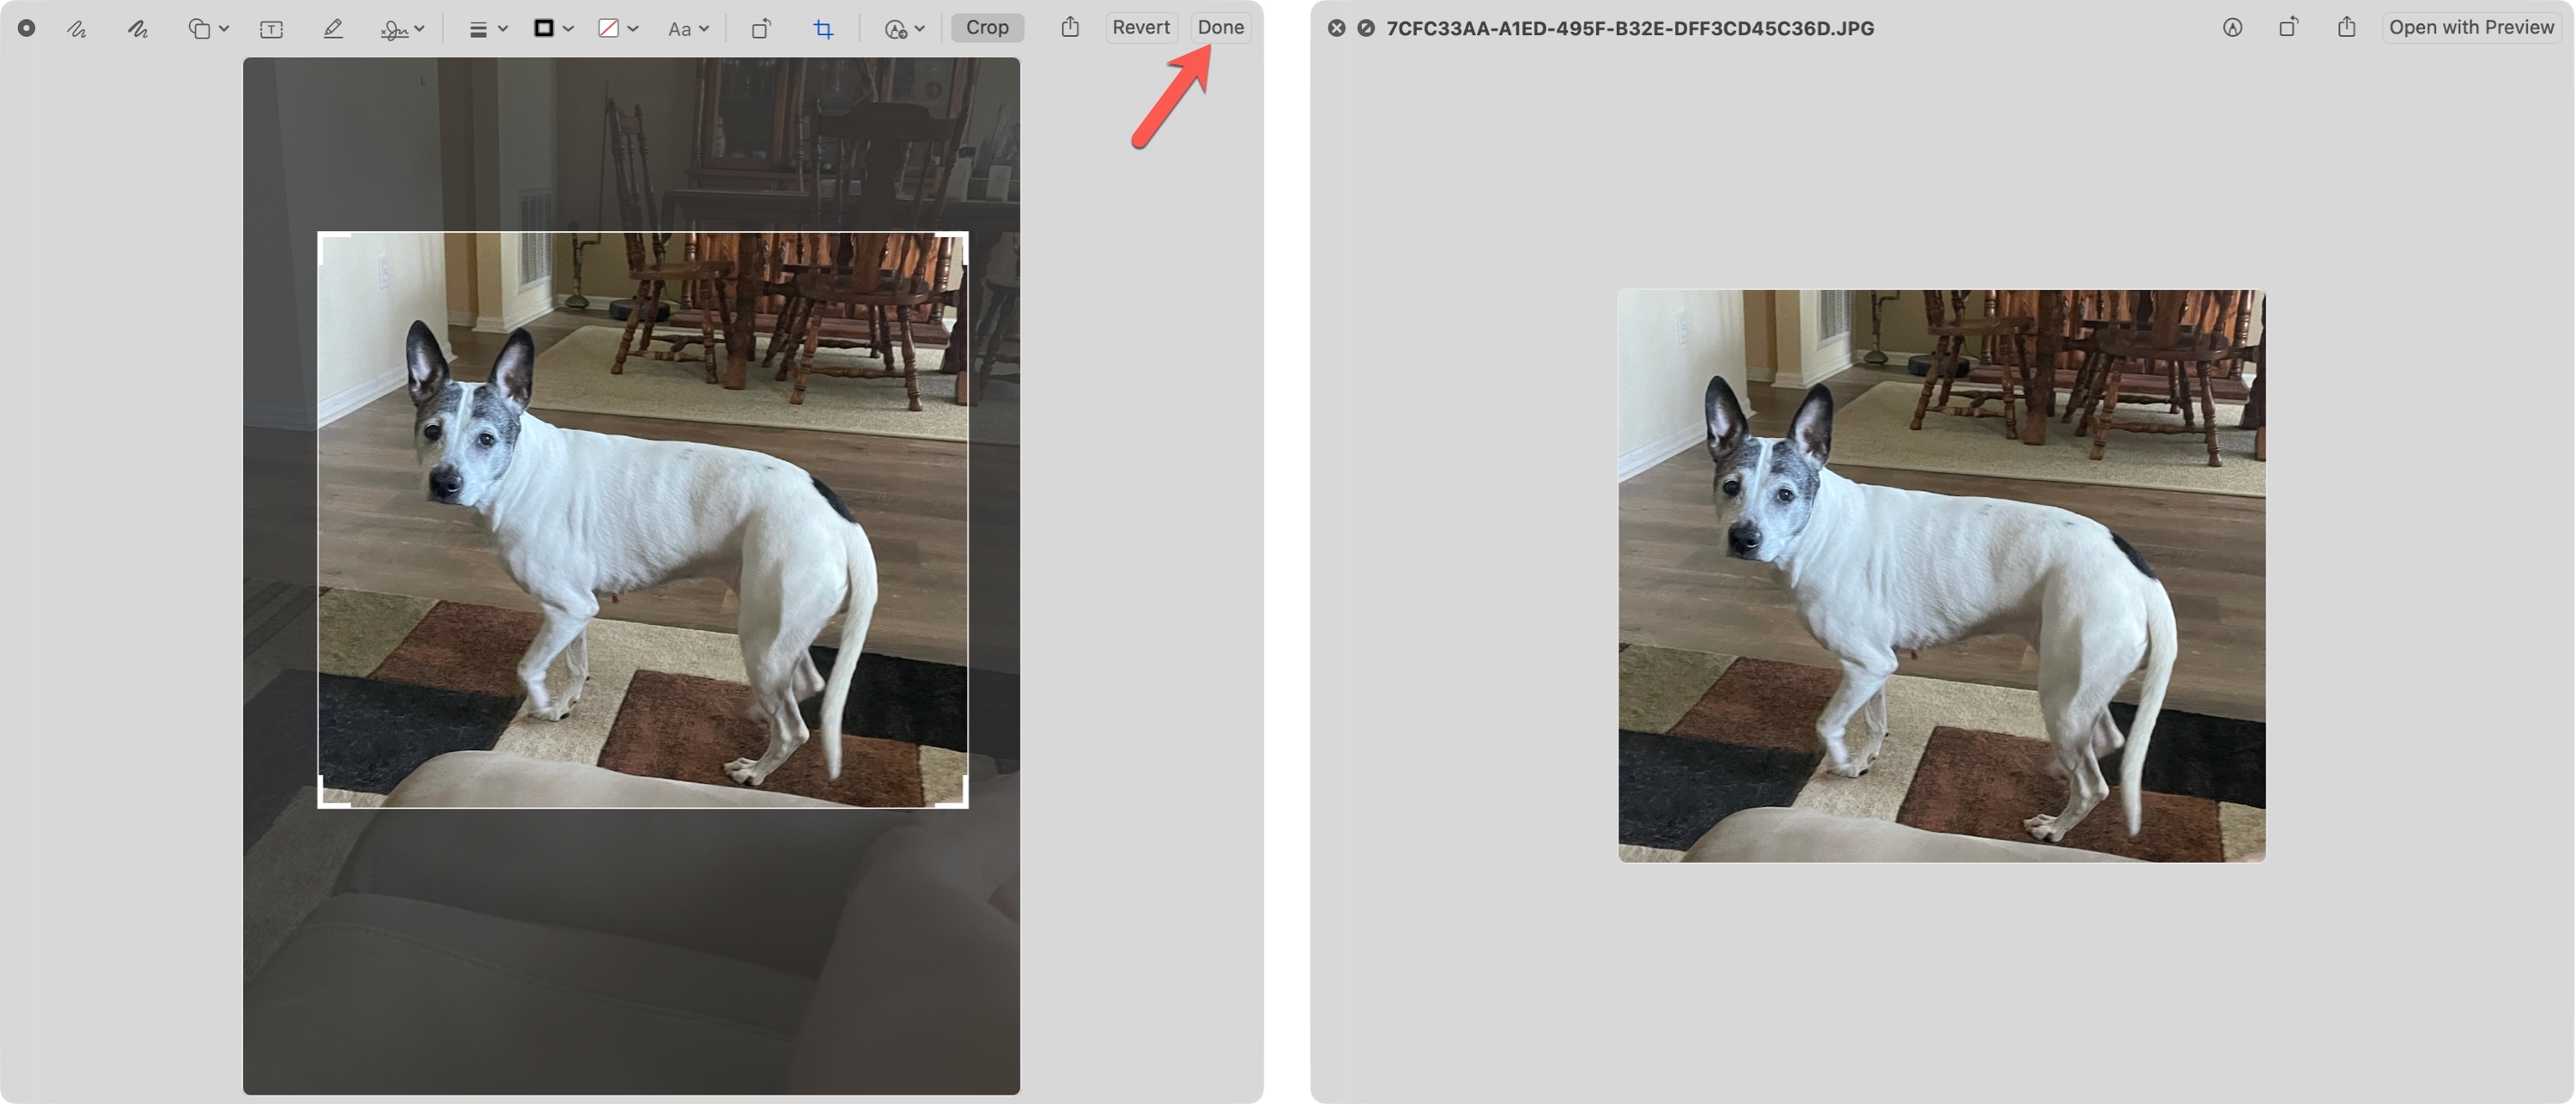
Other cropping tips for you: