Learn how to use Sign in with Apple on your iPhone, iPad, Mac, Safari, Google Chrome, or another web browser for an easier way to create accounts and sign in to apps and websites.
When you visit a new website or open a newly installed app or service, you’re often prompted to create a new account. This requires providing personal information, such as your email address or phone number, and creating a password that you can remember. Often, you must go through an intrusive and frustrating process before you can even start using the app or website.
Keeping track of this info is a burden, and putting that personal info in strangers’ hands can leave you feeling unsafe. That’s why Apple created Sign in with Apple. It’s a super easy and safe way to sign up or sign in to apps and websites using your Apple ID instead of having to create a new account. The intent by Apple is “to respect your privacy and keep you in control of your personal information.”
If you’ve seen this option on an app or website but weren’t quite sure about how it works, we’re here to help.
About the Sign in with Apple feature
- Your Apple ID must use two-factor authentication (which is already in place for nearly all accounts; so don’t worry about it).
- You must be signed in to iCloud with that same Apple Account on your device.
- You must be 13 or older. Note that this may vary by country or region.
- You can also use the feature on an Android phone, Windows computer, Google Chrome, and other web browsers.
And as Apple mentions, when you use the Sign in with Apple option, apps and websites can only ask you for your name and email address to set up an account. You can even change your name before signing up.
Hiding your email
As you’ll see further in the tutorial, when you choose the Sign in with Apple option, you’ll get to decide if you want to share or hide your Apple ID email address.
If you decide to share it, the app or website developer will be able to identify you by your email address.
If you decide to hide it (which is the default), a random email address will be generated for you and provided to that app or website developer. Emails you receive from them will be directed to that address and then automatically forwarded to your Apple ID email address for enhanced privacy. You can reply to the email and still keep your email address private.
In addition, Apple states:
We don’t read or process any of the content in the email messages that pass through our relay service, except to perform standard spam filtering that’s required to maintain our status as a trusted email provider. All email messages are deleted from our relay servers after they’re delivered to you, usually within seconds.
If you hide your email and decide to change that later, you can do so. You can change the email address used or turn off the forwarding. Just access that app or website using the steps in the Manage the apps and sites section below.
How to use Sign in with Apple
When you download an app from the App Store or visit a website, you might see an option to Sign in with Apple or Continue with Apple. Just use that and you’re good to go.
In iOS apps
When you download an app on iOS from the App Store and Sign in with Apple is available, you’ll see the option clearly on the app screen. Once you select that option, you’ll have the option to Share or Hide your email and then continue to log in with Face ID, Touch ID, or your Apple ID password.

In Mac apps
Apps you download from the Mac App Store work similarly. If you see the Sign in with Apple option and want to use it, click the button, decide if you want to Share or Hide your email, and use Touch ID to create an account or log in.

In Safari
It couldn’t be simpler. Just visit the website and click the “Sign in with Apple” or “Continue with Apple” option if available. Then, use Face ID, Touch ID, or device passcode to authenticate and complete the account creation or sign-in process. If you want to use a different Apple Account, you can do that as well.

In Google Chrome and other web browsers
You can use the Sign in with Apple feature when visiting a website with any browser by following these simple steps:
1) Visit the website and click the “Sign in with Apple” or “Continue with Apple” option if available.

2) You’ll see the Apple Account sign-in page. Use your Apple ID email address, password, and two-factor authentication code to sign in.

3) Finally, choose to share or hide your main email and click Continue.

Managing your Sign in with Apple apps and websites
You can view the apps and websites that you are using Sign in with Apple for on any of your devices or the web. Follow the sets of instructions below for your device to view them, and then select any one of them to manage that account.
On iPhone and iPad
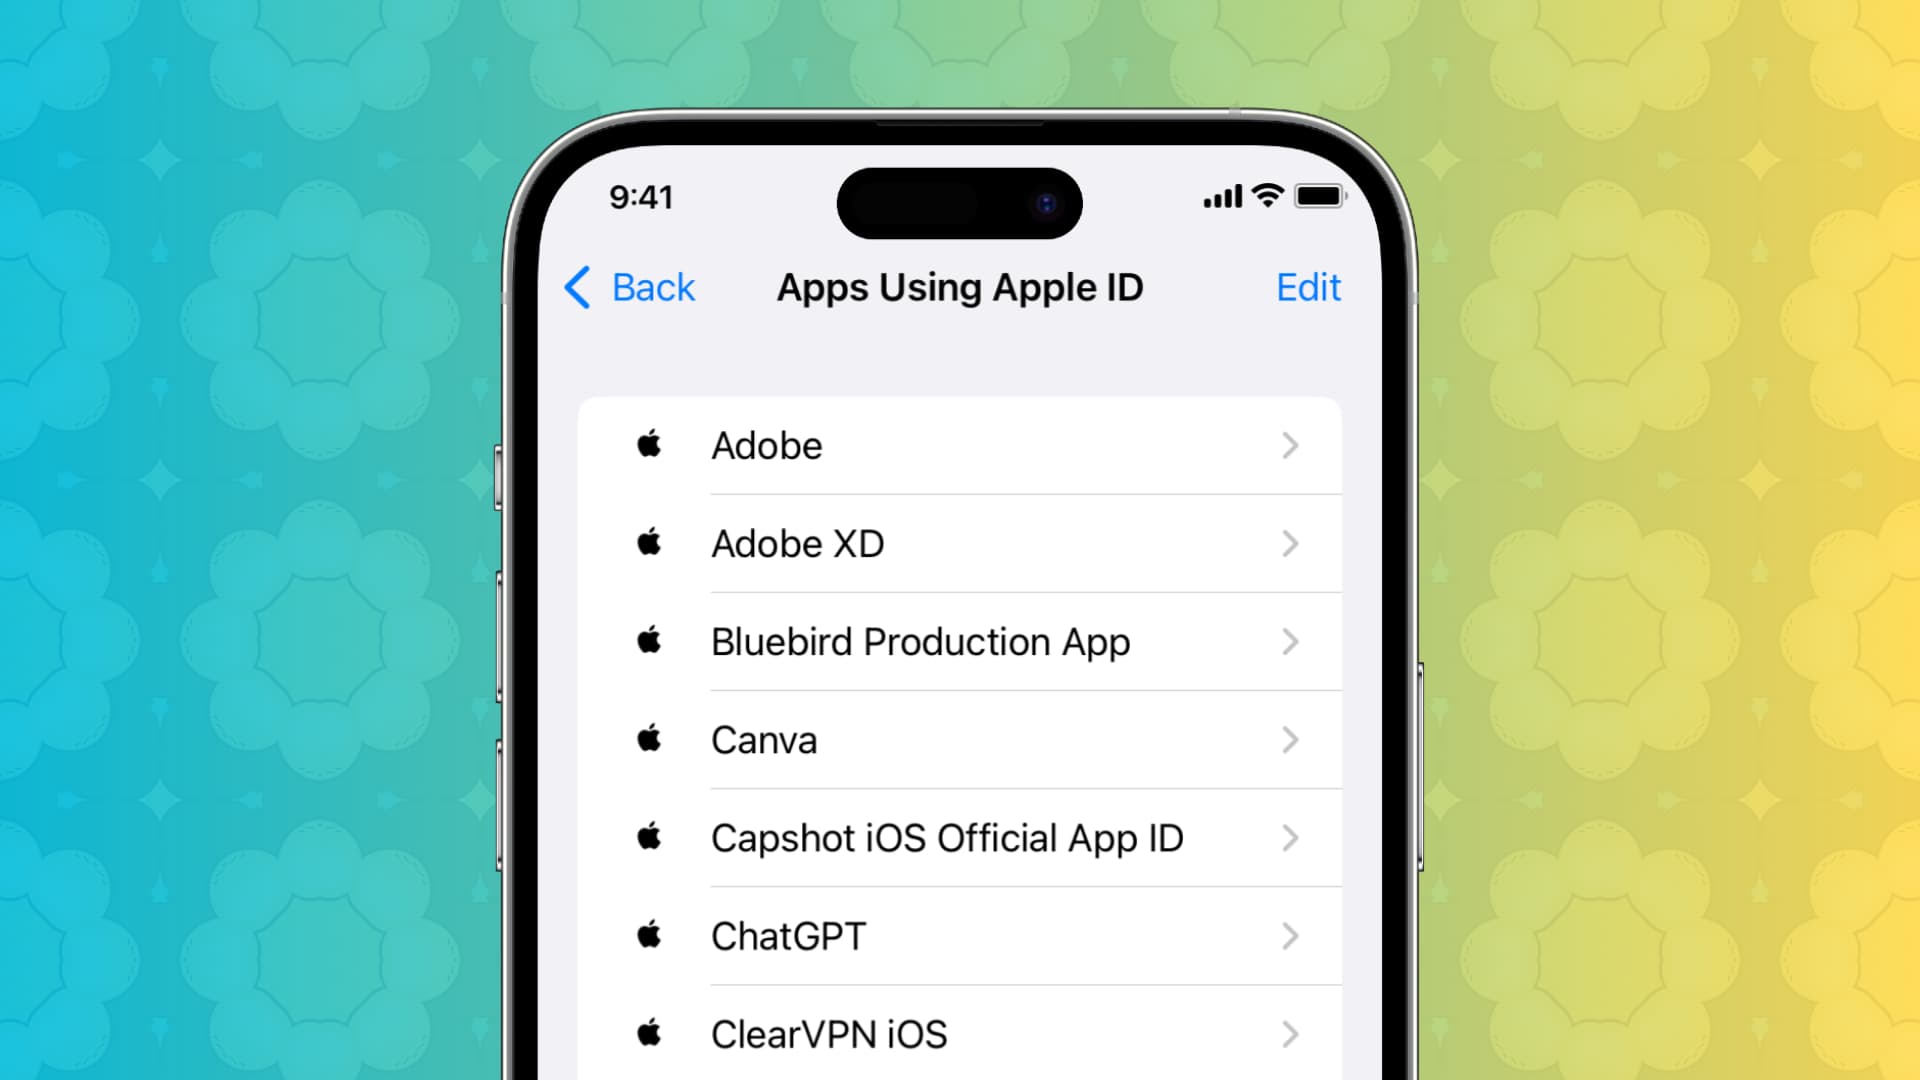
1) Open the Settings app, tap your name at the top, and select Sign in with Apple.

2) You’ll see all the apps and websites where you’ve signed in using your Apple ID. Tap one, and you’ll see when you created the account on this service. Additionally, you can see the random email address that this app or website has received from Apple.
3) If you don’t want to use your Apple ID for Sign in with Apple, tap the Delete button and confirm. You can also tap Manage Hide My Email, select the app, and stop forwarding the emails from this random address to your main Apple ID email address.

You can also see your Sign in with Apple accounts in the Apple Passwords app. From there, you can copy the random email address or add that account to a shared group.
On Mac
It’s pretty much the same as iOS. Go to System Settings > Apple Account > Sign in with Apple to manage these accounts.

On the web
Visit account.apple.com and sign in with your Apple Account. Then, click Sign-In and Security from the left side, followed by the Sign in with Apple tile. You’ll see all the apps and websites where you’re using your Apple ID. Click one to dig deeper and take further action if necessary.

Sign in with Apple is useful if you don’t want to share a bunch of personal information with an app or site you’re signing up with or signing into. And if you use the Hide Email feature, you have increased privacy with that third party.
Also, check out: How to keep your Apple ID and iCloud ID secure