A private Wi-Fi address protects your privacy by reducing the tracking of your iPhone, iPad, and Apple Watch across different wireless networks. In this tutorial, you’ll learn how to enable a private Wi-Fi address on your Apple devices to enhance your privacy.
About Wi-Fi addresses
Apple writes:
To communicate with a Wi-Fi network, a device must identify itself to the network using a unique network address called a media access control (MAC) address. If the device always uses the same Wi-Fi MAC address across all networks, network operators and other network observers can more easily relate that address to the device’s network activity and location over time. This allows a kind of user tracking or profiling, and it applies to all devices on all Wi-Fi networks.
Your iPhone, iPad, iPod touch, and Apple Watch can use a different MAC address for each wireless network. Doing so reduces the risk of tracking, boosting your online privacy. With the newfangled MAC addresses, the network cannot extract identifying information such as your device’s name, brand, type, and so forth.
Dave Mark, The Loop:
So if you always use your device’s actual MAC address at, say, your local Starbucks, it becomes easy to uniquely identify that device and track you. Since a randomized address is seen as a new network device, this might cause you to see a ‘new network device’ alert each time you get on your home network.
Thankfully, you can change your Wi-Fi settings to turn private addresses on or off.
How to use a private Wi-Fi address
Learn how to randomize your device’s MAC address with just a few quick steps. Keep in mind that this is a per-network setting that must be manually enabled for each and every wireless network you use.
iPhone and iPad
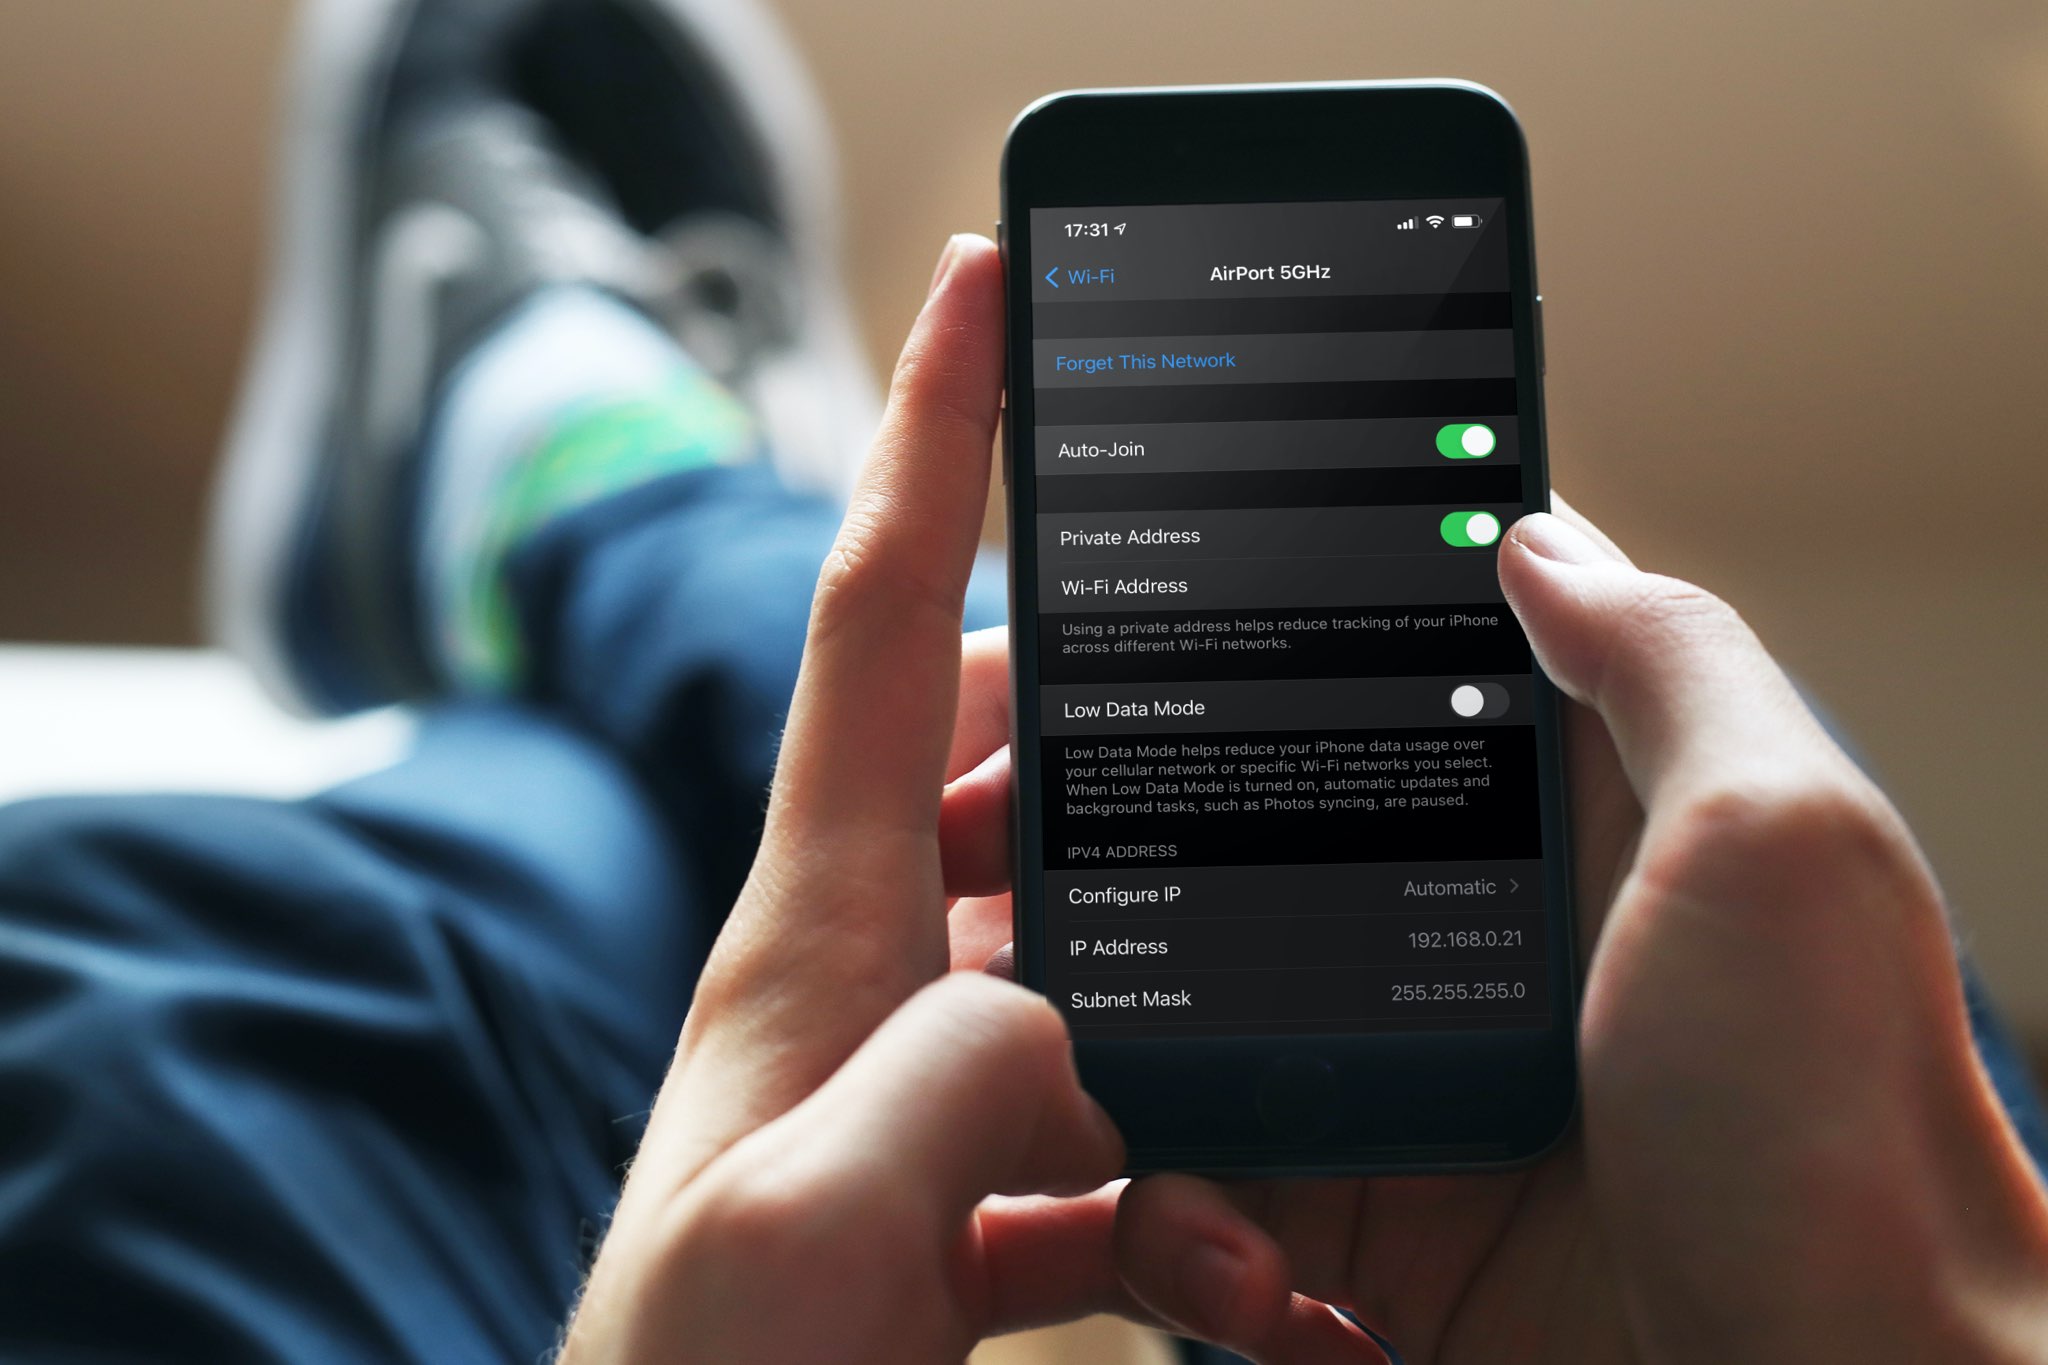
To switch your iPhone and iPad from using the actual MAC address to randomizing its MAC address, you’ll need to enable the “Private Wi-Fi Address” toggle in settings:
- Open the Settings app on your iPhone, iPad, or iPod touch, and tap Wi-Fi.
- Tap the info button ⓘ next to the connected network name. If you want to manage this setting for a previously-joined Wi-Fi network that’s not currently available near you, tap the Edit button first.
- Slide the Private Wi-Fi Address switch to the ON position to enable the feature. With the feature enabled, connect to Wi-Fi as you normally do. Conversely, slide the switch to the OFF position to disable the feature. If the device is currently using the network without a private address enabled, you may see a privacy warning.

Apple Watch
- Press the Digital Crown on your Apple Watch, then open the Settings app.
- Tap Wi-Fi.
- Tap the name of the network you have joined.
- Use the Private Address switch here to manage this setting.

Issues with private Wi-Fi addresses?
Some routers can be configured to notify you if a new device (as determined by its unique MAC address) joins the network. For instance, your router may support this feature to let you know if a neighbor or a rogue actor is trying to connect to your network. In that case, you may see a notification when your own device with a private address first joins the network.
Apple advises leaving the setting on for all networks that support it. However, you may encounter issues with certain routers and network configurations, resulting in restricted or no Internet access when using a private address. If you see a message in your Wi-Fi settings stating that the network has no Internet access, try enabling Airplane Mode for a few seconds, then disable it. If that doesn’t fix it, stop using a private address with that network.
“If you erase all content and settings from your device or use the Reset Network Settings feature, your device will use a different private Wi-Fi address the next time it connects to the Wi-Fi network,” Apple clarifies.
More on Wi-Fi: