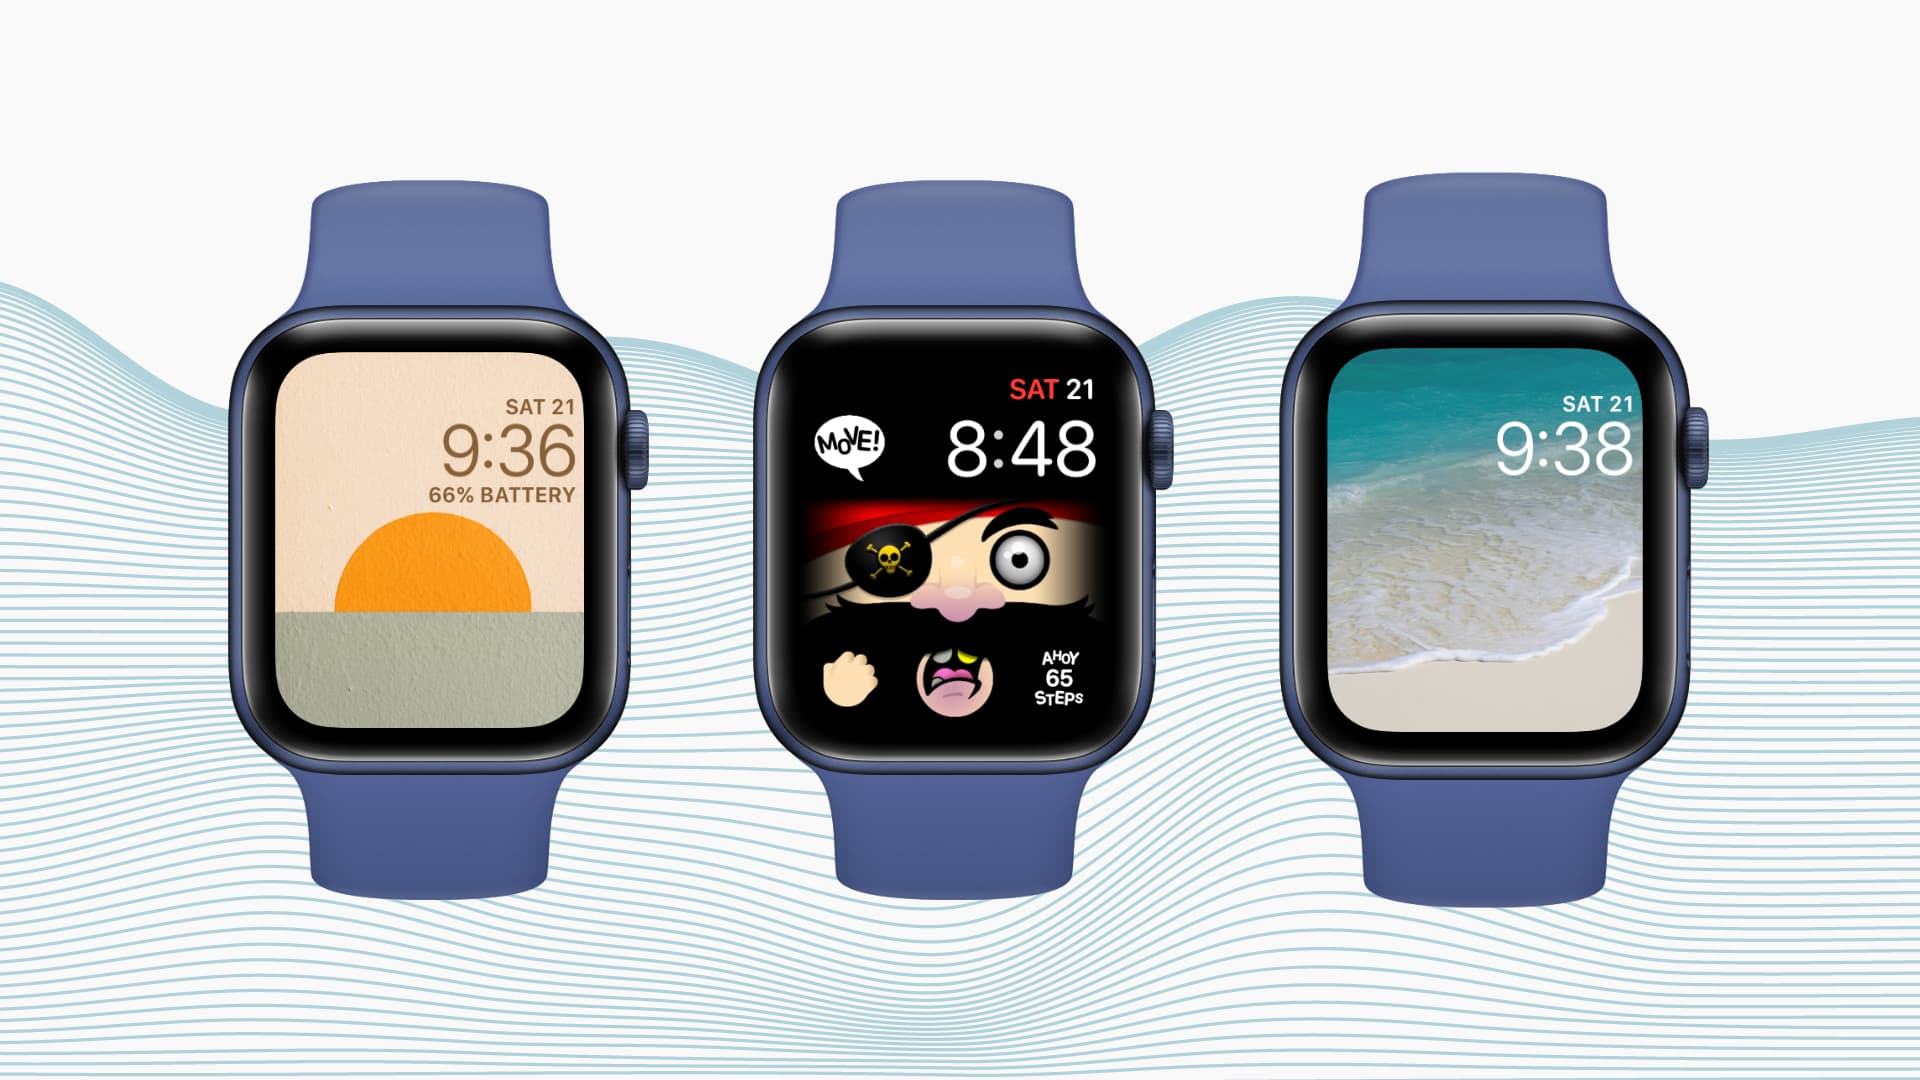
Want to personalize your Apple Watch? Check out how to create custom watch faces and complications to match your taste, style, or even your day.

The Face Gallery section in the Watch app has tons of watch faces to choose from. It’s also in this section you can customize and manage your Apple Watch faces. However, if you want to create a custom watch face or get an exciting one that’s different than what Apple offers, you have some easy options.
1. Use a personal photo as your watch face
You can sync photos from your iPhone to your Apple Watch and use it as the watch face. You also have the option to add a few complications to the photo watch face. Here are two tutorials to help:
- How to use your own photo as your Apple Watch face
- How to create an Apple Watch face from the iPhone Photos app
2. Change your watch face automatically based on time or location
You can also match your style by having your Apple Watch face change automatically based on time or location. This ensures a fresh watch face at different intervals and keeps the tiny computer on your wrist personalized, fun, and productive.
3. Use Facer
Facer is one of the easiest apps to create a custom watch face or download ones created & shared by the Facer community. Obviously, you can further customize the downloaded watch face built by someone else with complications of your choice. However, the choice to create one from scratch is limited in the free version.
Download Facer for free, open it on your iPhone, and select your Apple model. After that, you can get an existing watch face and customize it or build one yourself.
Get pre-built watch faces
- Once you’re inside the Facer app, tap Top Charts, go to the Free tab, and choose a watch face.
- Hit the blue add to watch icon, and tap Add to My Faces.
- You can now tap the watch face in the Watch app and customize it like you do other watch faces.

Note that depending on the watch face, there can be situations when the Facer app shows a prompt to Create Watch Face. Tap Let’s go and select Create Watch Face from the iOS Share Sheet. Now personalize it, and tap ADD to add it to your watch face gallery.

The plethora of watch faces published by the Facer community members is possible thanks to a feature in watchOS that allows the sharing of watch faces with friends and family. Spend some time in the Facer app to get watch faces that seem suitable for your taste.
Build your own watch face
- Tap the little plus button inside a watch icon from the top and select the X-Large. Other designs are for paid users, which you can explore later.
- Now, select a complication by tapping the big plus button.
- Finally, tap the blue send button > Add to My Faces to add it to your Apple Watch.

4. Customize your watch face with Watchsmith complications
From the creators of Widgetsmith, a custom widget maker for iPhone, comes Watchsmith. With it, you can make your own complications and then have them change dynamically throughout the day. For example, this lets you start your morning with the weather and then change to see your activity in the afternoon.
After you personalize the complication inside the Watchsmith app on your iPhone, you can choose Watchsmith as a complication for your existing Apple Watch face.
1) Install Watchsmith on your iPhone and then go to the Watch app and make sure it’s installed on your Apple Watch as well. If it isn’t, tap Install next to Watchsmith.
2) Open the Watchsmith app on your iPhone and give it some permissions like calendar, location, and health. Watchsmith will show these pieces of information in the complications.
3) Once you’re inside the app, tap a complication style like Infograph Circle.
4) Select an existing complication or tap Add Complication and then tap the second option that shows up.

5) Tap Default Complication and select one from the next screen. You can customize the font, color, background, and such. After that, go back to the previous screen.

6) Now, you can tap Add a Timed Complication. You will see a 24-hour clock here. The default complication is shown in the middle, and you can leave it untouched as you already customized it in the earlier step.
You will also see a second complication outside the watch area. Tap it and select a complication that’s different from the default one. Now, go back and drag the time slider to set when you want this particular complication to show.

Tap the plus button inside the watch perimeter to add more complications, pick a style, and then decide the time they show up. You can repeat this step to add several complications and set the time when they should show on your watch face.
The default complication will show on the watch face when the time is outside the second, third, and other successive complications.
7) Tap the current name from the top and rename it to something you want. After that, tap Save.

8) Now, press and hold your watch face that has a complication area and tap Edit. Swipe to Complications, tap a spot, select Watchsmith, and add the complication you built earlier.

Tip: If you get stuck or have a question, you can check out the handy walk-through video. In the app on your iPhone, tap the Settings button (gear icon) and select Walkthrough Video.
Other Apple Watch tips: