Learn how to use keyboard dictation on your Mac with our quick and easy guide, enhancing your productivity through hands-free typing.

The dictation feature on Mac
The dictation settings below are for the keyboard dictation available on macOS. This is different than Voice Control and VoiceOver available through the Accessibility settings. While these features allow you to control your Mac with your voice, keyboard dictation lets you speak text anywhere instead of typing. For help using Voice Control on Mac, take a look at our tutorial specifically for that feature, along with how to create custom Voice Control commands.
Turn on dictation on Mac
1) Open System Settings.
2) Scroll down and click Keyboard from the left sidebar.
3) Turn on the switch under the Dictation heading and hit Enable.

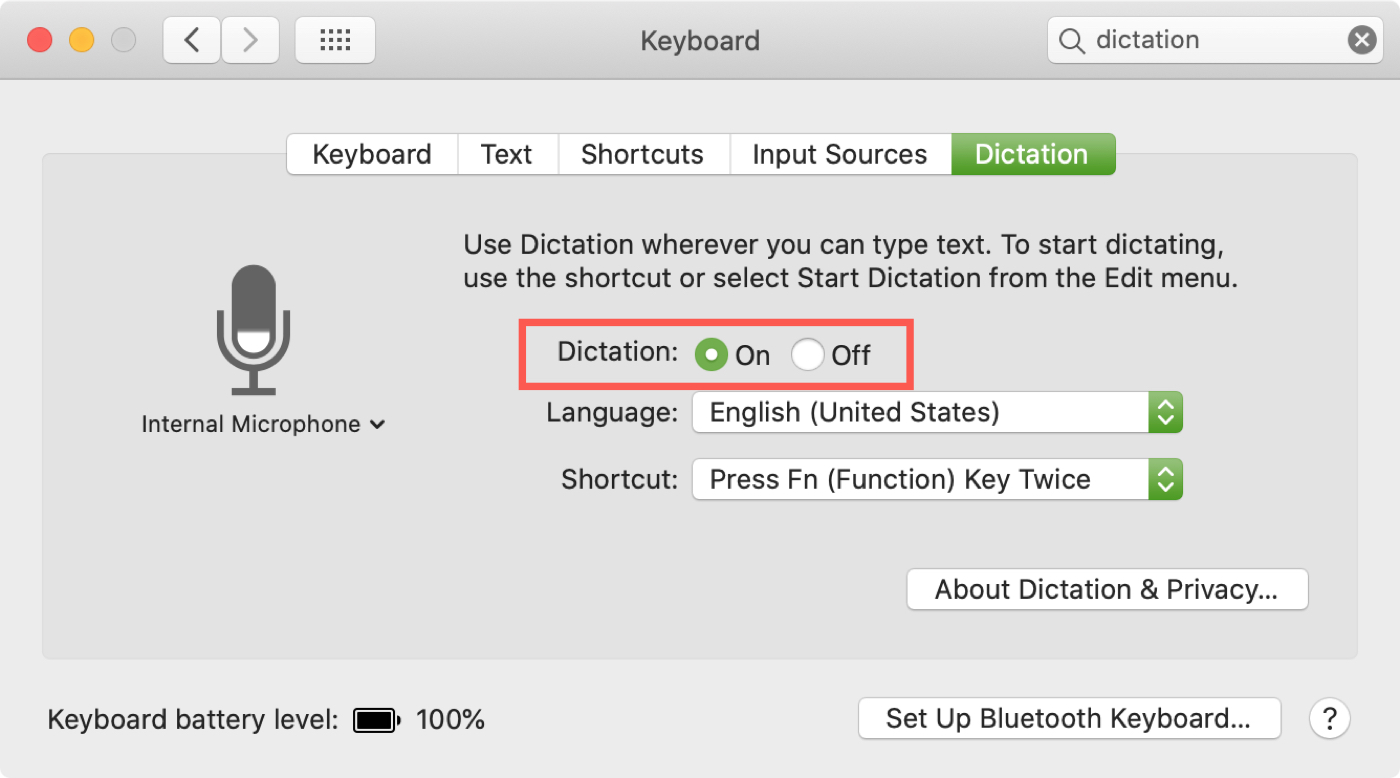
If you’re using an older version of macOS, go to System Preferences > Keyboard >Dictation tab. Select On next to Dictation and confirm you want to turn it on by clicking Enable Dictation.
Optional dictation settings
After you enable dictation, you can optionally adjust the Language and Shortcut.
Language: The default language set on your Mac will be displayed here. To use another already installed, click the Edit button and make your selection.

Shortcut: The default shortcut to start dictation after it’s enabled is to Press Control Key Twice. To choose a different shortcut, pick one from the drop-down list. To create your own, select Customize and press the keys you want to use.

You can also leave Auto Punctuation enabled on this screen so dictation can add punctuation correctly.
Select the microphone for dictation
You may want to use a tool other than your Mac’s microphone for dictation. If you have others, you can change this easily.
Go back to the dictation settings, click the drop-down menu next to Microphone source, and select the available device you want to use. Automatic should be the best option for most people.

Use dictation on Mac
Once you have dictation enabled with the settings you want, using it is easy. Open an app that you want to use for dictation like Notes, Mail, or Pages.
Use the keyboard shortcut (explained above; double press the Control key) to start dictation. A microphone icon will appear as your feedback window, indicating dictation is active.
Apple suggests that you dictate no more than 40 seconds at a time for optimal results.
There are a variety of commands you can use while dictating for formatting, punctuation, capitalization, special characters, and more. Most times, you’ll simply speak the item, for instance, you can add a question mark by saying “question mark” or a comma with “comma”.
To help you with some of the common commands you’ll need, here’s a short list. And for a complete list, visit the Apple Support page for dictation commands.
- Start a new line: New line
- Start a new paragraph: New paragraph
- Move to the next tab stop: Tab key
- Format the text as a number: Numeral
- Format the text as a Roman numeral: Roman numeral
- Set up the phrase in the title case: Caps on
- Resume the default case for the above phrase: Caps off
- Format a word in all caps: All caps
- Format a phrase in all caps: All caps on
- Resume the default cases for the above phrase: All caps off
Note: If you use the “new line” or “new paragraph” commands, you’ll see these formats appear when you finish dictating.
Change the language while dictating
If you enabled another language in the dictation settings described above, you can switch to it while dictating.
Click the language indicator next to the microphone icon. Now, you’ll see those languages you added and can select the one you want to use at any given time.

Finish dictating
When you complete your dictation, you can click the microphone icon to stop dictation. On older versions of macOS, click the Done button below the microphone icon.
Disable dictation on Mac
If you no longer need or want to use dictation on Mac, you can turn it off by going to System Settings > Keyboard and disabling the Dictation switch.

Dictation is one of those macOS features that you likely don’t think about unless you need it. So be sure to bookmark this page in case you ever need to sue this feature.
On a related note: