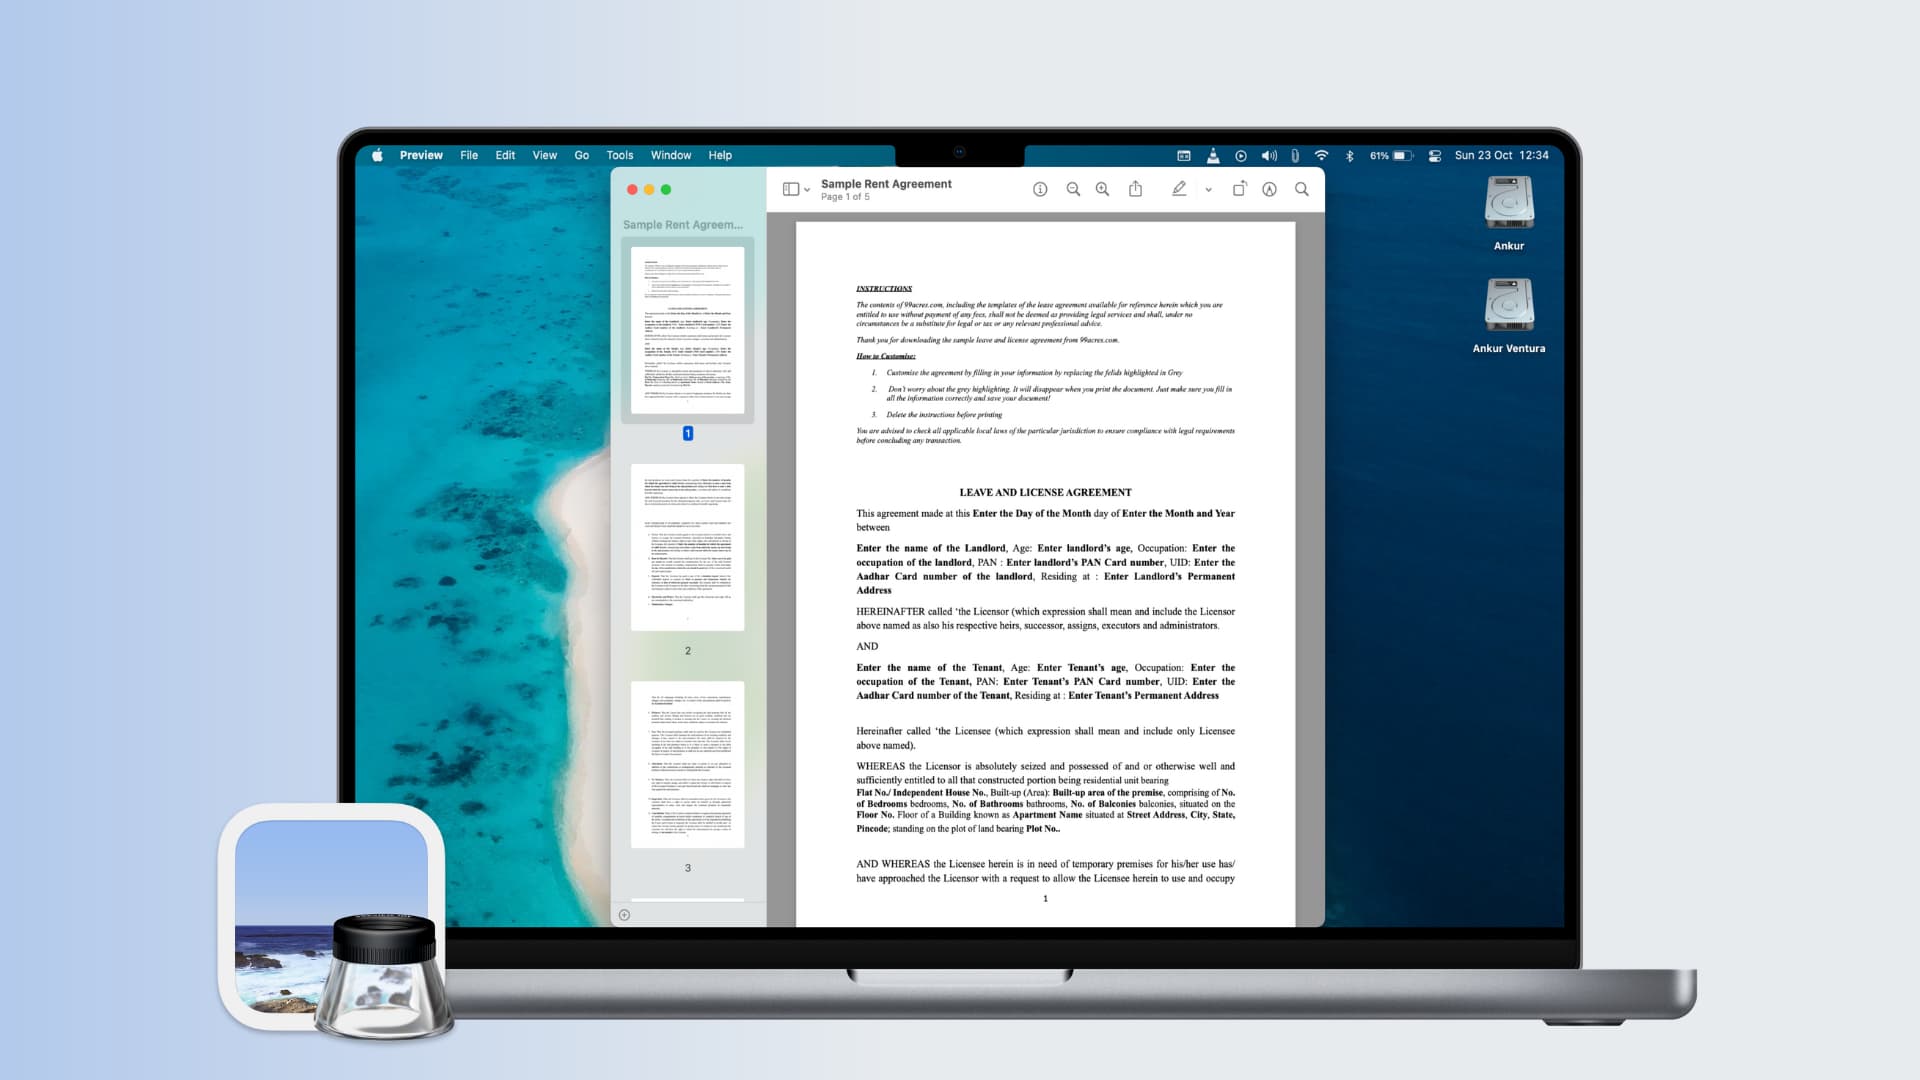
Learn how to change the display settings in Apple’s Preview app on the Mac so that images and PDF documents appear in real size on the screen.

The built-in Preview app on your Mac renders images and PDF documents on the screen in the same size as they would appear in a printout, regardless of your screen resolution. For example, if a PDF document is 8.5 x 11 inches when printed on a piece of paper, that’s the size it will appear in Preview.
But if you open an image or a PDF document in Preview only to find it weirdly rendered or wrongly sized, adjusting Preview’s scale setting will fix the problem.
Change image and PDF sizes in Preview for Mac
- Launch Preview and click the Preview > Settings or Preview > Preferences menu.
- Click the Images tab and select the option next to Define 100% scale as. This should be set to “1 image pixel equals 1 screen pixel” by default.
- Now, click the PDF tab and select the option next to Define 100% scale as. The default setting is “Size on screen equals size on printout.”

Once you change display size settings, close the document and reopen it to see the size difference for yourself. Preview on Mac is a terrific tool, but if you’re just learning how to use it, take a look at what Preview is and what you can do with it.
Do more with Preview
Preview is one of the most-used macOS apps. And with iOS 26 and iPadOS 26, Preview comes to the iPhone and iPad with many of the same features found in the Mac version, minus stuff like the cool annotation features in Preview for Mac.
Preview is more powerful than meets the eye. For instance, you can easily print multiple different images per page in the Mac version of Preview. The app is a robust PDF tool that can fill out forms, add signatures, and more. And if Preview keeps going to the wrong page in a PDF document, we have some fixes for that!
Do you use Preview as the default image and PDF viewer on your Mac or some other app? If so, which one? Tell us by leaving a comment down below.