Learn how to personalize the desktop of your Mac with a custom icon for internal and external hard disks, USB thumb drives, and other attached storage devices.
You can easily customize app icons and folder icons on your Mac, but did you know you can customize desktop icons for storage devices connected to your Mac? Not everyone is a fan of the default macOS drive icon. I personally don’t like custom drive icons that manufacturers include with their storage devices, as they often don’t look good on my Mac wallpaper.
If you’d like to set custom icons for internal and external hard disks, flash storage (SSD), USB thumb drives, RAIDs, and more, you can do so with a few clicks. Changing the appearance of a drive’s icon is only for visual flair; it does nothing functionally.
Customize macOS drive icons on your Mac’s desktop
1) Download the image you want to use as an icon. You can also create one yourself using an image editor like Pixelmator or Photoshop, but be sure to save it as a transparent PNG file.
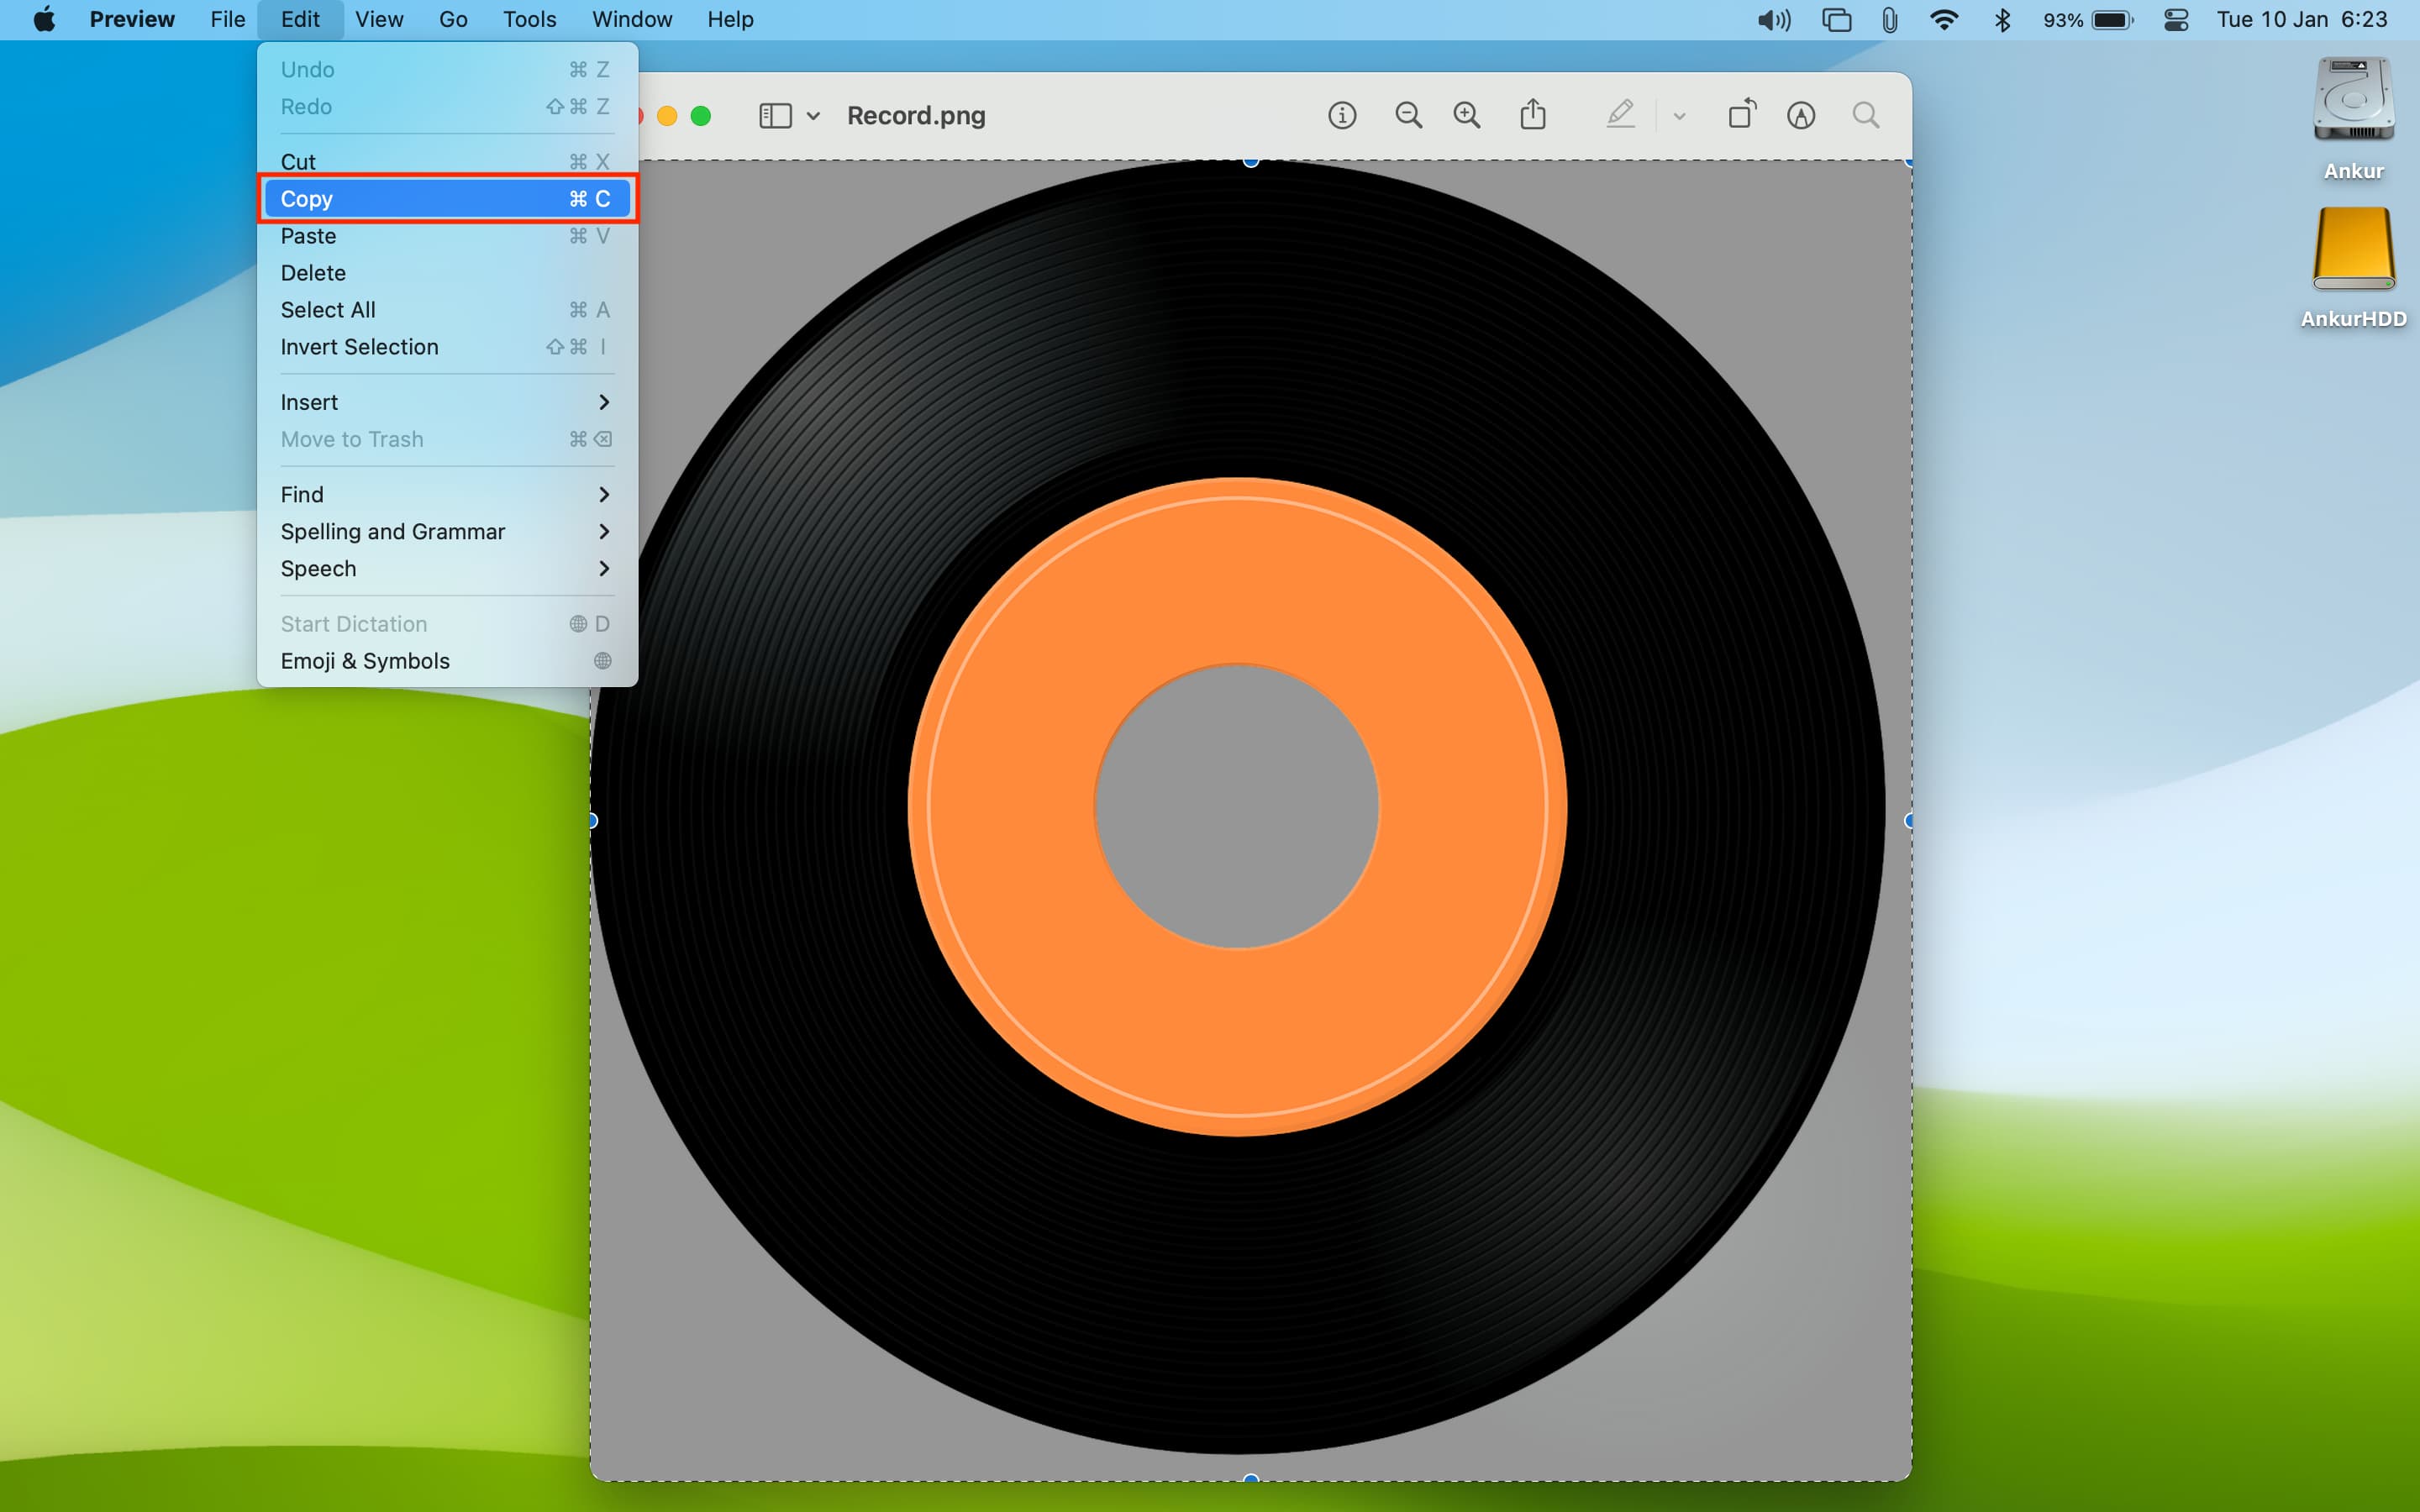
2) Open up the image in the built-in Preview app and click the Edit > Select All menu or press the Command + A keys. You’ll see ants marching around the image borders after making a proper selection in Preview.

3) With the image selected, click the Edit > Copy menu or press the Command + C keys to copy the image to the system clipboard.
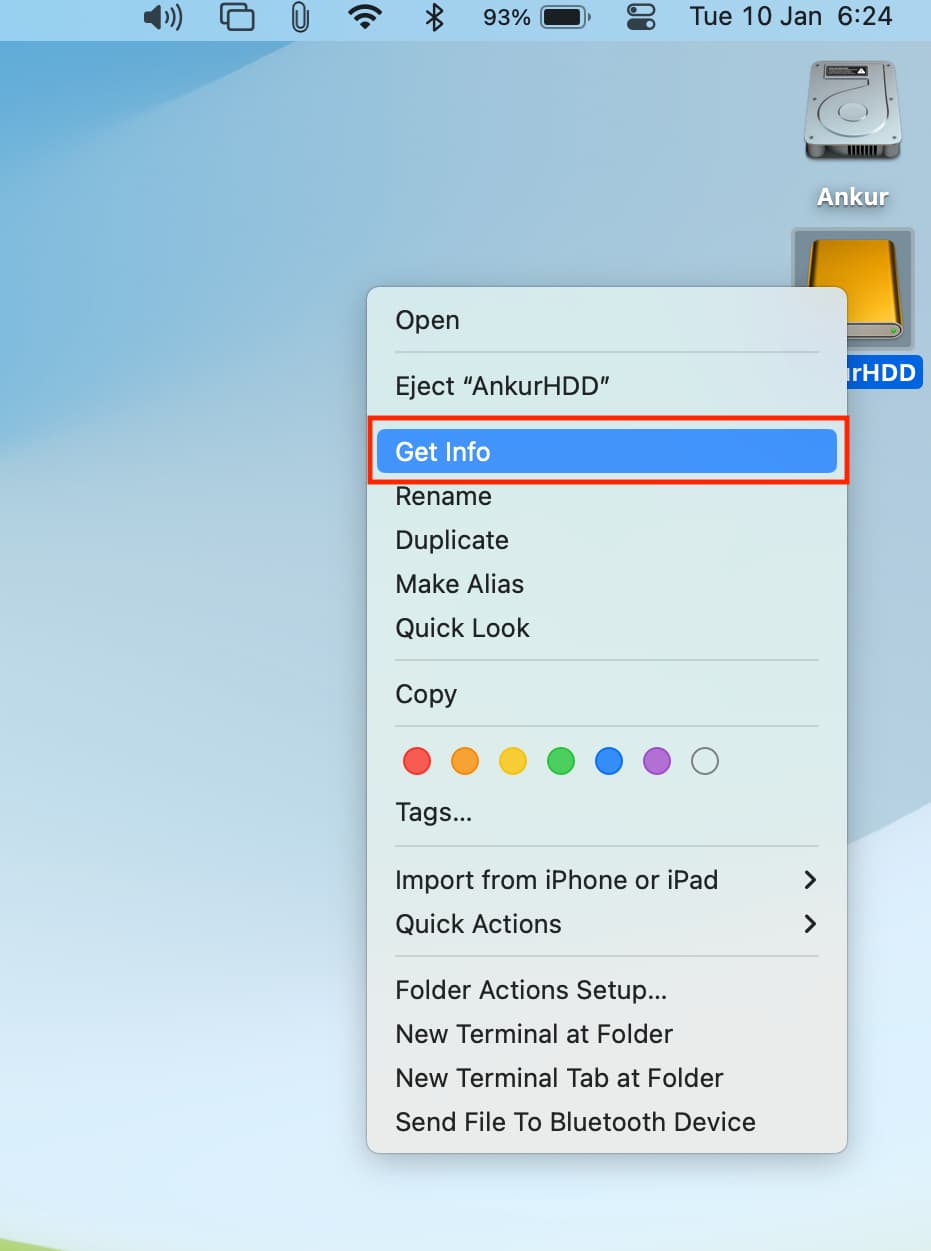
4) Right-click or Control-click the storage device icon on the desktop you’d like to change and select the Get Info option from the menu. Or, select the device icon and press the Command + I keys.
5) This will open a Get Info window with a miniature version of the icon and some metadata. Click the drive icon once in the window’s top-left corner to select it. Once selected, the icon will show a blue outline.
6) Press the Command + V keys to apply your custom image to the icon. You may need to type the administrative password to authorize this action.
And that’s how you customize Mac drive icons, girls and boys! If the new icon doesn’t appear on the desktop, relaunch the Finder and restart your Mac, or issue a killall Dock command in Terminal and press the Enter key.
A word of advice
Don’t use drag and drop here because doing so will actually swap the drive and image file icons, not replace the drive icon with your custom image. You may need to disable Mac’s System Integrity Protection feature to customize the Mac’s drive icons. Once done, re-enable System Integrity Protection for your own security.
The steps for customizing Mac drive icons apply to other icons, too. For example, you can customize folder icons, change system app icons, and more.
How to restore the default drive icon
Right-click the drive icon on the desktop and choose the Get Info command. Then, click the current disk icon in the window’s top-left corner and press the Delete key to revert to the original icon.
Automating image conversion to ICNS
macOS uses the Apple Icon Image Format to store icons. It supports multiple icon sizes for various uses, all stored in a single bundle with the .icns extension. The Apple Icon Image Format supports icons of 16×16, 32×32, 48×48, 128×128, 256×256, and 512×512 points at 1x and 2x scales. The 2x scale uses 1024×1024 icons for rendering on Retina screens. Moreover, the ICNS file type supports 1-bit and 8-bit alpha channels, as well as multiple image states (i.e., open and closed folders).
If you plan on using a JPG or PNG image for your icon, it’s best to convert it to the ICNS format. You can use Apple’s built-in Preview app for that or a special Automator workflow, which will add a “PNG to ICNS” option to the right-click menus throughout macOS.
You must provide a 1024×1024 image for this workflow to function properly. Instead of going on and on about it, I’m just gonna let our videographer, Harris Craycraft, show you how it’s done with his quick two-minute video tutorial.
If you prefer to manually convert your images into ICNS files, be sure that your image meets the exact specifications provided above. You’ll need at least a 512×512 image to prevent pixelation, and the higher the resolution, the better. Then, and only then, should you actually export the image as an ICNS file using Preview’s File > Export command.