Learn how to adjust a photo’s color, contrast, saturation, sharpness, size, resolution, and more using the built-in Preview app on your Mac.
The built-in Preview app in macOS is a terrific piece of software for viewing images and signing PDF documents, but it can do so much more than that. For instance, Preview’s tools like Loupe and Mask can make specific image parts stand out and pop. Plus, Preview lets you adjust image colors and resolution easily. Follow our step-by-step tutorial right ahead showing you how to use the color and size tools in Preview for Mac.
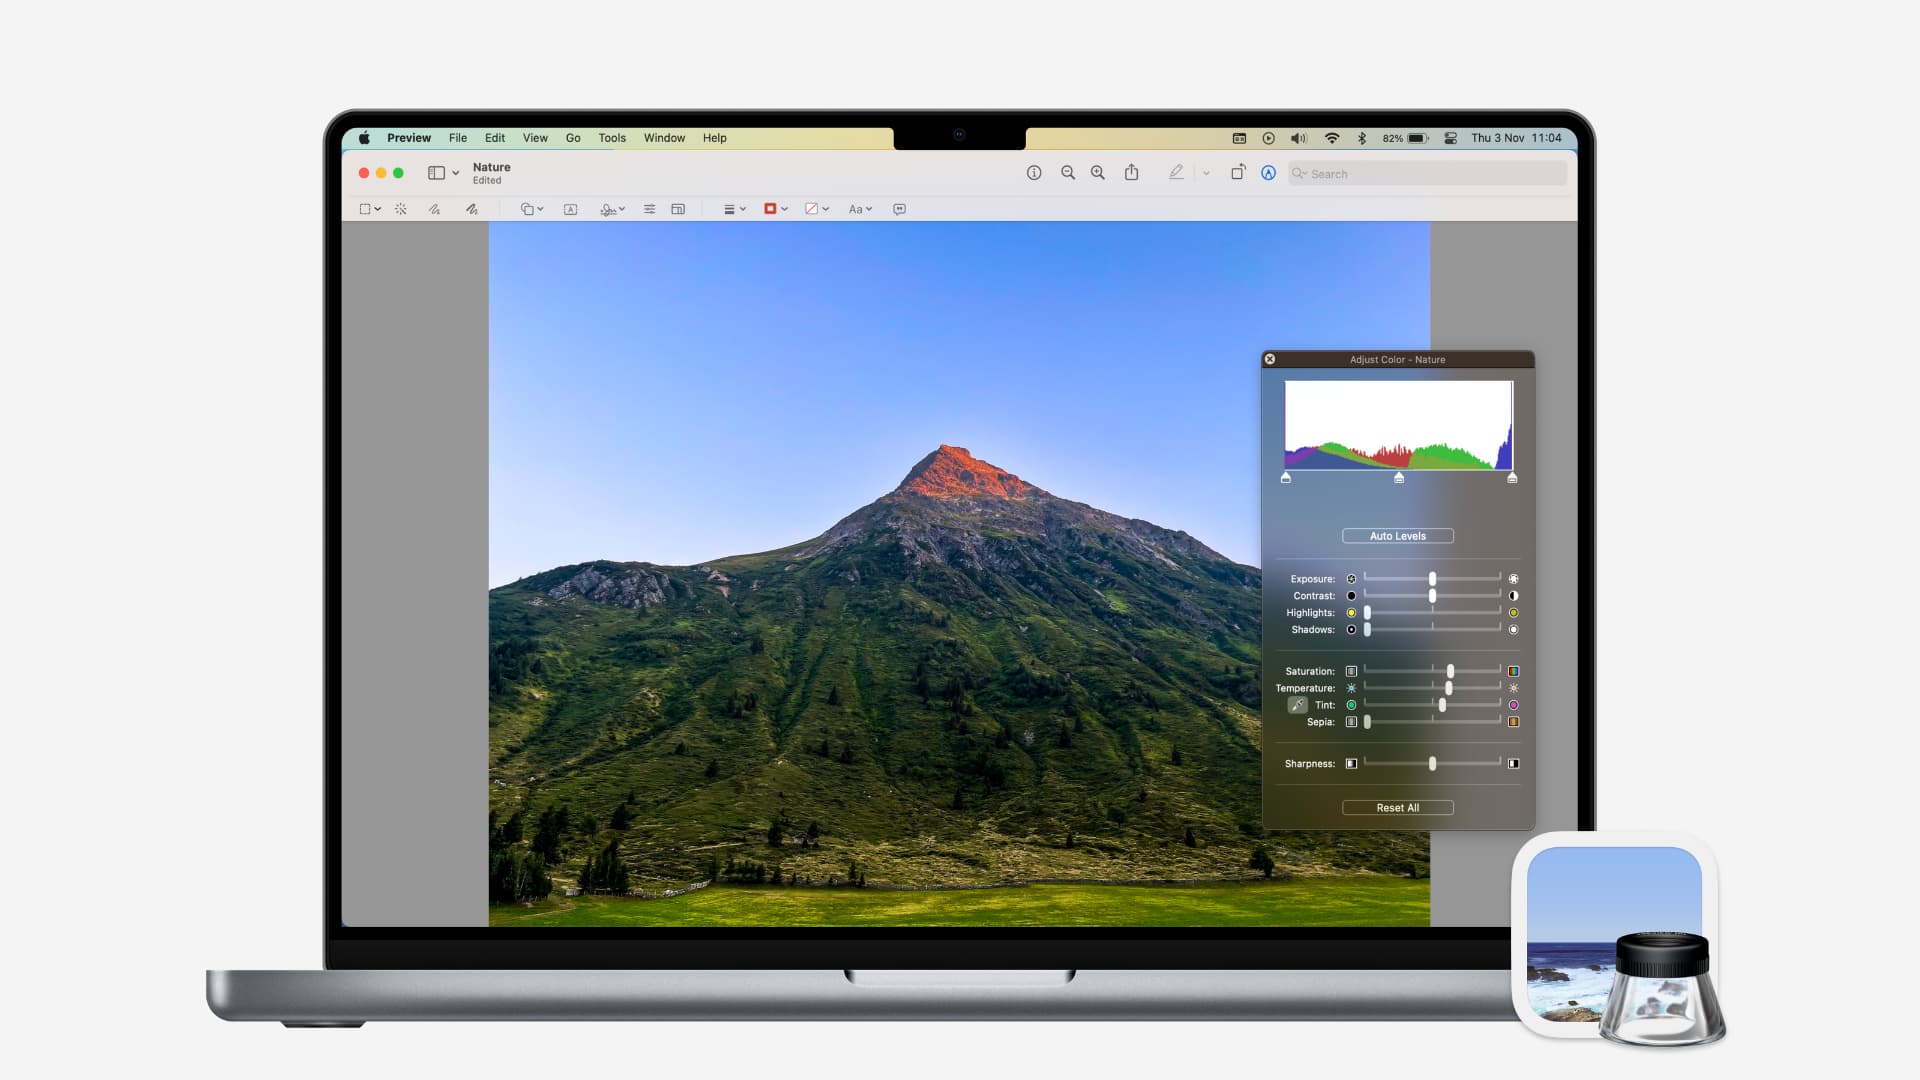
Adjust image color in Preview for Mac
Open an image in the Preview app on your Mac and click Tools > Adjust Color in the menu bar at the top. The color adjustment tool will open in a small window with an array of options. This is a great way to make small changes without needing an expensive image editor.
Move the sliders for the Exposure, Contrast, Highlights, Shadows, Saturation, Temperature, Tint, Sepia, and Sharpness until you get the results you want. You can also drag the three triangles below the color histogram to adjust light balance.
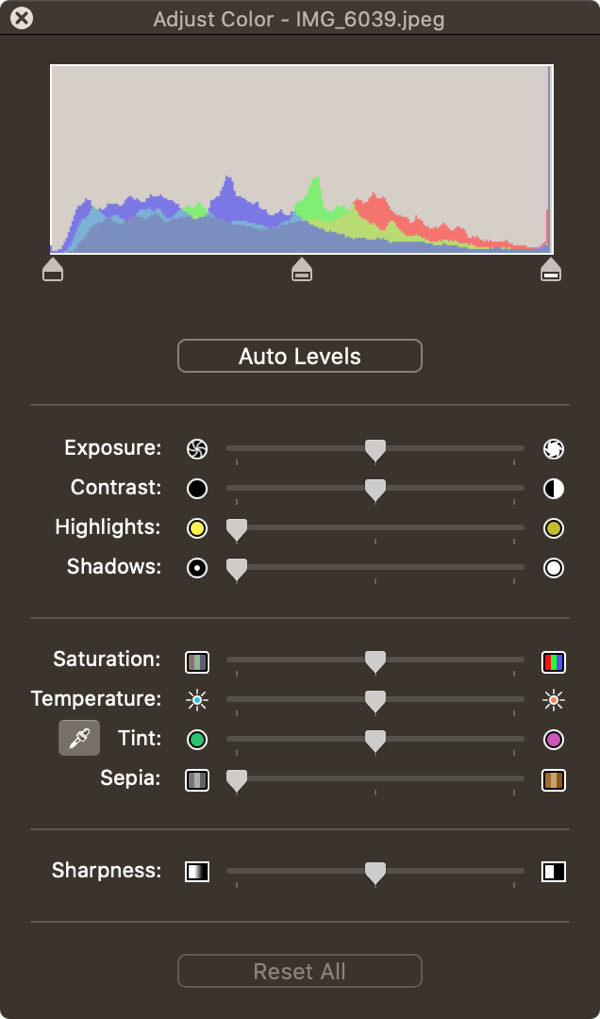
You’ll see the changes in real-time as you’re dragging these sliders. To revert the changes and return the image to its original state, click the Reset All button at the bottom of the window. To use the best settings for the image, click the Auto Levels button below the histogram.
Change the image size in Preview for Mac
Open an image in Preview and click Tools > Adjust Size in the menu bar. You can now quickly resize your image to common dimensions by clicking the Fit into drop-down box and selecting any option from 320 by 320 to 1920 by 1920. You can also adjust the Width and Height manually in pixels, percentages, inches, etc.
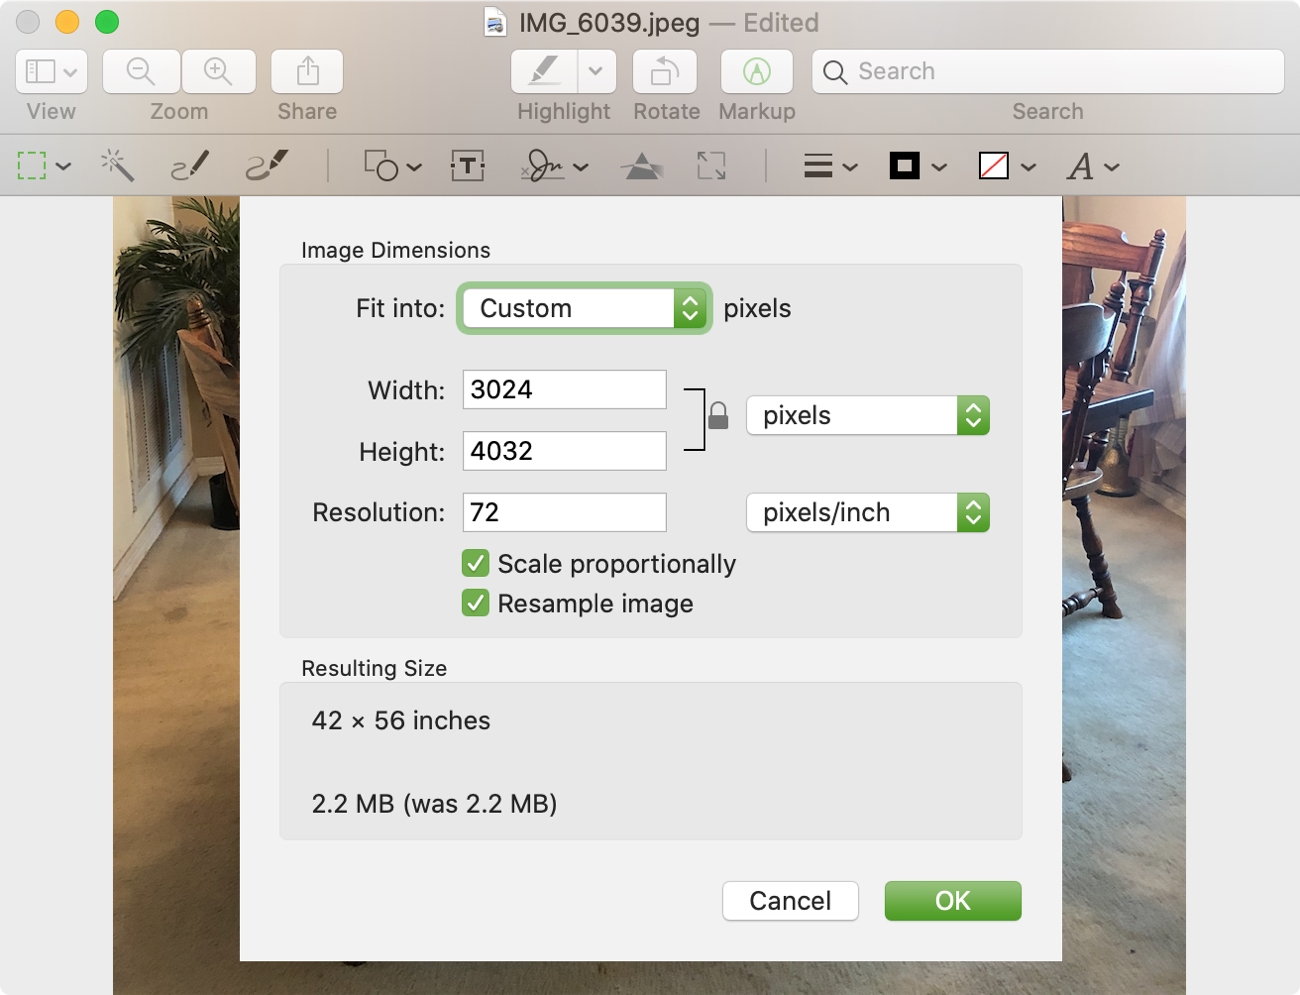
Be sure to scale your image proportionally by ticking the Scale Proportionally box or clicking the lock icon next to Width and Height. To reduce image size without losing too much detail, tick the Resample Image box before resizing.
To adjust the resolution, enter a numeric value into the Resolution field and choose either pixels/inch or pixels/cm from the drop-down menu. When done, click OK to apply the changes.
In addition to these two options, you can use the Markup tools at the top of the Preview window to add text, shapes, arrows, drawings, annotations or magnify parts of an image to create callouts.
Other tips for Mac’s Preview:
- How to remove the background from an image using Preview
- How to change image and PDF display sizes in Preview
- How to view and recover previous versions of images and PDFs in Preview