Learn how to add, edit, and annotate images within Apple’s built-in TextEdit app on your Mac to liven up rich text document with some visuals.
The built-in TextEdit app in macOS allows you to edit documents without too much fuss. What you might not know is that you can also annotate images within this free text editor.
This is great for adding images to rich text documents without using a word processing app. Best of all, you’ll use the familiar Markup tool to annotate images within TextEdit.
Insert an image into a TextEdit document
Only documents in the rich text format can embed images. If you’re using plain text, click Format > Make Rich Text in the menu bar. If the option reads “Make Plain Text,” the document is already the rich text format.
Insert an image in a few different ways:
- Click Edit > Attach Files.
- Drag and drop an image onto TextEdit.
- Right-click in the document body and use your iPhone to take a photo, scan a document, or draw something.
Annotate an image within TextEdit
With the image added, annotating is a piece of cake. Select the image in the document, then click the downwardly-pointed arrow in the top-right corner, and select Markup or a compatible image editor from the menu.
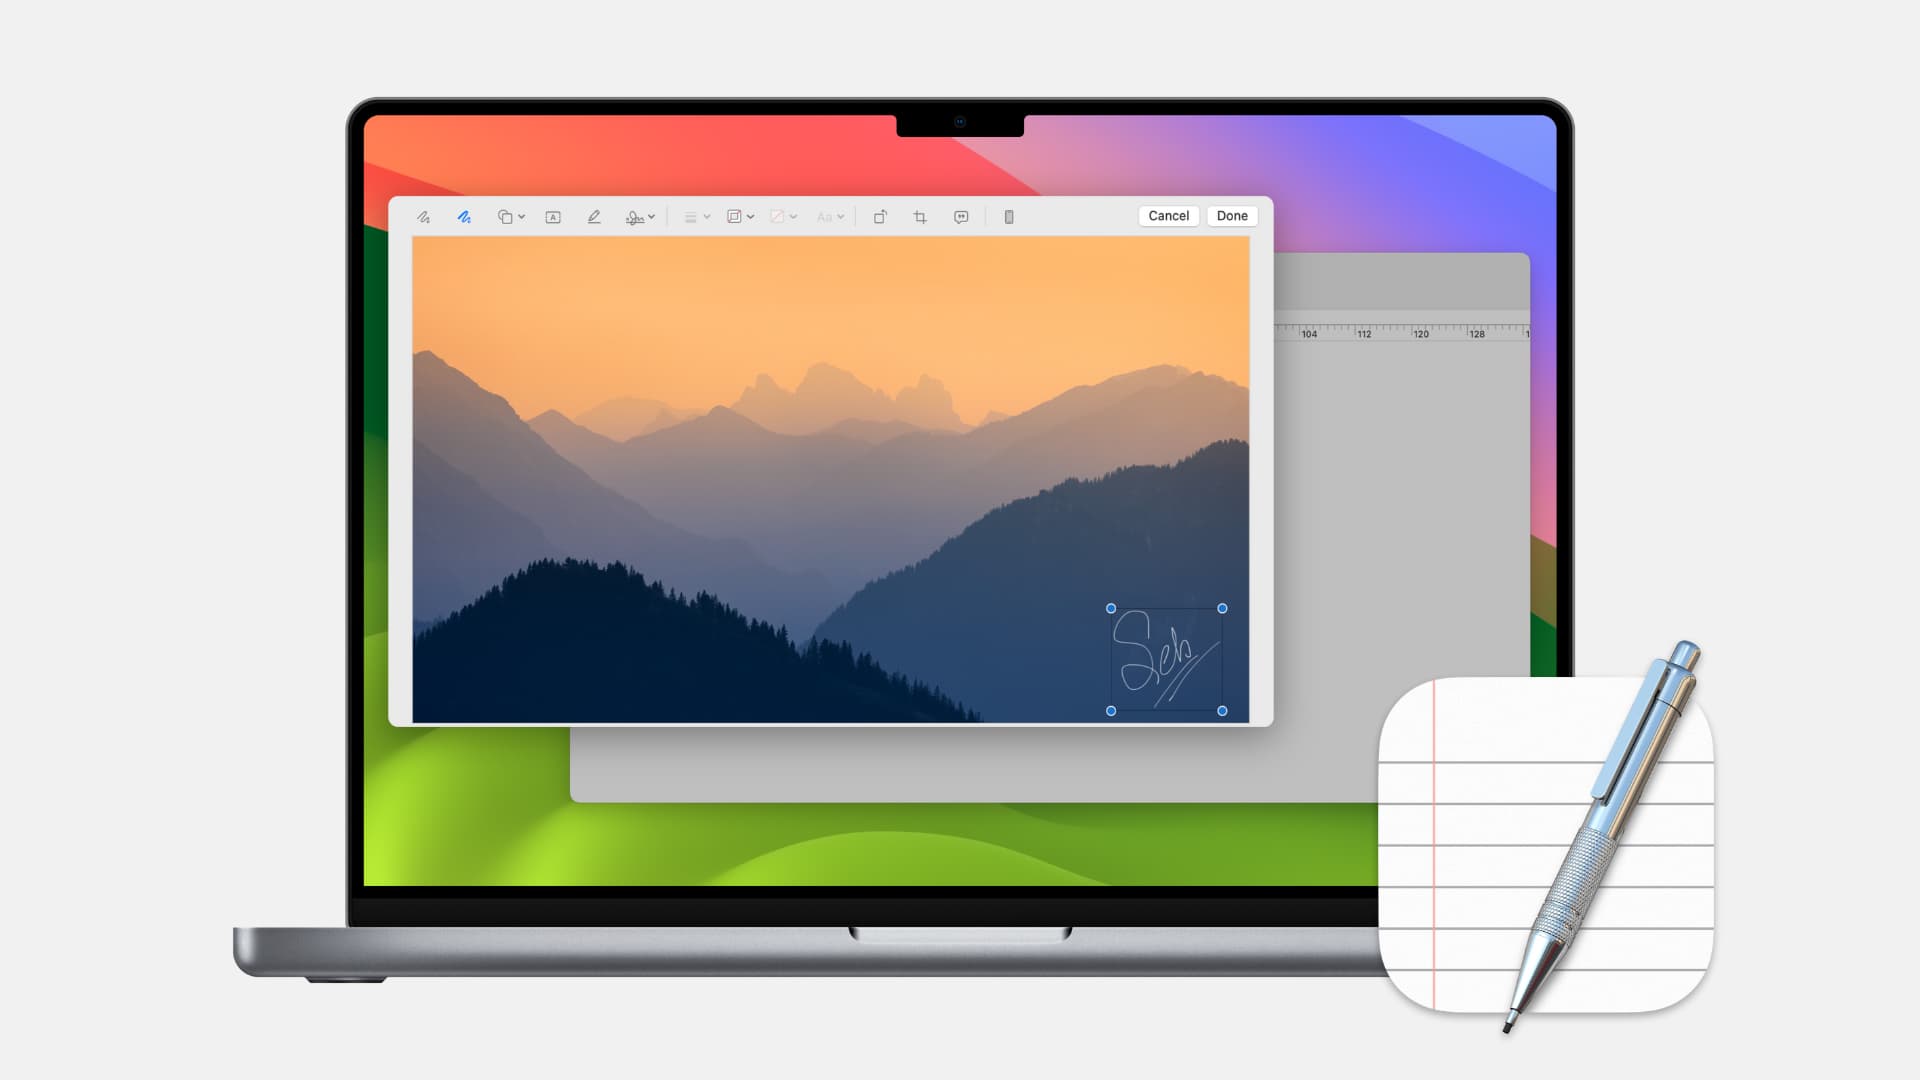
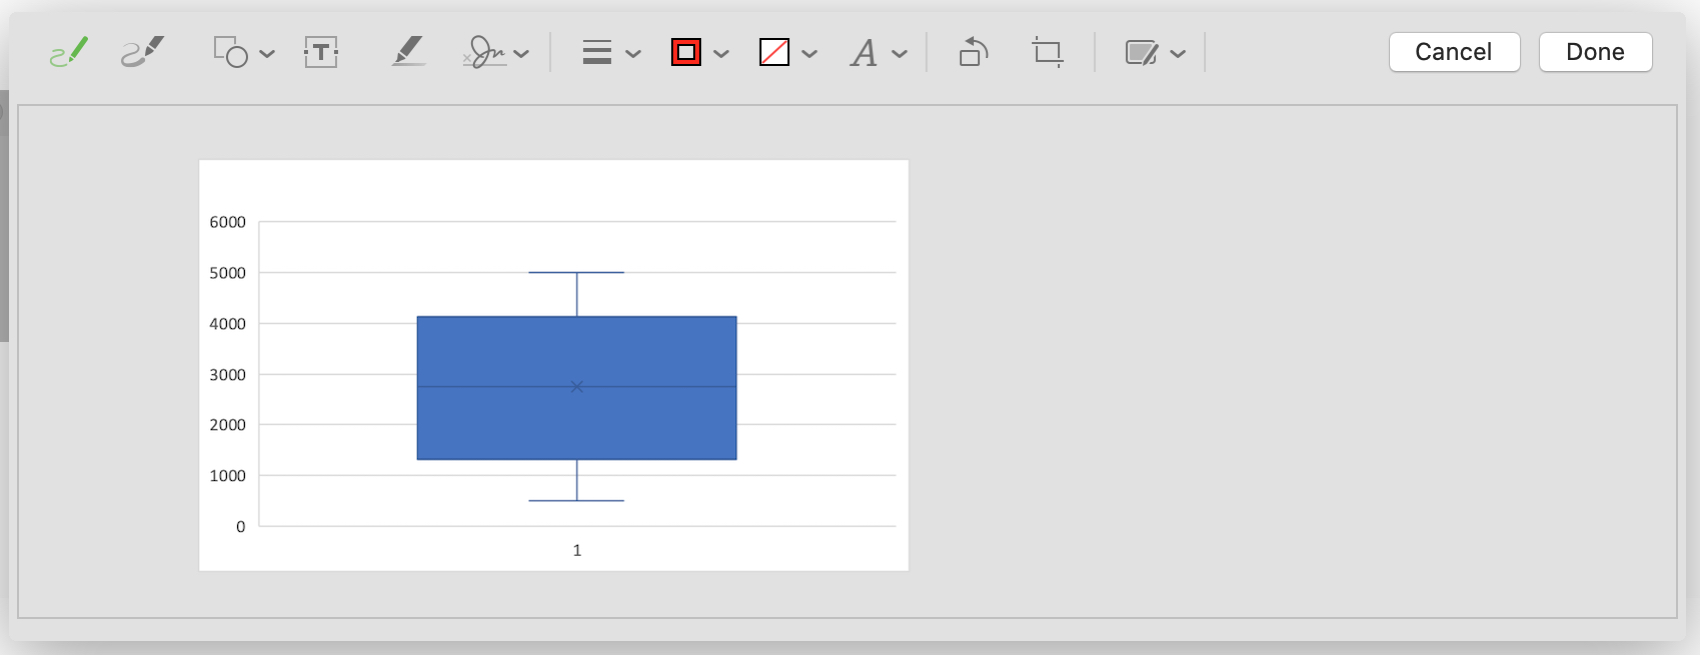
The Markup interface lets you edit and annotate the image with options to sketch, draw, highlight, sign, add shapes, text, and borders, rotate, crop, and more. When finished, click Done to apply changes to the embedded image.
Having Markup in TextEdit is great for those times when you need to quickly crop an image, sign a scanned contract, or add some text. Don’t forget that you can also use Markup for email attachments and access Markup from within other apps on your Mac.
Do more with TextEdit: