In this tutorial, we’ll show you how to access and manage notifications on your Mac. We’ll also provide quick steps to disable or temporarily pause alerts for apps with unhelpful notifications.
Notifications are handy for events, emails, and phone call alerts. But not all notifications are as important. For instance, you may not want to be bothered with an alert from the Books or the Photos app.
Knowing how to handle your notifications so that they are useful is important to your Mac experience.
View notifications on Mac
The first type of notification you might see is a small pop-up in the upper right corner of the screen. This is either a Banner or an Alert. A Banner will appear briefly and then disappear, while an Alert will remain there until you dismiss it. Click either a Banner or an Alert to view the item attached to the notification.

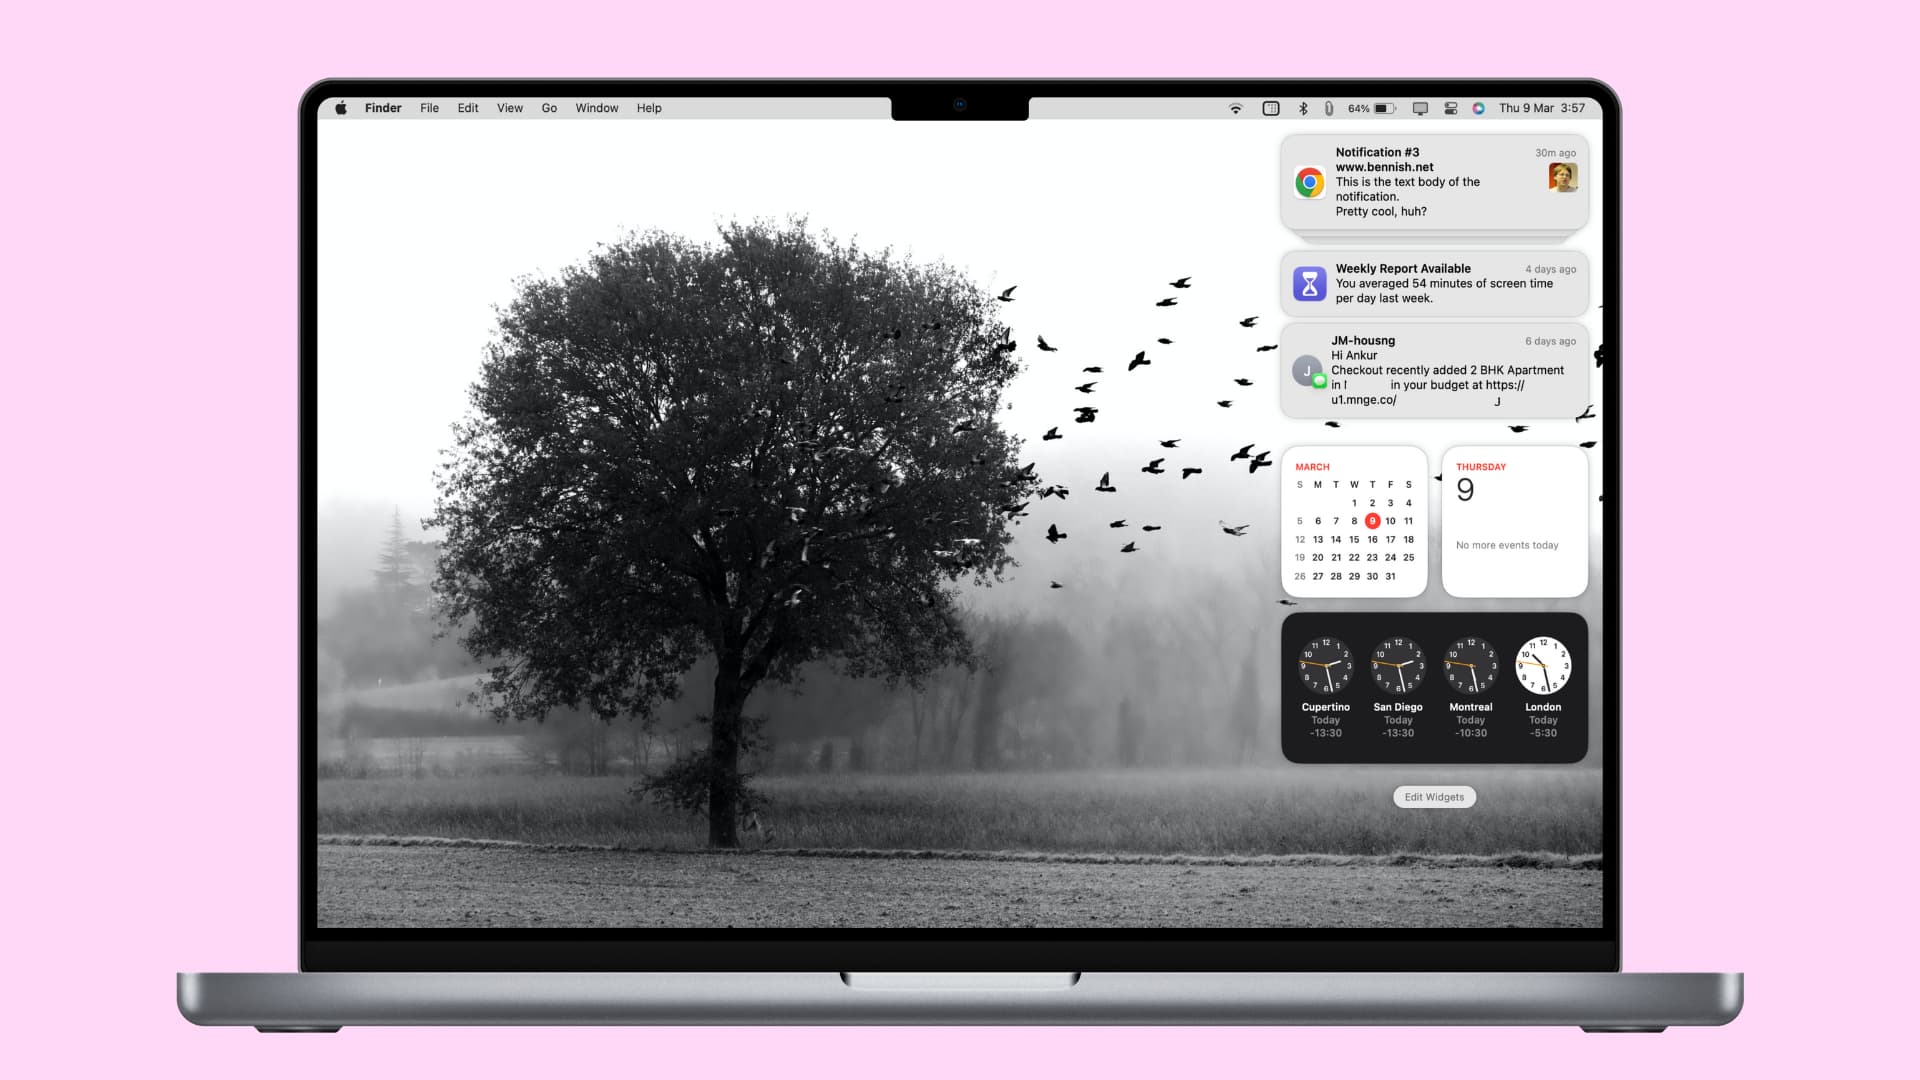
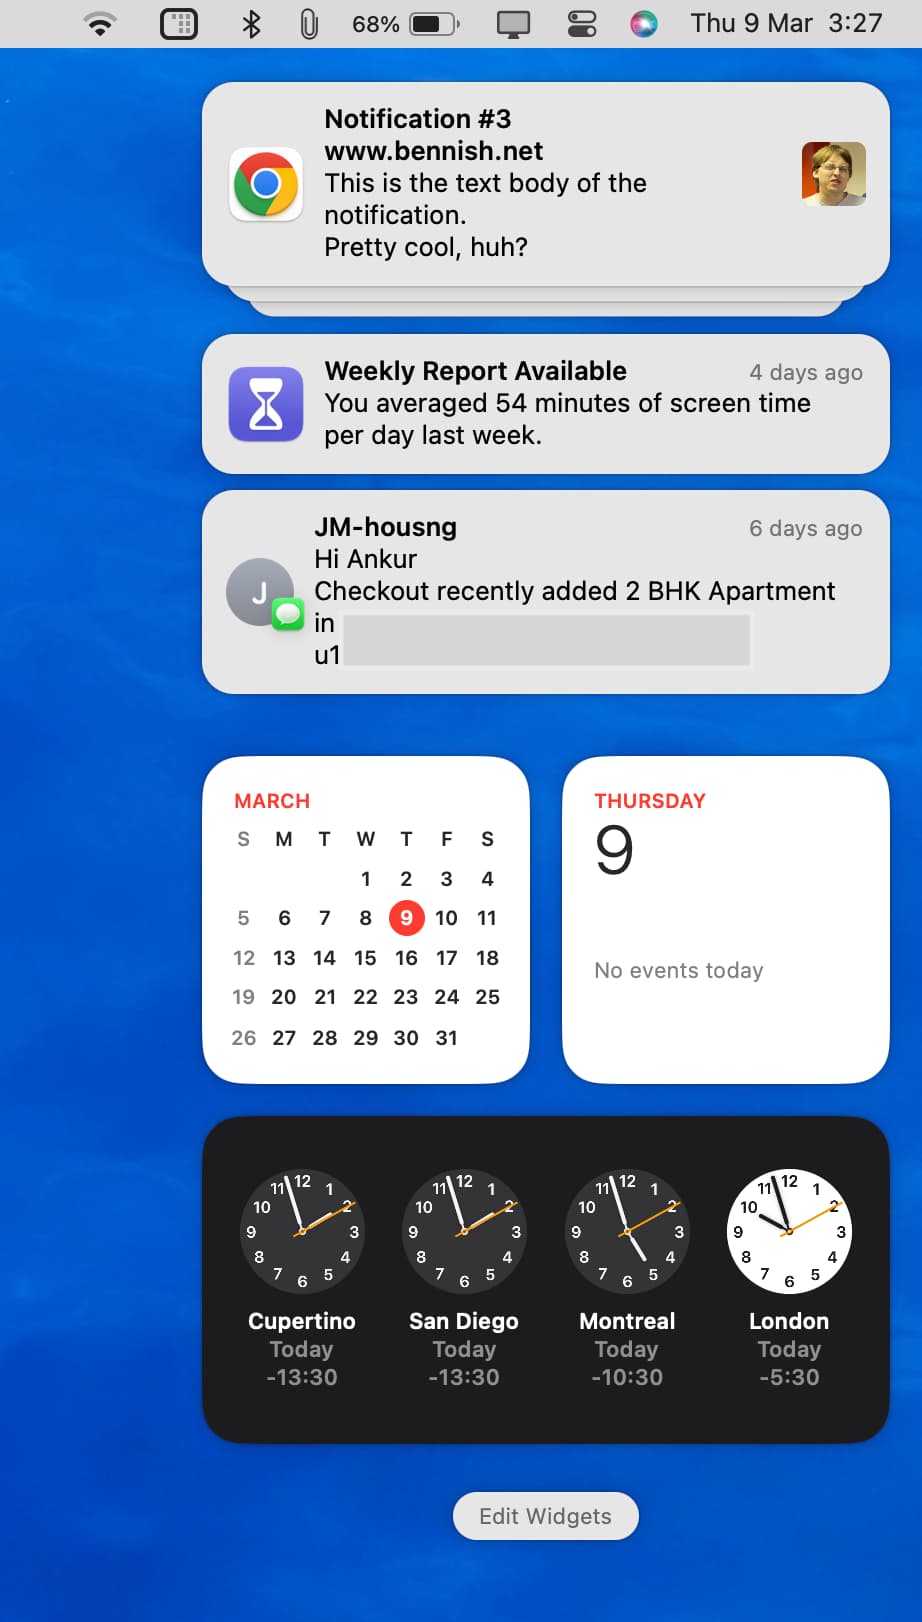
Another type of notification is one in your Mac’s Notification Center. This area keeps all of your alerts tucked away until you want to see them. When you’re ready, just swipe with two fingers from the right edge of your trackpad or click the time in the top right of your screen to get to Notification Center where you can view all of your stacked notifications.
Snooze app notifications
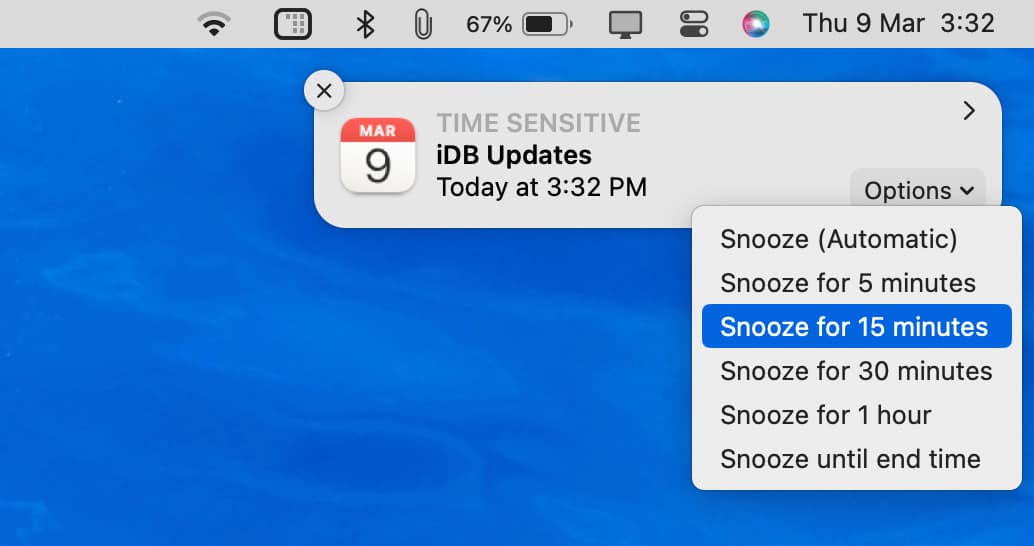
Some notifications that pop up on your Mac’s screen give you the option to snooze. This is helpful if you want to dismiss the alert but have it notify you again later. You can click Options > Snooze so that you’re reminded again.
Pause app notifications
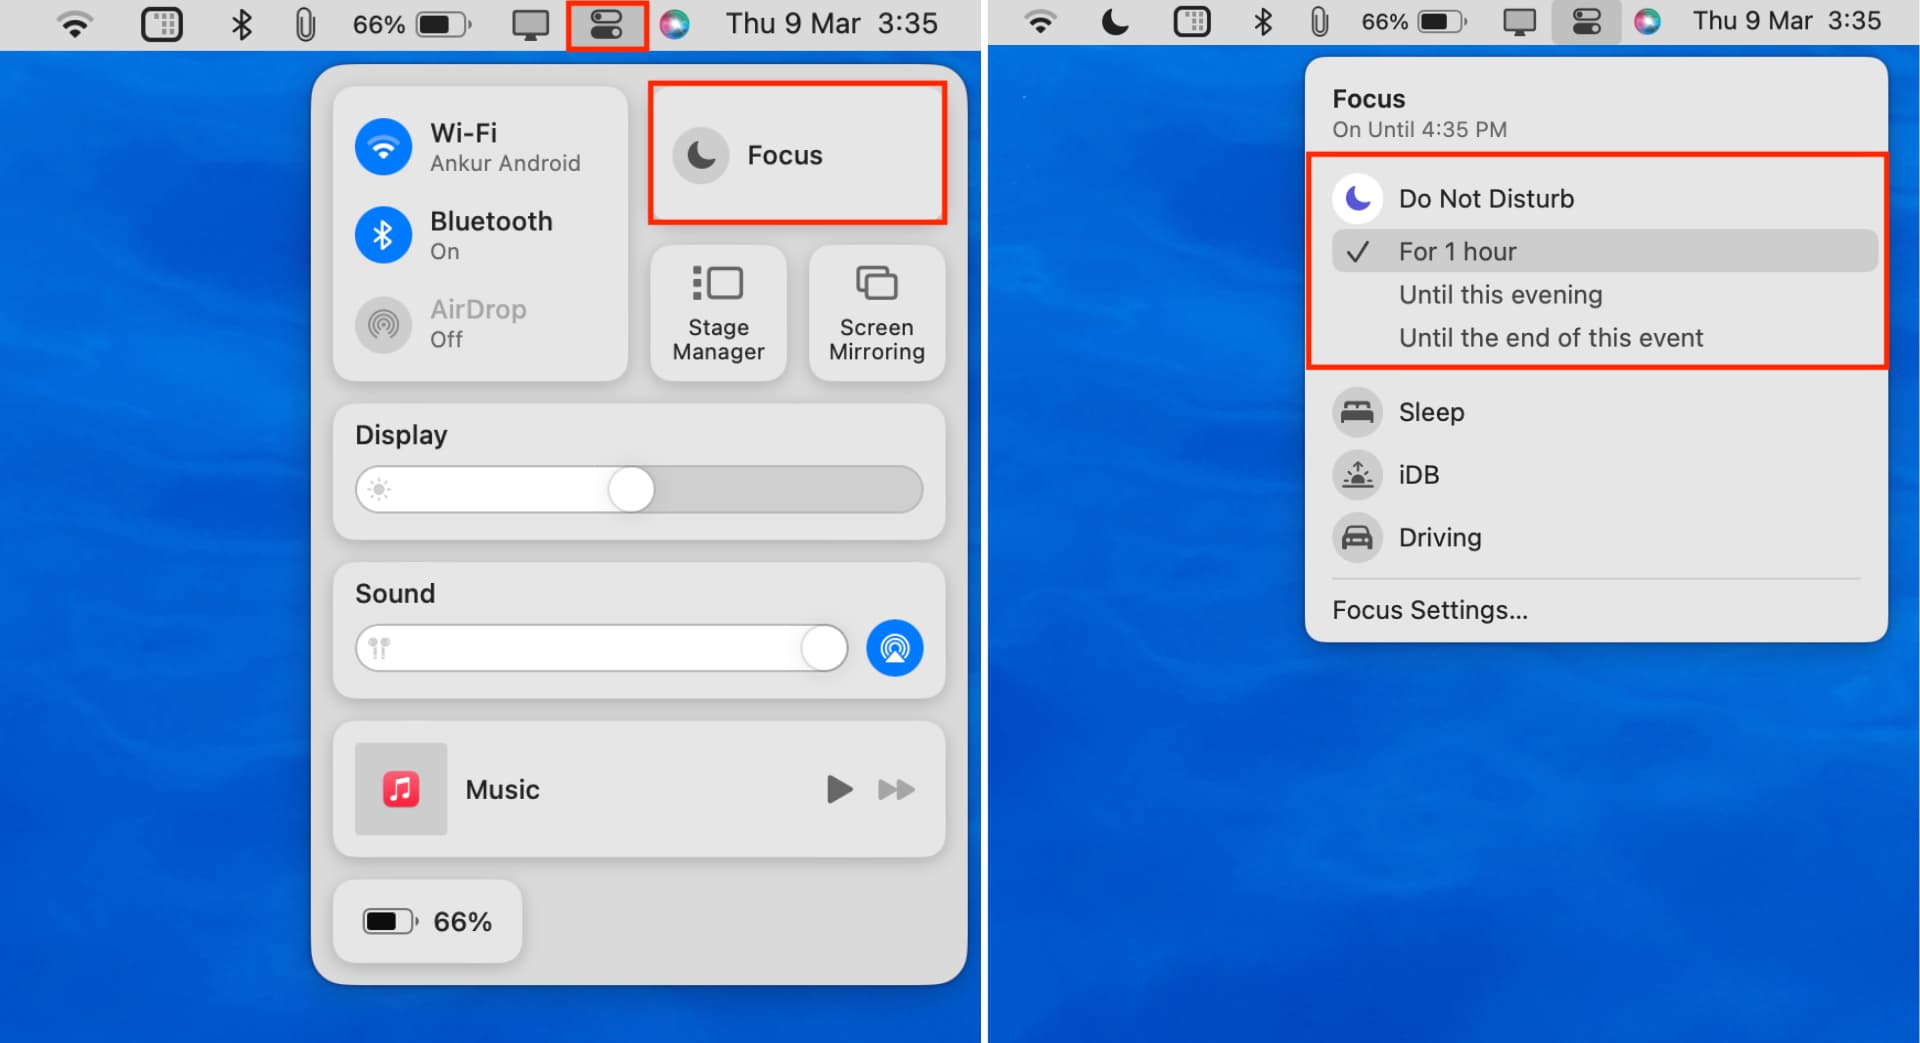
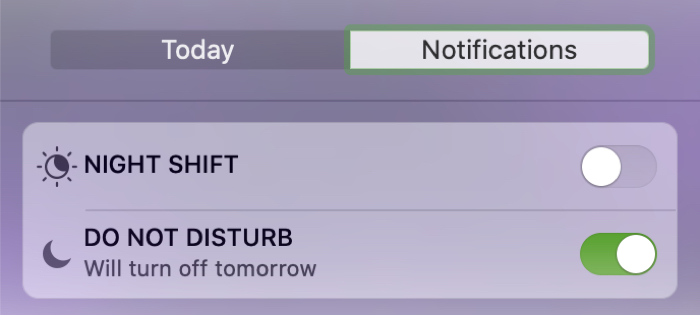
Maybe you’re going to watch a movie or play a game on your Mac and want to temporarily pause your notifications. You can enter Do Not Disturb mode easily by clicking the Control Center icon > Focus > Do Not Disturb. This will pause your notifications from interrupting what you’re doing but still hold them in the Notification Center for you to view later.
On older versions of macOS, click the Notification Center icon in your menu bar, swipe down slightly, and enable Do Not Disturb.
Manage each app’s notifications on Mac
1) Open System Settings and click Notifications.
2) You’ll see a list of apps here. Click the one whose settings you want to customize.
3) Here, you can see the settings are quite flexible for each app’s notifications. This lets you tailor them in a way that works best for you.

- Allow notifications: Turn this off to block all notifications from an app and vice versa.
- Notification banner style: Choose between Banners or Alerts. Banners appear on the screen and disappear after a few seconds. Alerts will stay on the screen until you view or dismiss the notification. And if you choose None, you’ll see no banners for incoming notifications.
- Show notifications on Lock screen: Turning this off will prevent new notifications from appearing on your Mac’s Lock screen.
- Show in Notification Center: Turn this off if you don’t want notifications to stack in Mac’s Notification Center.
- Badge application icon: This will put the number of pending notifications inside a red circle on the app icon in Dock and Launchpad.
- Play sound for notification: You can use this switch to turn the notification sounds on and off.
- Show previews: This lets you customize the one or two lines that appear inside the notification banner.
- Notification grouping: You can leave this set to Automatic or choose to group the alerts by app.
- Summarize notifications: You can turn this feature off to stop Apple Intelligence from summarizing pending notifications of this app.
More Mac notification tips: