Learn how to add a signature to your document in the Apple Pages app on your Mac, iPad, and iPhone to sign it digitally, giving your approval, authorization, or legal validation.
Most of the time, when you need to sign a document digitally, it’s a PDF file. And you can use Preview on your Mac to sign those types of files. But if you are creating a document in Pages that you want to add your signature to, it’s as easy as inserting an image. We’ll walk you through the steps.
On Mac
First, we’ll explain how to add an existing signature image to your Pages document. As a prerequisite, you must already have a signature saved as an image file on your Mac, and then follow these steps.
1) Open the document where you want your signature in Pages and move your cursor to the spot in the document where you want to insert your signature.
2) Click the Media button in the toolbar and select the location of your signature image. You can also click Choose to navigate to its location on your Mac.
3) Find your image, select it, and click Insert.
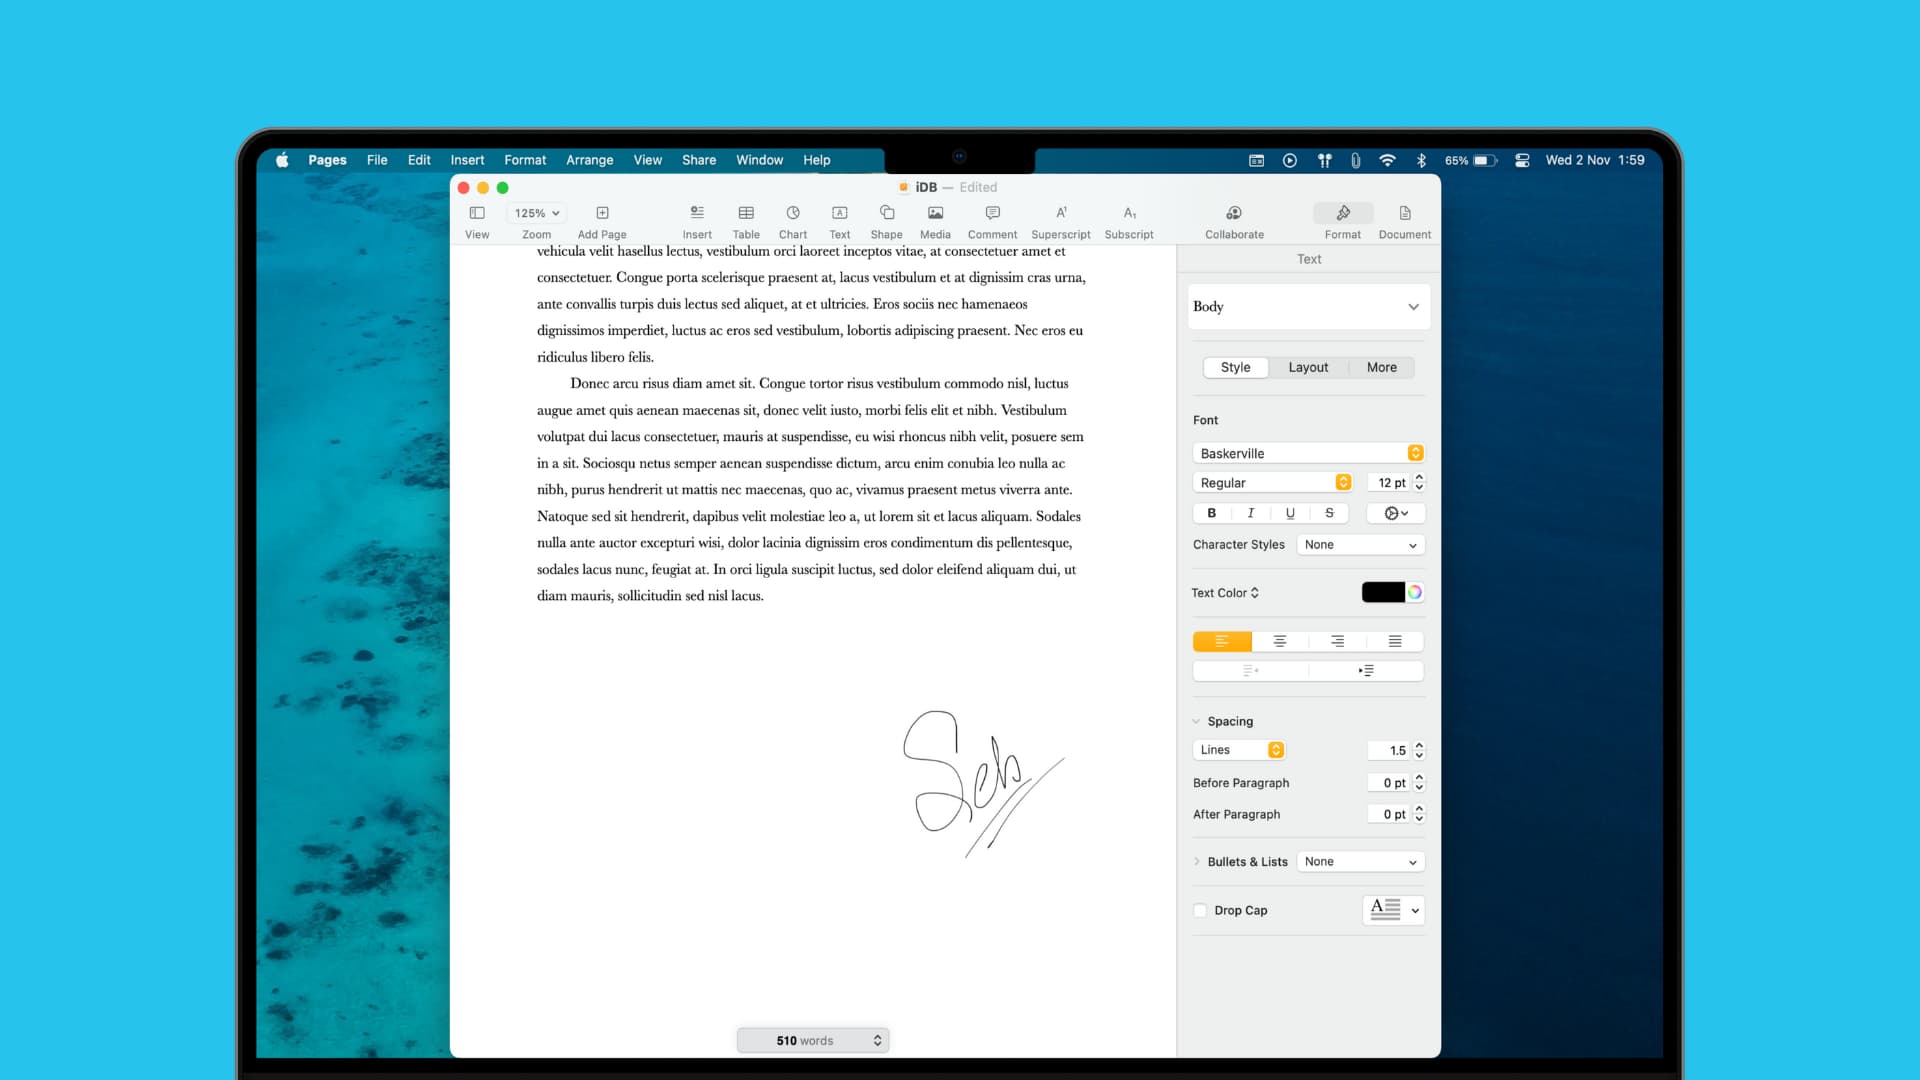
Your signature image will pop right into your document. You can then edit it using the Format button on the top right, move it by selecting and dragging it, or resize it by holding a corner and dragging.

Create a signature image in Preview
If you don’t have a signature image saved, you can create one using the graphics software of your choice. Or you can use the built-in Preview app on your Mac to capture an existing one or create a new one. Then, just display it, screenshot it, and save it.
1) Open an image or document in Preview. Make sure the image or document you use has a white background. Then, click the Show Markup Toolbar button.
2) Click the Sign button in the toolbar and select an existing signature or make one by clicking Create Signature.

3) With the signature in Preview, you need to get a good, zoomed-in shot of it. Click File > Take Screenshot > From Selection from the top menu bar. Or you can also use the keyboard shortcut Command + Shift + 5 to open the Screen Utility tool. Then, move the crosshairs to capture only your signature as best you can and release.
Now you have an image of your signature that you can save and add to Pages using the steps above.
If you’re creating a document in Apple Pages that you plan to convert to a PDF later or simply want your signature in Pages for another reason, it’s easy to do. Just insert the image!
On iPhone and iPad
1) Open the document in the Pages app and tap Edit.
2) Tap the plus button and choose Photo or Video to add your saved image signature.
3) Alternatively, you can tap Drawing and add a signature with your finger.

Do you have any tips like this for Apple Pages that you’d like to share with our readers? If so, feel free to comment below!
More on signatures: