Learn how to insert and use columns in Pages on Mac to change the layout of your documents.
If you use Pages on Mac for creating documents, you might already know about features like changing the background color of a document or how to add, delete, and rearrange pages.
Another great and convenient feature in Pages is the use of columns. Columns provide an effective way to format documents like newsletters, brochures, and pamphlets. If you haven’t tried using columns before, here are some basic tips and tricks for how to work with them in Pages on Mac.
Insert columns in a Pages document
You can insert columns into your document either before or after adding your text. It’s often easier to do it afterward so you can immediately see how it will look. But if you’d prefer to start your document with columns, that’s easy too.
- Open your document or create a new one in Pages.
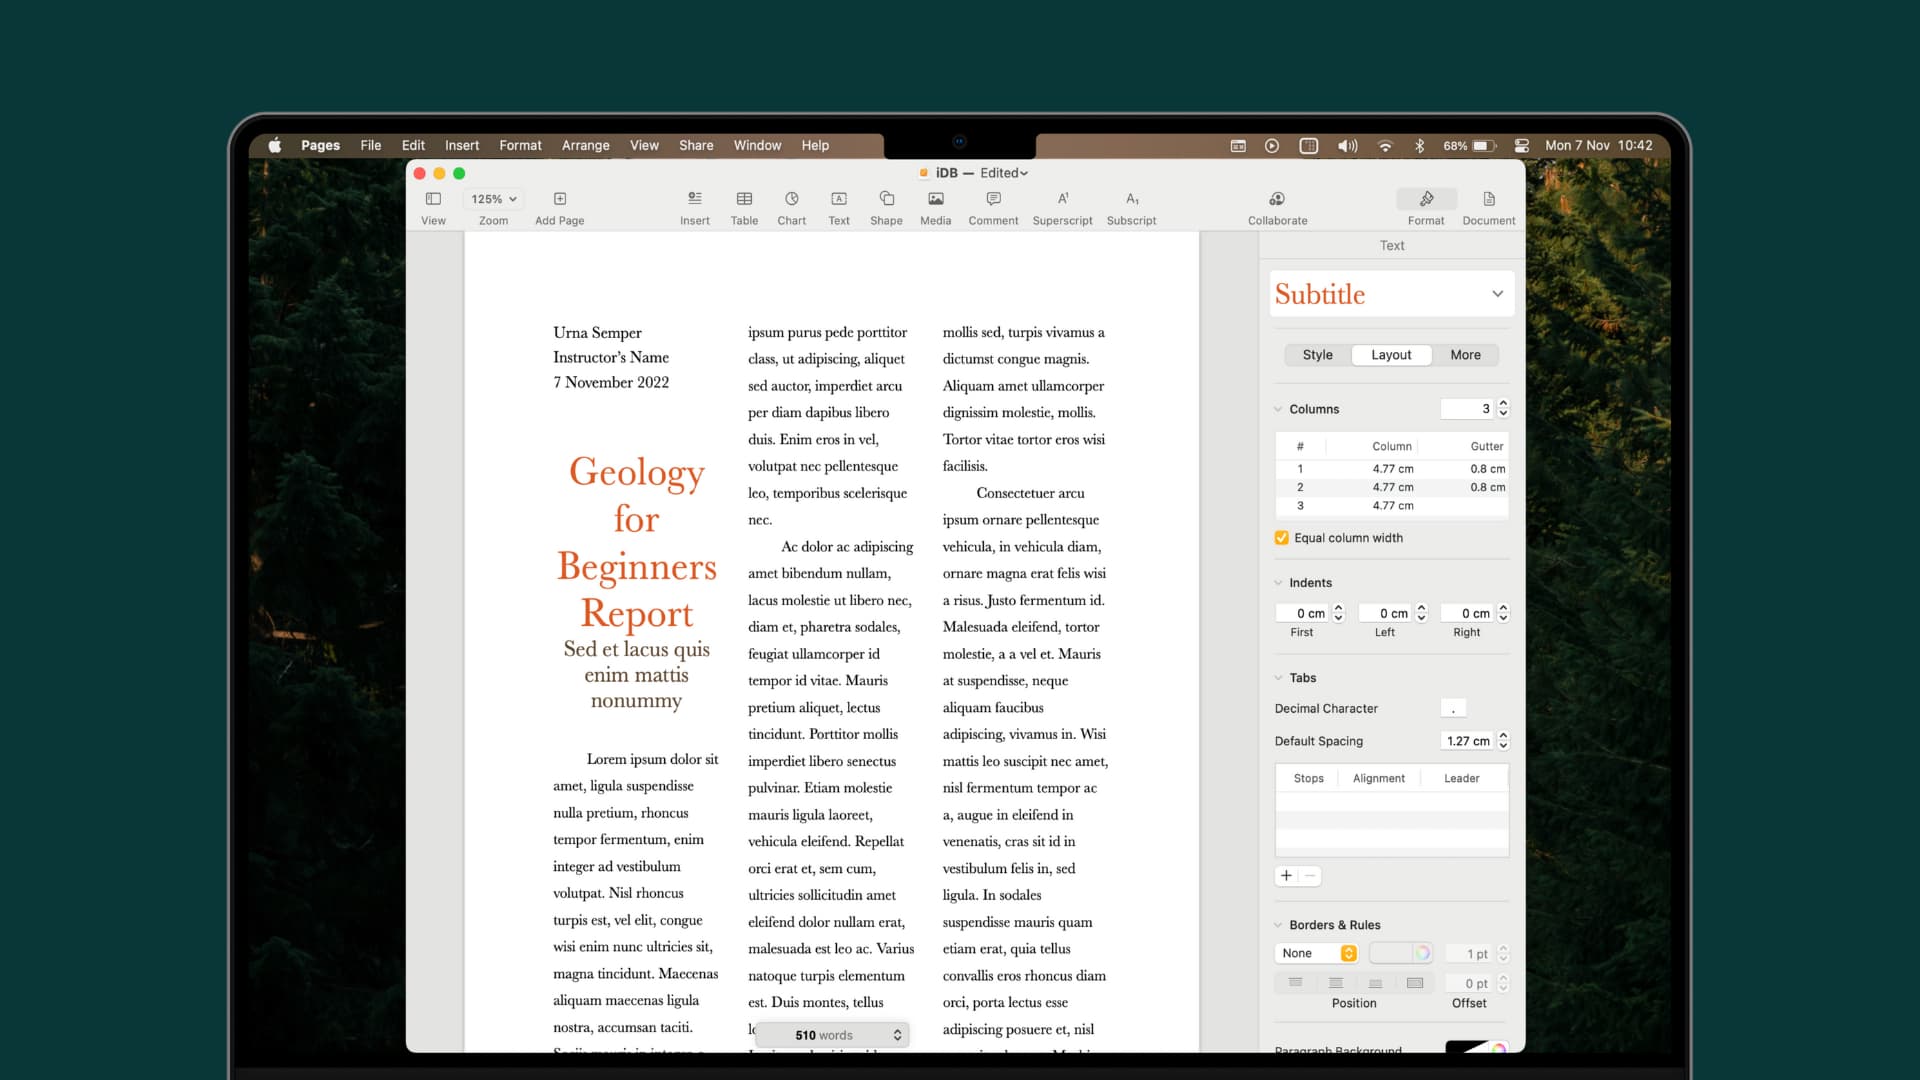
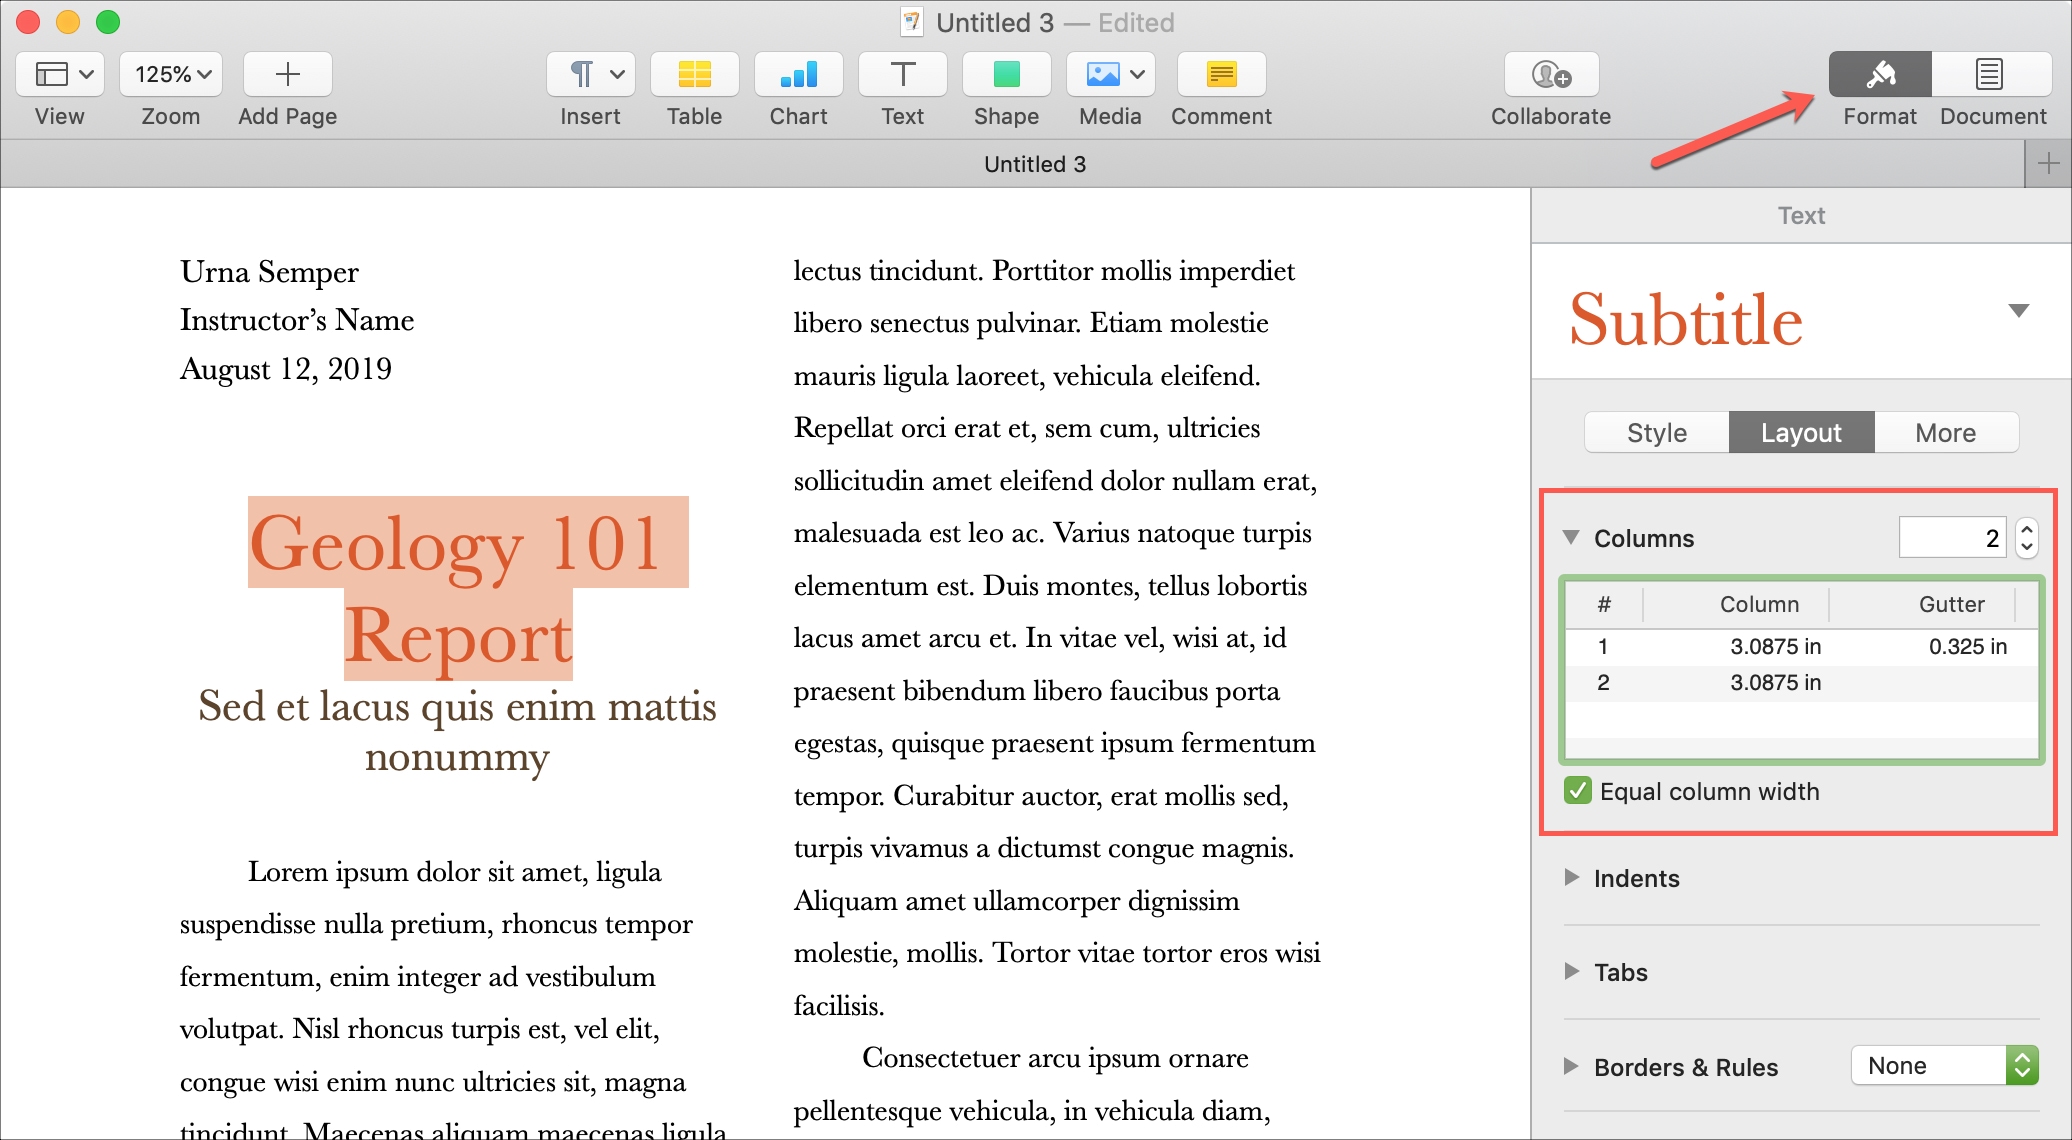
- Click the Format button on the top right to open the formatting sidebar.
- Click the Layout button, and you should see the Columns settings right below it. You may need to expand the Columns settings by clicking the arrow to the left if it’s collapsed.
- Use the arrows or pop in a number for the number of columns you want to insert.
That’s it! Simple, right?
Insert columns for certain text
If you want to add columns for only specific text, like a paragraph, just select the text and then follow the steps above to insert the number of columns.
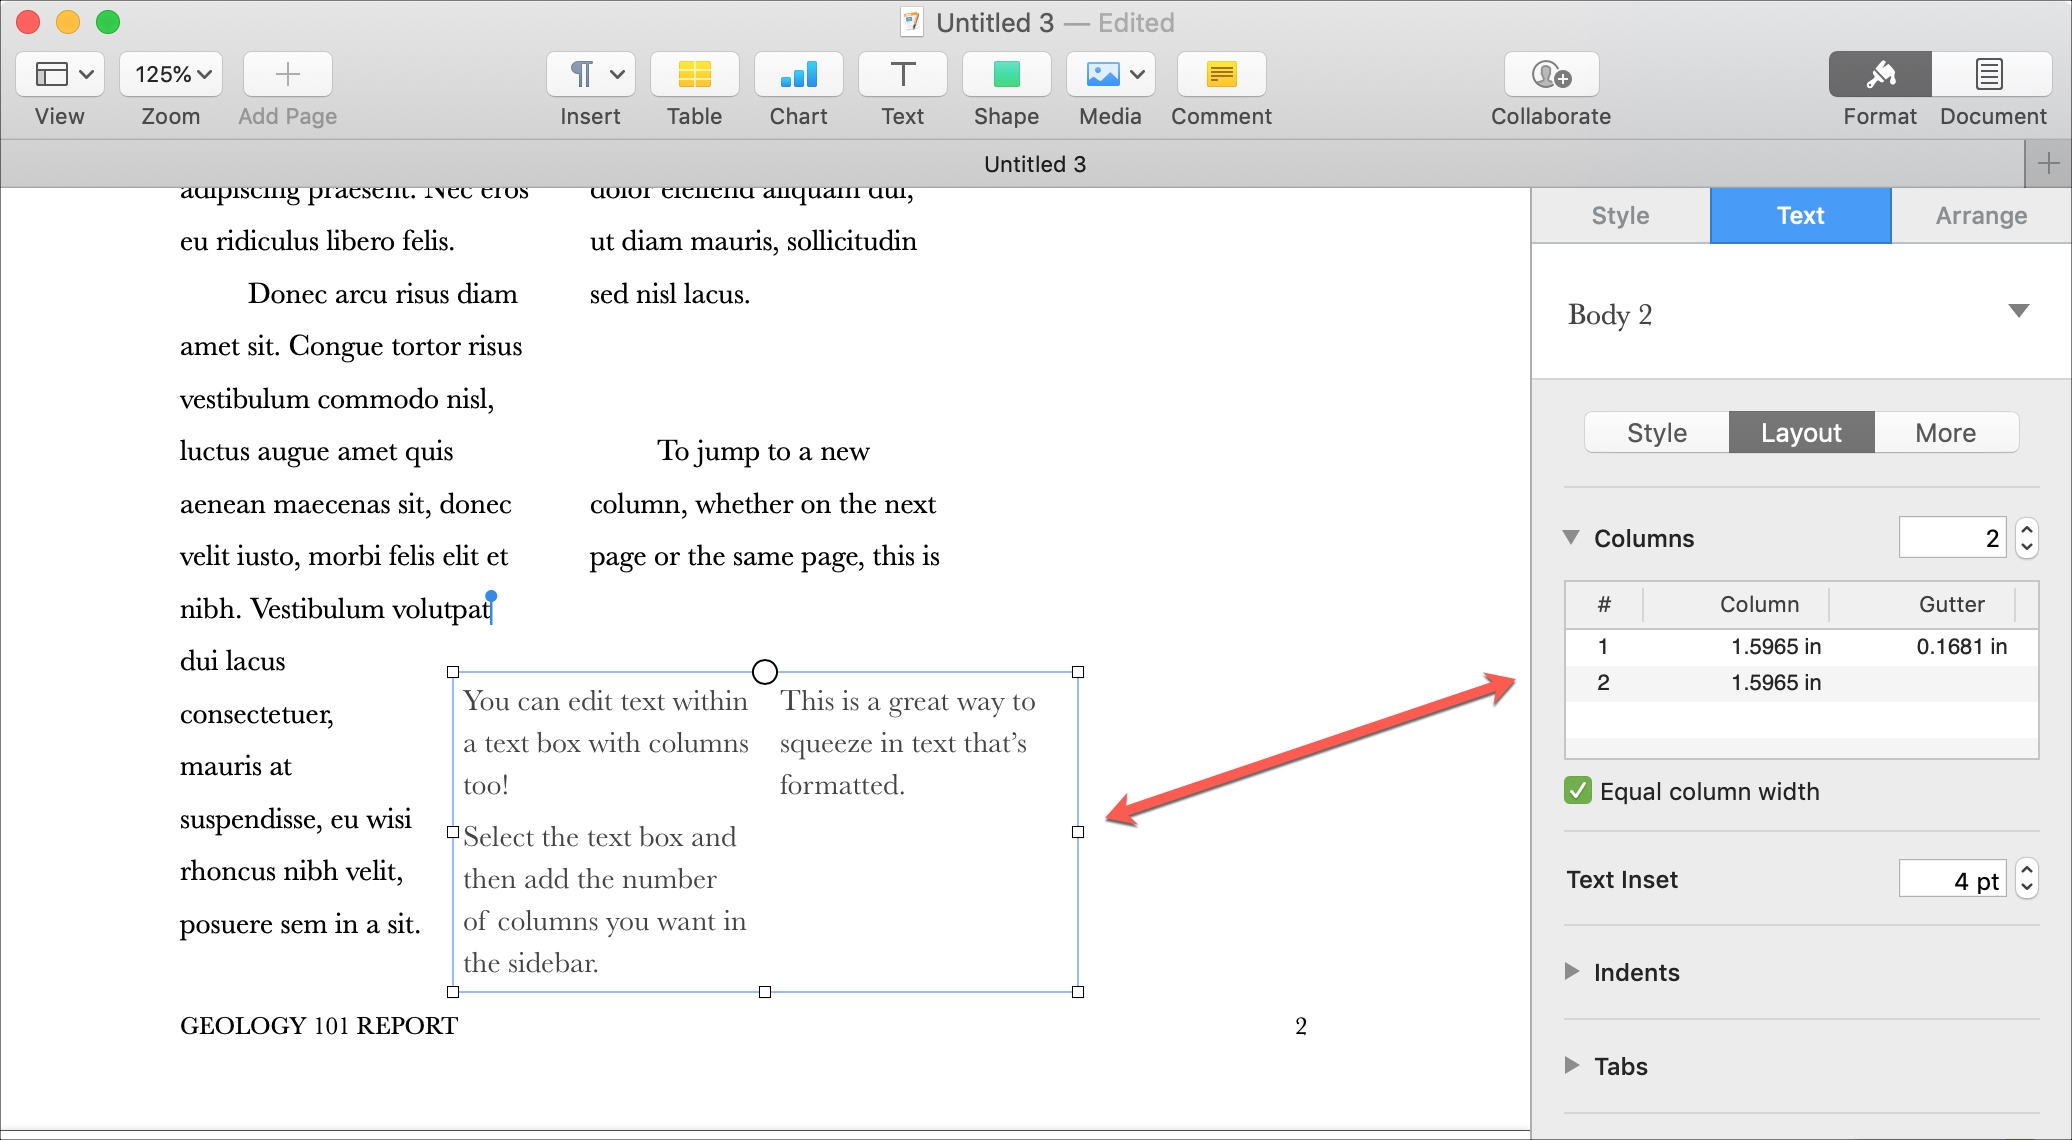
You can also insert columns for text within a text box. Just select the text box and then choose the number of columns in the sidebar.
Adjust columns in Pages
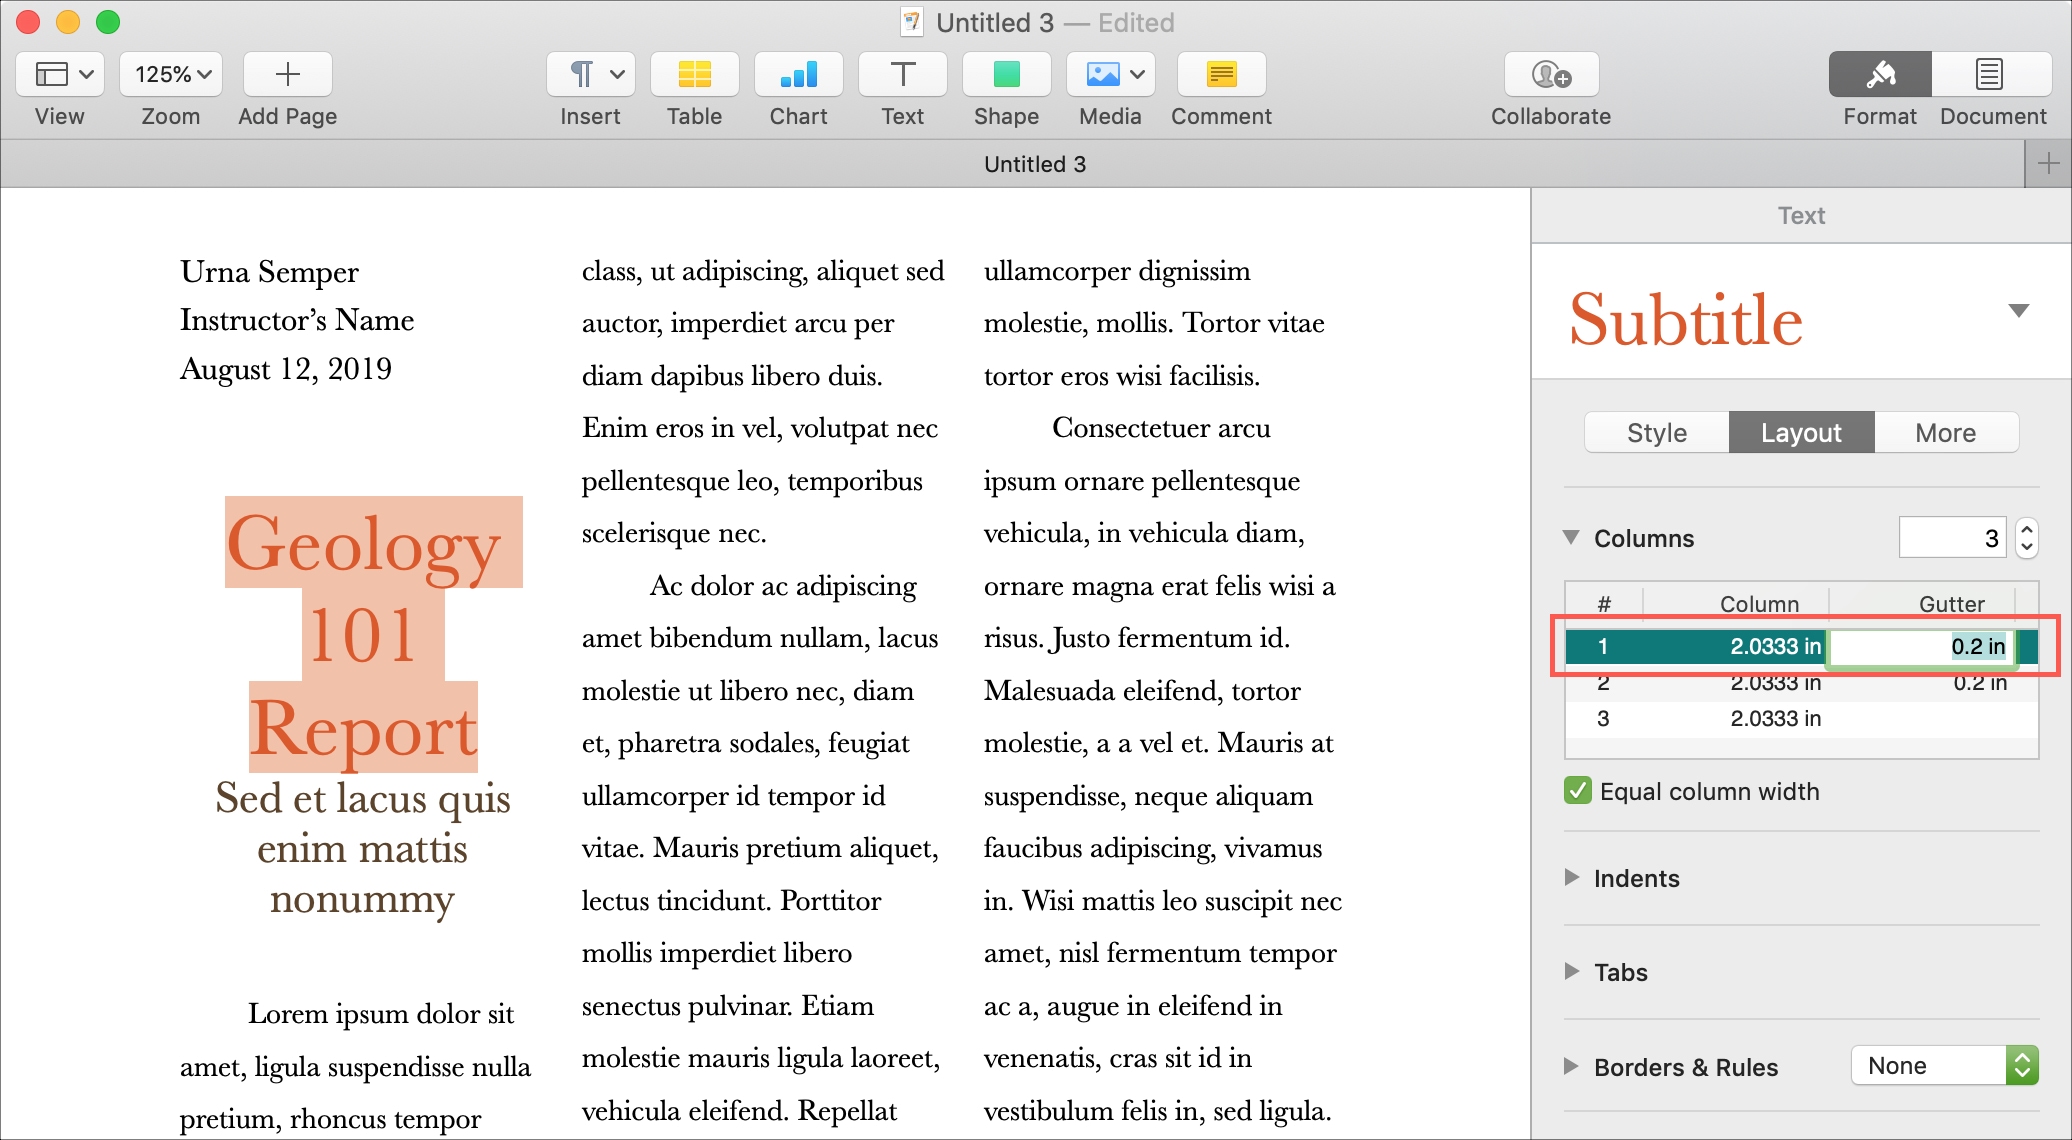
When you change the page layout to include columns, you’ll notice default values for the size of the columns and gutters (the spaces between columns). However, you can adjust these to suit your preferences.
Just select the column in the settings and double-click inside the Column or Gutter value. Make your change and hit the return key when you’re done, or use the tab key to move on to the next value.
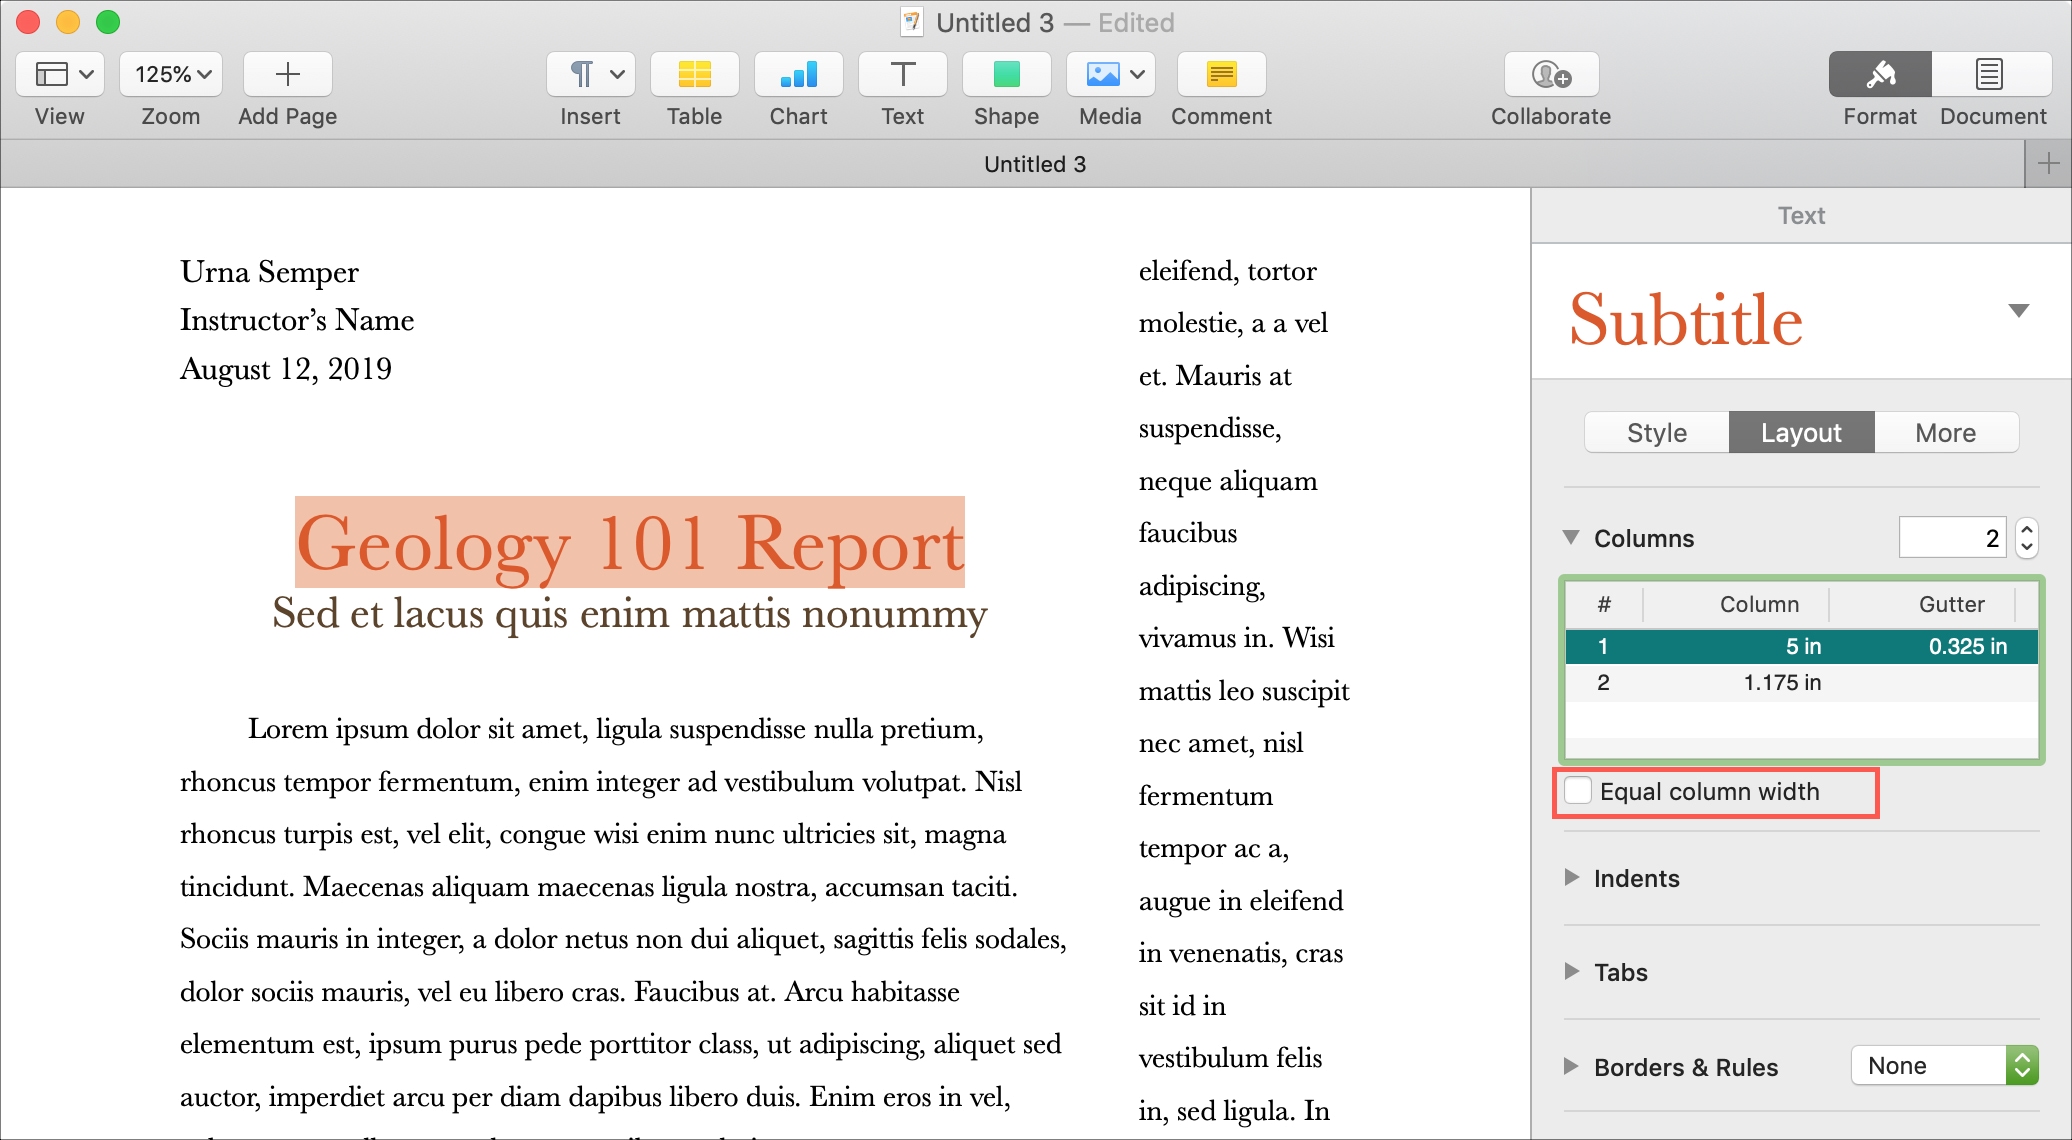
You can also create columns with different widths if you prefer. For instance, you may want your first column wider than the second one.
Uncheck the box below the Column settings for Equal column width. Then, adjust the column sizes as described above.
Using columns in Pages
As you type your text, it will be automatically formatted into columns, so you don’t have to worry about manually moving your cursor to the top of the next column or to a new column on the next page.
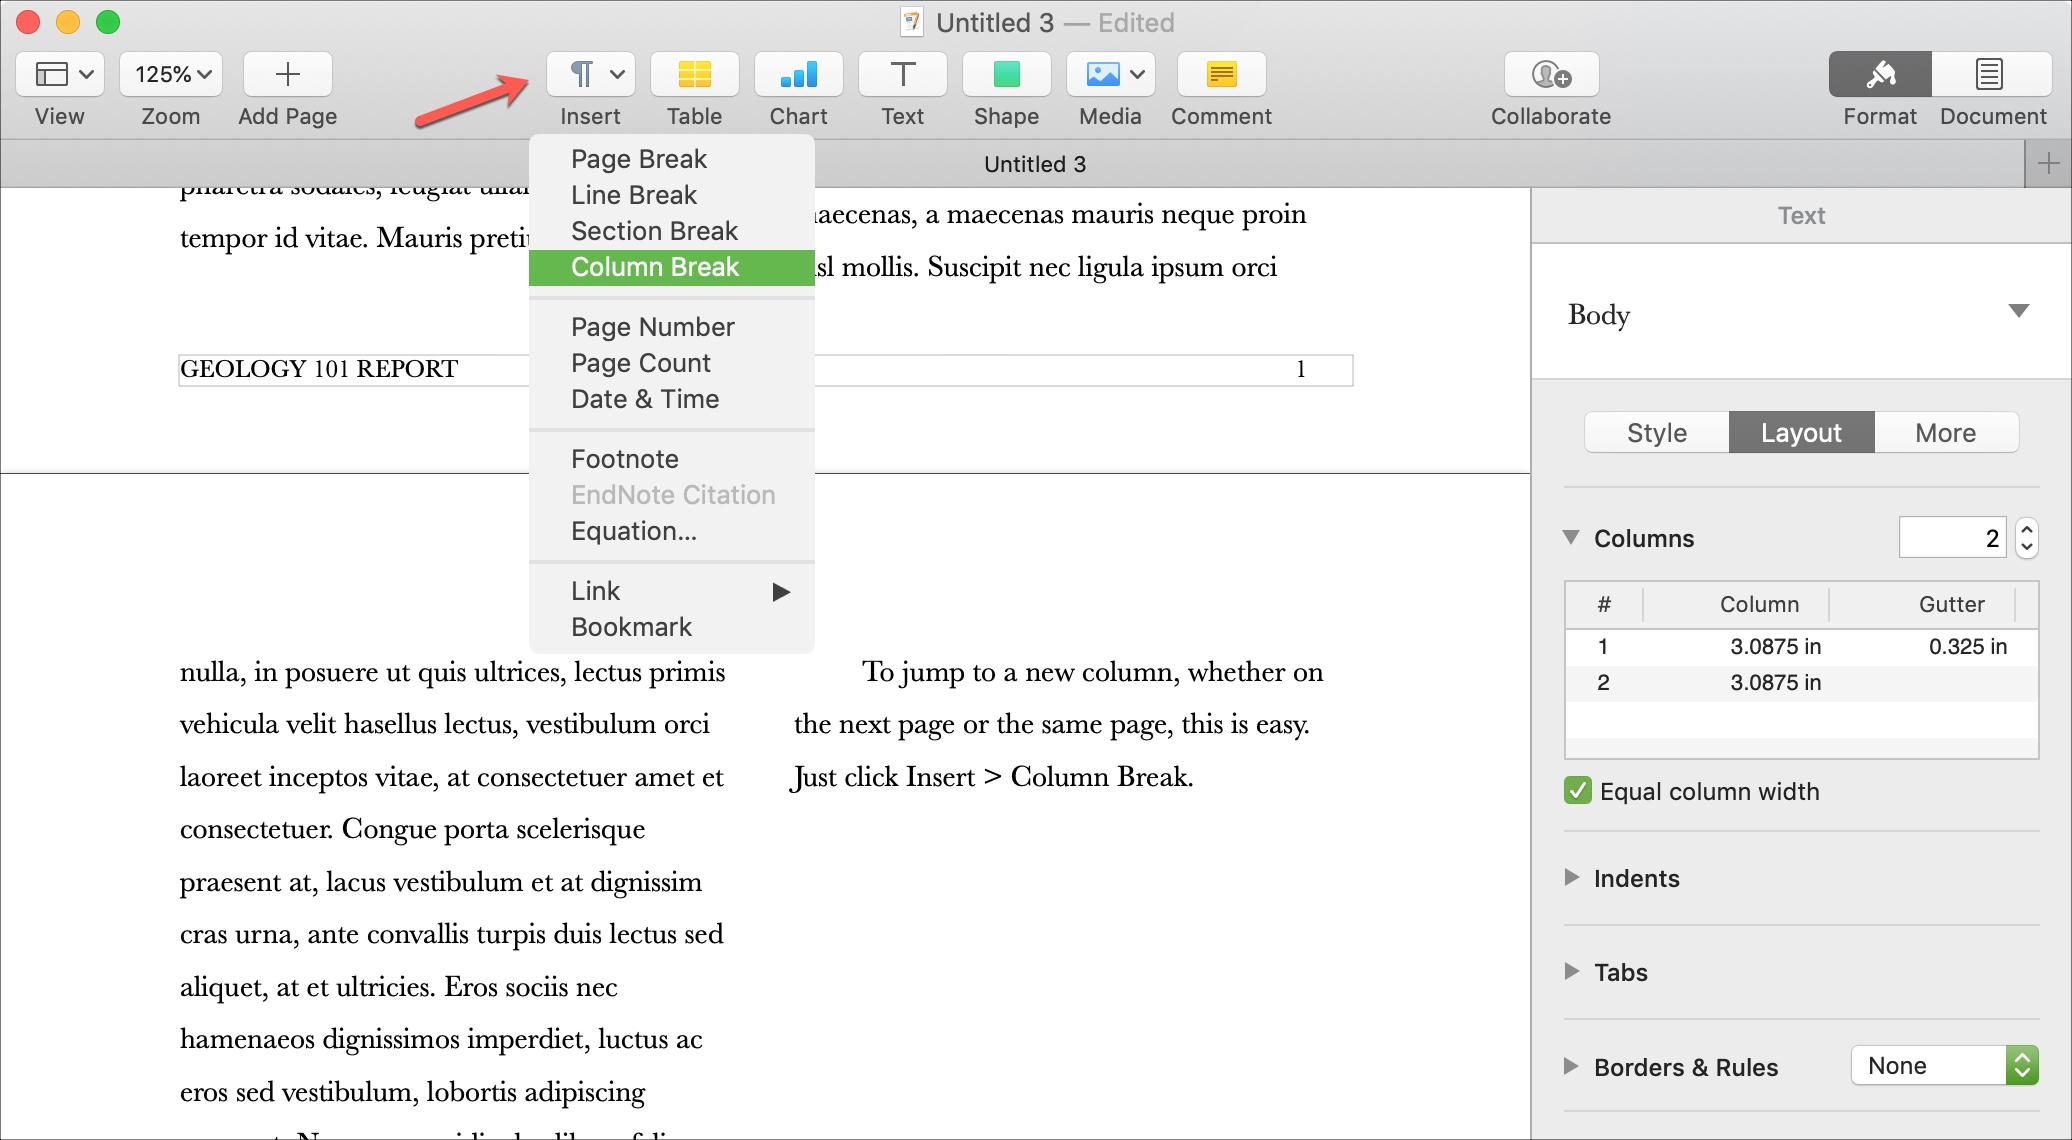
f you want to end a column before it reaches the bottom and start a new one, it’s easy to do. For example, if your document is divided into sections or chapters, you may finish a section before reaching the bottom of the column and want to jump to a new column on the next page.
At the end of the column, click Insert > Column Break from the toolbar or the menu bar. Your cursor will then jump to the next column, whether on the same page or the following page.
When you’re composing a document, whether for work or school, its appearance can be just as important as its content in many situations. Rmember, you can use columns in Pages on Mac when it will add value to your document.
Do you use Pages for your business or educational documents, and if so, which features do you find the most useful? Let us know in the comments below.
Do more with Pages: