Learn how to effectively manage spam emails on iCloud.com and keep your iCloud Mail inbox clean with this simple guide.
Junk email is everywhere, and it’s almost worse than the junk we receive in our physical mailboxes. Some emails are automatically marked as junk because they appear to be spam. But we all get emails that we decide for ourselves are junk. If you want to take care of those unwanted messages better, you can easily manage them on iCloud Mail.
Mark emails as Junk in iCloud Mail
- Head over to iCloud.com/mail/ and log in using your Apple Account.
- Select the email you want to mark as Junk.
- Drag that email to the Junk folder in the sidebar and drop it there.

That email will pop over to the Junk folder, and all future emails from that sender will automatically go to the Junk folder as well.
Unmark emails as Junk
If you make a mistake marking something as Junk or find an email in your Junk folder that doesn’t belong there, you can unmark it and move it.
- Select the junk email and click the three dots menu button.
- Select Move to Inbox.

You can also simply drag that email from the Junk folder to the main Inbox section.
Empty your iCloud Junk Mail folder
Your Junk folder will be cleared out, and the messages deleted automatically every 30 days. This is important to note because you should browse through the folder every so often, just in case an email marked as Junk really isn’t.
If you want to get rid of the Junk emails yourself instead of waiting, you can do so in a few different ways:
- Select the email and click the Trash can icon at the top.
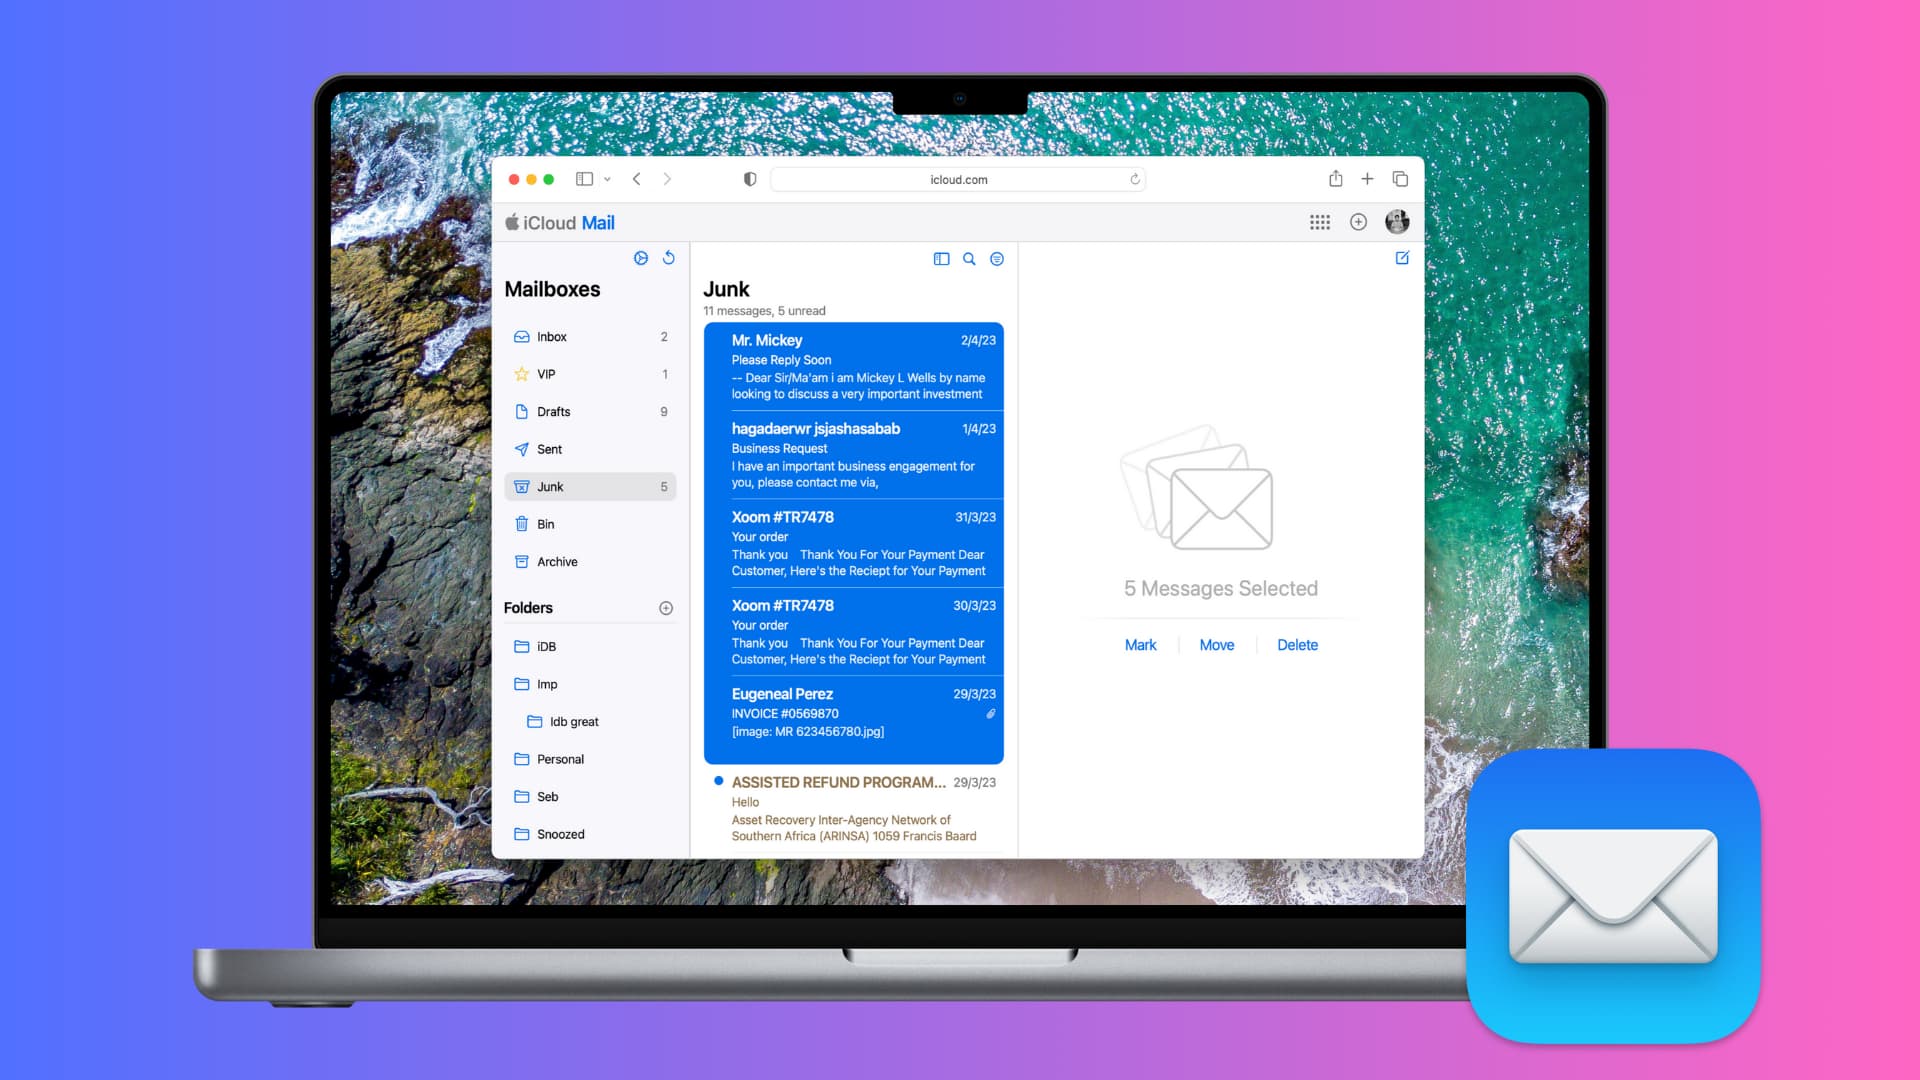
- Select multiple emails and click Delete or Move > Trash/Bin.
- Select the email(s) and drag it to the Trash/Bin folder in the sidebar.
- Select the email(s) and click the delete key.

Managing Junk emails in iCloud Mail is easy and really doesn’t take much time at all. Plus, marking Junk messages as such can help you keep your inbox cleaner and contain only the emails you actually want.
More on managing junk emails: