Learn how to extract and compress files and folders in ZIP archives to save storage space on your Mac and share files faster in email attachments.
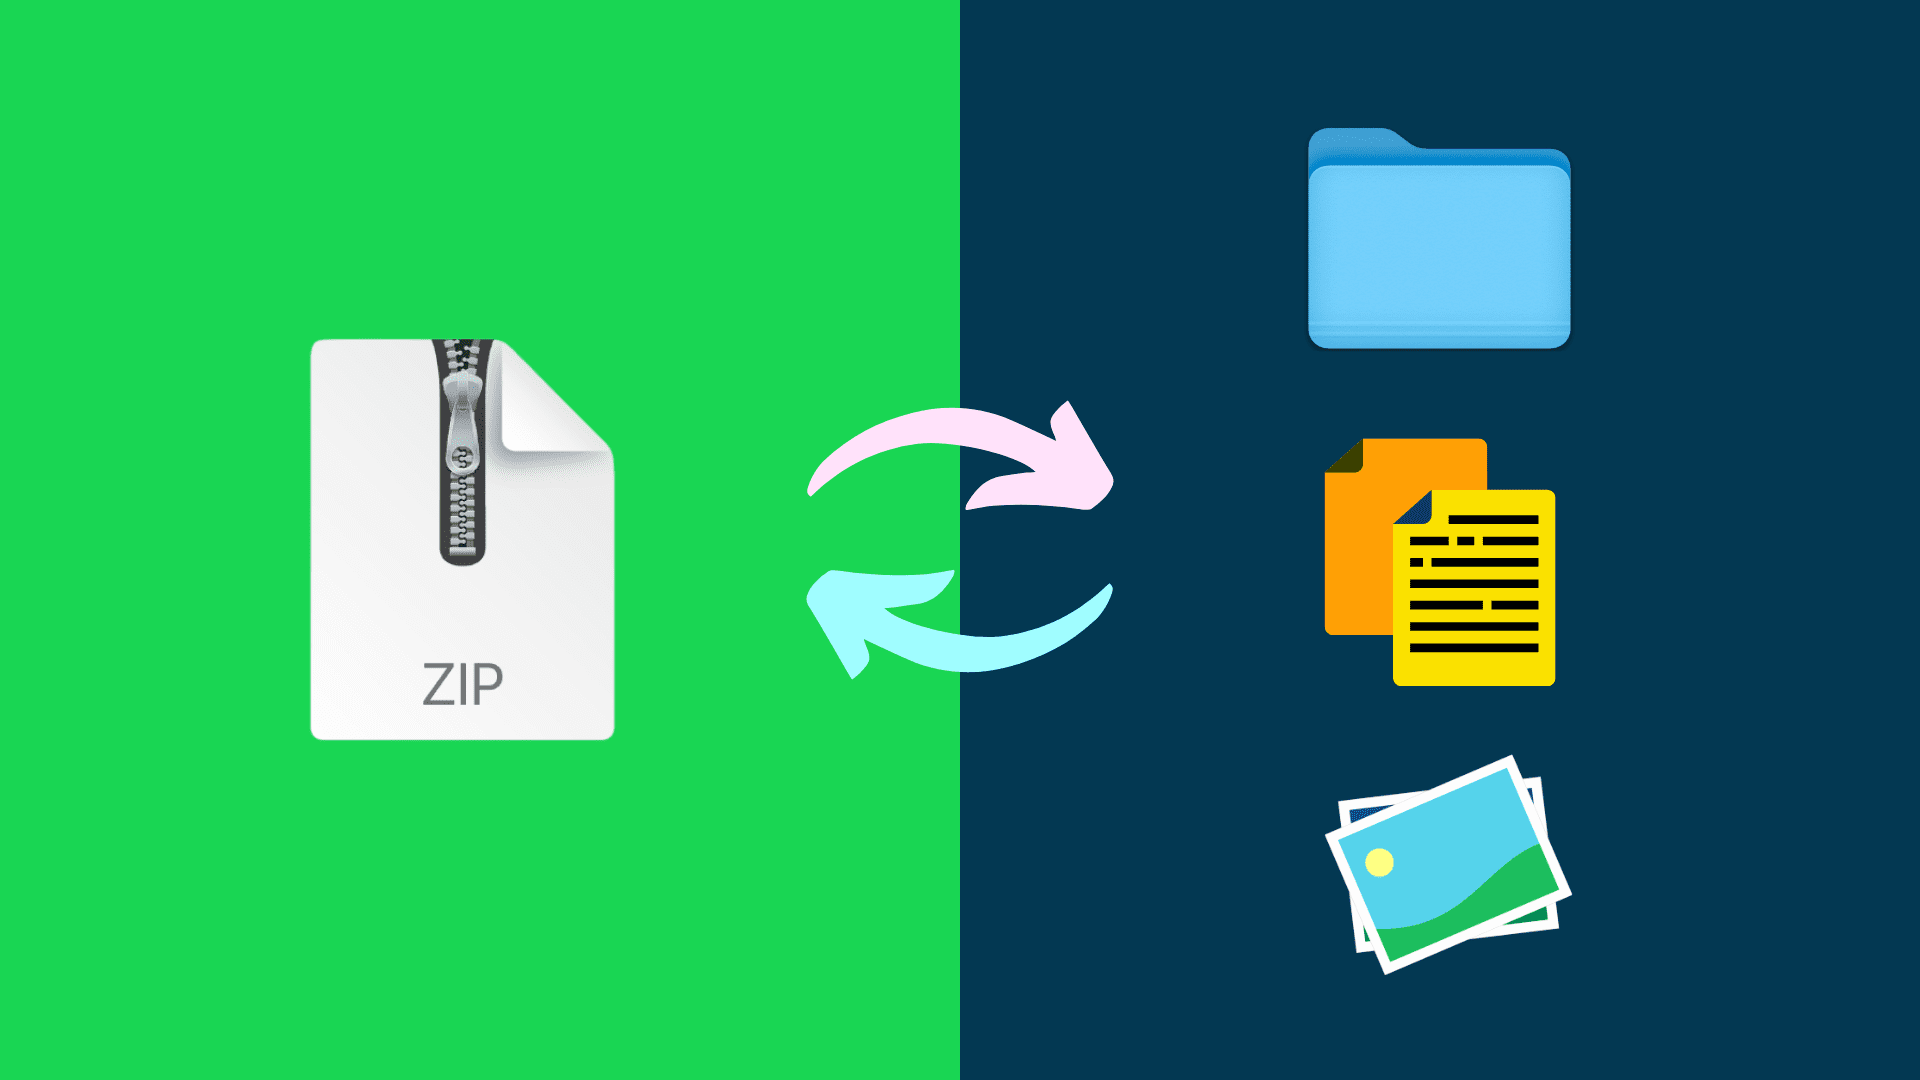
File compression is the easies way to reduce the amount of storage space that big files and folders are taking up on your Mac. A single zip archive is much easier and more convenient to send over the internet than a bunch of files attached to an email message. You don’t need to download anything to zip and unzip stuff. macOS provides a built-in feature, called Archive Utility, to compress and decompress files—and we show you how to use it.
Compress files and folders into ZIP archives
- Select the files or folders on your Mac you’d like to compress. Quick section tips: Press Command + A to select all items in a folder; hold the Shift key while clicking the first and the last item to select a group of contiguous items; or hold the Command key and click items individually for a non-contiguous selection.
- Right-click or Control-click the selection, then choose Compress from the contextual menu. Note that Apple uses the verb “compress” although the underlying archive format is ZIP.
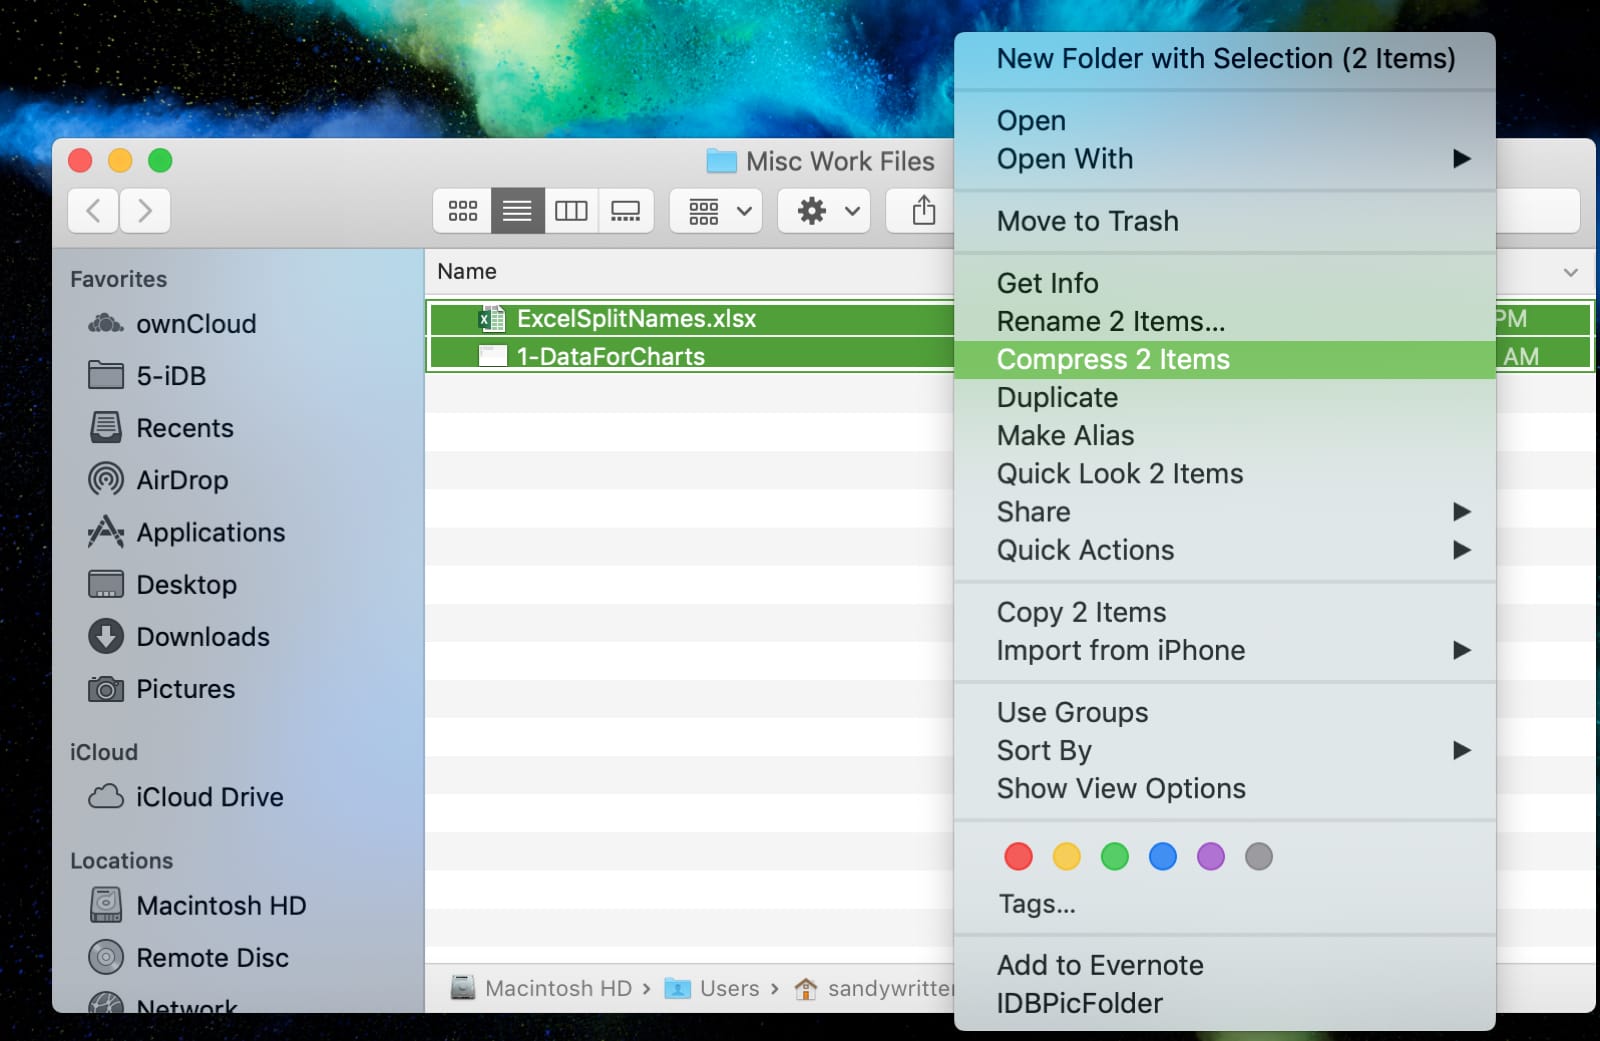
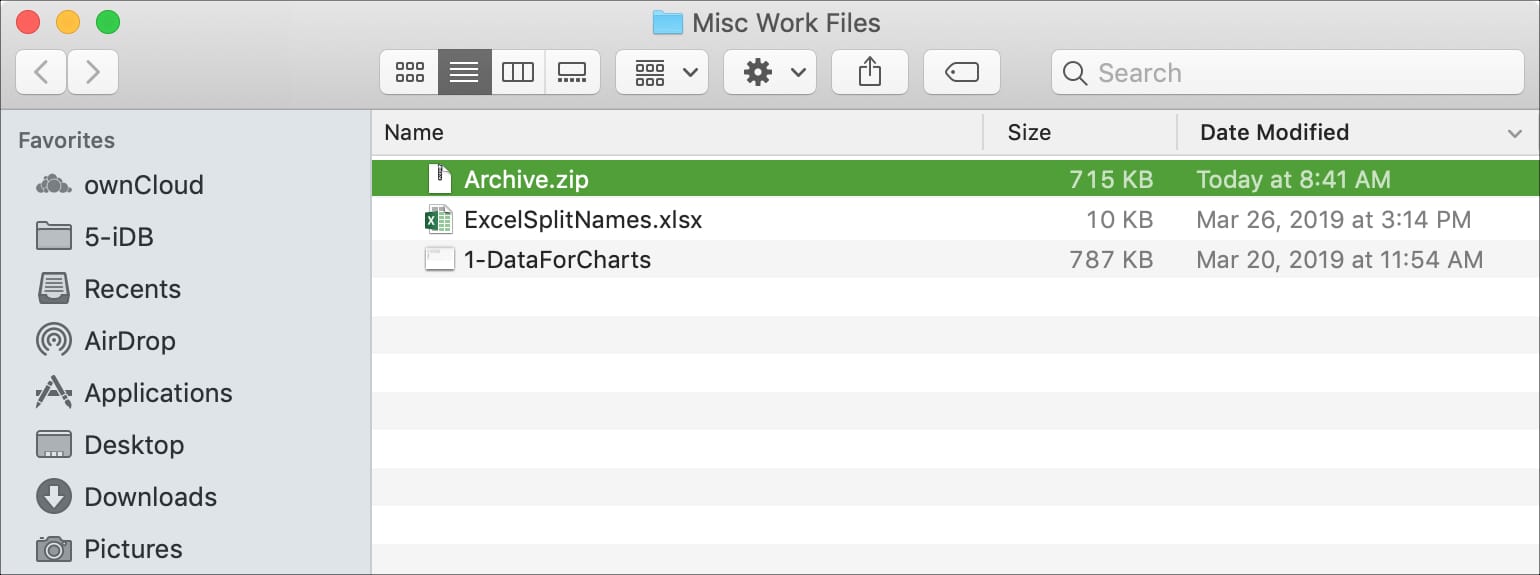
Archive Utility will spring into action, compressing the selected files into a single zip archive, saved in the same folder as the original files. It’s named Archive.zip by default, but you can easily rename it: Right-click the zip archive and choose Rename (or click the file name below the icon), type a new title, and press Enter.
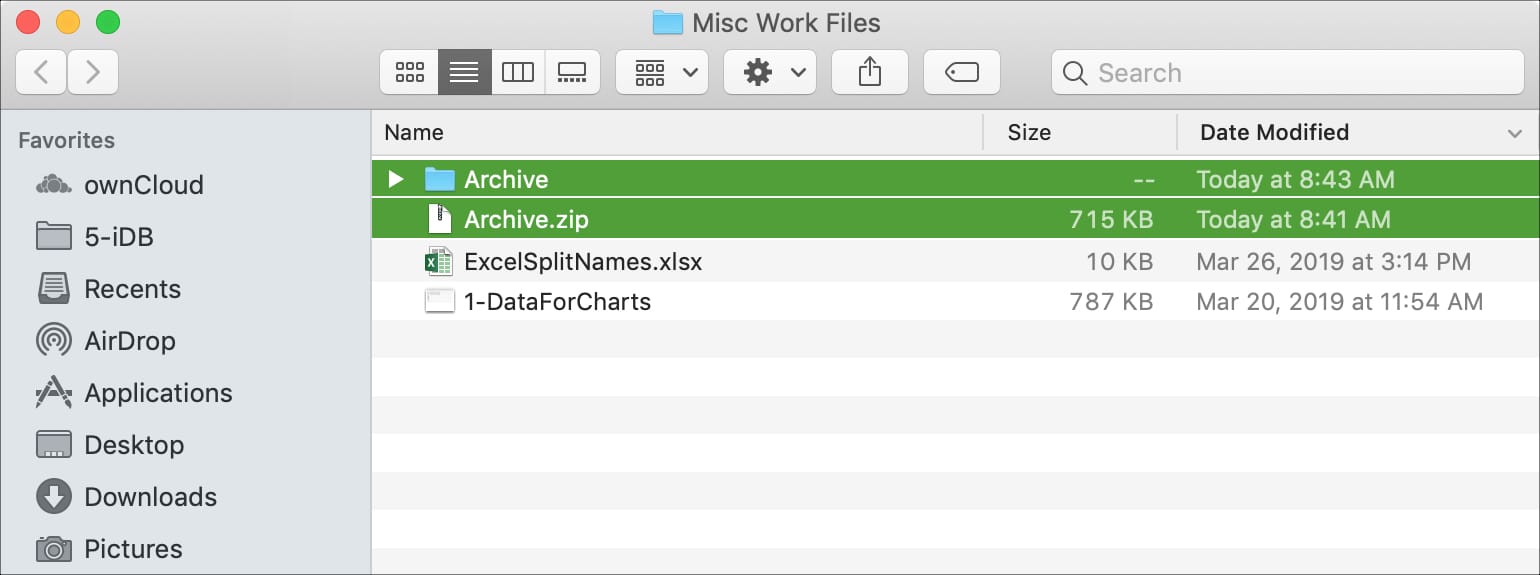
Expand ZIP archives
Double-clicking a zip archive expands it automatically. Unzipped files are saved in a folder named after the ZIP archive. Archive Utility does not automatically delete the archive after unzipping.
Adjusting the Archive Utility preferences
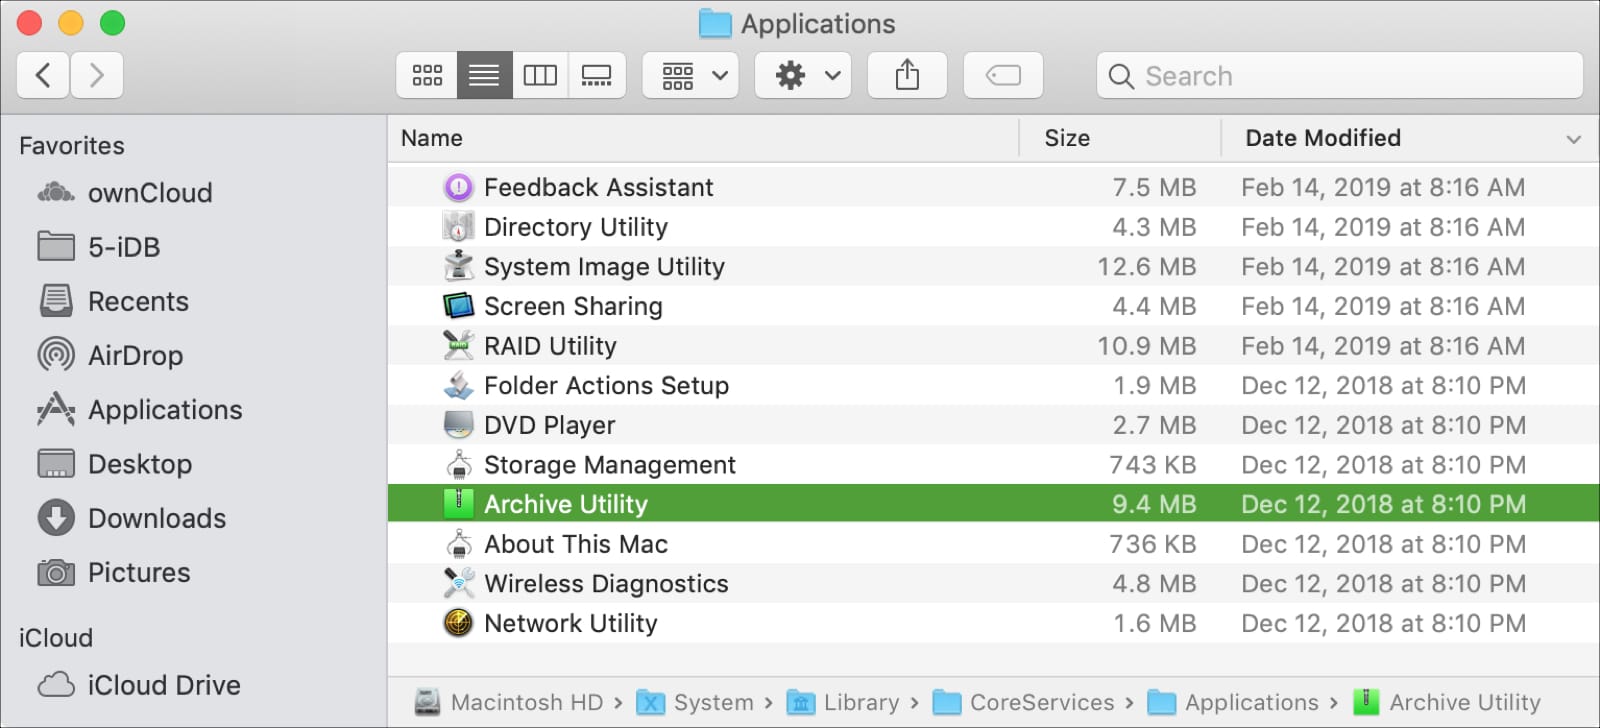
Archive Utility launches automatically when you double-click a zip archive or choose the Compress command. This app is tucked away in the System folder, so we must be a little creative to open it manually and adjust the preferences. Click the Go menu in the Finder, then choose Go to Folder or press the Shift+Command+K keys, paste the following path, and click the Go button:
/System/Library/CoreServices/Applications and hit the enter key or click Go.
This will open a special Applications folder nested deep in the System folder. Double-click Archive Utility to launch it, then choose Settings or Preferences from the Archive Utility menu.
The preferences window lets you adjust how macOS handles received and created archives. To set a custom location for unzipped files, use the Save expanded files and Save archive menus. To tell Archive Utility what action to take after zipping and zipping, choose from options in the After expanding and After archiving menus.
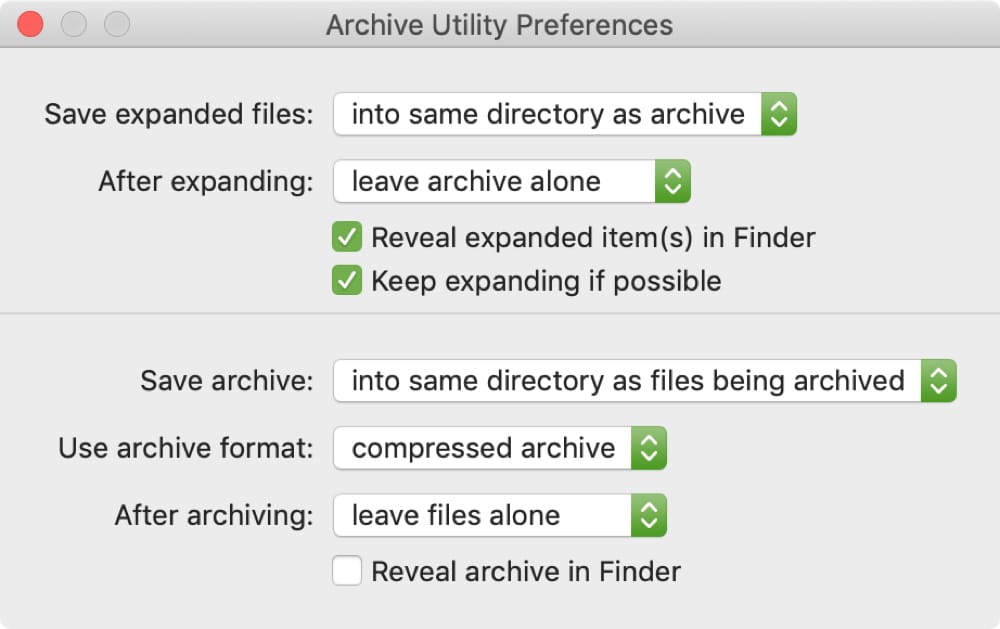
Just close the preferences window when you finish making your changes.
Third-party archivers
If you regularly deal with ZIP archives, take a look at dedicated apps that offer extra features, like the following recommendations from the App Store:
- Unzip – RAR ZIP 7Z Unarchiver: Encrypt your archives for privacy.
- A-Zippr: RAR & Zip Tool: Preview archives and use AES encryption.
- RAR Extractor Expert: Unzip password-protected files with batch support.
When using a third-party archiver, right-click or Control-click a ZIP file and use the Open With menu option to ensure it opens in the correct app. Remember, you never need to manually open built-in Archive Utility to zip and unzip files; the app sits in the background, compressing and decompressing items as needed.
Other tips for your ZIPs: