Learn how to rotate landscape or portrait videos on your iPhone or iPad using the Apple Photos app to ensure they’re perfectly oriented and look their best.
There may be a time when you need to rotate a video after shooting it with your iPhone or iPad. Maybe it was supposed to be a landscape clip, but it was somehow recorded in portrait view. Perhaps you want to change it from portrait to landscape view to create a specific effect. Whatever the case may be, you can rotate your videos quite easily on your device, and that too, without using third-party apps.
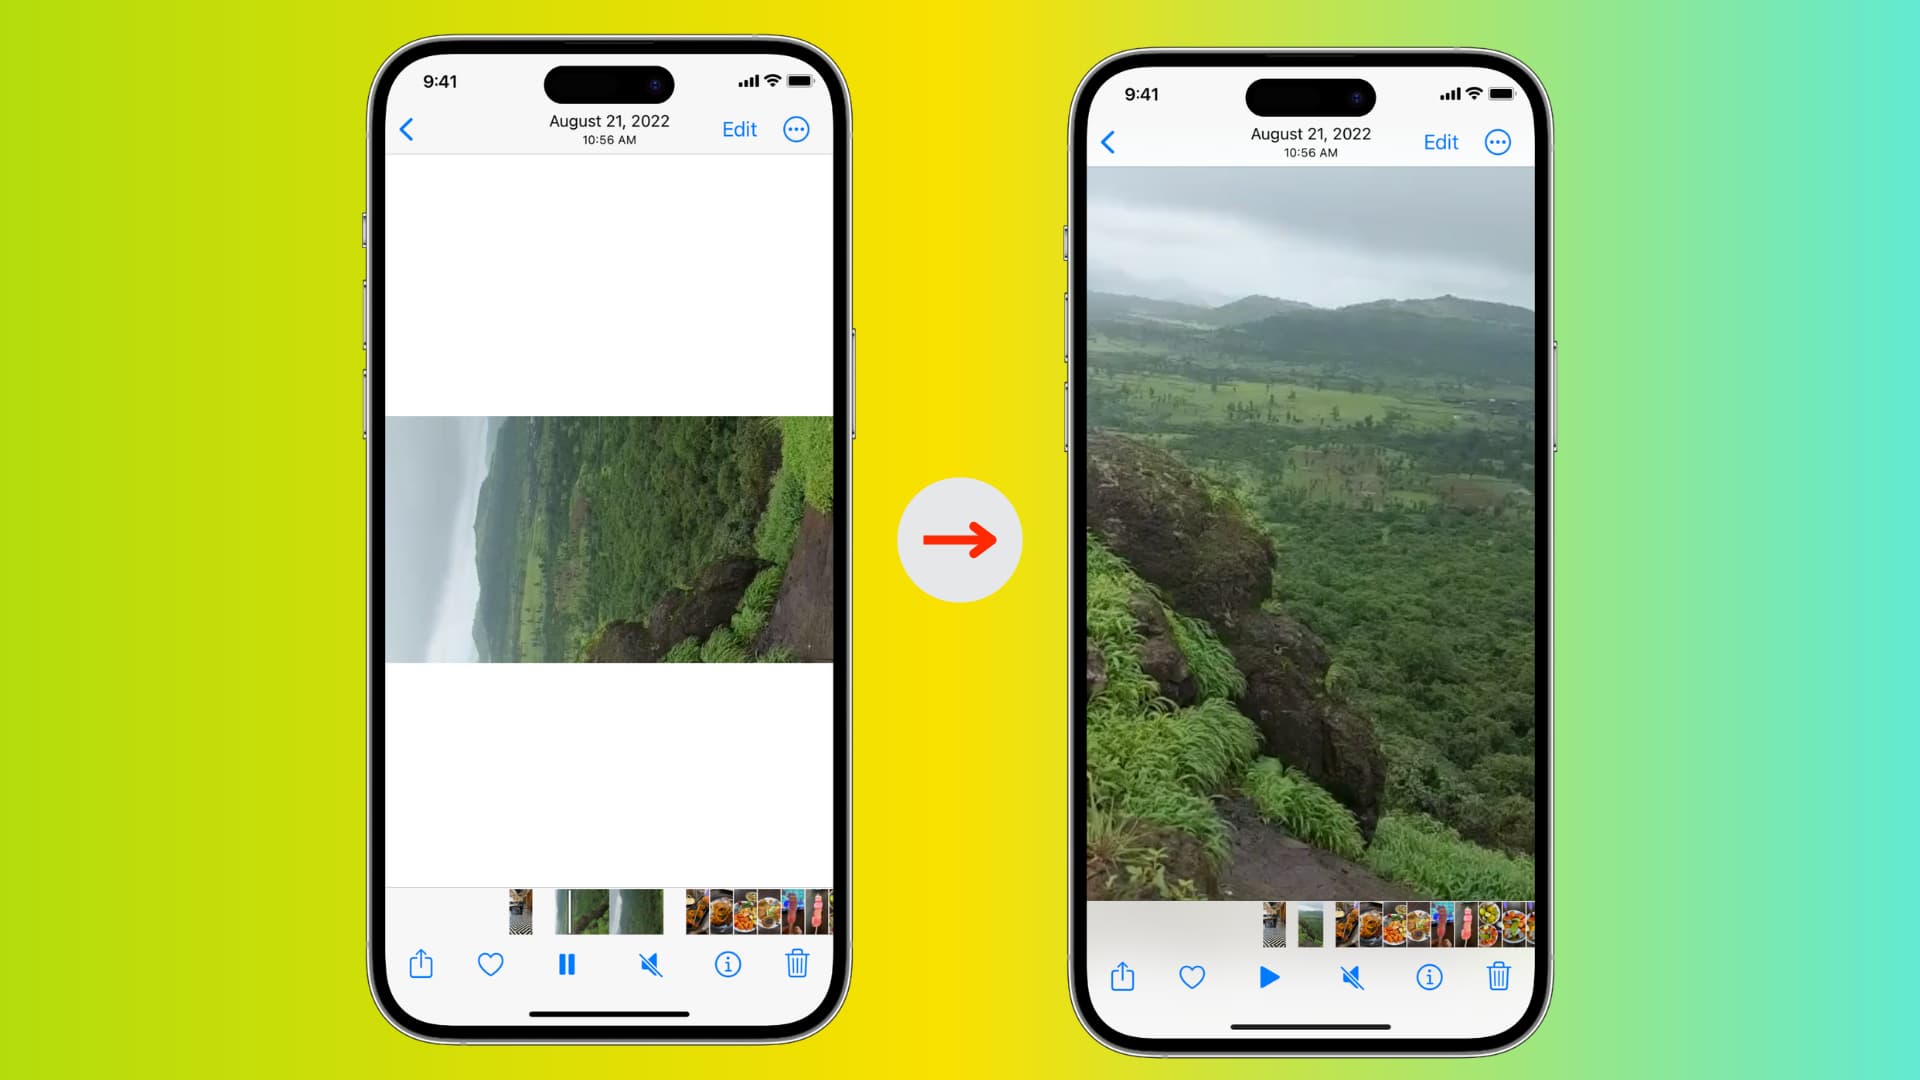
Quickly rotate a video on iPhone or iPad
1) Open the Photos app, and tap the video you want to rotate. Then, with the video open on the screen, tap the edit icon at the bottom of the screen on iPhone and at the top on iPad.
2) Go to the Crop tab.

3) Tap the square icon with an arrow from the top left. Tapping once will rotate it 90 degrees counterclockwise. You can tap the same icon up to two more times to get the right orientation for the video. Tapping for a fourth time will return the video as it was.
4) Finally, tap the Done button to save your rotated video.

You have successfully rotated a video on your iPhone or iPad without needing an additional third-party app. Aside from the Photos app, you can also use Apple’s iMovie app to rotate your videos and edit them. And for more ways to edit your file, check out how to straighten, crop, trim, and flip a video on iPhone or iPad.