Learn how to set up an automatic email reply in the Apple Mail app on Mac to keep your contacts in the loop, even when you’re away from your computer.
Automatic email replies are handy little ways to reply to messages without lifting a finger. We receive them all the time for things like technical support questions we submit or payments we make. You might even set up automatic replies of your own for emails coming into the office when you leave on vacation. If you want to do the same type of thing with the Mail app on Mac, it’s easy to do, as explained below.
Set up automatic email replies in the Apple Mail app on Mac
1) Open the Mail app, click Mail in the top menu bar, and select Settings or Preferences.
2) Go to the Rules tab and click the Add Rule button.

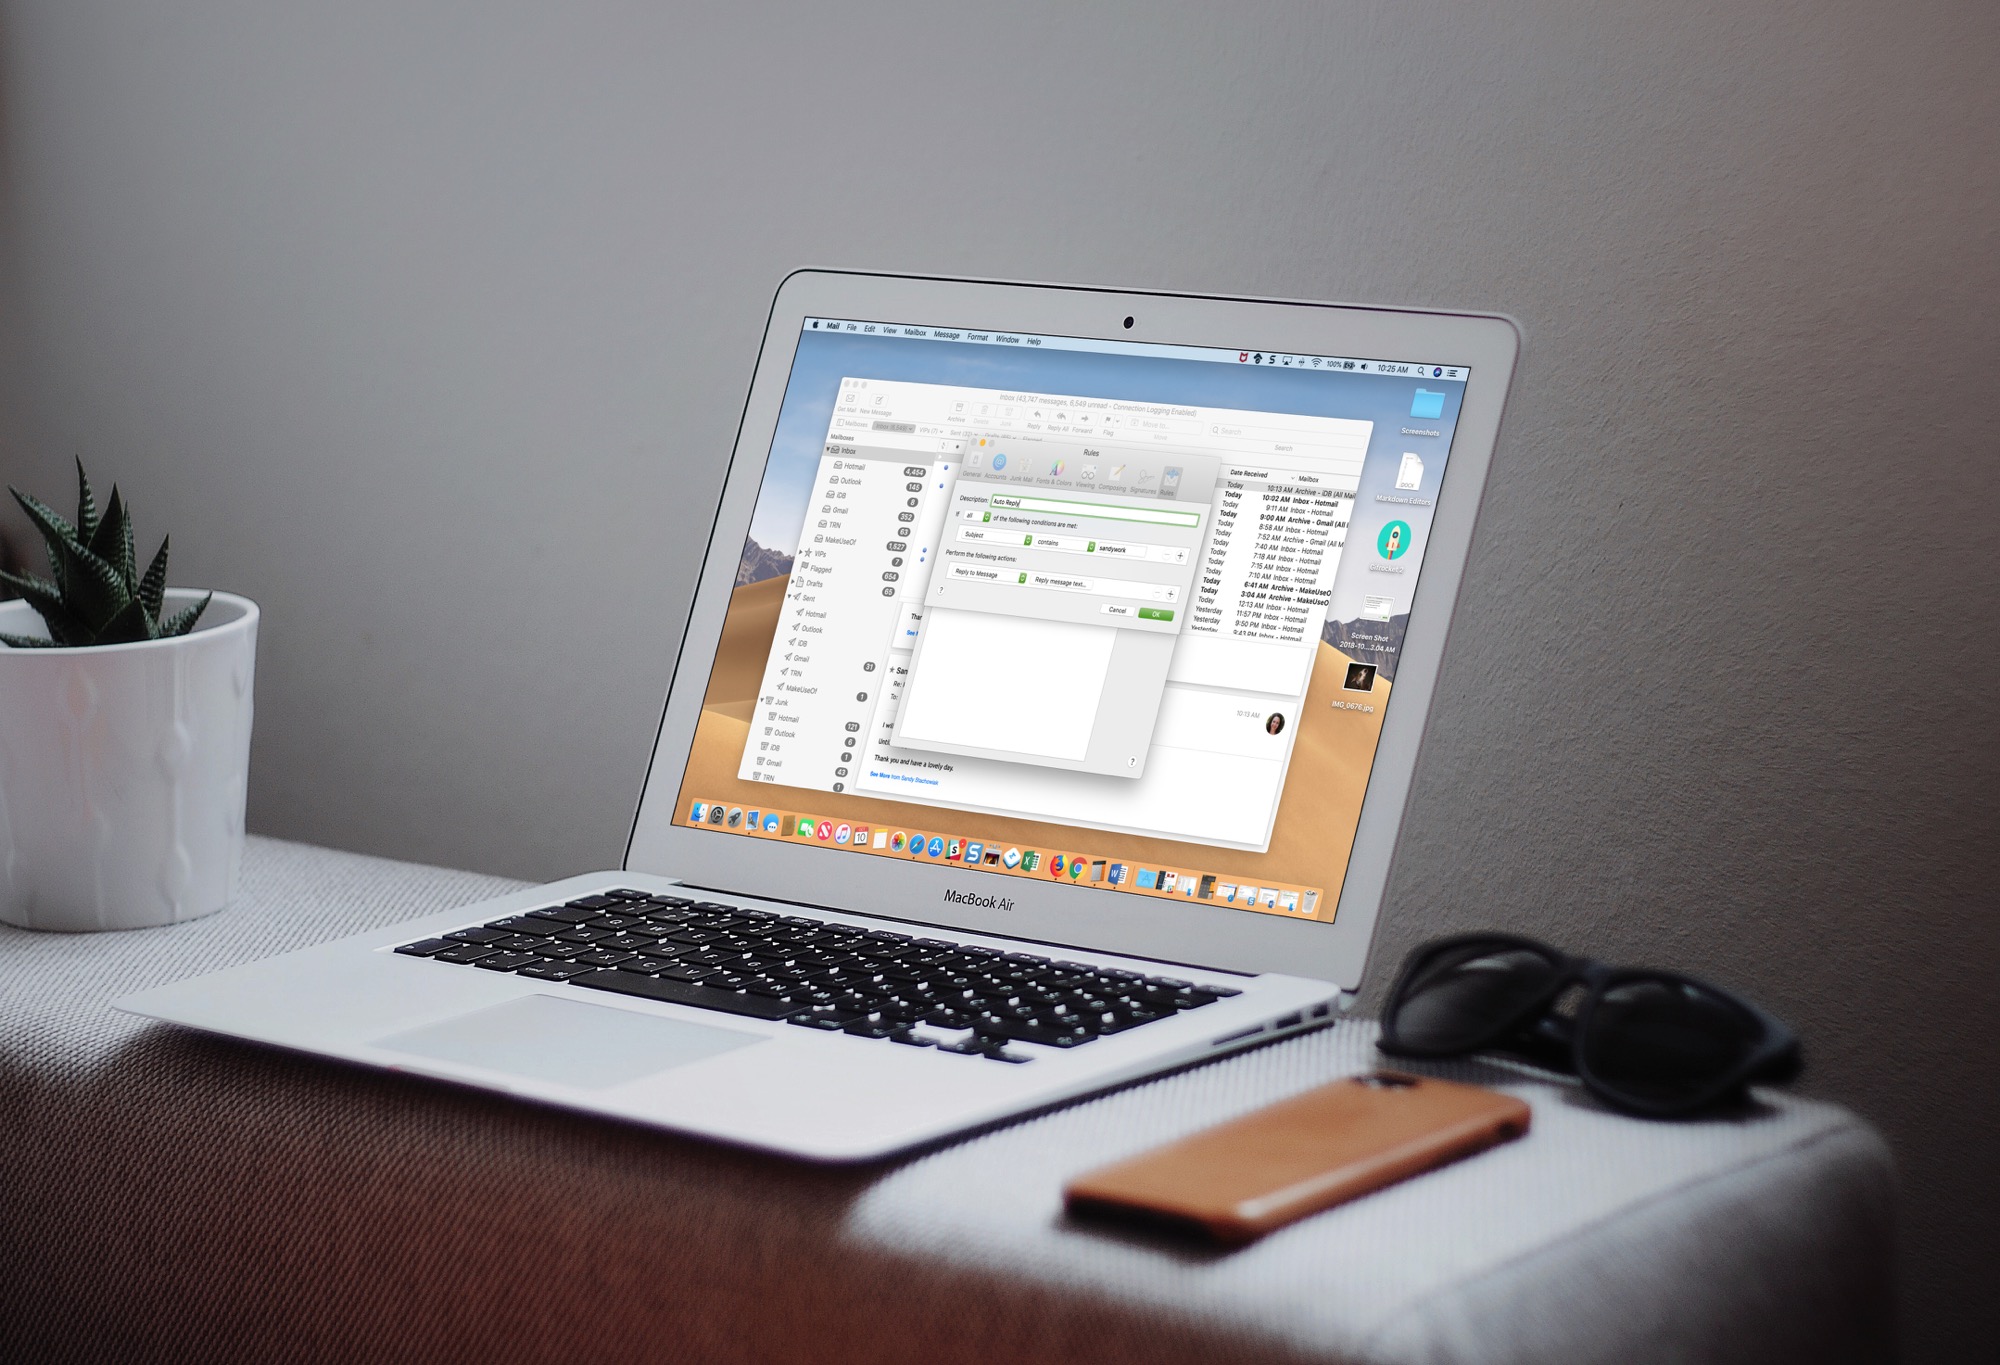
3) Give your rule a name in the Description field.
4) Now, in the If section underneath the description, you’re going to enter the rules for who should receive your automatic reply: if you want all conditions you set up to apply, select “all” in the drop-down box; and if you want any of the conditions you enter to apply, choose “any” instead.

5) Next, you’ll add in the conditions. Here are a few examples:
- Messages from a specific email address
- Messages sent or received within a certain date range
- Messages from people in your contact list
- Messages marked as high priority
- Messages with a certain word in the subject line or body
There are many more options to pick from, and the conditions are quite flexible. So, start by choosing your condition from the drop-down list and then add any necessary parameters in the fields next to it.
You can click the plus button (+) to set up more than one condition if you like. Take a look at our full tutorial for additional details on working with the Mail app Rules.
6) Once you have the conditions set up for your automatic reply, it’s time to actually create it. Under “Perform the following actions,” choose Reply to Message.

7) Next, click the “Reply message text…” box that appears when you pick the action above. Then, type in your reply text and click OK.

8) When you land back on the Rules screen, click OK. You then have the option to apply your new rule to messages in your inbox; choose Apply.

9) Your new automatic reply rule will now appear in your list of Rules. The checkbox for it should be marked, but if not, mark it to make it active.

Once you have finished creating your automatic reply, as with any other Mail rules you set up, it’s a good idea to test it and ensure it works. Send yourself an email or ask a friend or family member (who fits the rules you set above) to send you a message.
If it doesn’t work as you intended, go back to the Rules area in your Settings, select the rule, and click Edit to make the necessary changes.
Keep in mind…
The Mail app must be open for the Rules to run and your automatic replies to be sent.
If you cannot leave your Mail app open, consider creating an automatic reply directly through your email provider, such as iCloud, Exchange, or Gmail.
And for more such ideas, check out these 40+ tips for the Mail app on your iPhone, iPad, and Mac.