Learn how to protect your sensitive information by locking your notes on iPhone, iPad, and Mac to keep them safe from prying eyes.

The Notes app on your iPhone, iPad, and Mac is a handy little app for jotting down notes of all kinds. If you use the app to keep private notes that you want to make sure no one sees, you can secure them with the device passcode or a custom passcode. Locking a note secures it with end-to-end encryption for complete peace of mind.
Which passcode to choose to lock your notes?
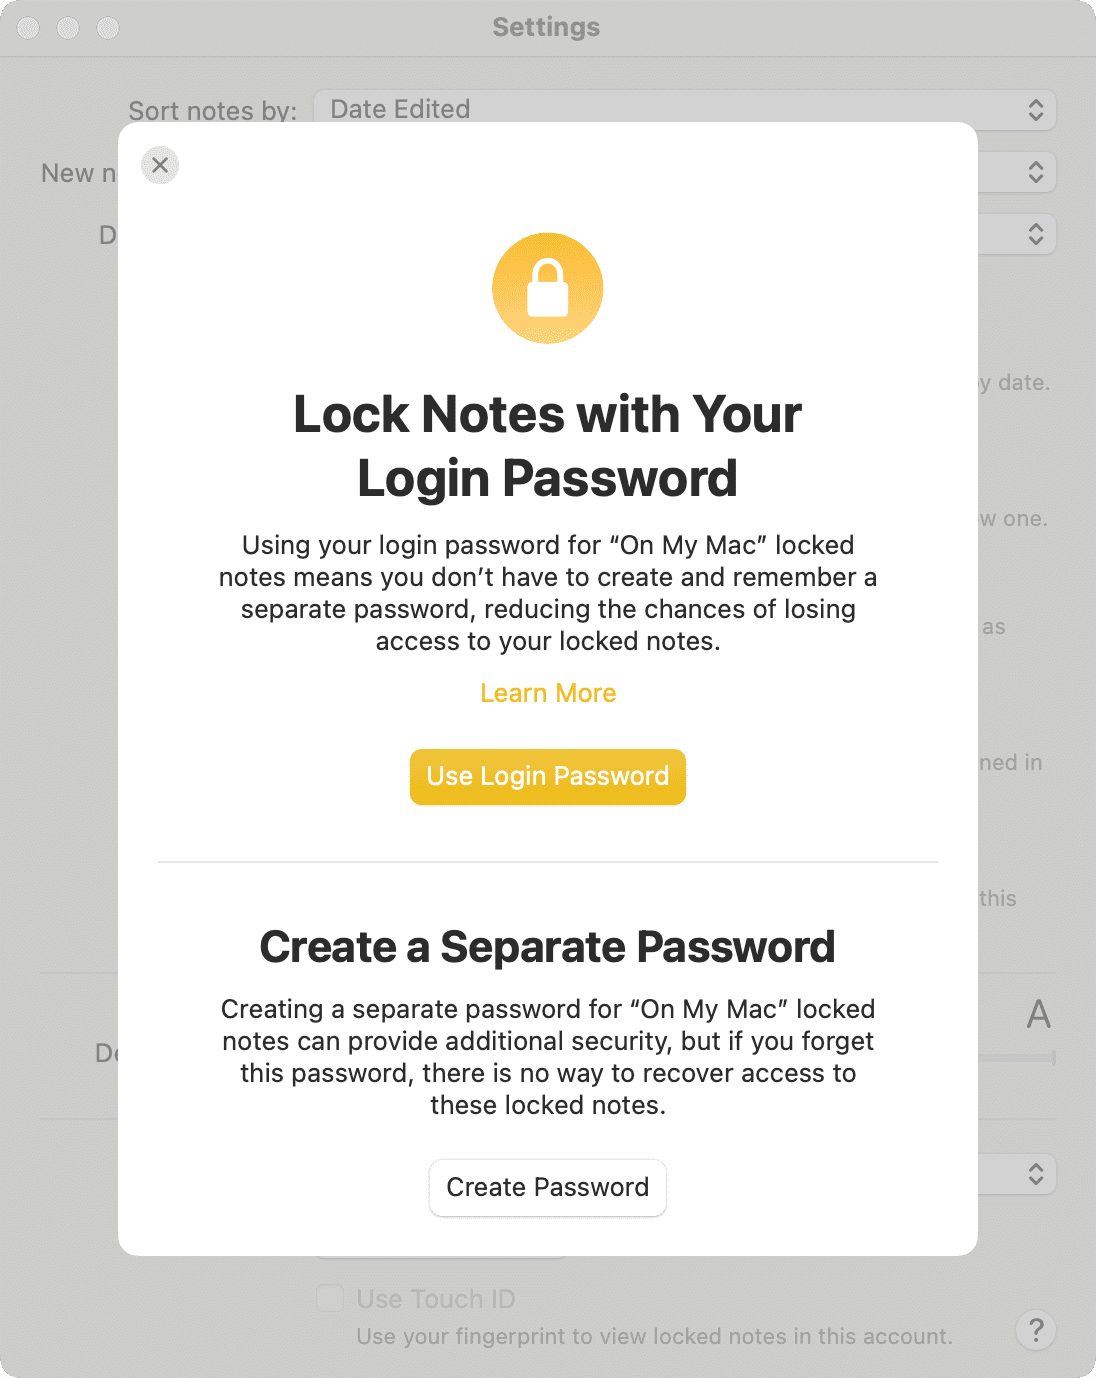
When you follow the steps to lock your first note, you’ll see two password choices:
1) Lock Notes with your iPhone Passcode: This ensures you don’t have to remember any other passcode, and can lock/unlock the notes using your device passcode. This reduces the chances of getting locked out of your secure notes and losing them.
2) Lock Notes by creating a separate password: If you’ve shared your device passcode with other people, like your spouse, and want to keep your notes private from them, then you should pick this option. But remember that if you forget this passcode, there is no way to regain access to those locked notes.
I use my device passcode to lock my iCloud Notes, but use a custom password for my offline On My iPhone notes. You can choose the option that works best for you. You can even use dedicated third-party apps to lock notes with a custom password.
Secondly, irrespective of which of the two passcode options you choose, you can do the following:
- Use Face ID or Touch ID to lock and unlock notes, making the process effortless. However, you may want to turn this off if you have added other people’s fingerprints or secondary Face ID to your device.
- Make a different choice in the future and opt for the other password method.
Important: If your Notes app is synced with iCloud and you lock a note on your iOS device with a custom passcode but then want to view it on your Mac, you’ll need the password you set up when you originally locked the note on iOS.
Lock Apple Notes
Follow these steps if this is your first time locking an entry in the Apple Notes app.
On iPhone or iPad
1) Open the iOS Notes app and create a new note or go inside an existing one.
2) Tap the three dots menu icon from the top and select “Lock.”

Now:
- If you want to use iPhone/iPad Passcode, tap it, and then enter your device passcode. You’ll also be prompted to enable Face ID/Touch ID.

- If you want to use a custom password, tap Create Password > Continue and set it up. I strongly recommend adding a hint, so you can get help recalling the password if you forget it.

On Mac
The fundamentals are the same as iPhone and iPad. Open a note in the Apple Notes app and click File > Lock Note from the top menu bar. You can also click the three dots menu for a note and select Lock Note.

Then, follow the on-screen prompts to set up a password.
Lock and unlock notes in the future
The password you set will not apply to all existing notes or notes you create. You must go through the steps to lock the note for it to apply.
You can lock notes by hitting the three dots icon and selecting the “Lock” option. This works on both iOS and macOS.

To view all your locked notes, hit the search bar inside the Notes app and select “Locked Notes.”

To enter a locked note, tap “View Note” or ”Enter password” and authenticate with device passcode, Face ID/Touch ID, or the custom password. After viewing, hit the open padlock icon to lock all notes once again.

Manage your locked notes password settings
You can change, reset, and manage your Notes app lock from settings. You can even set up the passcode from here if you haven’t already.
On iPhone or iPad
1) Go to iOS Settings > Apps > Notes and tap Password. If you have set up the offline On My iPhone account, pick either iCloud or your local On My iPhone account.

2) In case you haven’t set up a passcode for your locked notes, you’ll see a full-screen banner similar to the one in the Notes app. Tap “Use iPhone Passcode” or “Create Password” and set it up. If you have already set up a lock, you can switch to the other method or turn off Face ID/Touch ID for it.

On Mac
Open the Notes app and click Notes > Settings from the top menu bar. Then, make your adjustments in the “Locked notes” section at the bottom.

Change the locked note password
The steps for this depend on whether you’re using the device passcode or a custom password to secure your Apple Notes.
If you use the device passcode
In this case, changing your iPhone, iPad, or Mac login password will also affect how your locked notes are accessed.
- iOS: Go to Settings > Face ID/Touch ID & Passcode > Change Passcode. Note that if you’ve enabled Stolen Device Protection on your iPhone, you may have to wait an hour to make this change.

- macOS: Head to System Settings > Touch ID & Password and click the Change button. You can also change the password from the Users & Groups section.

If you use a custom password
In this case, you can change the locked notes password from the app settings, as explained below. This new passcode will be used to unlock both existing and future locked notes.
- iOS: Go to Settings > Apps > Notes > Password and make sure “Use Custom Password” is checked. Then, tap Change Password, enter the current password, then the new password, and save it.

- macOS: Open the Notes app and click Notes > Settings from the top menu bar. Now, make sure “Use Custom Password” is selected and hit the “Change Password” button. If you click this button with “Use Login Password” selected, it will direct you to System Settings to update your account password (a step we’ve already discussed above).

What is Reset Password for the Notes app?
Aside from changing your custom password, you also have the option to reset your Notes app password using your Apple Account/device passcode if you’ve forgotten your current locked notes passcode. After this, all new notes you create will use this new password, but existing locked notes will continue to use the old password (which may be the device passcode or a previous custom password).
After resetting the password, if you manage to open an existing locked note using the device passcode or the old Notes app password, you’re asked if you would like to update the old password of these locked notes to the new one. You can tap Update Password or continue to remember both your old and new passwords. If you forget the old password, you’ll lose access to those old locked notes!

You can reset your custom password for the locked notes by following these steps:
- iOS: Settings > Apps > Notes > Password and make sure “Use Custom Password” is checked. Then, tap Reset Password and follow along.

- macOS: Open the Notes app and click Notes > Settings from the top menu bar. Now, make sure “Use Custom Password” is selected and hit the “Reset Password” button.

If you have forgotten your custom password for locked notes
In this situation, you can’t do anything to recover it. Even Apple Support can’t help you. However, you can reset the password (as outlined above) or switch to using the device passcode for future notes. Your existing notes locked with the (forgotten) custom passcode will continue to remain unaccessible, of course, until you magically recall the password.
Also, check out: The best ways to access your iPhone Notes on Windows PC