Learn how to add an email address to your Apple account for iMessage and FaceTime on your iPhone, iPad, and Mac instead of your phone number.
In addition to your mobile number, you can also set up iMessages and FaceTime with just an email address, which lets you keep your primary email address on file and your actual phone number private.
For instance, some people use their business email handle for iMessaging and FaceTiming colleagues at work to avoid revealing their personal email address or phone number. Others set up a burner email account for things like Craigslist and Facebook Marketplace while using a separate email for chatting in the Messages app. Whatever the case, here are the steps to add a new email address for iMessage and FaceTime.
Add a new email address to iMessage and FaceTime
This is an account-level change, meaning you don’t need to add your email address on every iPhone, iPad, or Mac you own. For the sake of convenience, we’ll show you both the iPhone/iPad and Mac steps.
iPhone and iPad
1) Open the Settings app on your iPhone or iPad, then hit your Apple account name at the top and choose Sign-In & Security.

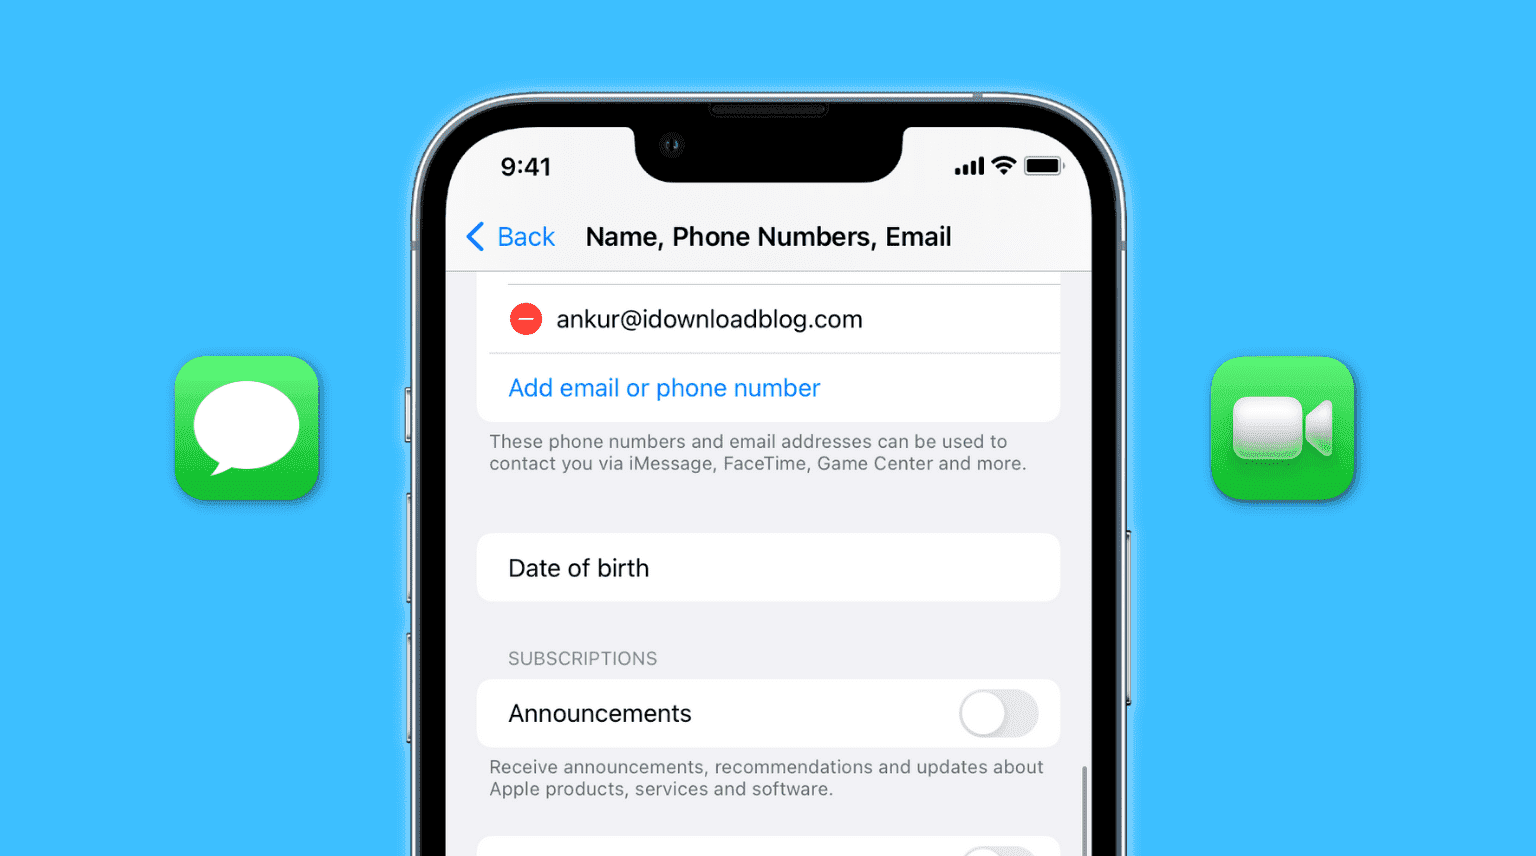
2) Tap Add Email or Phone Number, followed by Existing Email Address.

3) Type the new email address you’d like to use with FaceTime and iMessage, then choose Continue. When asked, enter the verification code Apple just emailed you and wait until it’s verified.

4) Once that’s done, you’ll see a screen titled “Email Address Added.”. Leave the “Primary Email” switch turned off and tap Done to continue.

5) Wait a few moments and an alert should appear on all your Apple devices, asking to confirm adding this email address for iMessage and FaceTime. Choose Yes, and now people can send you iMessages and call you on FaceTime using your new email handle.

You can also adjust where you receive iMessages and FaceTime, as shown below.
iMessage:
Go to Settings > Apps > Messages > Send & Receive and select your new email address under the “You can receive iMessages to and reply from” section to use it with iMessage. To automatically initiate new chats from that email address instead of your phone number, select it under the “Start New Conversations From” section.

FaceTime:
Go to Settings > Apps > FaceTime and select the newly added email address in the “You can be reached by FaceTime at” section so people who have it can audio and video call you. To set this email as your FaceTime Caller ID, select it in the Caller ID section. People who haven’t saved your contact yet will see this email instead of your phone number when you FaceTime them.

Mac
To add a new email address for iMessage and FaceTime on a Mac, click the Apple menu and choose System Settings, then hit your Apple Account in the System Settings sidebar and choose Sign-In & Security on the right side. Hit the plus icon (+) and select the “Email address” radio button, then enter your new email address and complete the linking process by entering the code Apple emailed you.

If your Mac runs an older macOS version, go to System Preferences > Apple ID > Name, Phone, Email instead.

If you see a popup asking whether to use the new email address for iMessage and FaceTime, choose Yes. You can now use this email address for iMessage chats and FaceTime calls.

You can fine-tune things further in the Messages and FaceTime settings.
Messages:
Click the Messages > Settings menu and select the iMessage tab. Tick the box next to your newly added email address in the “You can be reached for messages at” section. Optionally, also select it in the “Start new conversations from” section to do just that.

FaceTime:
Click the FaceTime > Settings menu and tick the box next to your new email address in the “You can be reached for FaceTime at” and “Start new calls from” sections.

Multiple email addresses are a great way to keep people from knowing your most personal contact information. If you change your mind in the future and would like to remove an email address from iMessage or FaceTime, you can do so by unticking corresponding boxes in the Messages and FaceTime settings. Or, go to the Sign-In & Security section of your Apple account and remove it from your Apple account entirely.
Also, check out: