Learn why Apple disabled or locked your Apple account and how to fix this using your iPhone, iPad, Mac, or Windows PC.

Why is your Apple account disabled?
Apple may disable your Apple account for various reasons which in most cases boil down to keeping your data secure. When that happens, you’ll see various messages and alerts, including:
- This Apple Account has been disabled for security reasons.
- You can’t sign in because your account was disabled for security reasons.
- Apple Account Locked. Your Apple Account has been locked for security reasons. To unlock it, you must verify your identity.
- Apple Account Disabled. Your Apple Account has been disabled for security reasons. To enable your account, reset your password at forgot.apple.com.
Some common reasons why your Apple account is disabled or locked are:
- Someone tried to log in to your iCloud or Apple account incorrectly too many times.
- Someone entered your security questions incorrectly too many times (applicable for old Apple IDs)
- Other Apple account information was entered incorrectly too many times.
- Suspicious account activity.
How to fix a disabled Apple account
Follow the steps below on your iPhone, iPad, Mac, or Windows PC to regain access to a disabled Apple account.
Reset your Apple Account password
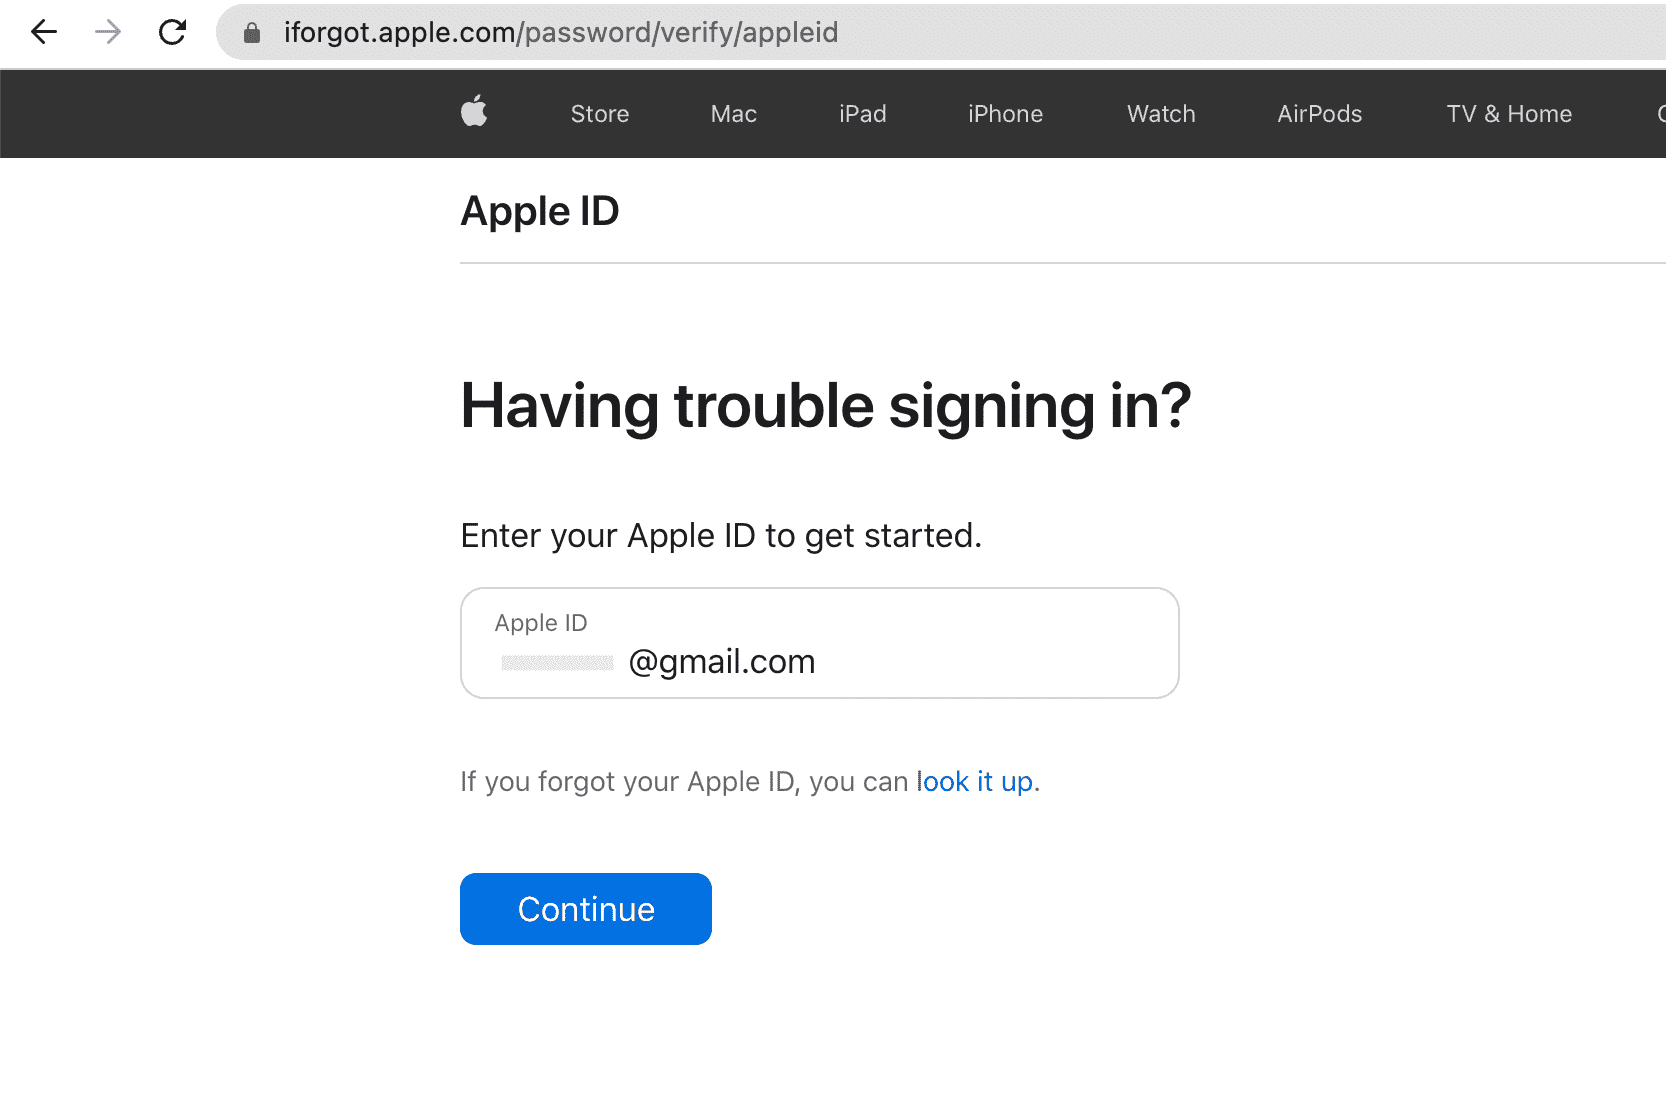
Apple’s iForgot account recovery system allows you to regain access to your account by resetting the password. Visit forgot.apple.com and enter the required Apple account details. After passing the verification which establishes that you’re the rightful account owner, you’ll reset your password. For that, you must provide the phone number tied to your Apple account. If you reset the password in Settings (iPhone, iPad) or System Settings (Mac), you may need to enter the verification code sent to your phone number on file or your trusted devices.
With a new password set, your Apple account will become unlocked. You’ll need to enter the new password on all your other Apple devices. Usually, there’ll be an alert asking for the correct password. Or, go to the Settings app (iPhone, iPad) or System Settings or System Preferences (Mac) and hit the red badge or a similar option to sign in with your updated Apple account password.
You’ll need to wait at least 24 hours after too many unsuccessful password reset attempts in a day before trying again. This is by design, a security feature to prevent brute-force attacks.
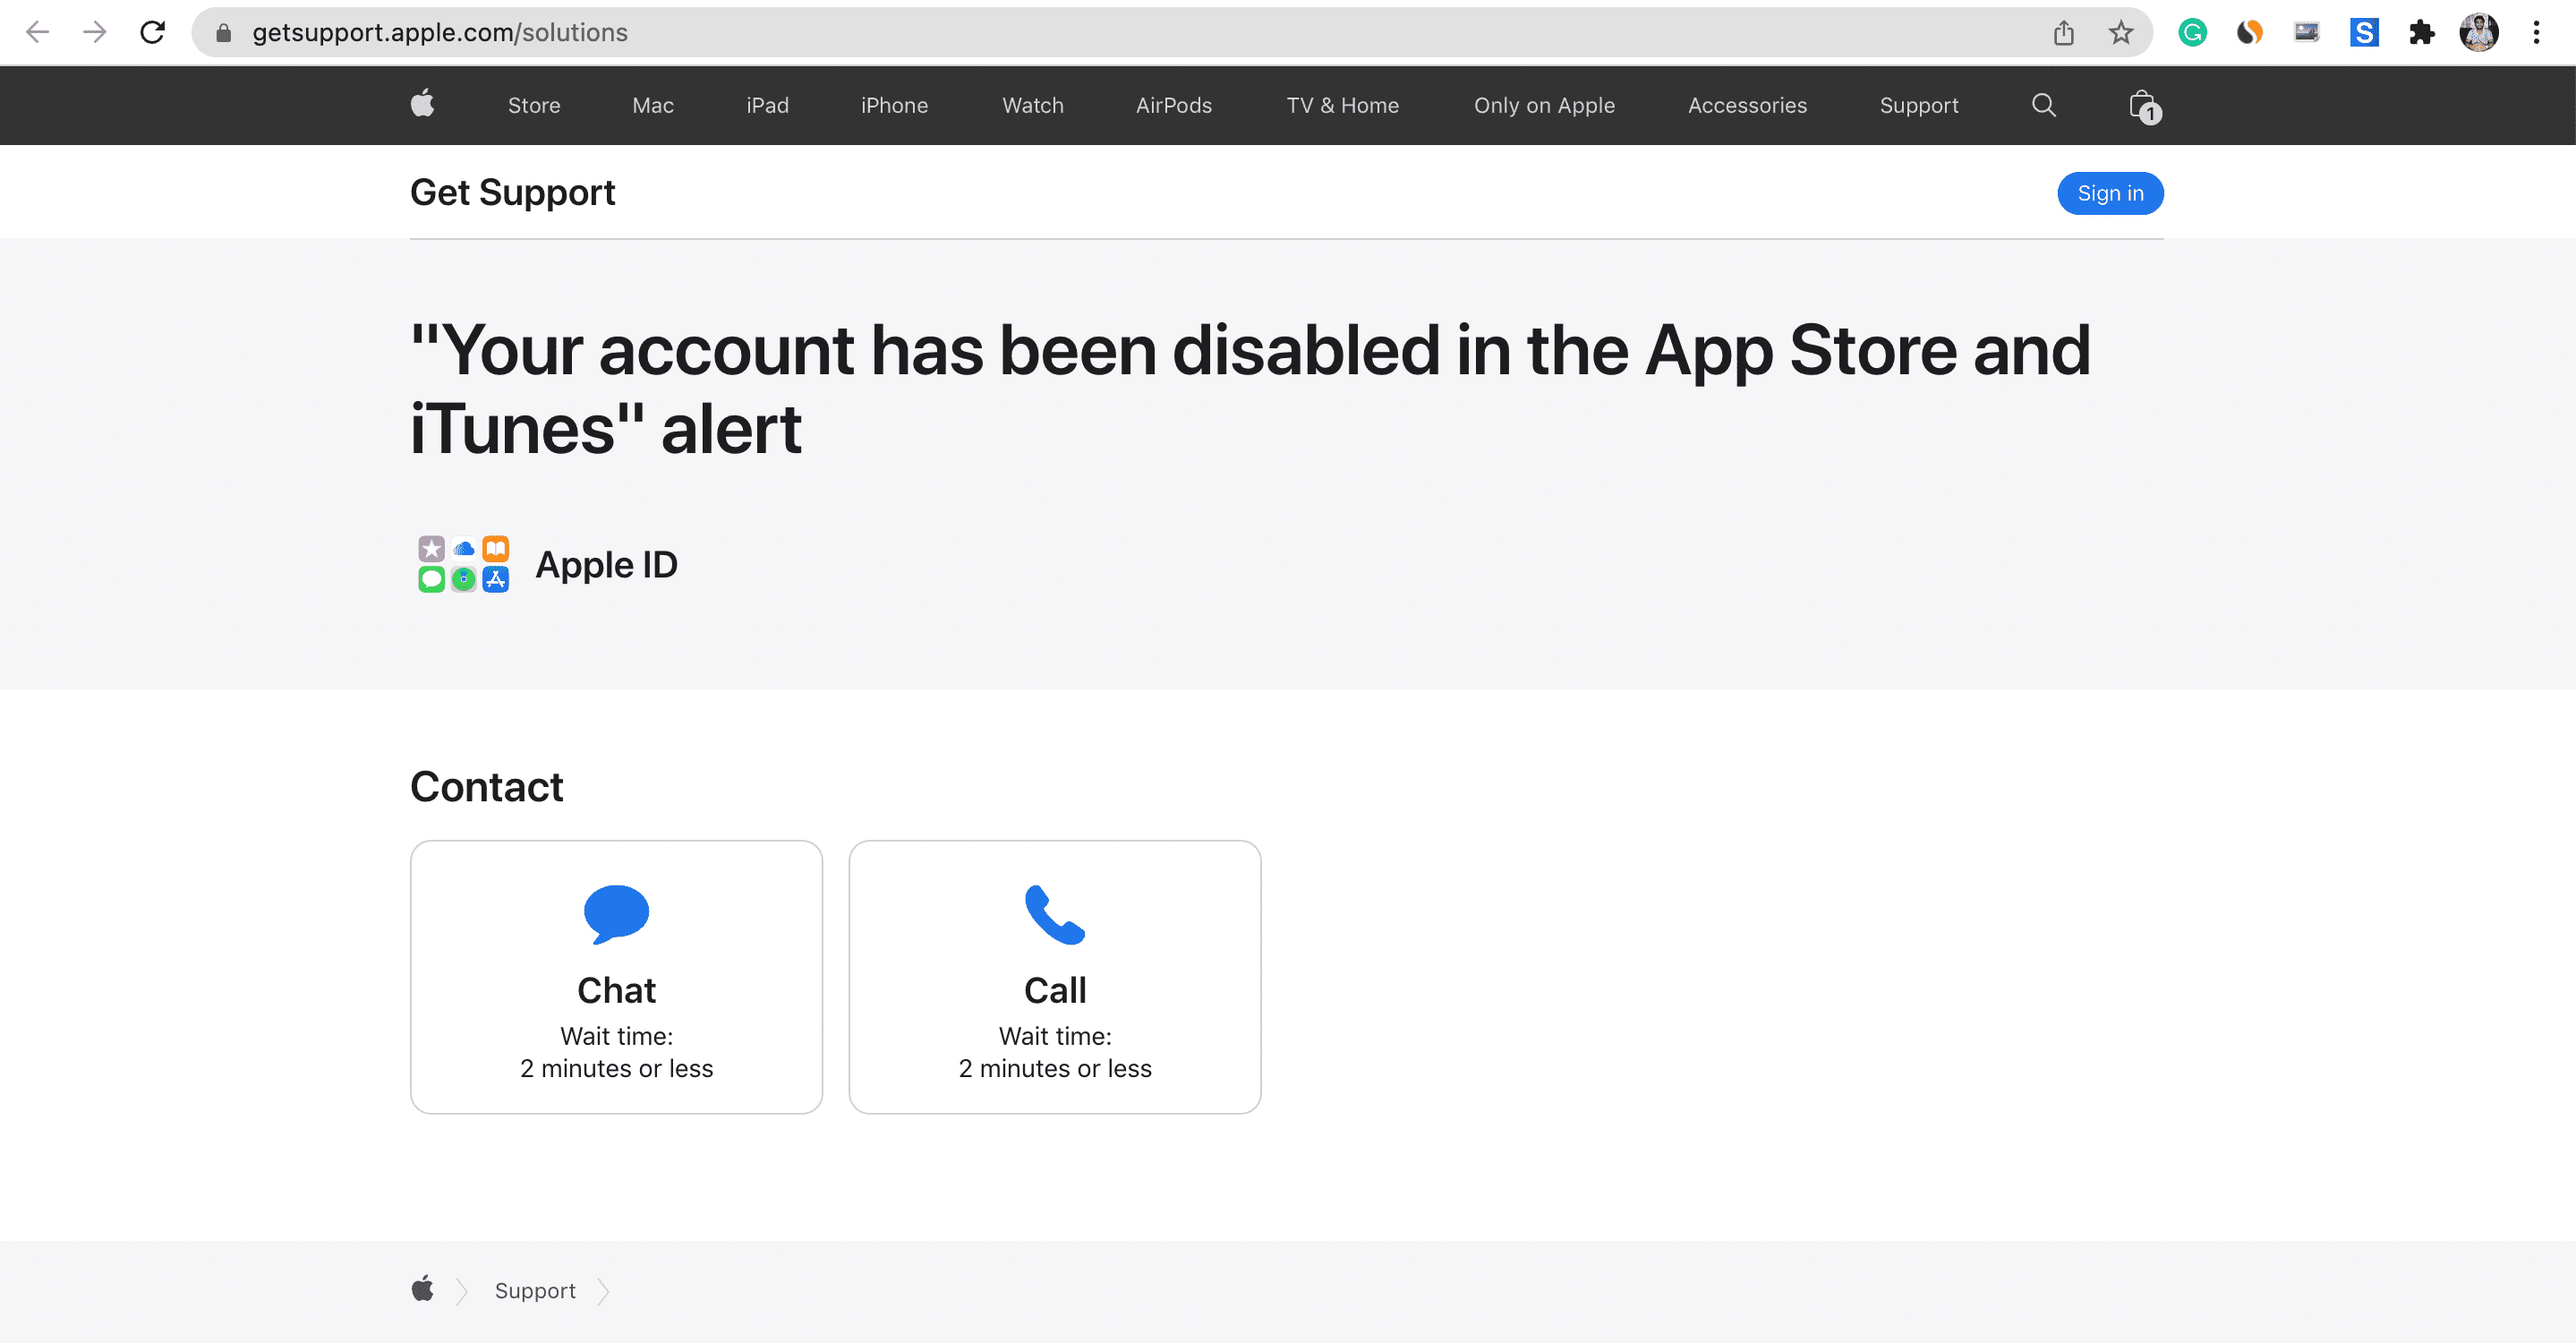
Contact Apple support
If you still cannot unlock your Apple account or it doesn’t work in the App Store, be sure your address and payment methods on file are correct date. If the problem persists, contact Apple Support via call or chat.
Tips to prevent becoming locked out of your Apple account
A locked or disabled Apple account can be incredibly frustrating as everything you do in the Apple ecosystem is tied to it. Thankfully, there are several steps you can take to ensure you won’t get locked out of your Apple account in the future:
- Don’t give your Apple Account email address to anyone: Avoid using your Apple account email address for any other purposes. Don’t share it with others because you’ll invite ill-minded people to guess your account password. I call these people login trolls, as they will get your account locked for security reasons after entering an incorrect password too many times.
- Only log into your account through Apple: Many people are tricked into providing their personal details via false prompts, mocked-up websites, or phishing emails. Don’t fall for messages purported to be from Apple that ask you to log in somewhere using your Apple account’s email address and password only to steal your information.
- Use a strong Apple Account password: Having a strong password that cannot be compromised with brute-force methods is among the best ways to protect your Apple account from hacking.
- Set up two-factor authentication: Another is two-factor authentication, now compulsorily for all newly created Apple accounts. We have a dedicated step-by-step tutorial explaining how to set up two-factor authentication as an additional layer of security.
Also, check out: