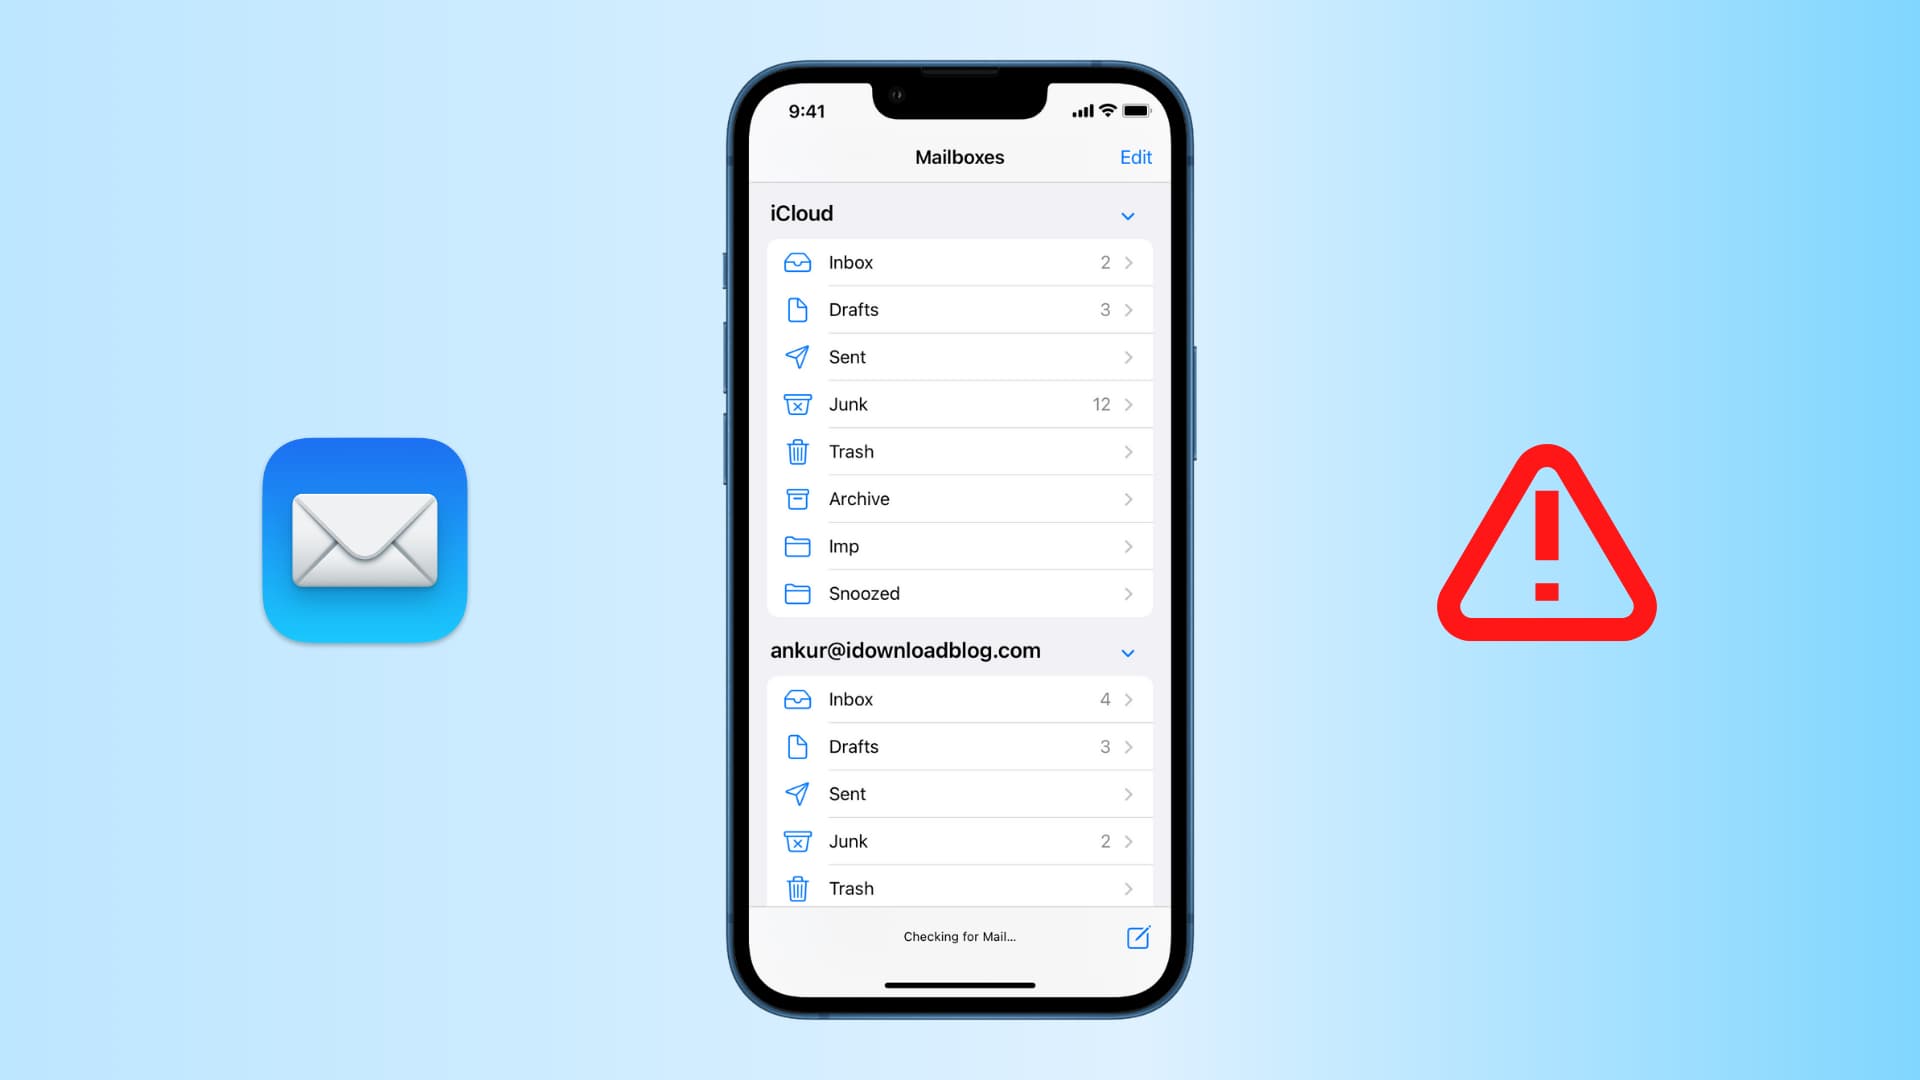
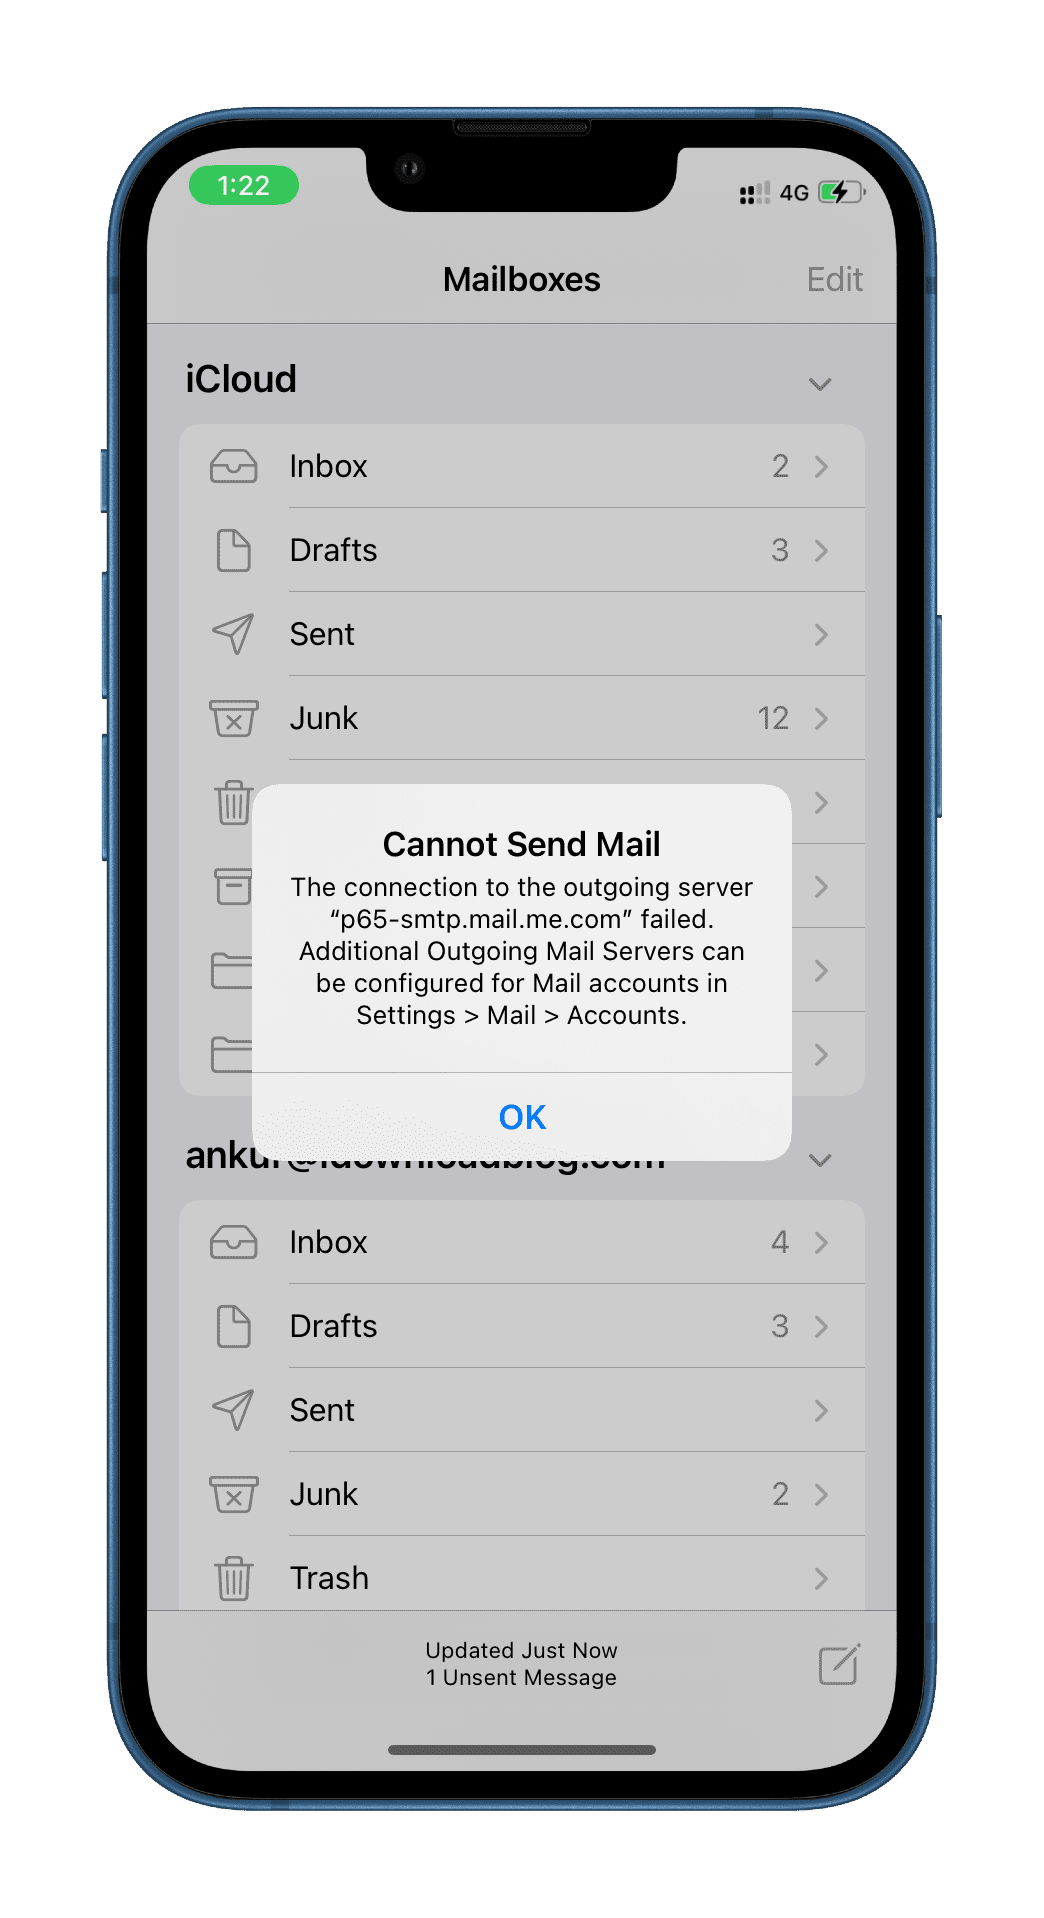
Find out how to fix the “Cannot Get Mail” errors in the Apple Mail app on your iPhone or iPad so you can get your emails loading properly again.
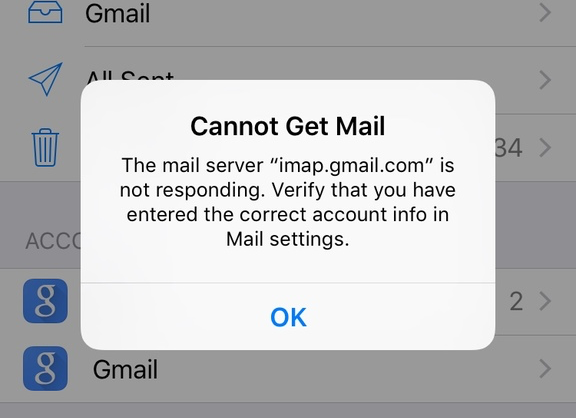
Every so often, when you go to refresh your emails in the Mail app, you may get an error message that reads, “Cannot Get Mail. The mail server imap.gmail.com is not responding. Verify that you have entered the correct account info in Mail settings.”
This annoying problem, or those related to it, can be caused by an issue with your email settings, or it may simply be a hiccup with the email server. Go over these troubleshooting steps to get your inbox to refresh properly and receive new emails.
We’ll start with the easiest and work our way down to the most complicated.
Send an email from the problematic inbox
What seems to work best for me when an inbox displays that error message is to send an email from that account. Because the issue is that Mail can’t fetch new emails, it certainly can send new ones created by you.
In this case, compose a new email, and if you have several inboxes, make sure to send the email from the one giving you trouble. I typically send an email to myself with “Test” as the subject line.
In 99% of cases, this actually fixes the issue, albeit temporarily, but I find it to be the least invasive workaround.
Try refreshing the inbox again
The problem may be due to a hiccup in your internet connection or a connection issue with the server. This is a best-case scenario! You can easily work around this by simply pulling down your inbox to refresh your content.
Force-quit the Mail app
In some cases, the problem could be related to a glitch in the Mail app itself. In this instance, simply swipe up from the bottom of the screen or double-press the Home button to open the App Switcher. Now, slide up on the Mail card to quit the Mail app. Next, go to the Home Screen to re-launch the Mail app yet again so it can try to refresh your email inbox.
Check your internet connection
Do you have a strong enough cellular or Wi-Fi signal? If your signal is too weak or you’re not connected at all, then this could be the source of your error message while trying to refresh your email inbox. Try getting closer to a wireless signal and see if the inbox refresh works afterward.
Restart your iPhone and make sure it’s updated
Often, the most annoying problems are resolved simply by rebooting the device and installing the latest software update. If the above tips haven’t helped, try turning off your iPhone and then turning it back on. In case the email issues continue, update your iPhone to the latest version of iOS.
Remove and re-add the troublesome email account
In some cases, the incoming and outgoing server information for your email account may no longer be accepted by the email server. Try removing your email account and re-adding it so that the Mail app can auto-configure the proper settings to refresh your email inbox. Doing so will hopefully fix your “Cannot Get Mail” problems.
Go to iPhone or iPad Settings > Apps and select Mail from the list. Then, tap Mail Accounts, choose the email account you’re having issues with, and hit the red Delete Account button.

After you’ve removed the account, you’ll now want to try and re-add it to your Mail app again. To do that, return to the Mail Accounts screen by repeating the above steps and tap Add Account. Now, choose from the list of email providers so you can sign in to your email provider to receive emails again.
Manually configure server, port, and authentication options
In some cases, the email server may be denying you access because either your ISP is blocking certain ports or you’re using the incorrect incoming and outgoing server settings.
If that’s the case, you’ll have to use a special outgoing server provided by your ISP. This is common with some accounts when trying to send outgoing emails on Verizon FiOS and some other ISPs. In others, you can just configure different ports to be used so that SSL isn’t being called for on a server that doesn’t support it or vice-versa, as this can cause issues.
Here are the steps to adjust your email account’s outgoing and incoming server settings; we’ll begin with the outgoing settings:
- Go to your iPhone or iPad Settings > Apps > Mail and tap Mail Accounts. From here, choose the account you’re having issues with.
- Now, tap the Account Settings cell and then tap the option under the Outgoing Mail Server header so you can configure your outgoing email server for this account. You may not see these options for all email accounts.
- Tap your primary server that is being used to fetch emails for this account.
- Then, under the Outgoing Mail Server header, adjust the host name (server address), username (email address), password, SSL settings, authentication method, and server port number as necessary to comply with the server’s true settings.

In some cases, the server port may be set to something that the server doesn’t actually support. For example, I once worked for a company where the email server didn’t support SSL, but I had SSL enabled. Because of that, my device couldn’t send email because it wasn’t able to find a secure connection. Sometimes, having the incorrectly typed password can cause issues as well, so simply re-typing it may help solve this problem.
Now that your outgoing settings are how you want them, move on to the incoming email settings:
- Return to iOS Settings > Apps > Mail > Mail Accounts and choose the account.
- Then, tap Account Settings, followed by Advanced, to bring up more settings.
- Now, under the section with the Incoming Settings header, adjust the SSL settings, IMAP Path Prefix, and server port number as necessary to comply with the server you’re receiving emails from.

Once you’re content with the new incoming and outgoing settings, you can force-quit and reopen the Mail app. Then, try to refresh your inbox to see if the new settings work any better than the older settings.
Did that fix your “Cannot Get Mail” error
Typically, unless the email server itself is experiencing some kind of downtime, following the step checklist above will help you fix the “Cannot Get Mail” errors.
If you’re still having issues, do a quick web search to know if your email service is experiencing a temporary outage. For example, you can search for “Is Gmail down” and see the reports on some of the top sites that show up in the search results.
Also, check out: How to reset the Apple Mail app to factory settings on iPhone, iPad, and Mac