Learn how to reveal the hidden path bar on your Mac to see the location of a selected file or folder near the bottom of Finder windows.
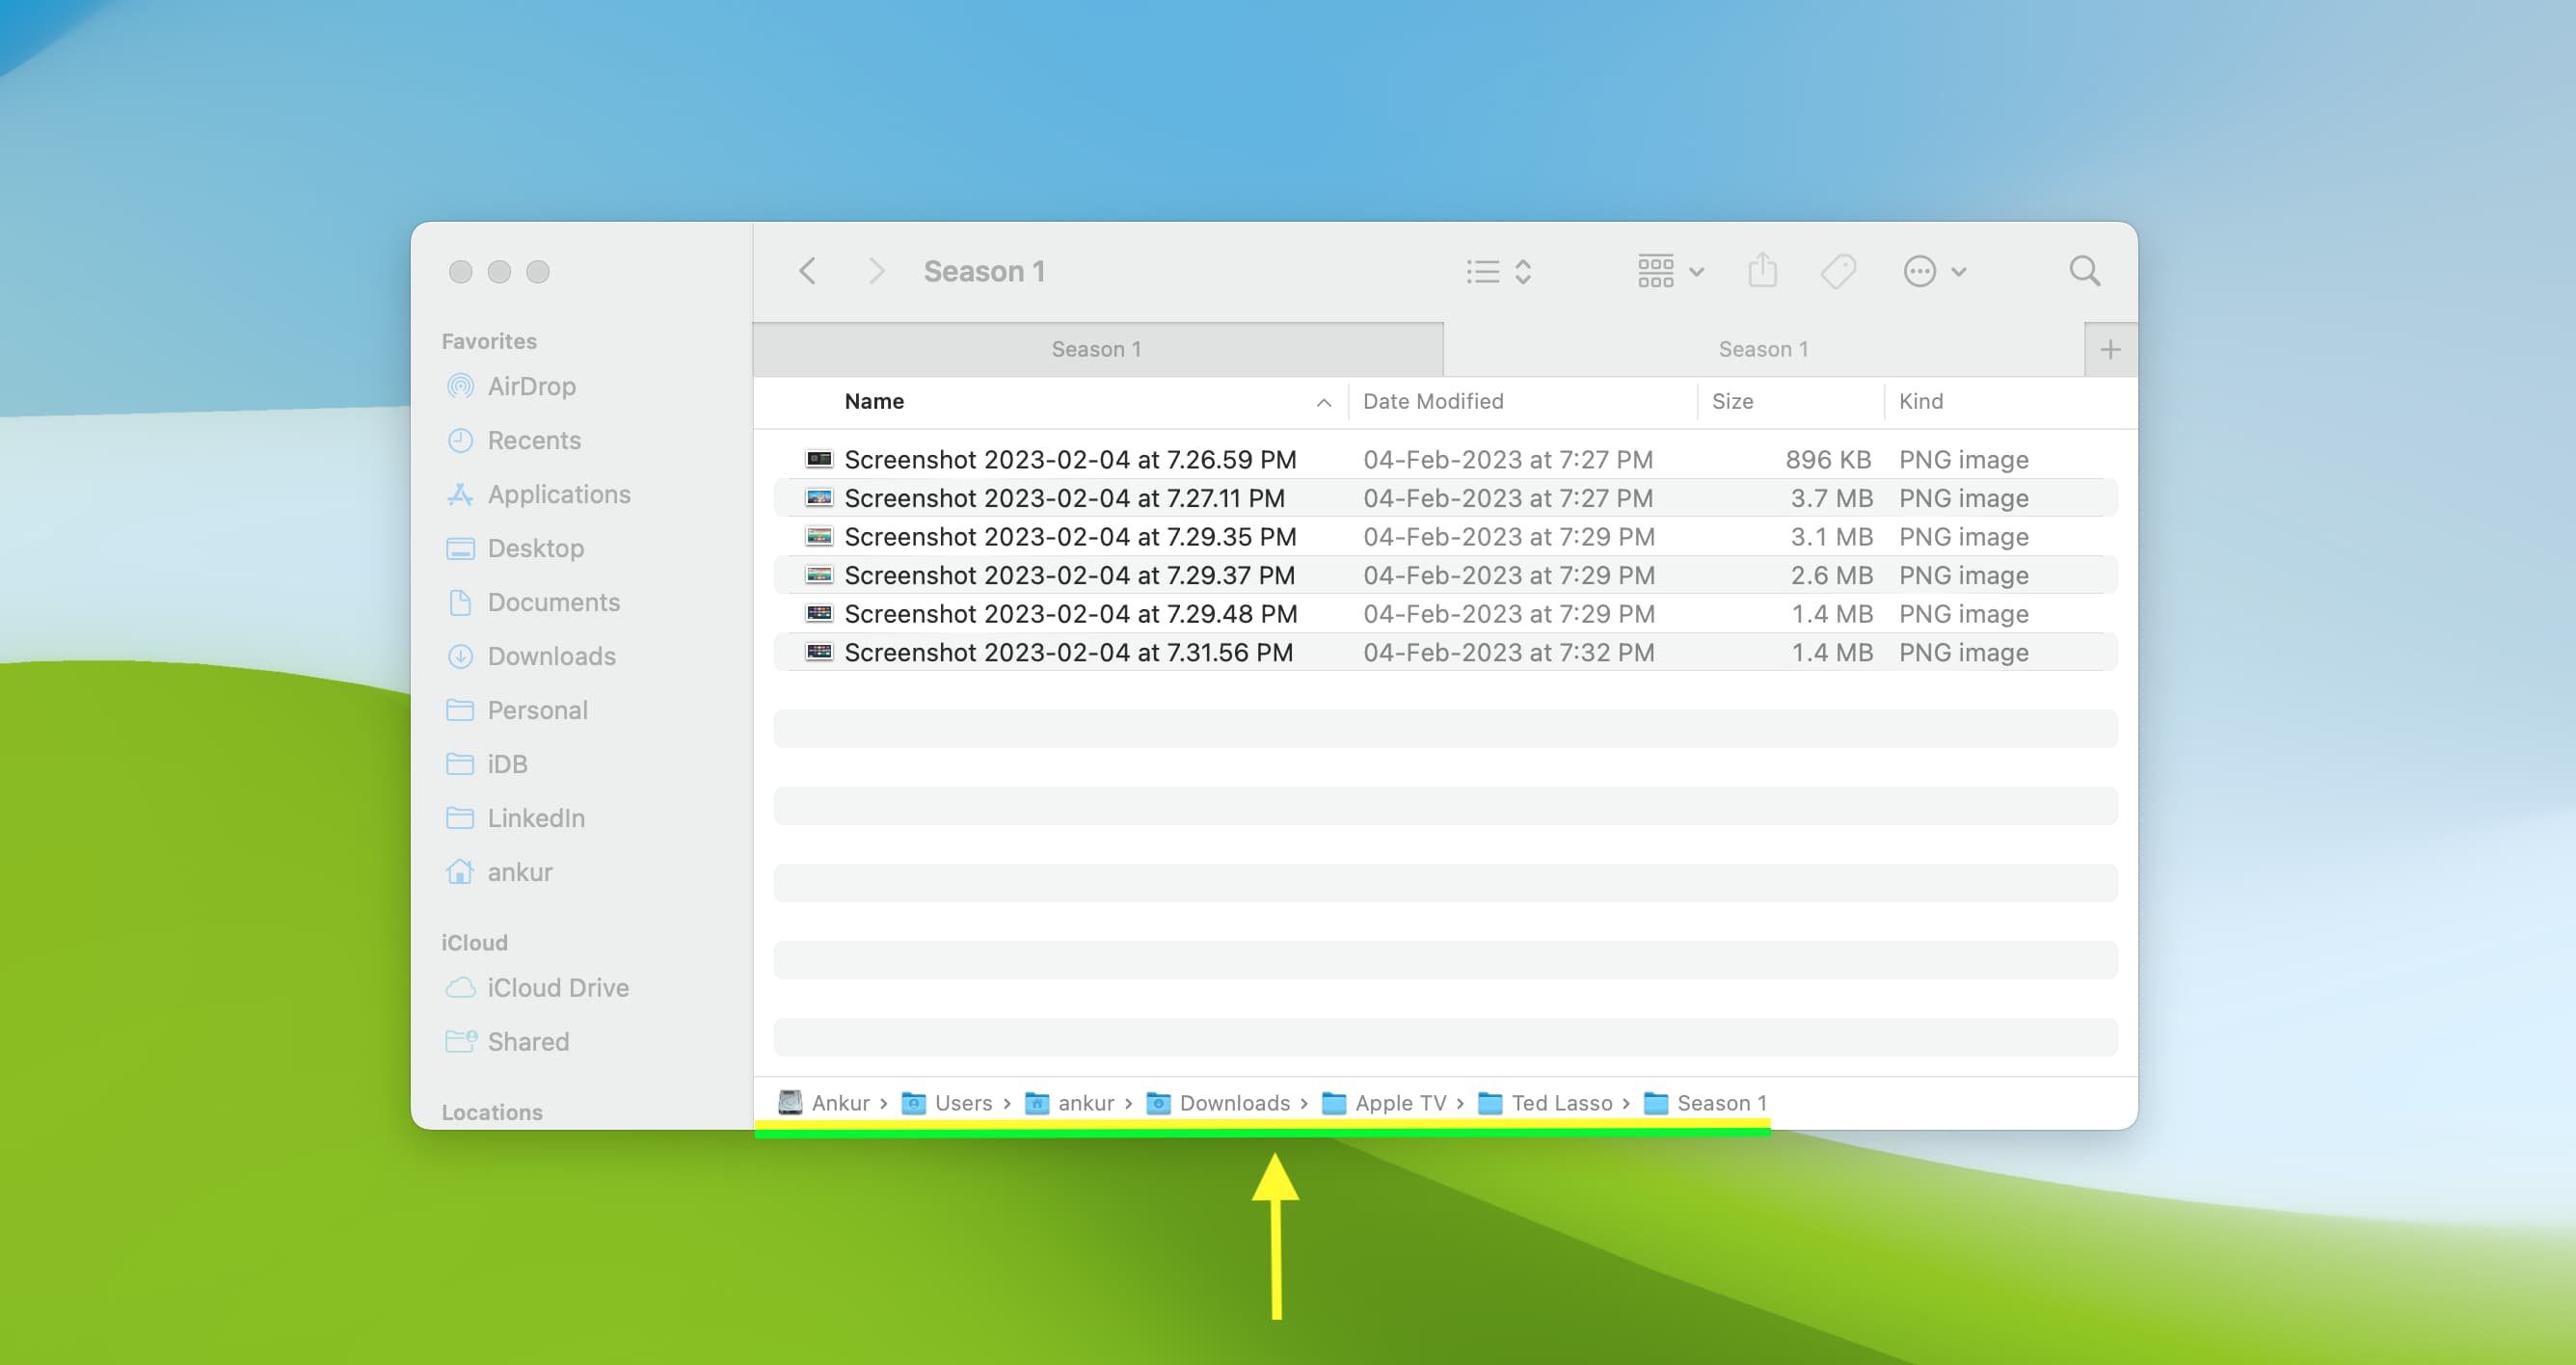
The path bar is interactive and shows the current working directory near the bottom of all Finder windows. You can click any location in the path to instantly navigate there, drag and drop items directly onto any location within the path bar, and more.
The path bar is such a handy feature that it’s among the first things I enable on a new Mac. macOS hides the path bar by default, but follow along with us as we show you how to turn it on and make the most out of it.
Show or hide the Finder path bar on your Mac
Click the Finder icon in the Dock to open a new Finder window, then click the View > Show Path Bar menu. Doing so will permanently show the path bar near the bottom of all Finder windows in any view mode (Icons, List, Columns, Gallery).

You can also press the Option + Command + P keys when in the Finder to toggle the path bar. Or, show it momentarily by holding the Option key. The path bar disappears when you let go of the key.
How to interact with the file system via the path bar
The path bar refreshes automatically as you navigate the file system. The path bar is interactive. For instance, simply drop a file onto a specific location in the path bar to move it there. To copy the file instead of moving, hold the Option key before releasing the mouse button.

As shown above, I dragged the image file from my desktop and dropped it into the Downloads location within the path bar. This is very handy if you’re several levels deep in the file system and want to copy or move something without switching between multiple Finder windows.
You can also open a specific folder directly from the path bar; simply click it, and the Finder window will refresh to show everything in the selected folder. To copy the full folder path to the clipboard for pasting into other apps, like Terminal, right-click an item in the path bar and choose “Copy ‘FOLDER NAME’ as Pathname.”
Long path names
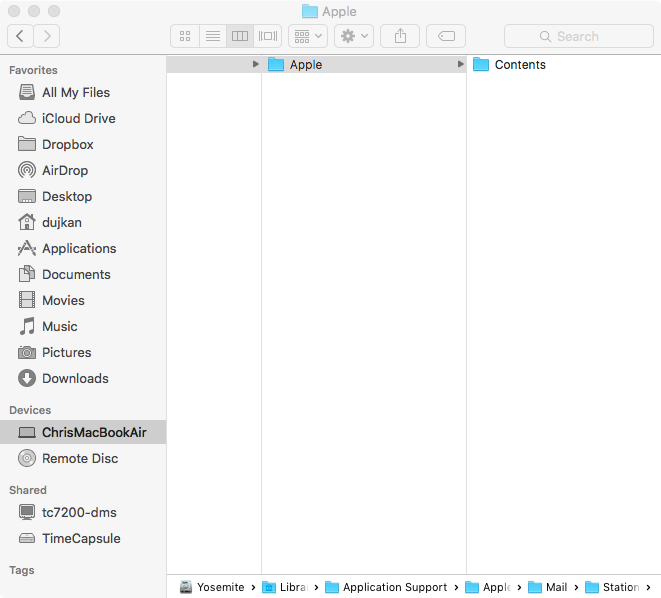
If the full location doesn’t fit the path bar, macOS truncates it while keeping the start and the current location visible. You can hover over a truncated item to have it expand temporarily, giving you a sense of the full path.
As illustrated above and below, the truncated Application Support expands when I hover over it. But wait, there’s more! If you’re dragging a file, moving the pointer across the path bar will expand truncated folder names. This lets you drop the file onto a specific folder within the path bar without making the window wider.
Set the path bar relative to the Home directory
By default, this feature displays a file or folder’s full path relative to the root of the drive. You can optionally set the path bar to start from your macOS account’s Home directory with the following Terminal command:
defaults write com.apple.finder PathBarRootAtHome -bool TRUE;killall Finder
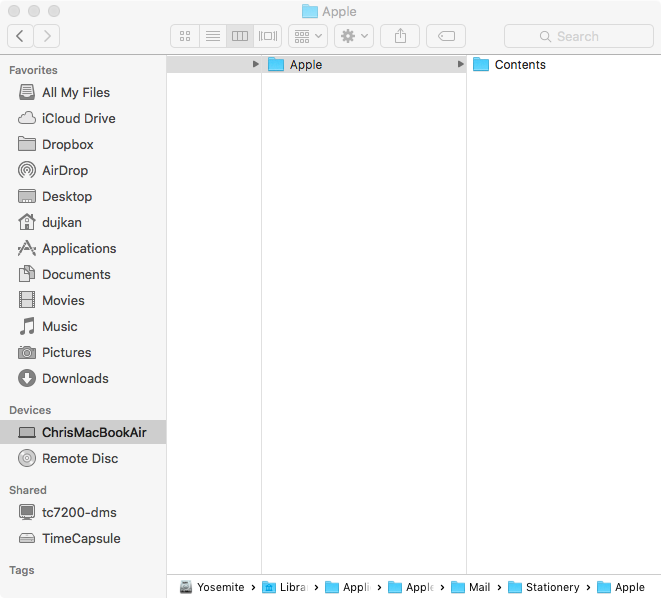
So instead of the cluttered path bar like this…

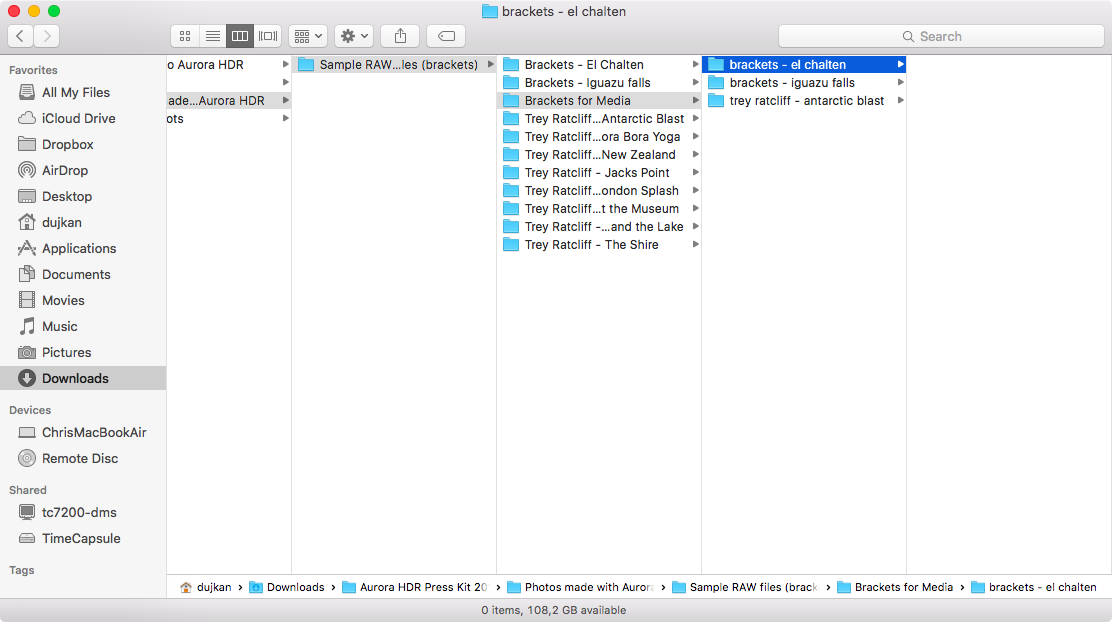
…you get a more streamlined one version relative to your home directory, like this.
To revert to the default path bar, execute the following Terminal command:
defaults delete com.apple.finder PathBarRootAtHome;killall Finder
Related tutorials
For more tips like this, be sure to peruse our guide showing you how to display the full path in the title bar of Finder windows. You also have several ways to copy a file’s full path to the system clipboard as text. And for fast access to frequently accessed folders, here are 5 ways to bookmark and open them instantly with just a few clicks.