By default, the cursor on your Mac is omitted when you take a screenshot, but there is an easy way to include it when needed.
As you might imagine, I take an absolute ton of screenshots on my Mac on a regular basis. Occasionally, I like to include the mouse cursor on my Mac screenshots. As said, the cursor is generally omitted with the popular screenshot keyboard shortcuts, but here are two free ways to make sure that the cursor is included.
1. Show pointer cursor when using the Screenshot app
- Open the Screenshot app or screenshot utility on your Mac by pressing Command + Shift + 5.
- Click Options.
- Select Show Mouse Pointer.
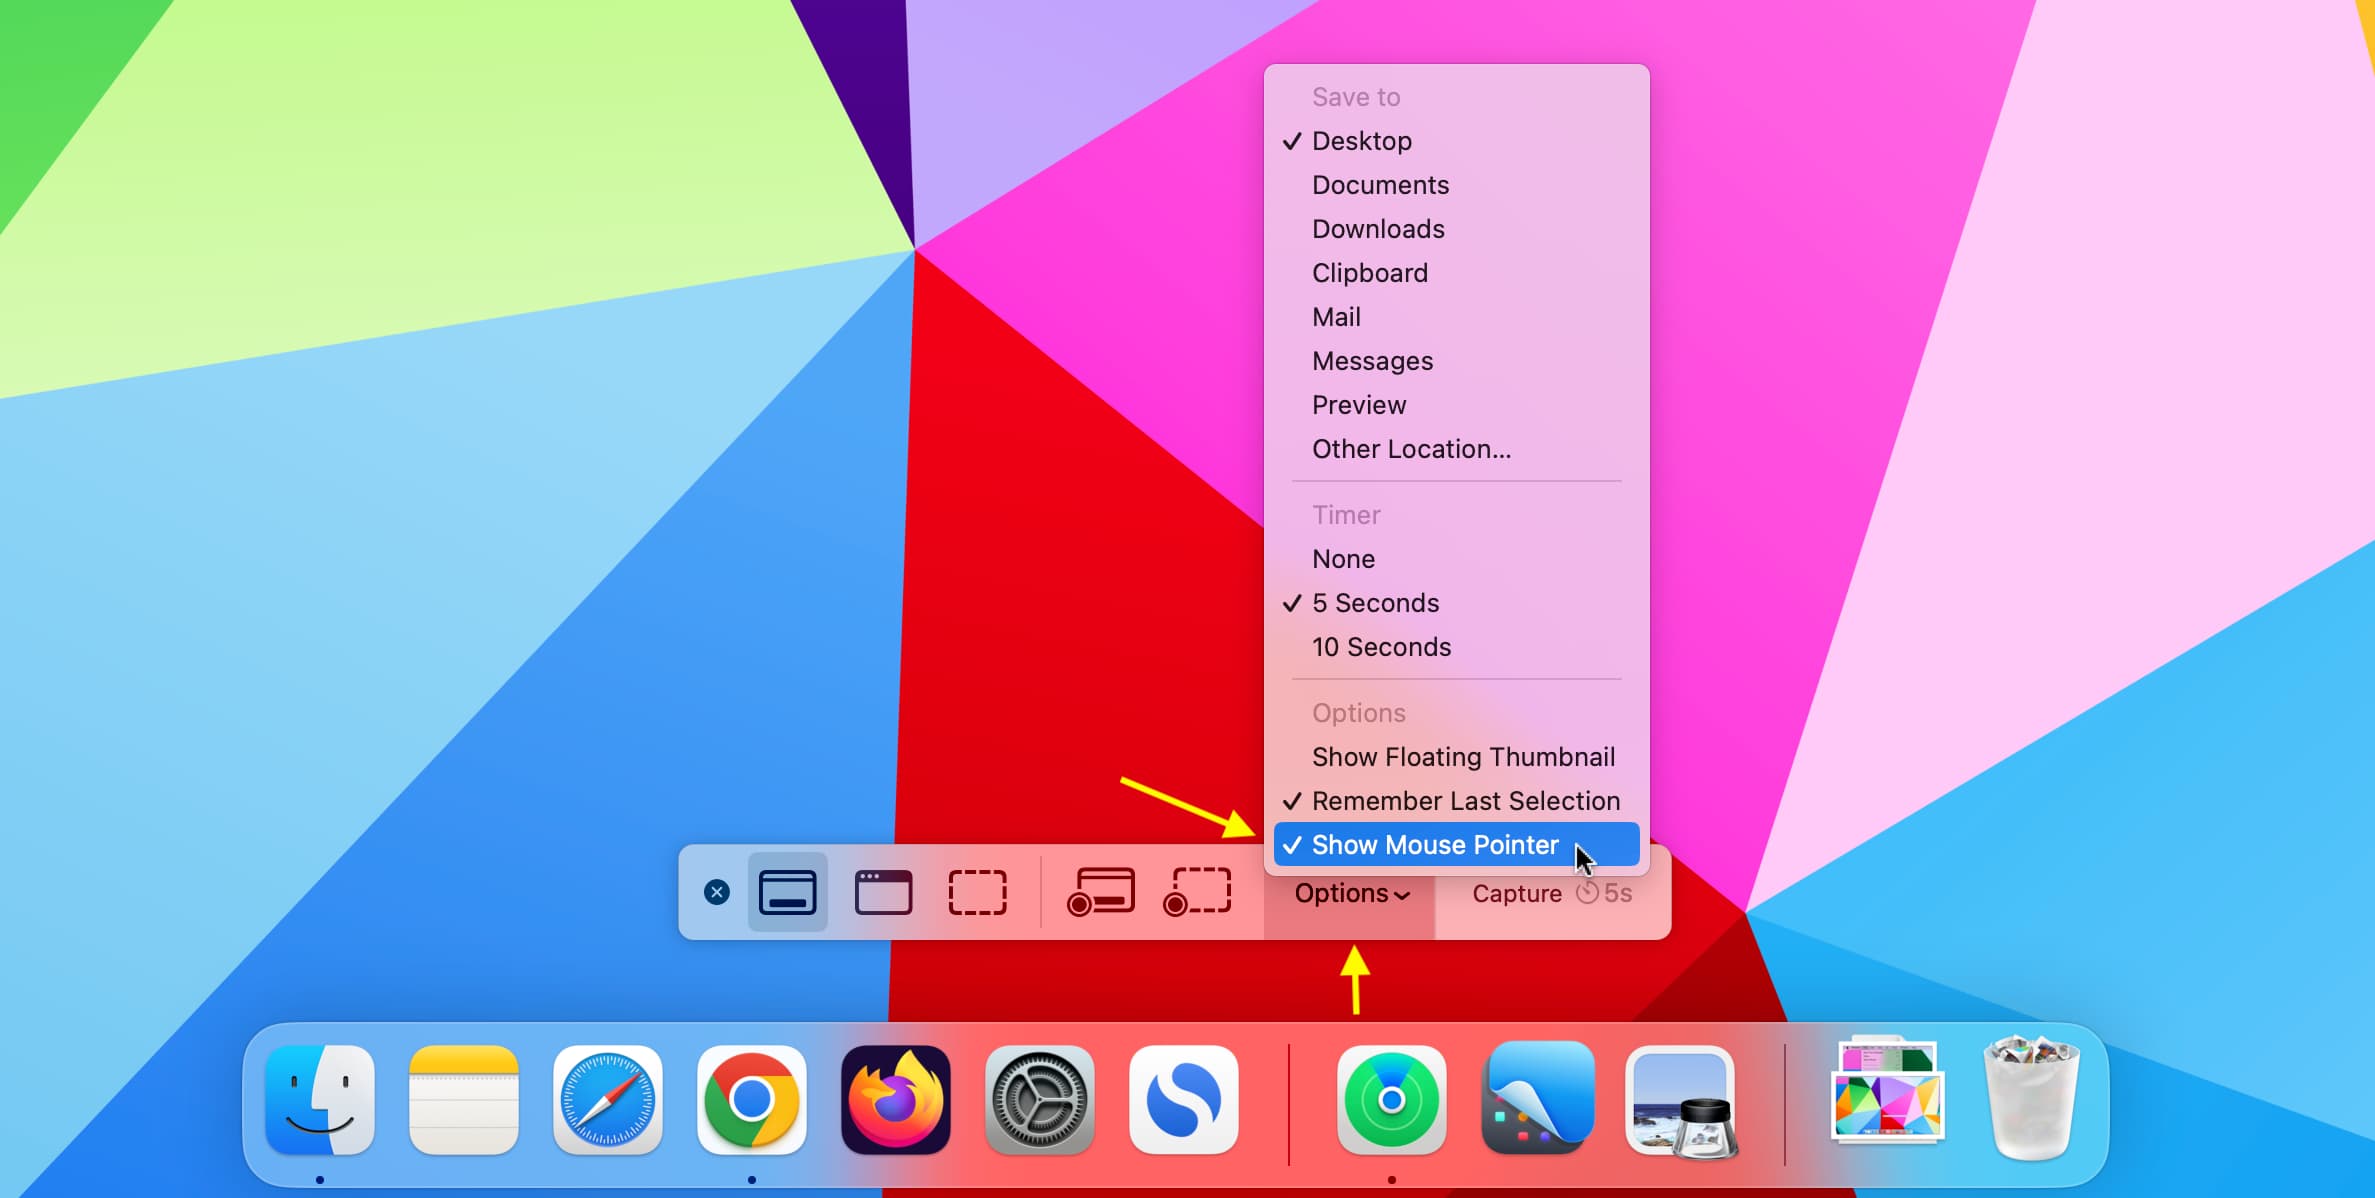
Continue to capture your full-screen screenshot, and the mouse cursor will be included. If not, you can take a timed screenshot with a 5 or 10-second timer and place the mouse pointer on the screen to include it in the screenshot.
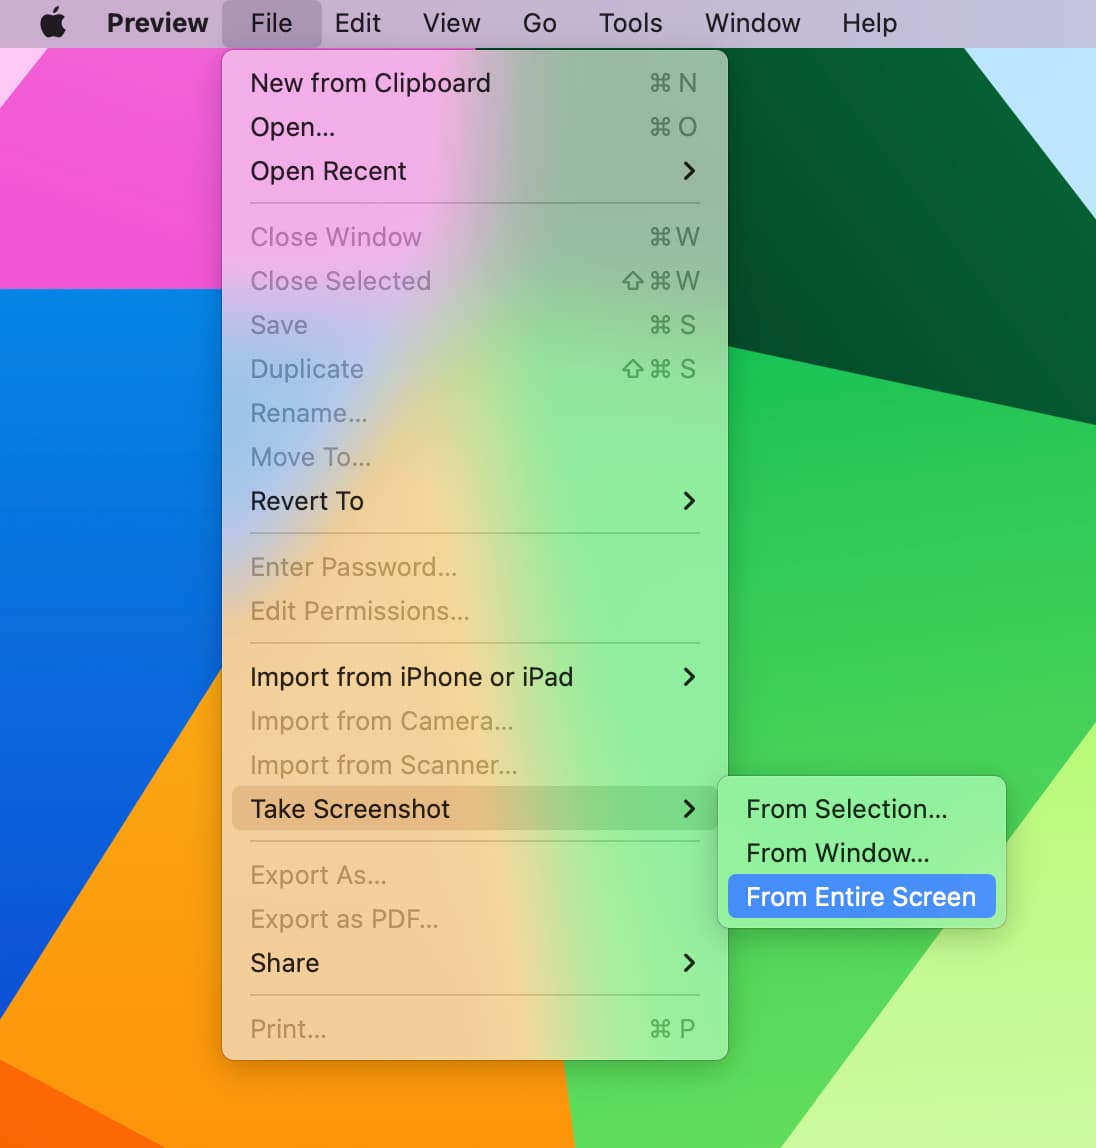
2. Screenshot taken with the Preview app always shows the pointer
- Open Apple’s Preview app on Mac.
- Go to File > Take Screenshot > From Entire Screen.
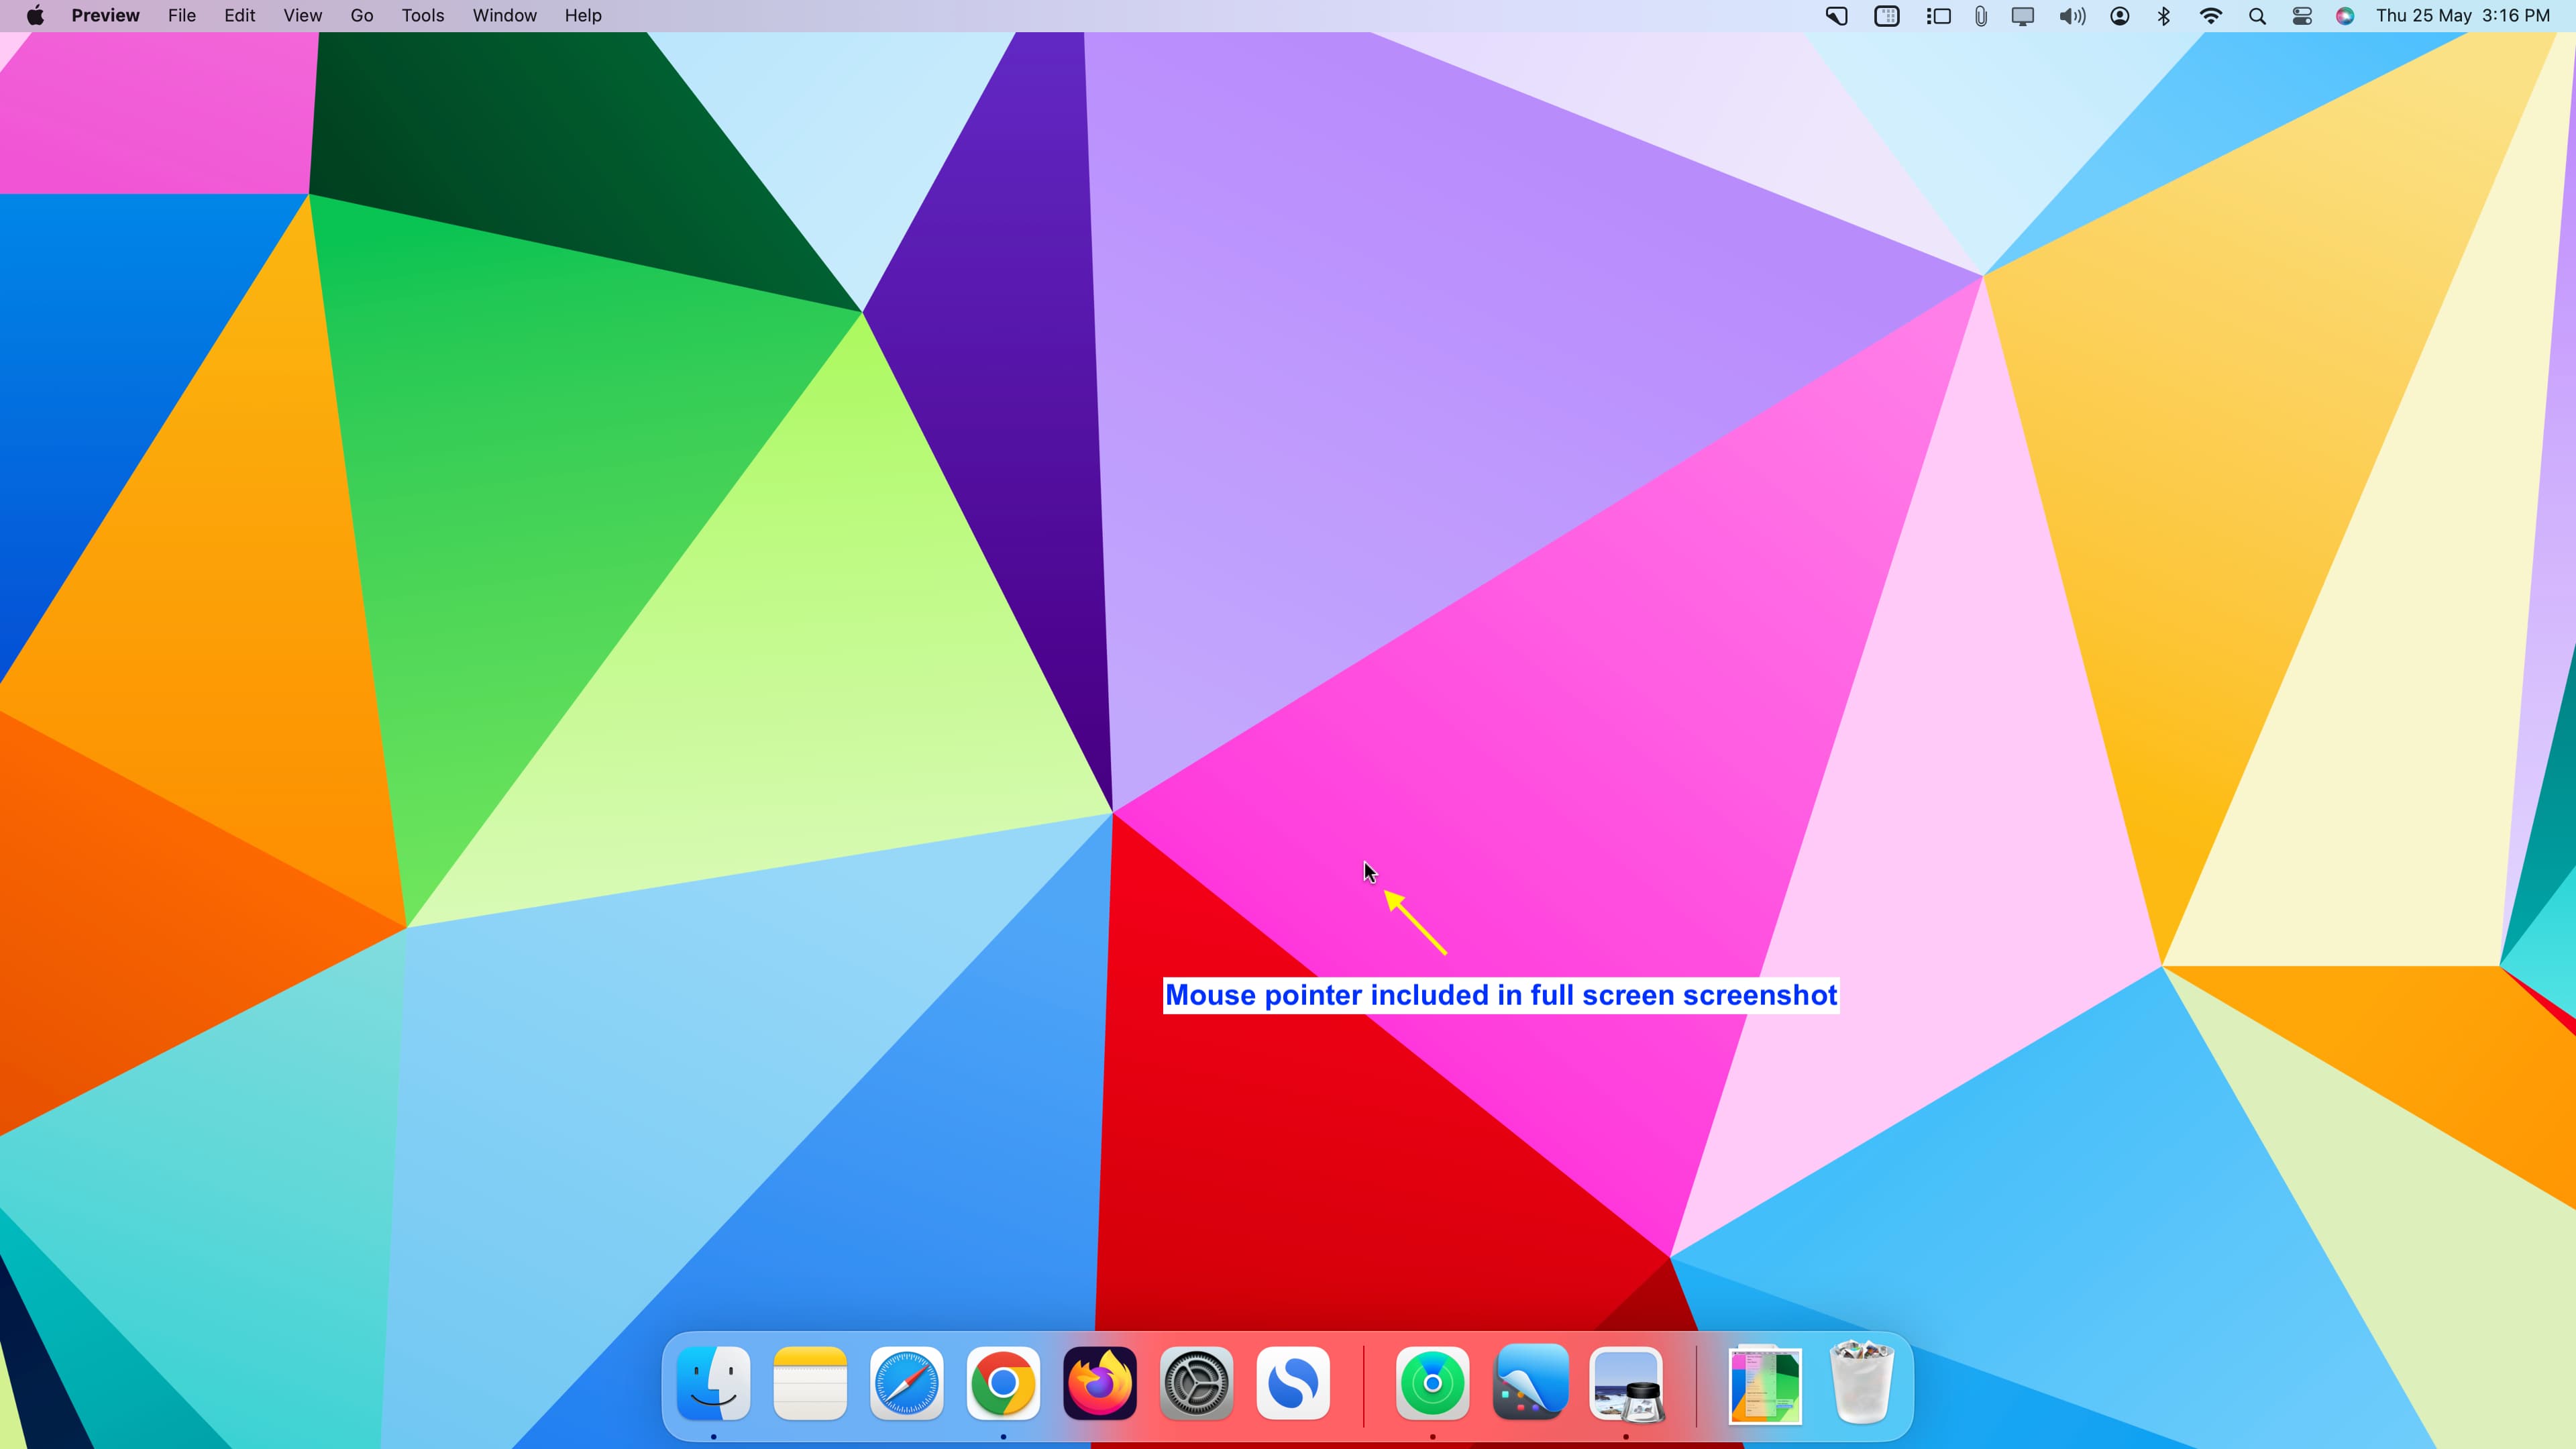
A 10-second countdown timer will appear. Ensure that you have your screenshot properly composed before the timer hits zero. Once it does, a screenshot will be taken and then open automatically in the Preview app. Most importantly, the screenshot will include the mouse cursor.
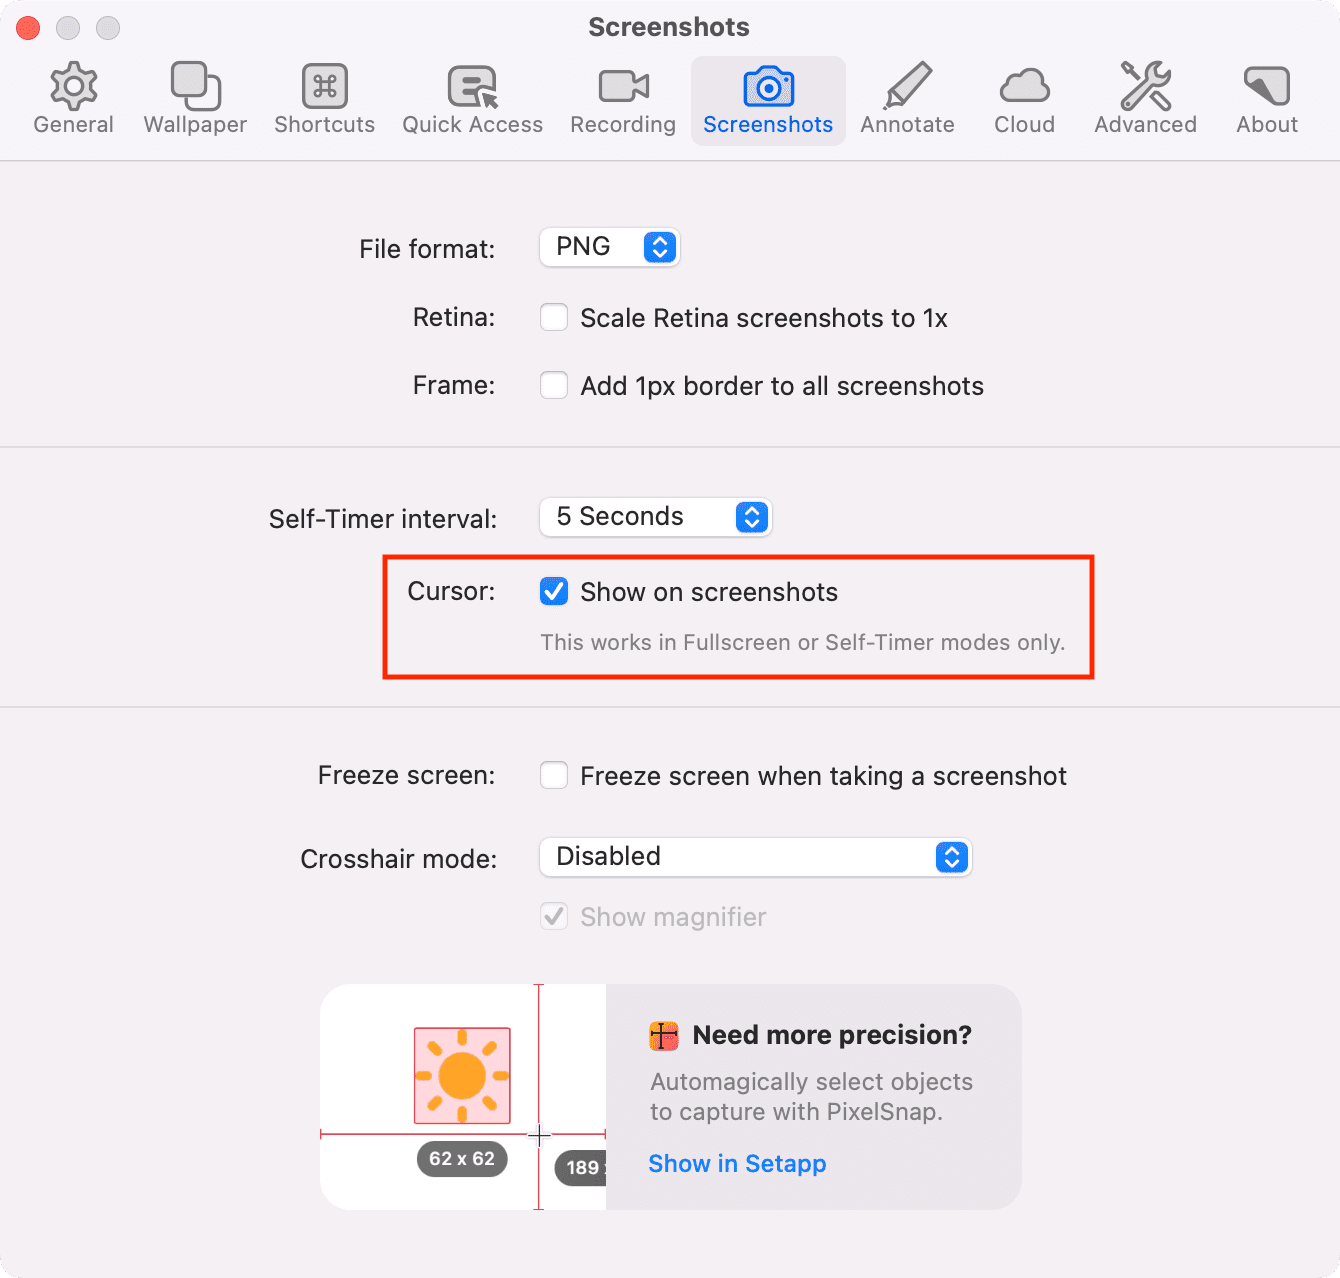
In addition to the two built-in methods mentioned above, you can also use third-party apps like CleanShot X to take screenshots that show the cursor.
On a similar note: