Learn how to use Apple’s Instant Hotspot feature to share your iPhone’s cellular data as an internet hotspot that other devices can connect to via Wi-Fi.
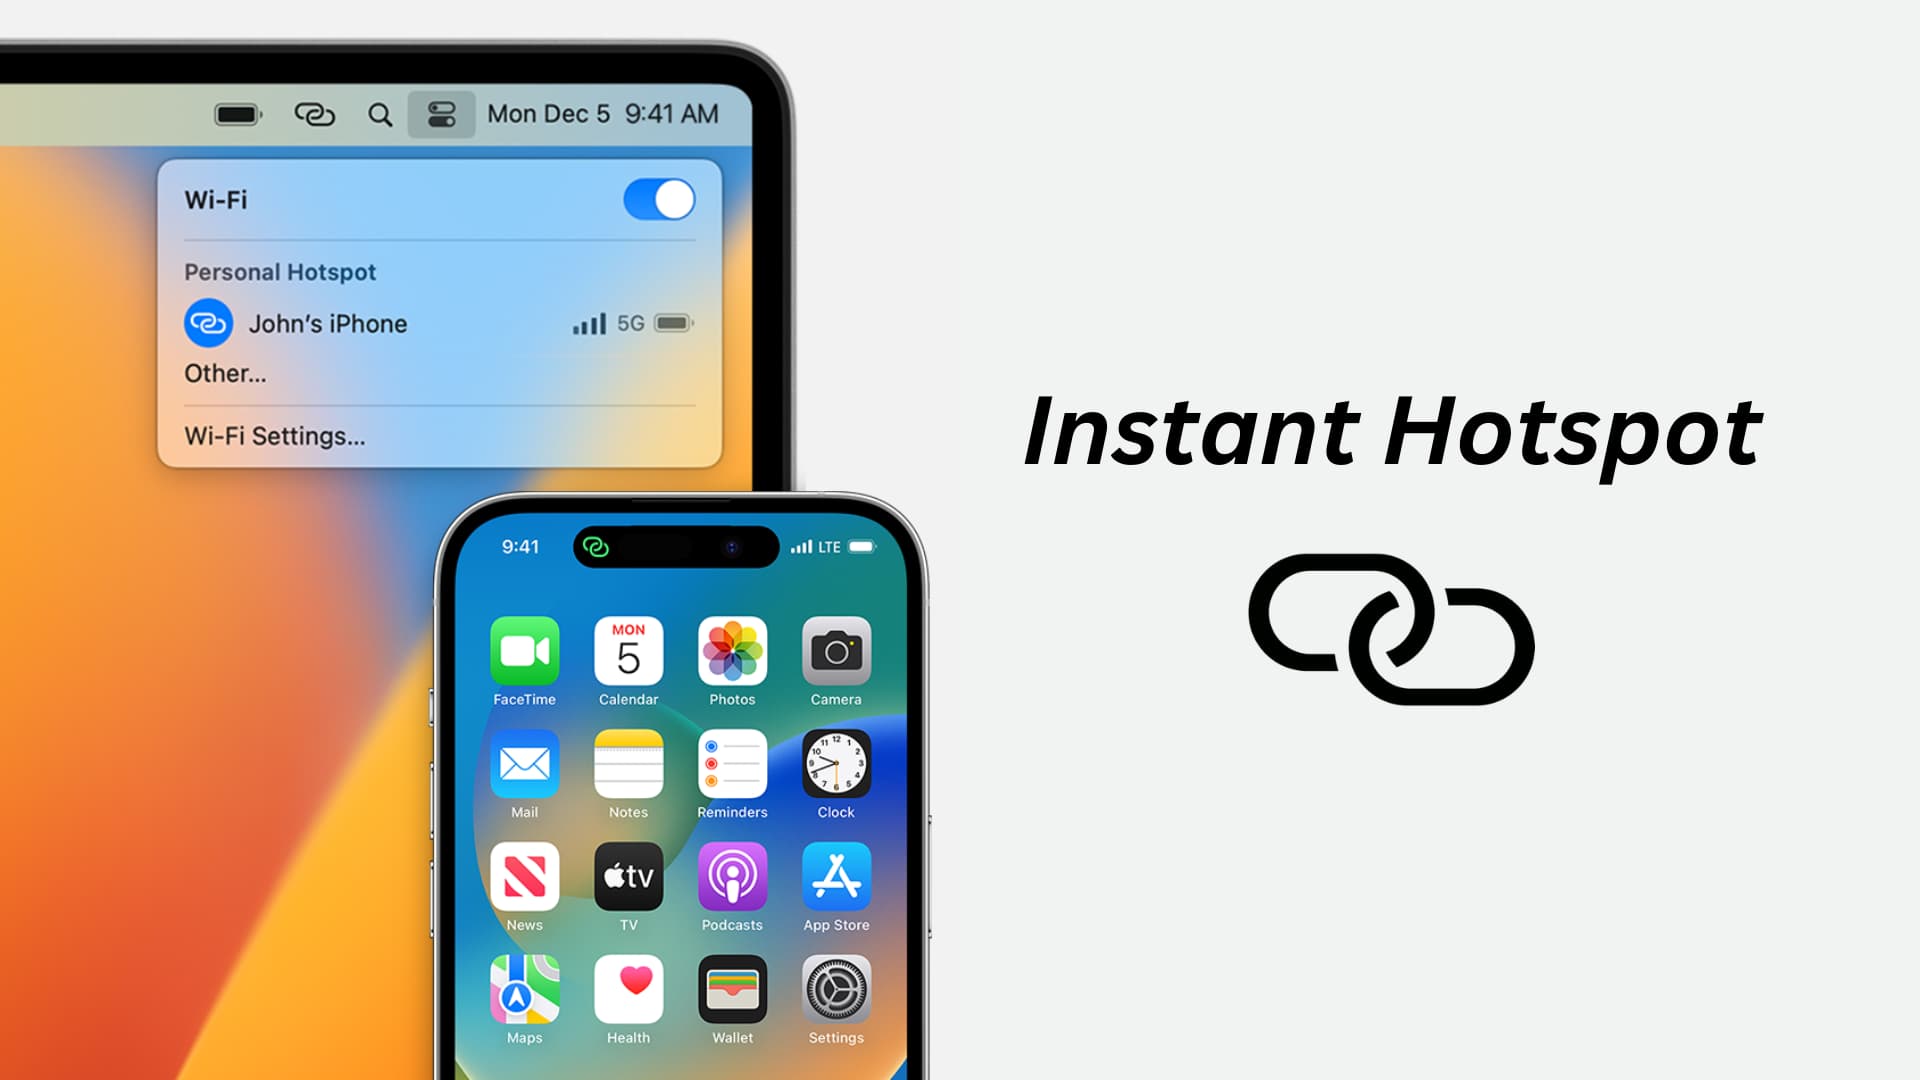
Instant Hotspot is among the Continuity features that improve how Apple devices work together. Available on iPhones and cellular iPads, it lets you share your iPhone’s cellular data connection as an internet hotspot that other Apple devices can connect to without typing the password. And if you use the Family Sharing feature, family members can also join your Personal Hotspot without entering the password.
Supported devices
The following devices can share their cellular data as a mobile internet hotspot:
- iPhone 5 and later
- Cellular versions of iPad mini or later, iPad Air or later, fourth-generation iPad or later and all iPad Pro models
You can connect to Instant Hotspot and use it on:
- All iPhones and iPads models mentioned above (iOS 18.1 or newer required)
- Most Macs introduced in 2012 or later running OS X Yosemite 10.10 or newer
- Apple Vision Pro
Set up Instant Hotspot
- Turn on Bluetooth and Wi-Fi on your Instant Hotspot device and client devices.
- Ensure you have a working cellular data plan on your iPhone or iPad. Check if your carrier supports sharing cellular data via a mobile hotspot. Most carriers do.
- Check that all devices use the same Apple Account. Family Sharing members can use Instant Hotspot while signed into their own Apple Accounts.
- Bring both the iPhone/iPad and the Apple device that will connect to its Instant Hotspot within Bluetooth range (33 feet or about ten meters).
How to use Instant Hotspot
Follow these steps to connect an Apple device to your iPhone’s Instant Hotspot.
Connect a Mac to Instant Hotspot
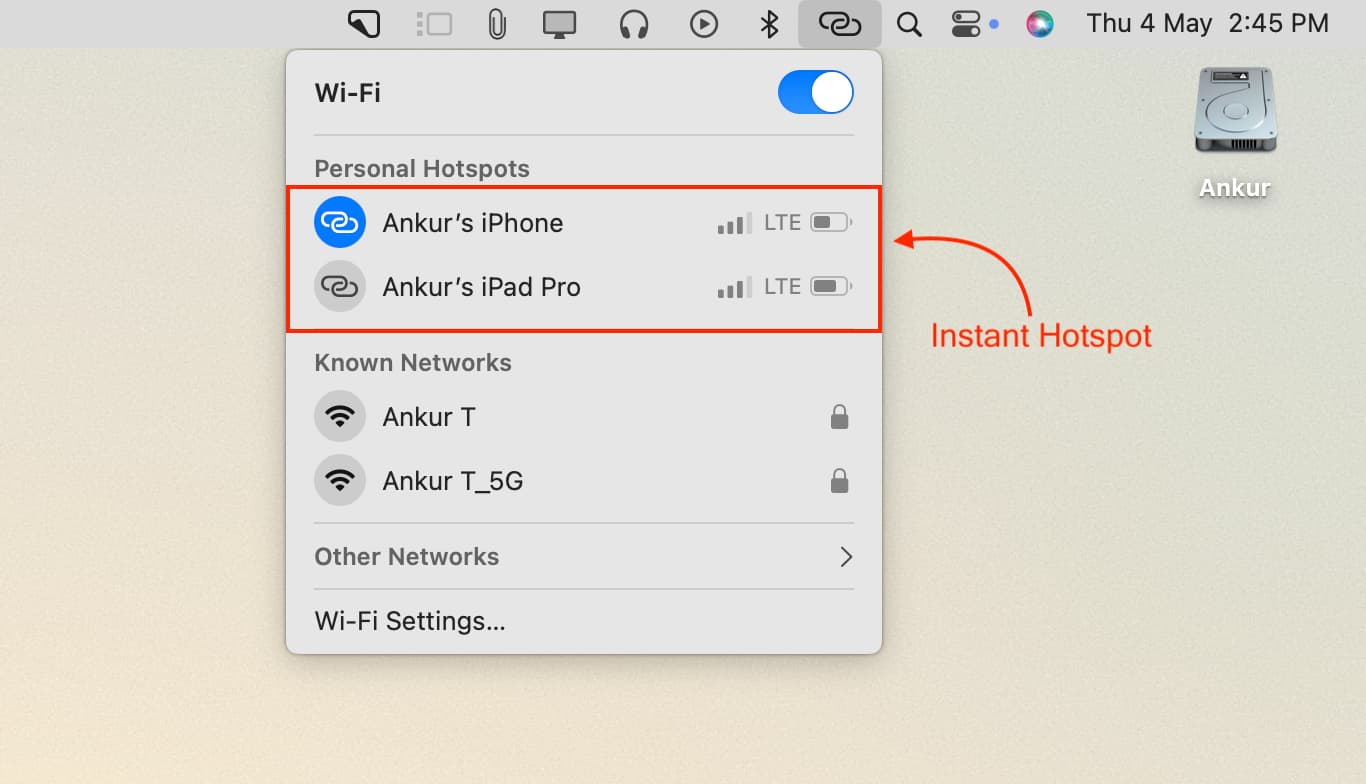
- Click the Wi-Fi icon or the Control Center icon in the macOS menu bar at the top or navigate to System Settings > Wi-Fi.
- Your iPhone should be listed under the Personal Hotspot heading in the menu. Click it to join the hotspot without needing to enter the password.
Connect an iPhone or iPad to Instant Hotspot
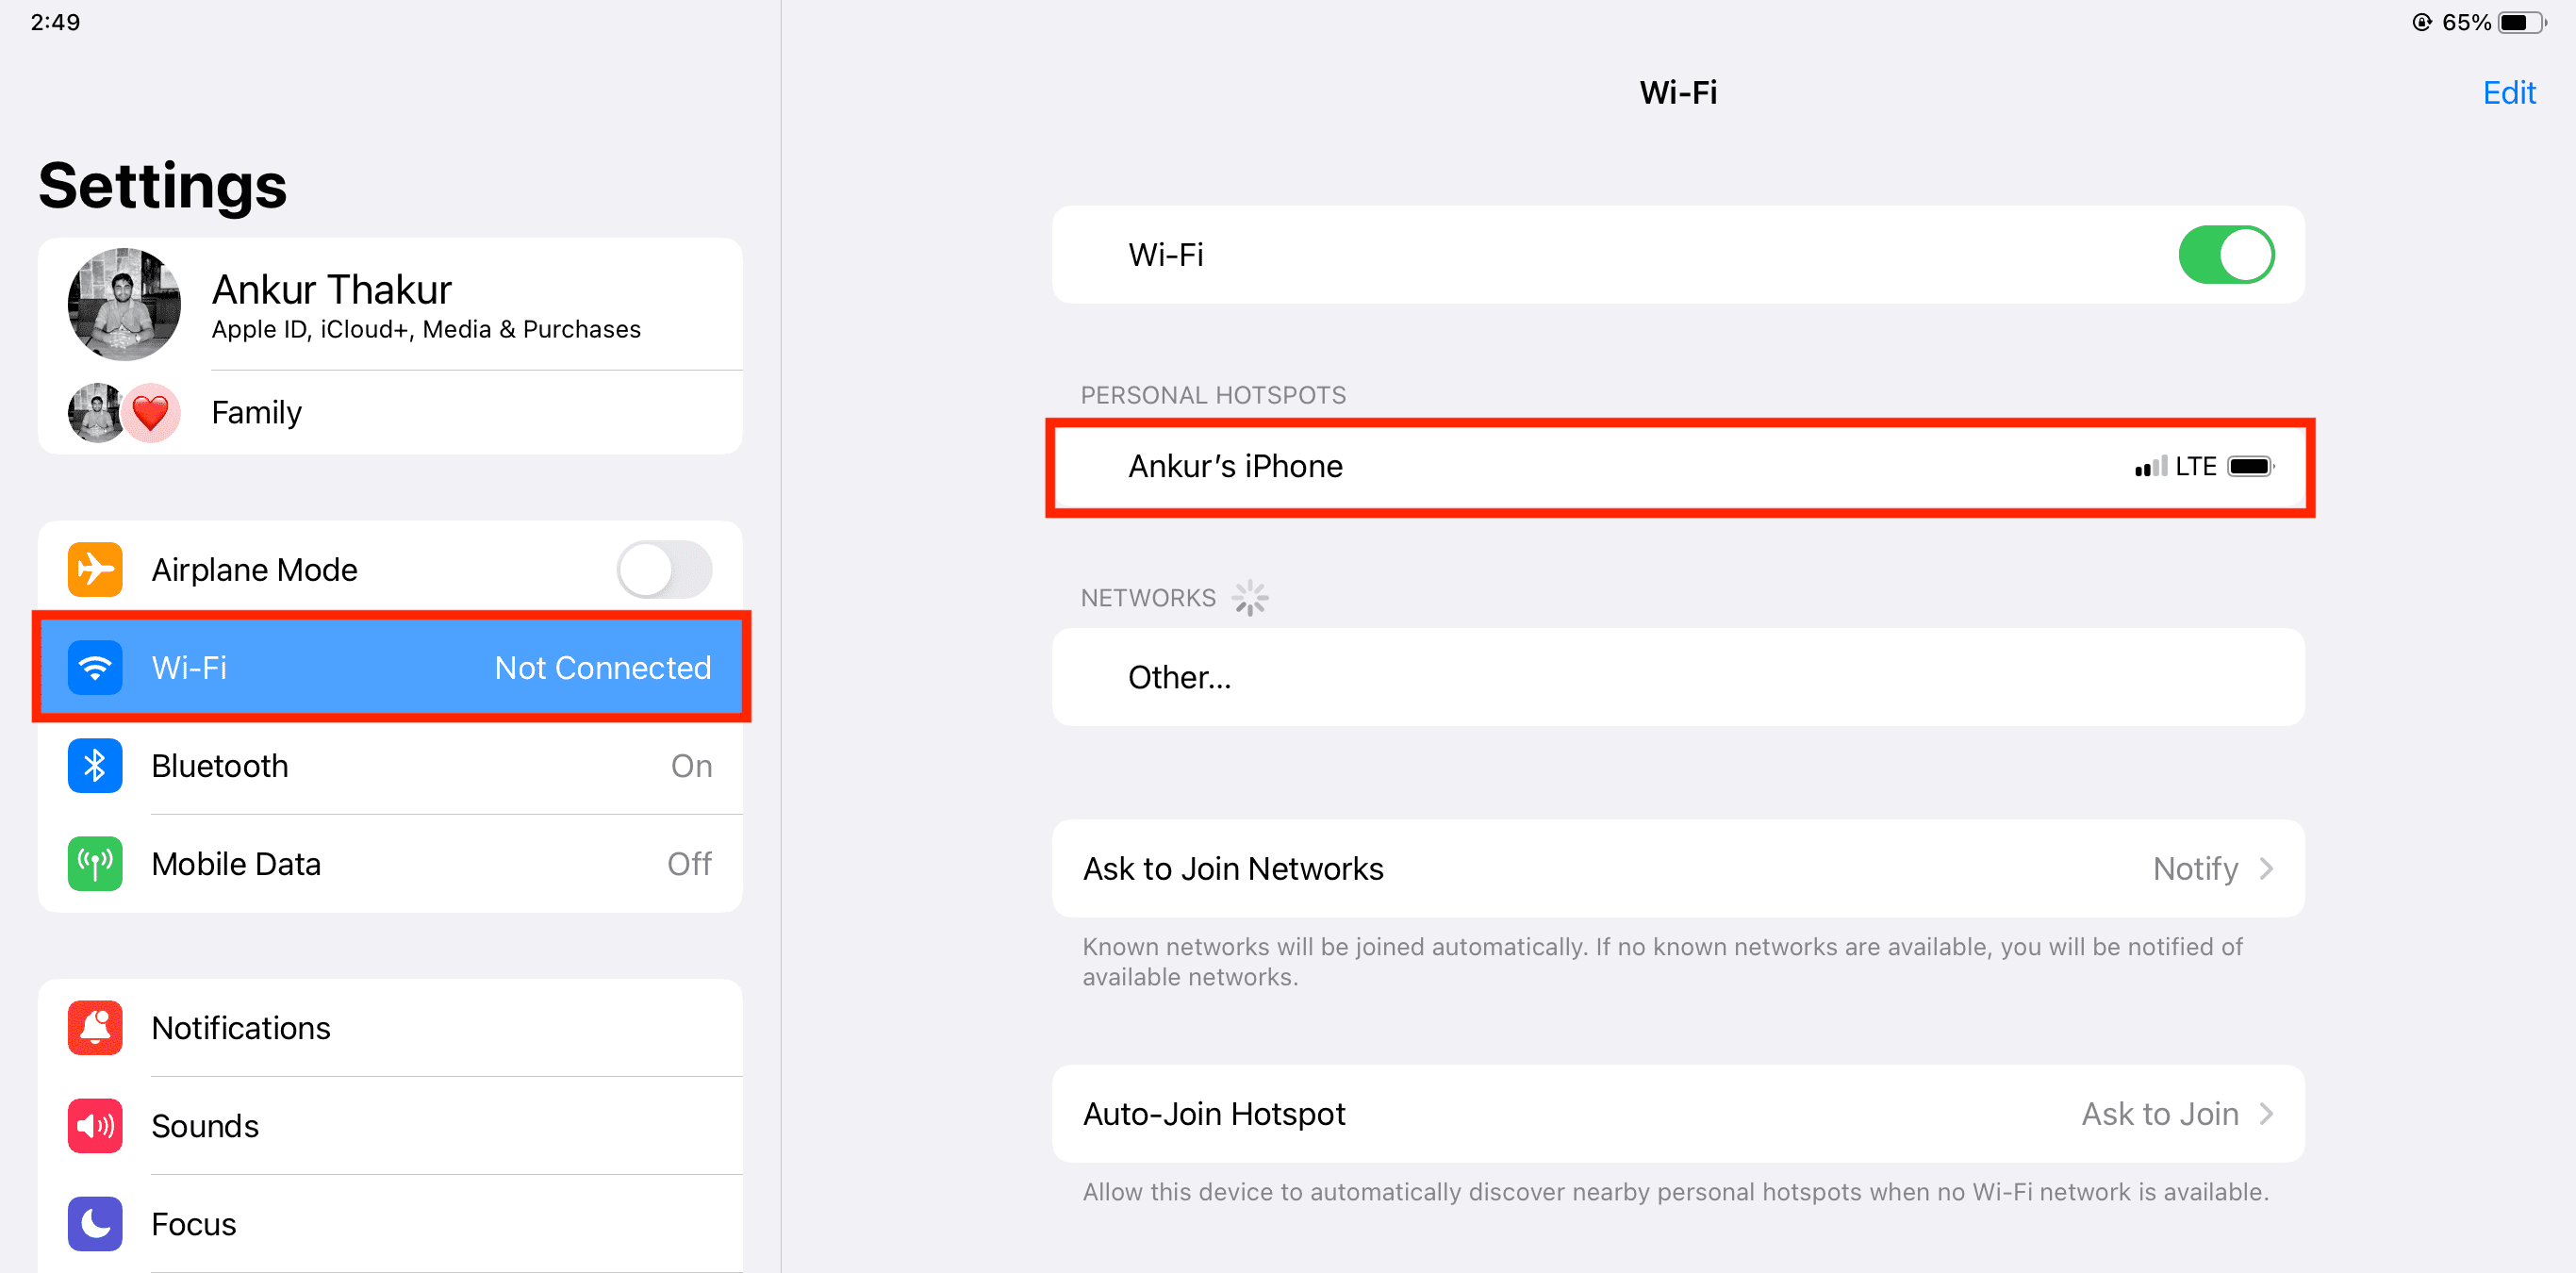
- Open the Settings app on your other iPhone or iPad.
- Tap Wi-Fi.
- Touch the name of your iPhone or iPad underneath Personal Hotspots. The device will latch onto this hotspot instantly, skipping the password prompt.
Instant Hotspot and Family Sharing
Instant Hotspot is available on devices belonging to Family Sharing members. The first time a Family Sharing member attempts to connect to your Instant Hotspot, you’ll receive a notification on your iPhone. Tap it to allow or decline the request.

Instant Hotspot asking for a password?
If you’re prompted to enter the Instant Hotspot password, check that your device meets the requirements we mentioned earlier. Additionally, navigate to Settings > Personal Hotspot and enable Allow Others to Join.
Stop Apple devices from auto-joining Instant Hotspot
Follow these steps if an Apple device like a Mac keeps automatically joining your iPhone’s Instant Hotspot when no known Wi-Fi networks are available.
Use iPhone Hotspot over USB on a Mac
I often share mobile data with my Mac because my iPhone’s 5G connection is typically faster than my Wi-Fi. I actually connect them via a USB cable so that my iPhone charges simultaneously while I get the fastest speeds when download files.
1) Turn off Wi-Fi and Bluetooth on your iPhone in the Settings app (not the Control Center).
2) Navigate to Settings > Personal Hotspot or Settings > Cellular > Personal Hotspot.
3) Turn off Allow Other to Join if it’s already on.

4) Connect your iPhone to your Mac with a USB cable.
5) Turn on Allow Others to Join and select USB Only.

6) Open System Settings on your Mac and select Network in the sidebar.
Wi-Fi should be listed at the top with a green dot and the word ‘Connected‘ next to it. And your iPhone USB hotspot should have a yellow dot and the word ‘Attached‘ as well. Click the button resembling an ellipsis followed by a downward-pointed arrow, then choose Set Service Order from the menu.

7) Drag iPhone USB above Wi-Fi and hit OK.

8) Check that both iPhone USB and Wi-Fi are listed with a green dot and the word Connected.

Your Mac can now use your iPhone’s mobile hotspot both wirelessly over Wi-Fi and via the wire through the USB cable. macOS will prefer the topmost protocol (in this case iPhone USB). If the USB cable disconnects, macOS will fall back to Wi-Fi. I use this setup to download massive files via my iPhone’s blazing-fast 5G connection. When done, I sync the downloaded files wirelessly with my iPad.
On a related note: