Capture stunning lightning photos with your iPhone using these simple tips and techniques for shooting in fast-paced, low-light conditions.
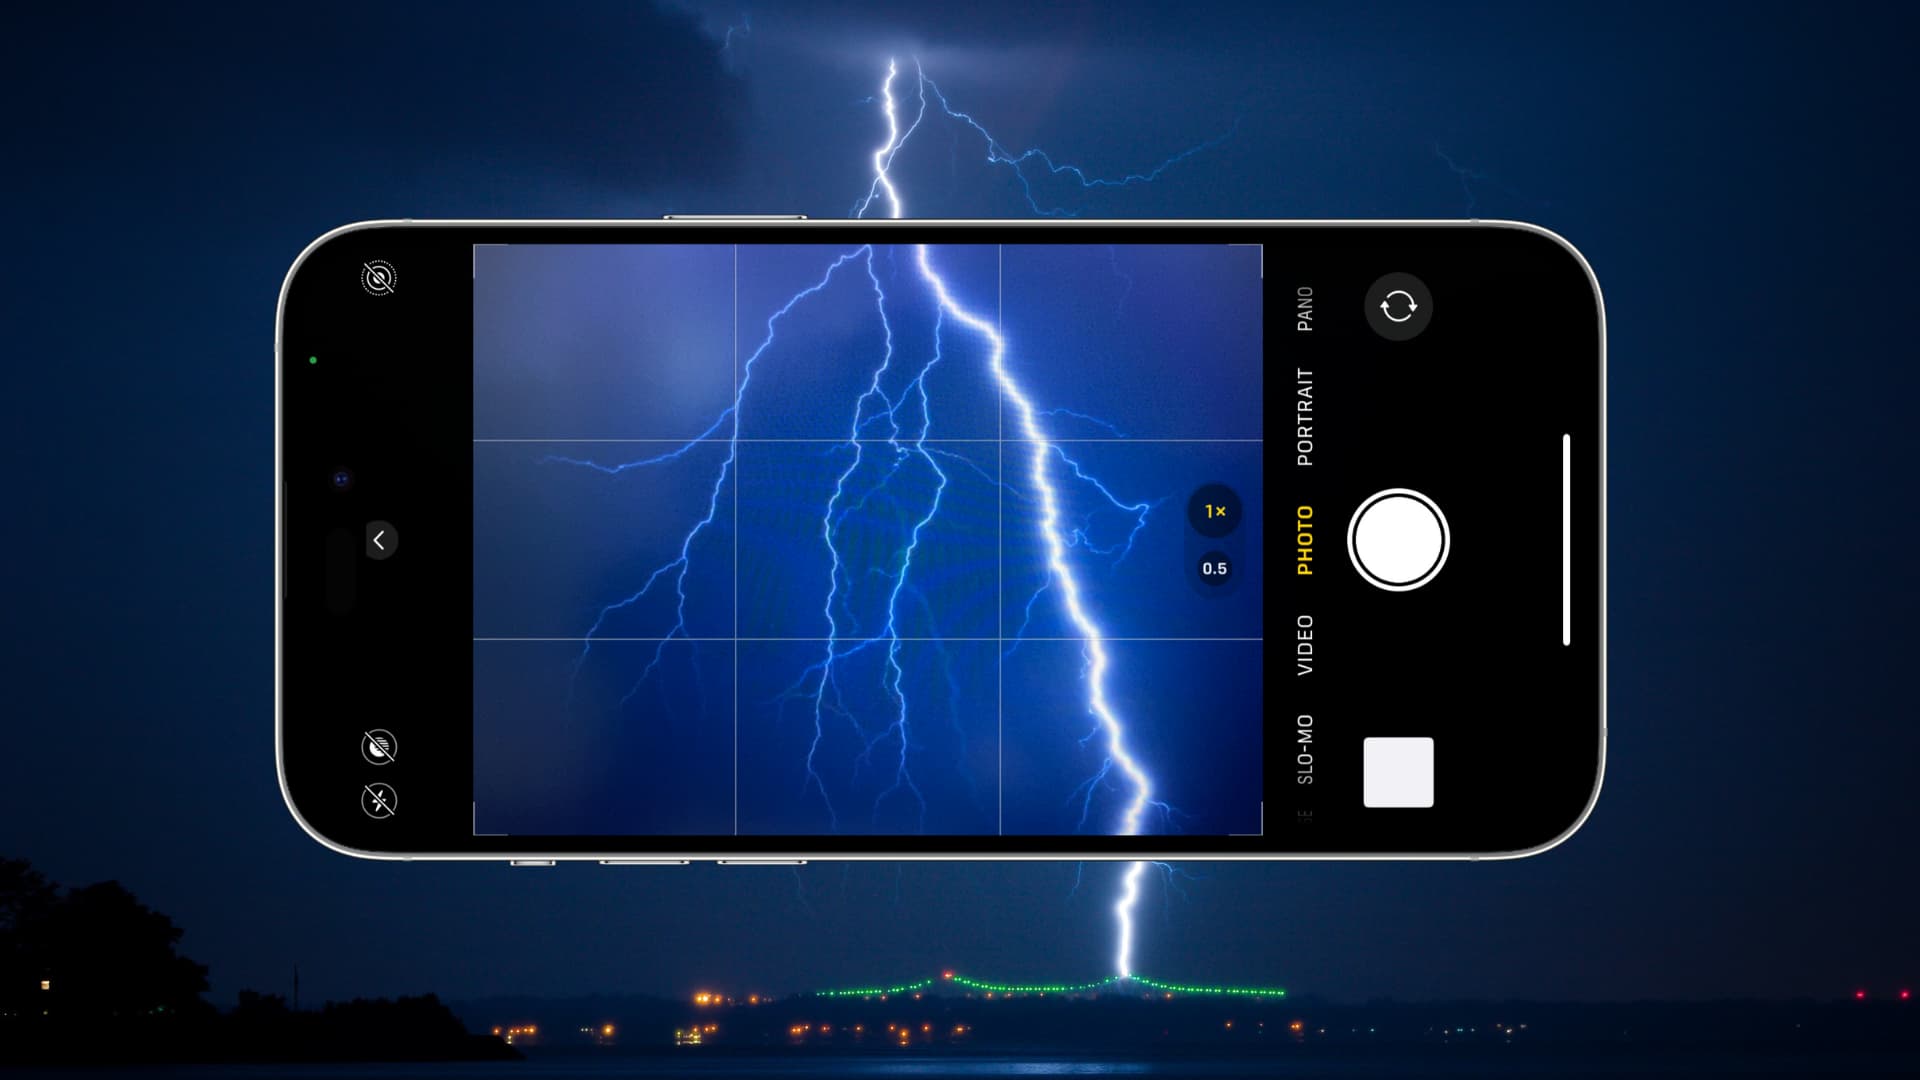
Lightning photography is all about timing. If you’re shooting with a DSLR, you can use all sorts of tricks, like super-long exposures and lightning triggers. With our mobile phones, we’ve to be a bit more creative. I thought I’d share a few quick tips to improve your chances of photographing nature that happens in a fraction of a second.
1. Quick release
The easiest way to improve your chances of catching a lightning bolt is to make sure you’re ready to release the shutter quickly. Remember, the iPhone camera actually shoots the photo when you release the shutter button, not when you press it. That being said, make sure your finger is on the trigger, then pull it off when you see the flash.
2. Turn on HDR
When HDR is enabled, your iPhone is going to take a bunch of images and blend the exposures. Taking a bunch of images with one click is a great way to tilt the odds in your favor. Thankfully, iPhone 13 and later have automatic HDR enabled, and it cannot be disabled. But if you’ve an older device, go to iOS Settings > Camera and enable Smart HDR first.

3. Take burst images
If it’s raining cats and dogs with frequent lightning, you can also shoot burst mode photos, which will take many pictures in a fraction of a second, and one or a few of them are sure to capture a good shot of the flashing lightning bolt!
In addition to this, make sure “Prioritize Faster Shooting” is enabled in your camera settings.

4. Lock your exposure and focus
You don’t want your iPhone making any decisions when you take the photo, as that may slow it down. So make sure you lock your exposure and focus beforehand.
5. Watch the scene, not the iPhone screen
You’ll be tempted to watch the screen as you wait for the next flash, but it’s better to watch the scene in the distance with your own eyes. That way, you can see the entire scene and anticipate the next bolt. When you see the flash, just release the camera shutter button.
6. Crop, don’t zoom
With lightning, you’ve to play it safe and be far from the storm. Because you’re far away, you’ll probably want to zoom in a bit to get a better composition. Don’t! You never know where that next bolt is going to come from, so try to get as much landscape as you can in the shot. Then, after you’ve captured the bolt, crop your composition in post-production.
7. Take a video or time-lapse
If you can’t seem to take a good snap of the lightning, place your iPhone on a tripod or a stand and set it to record a video or a time-lapse. This is sure to capture the lightning.
Be Safe
Lightning is no joke and needs to be respected. Don’t take any chances. If you’ve any questions about lightning safety, make sure you read this CDC guide.
By now, you know what to do. If you happen to get that great shot of a lightning bolt, tag @iDownloadBlog on X or Instagram with your photos, so we can see them.
Also, check out: 50 things I have learned about iPhone photography